Soakaways & SuDS
Surface water put back into the ground - if the ground will take it, and only after somebody has proved that it will.
Last updated 2026-09-05
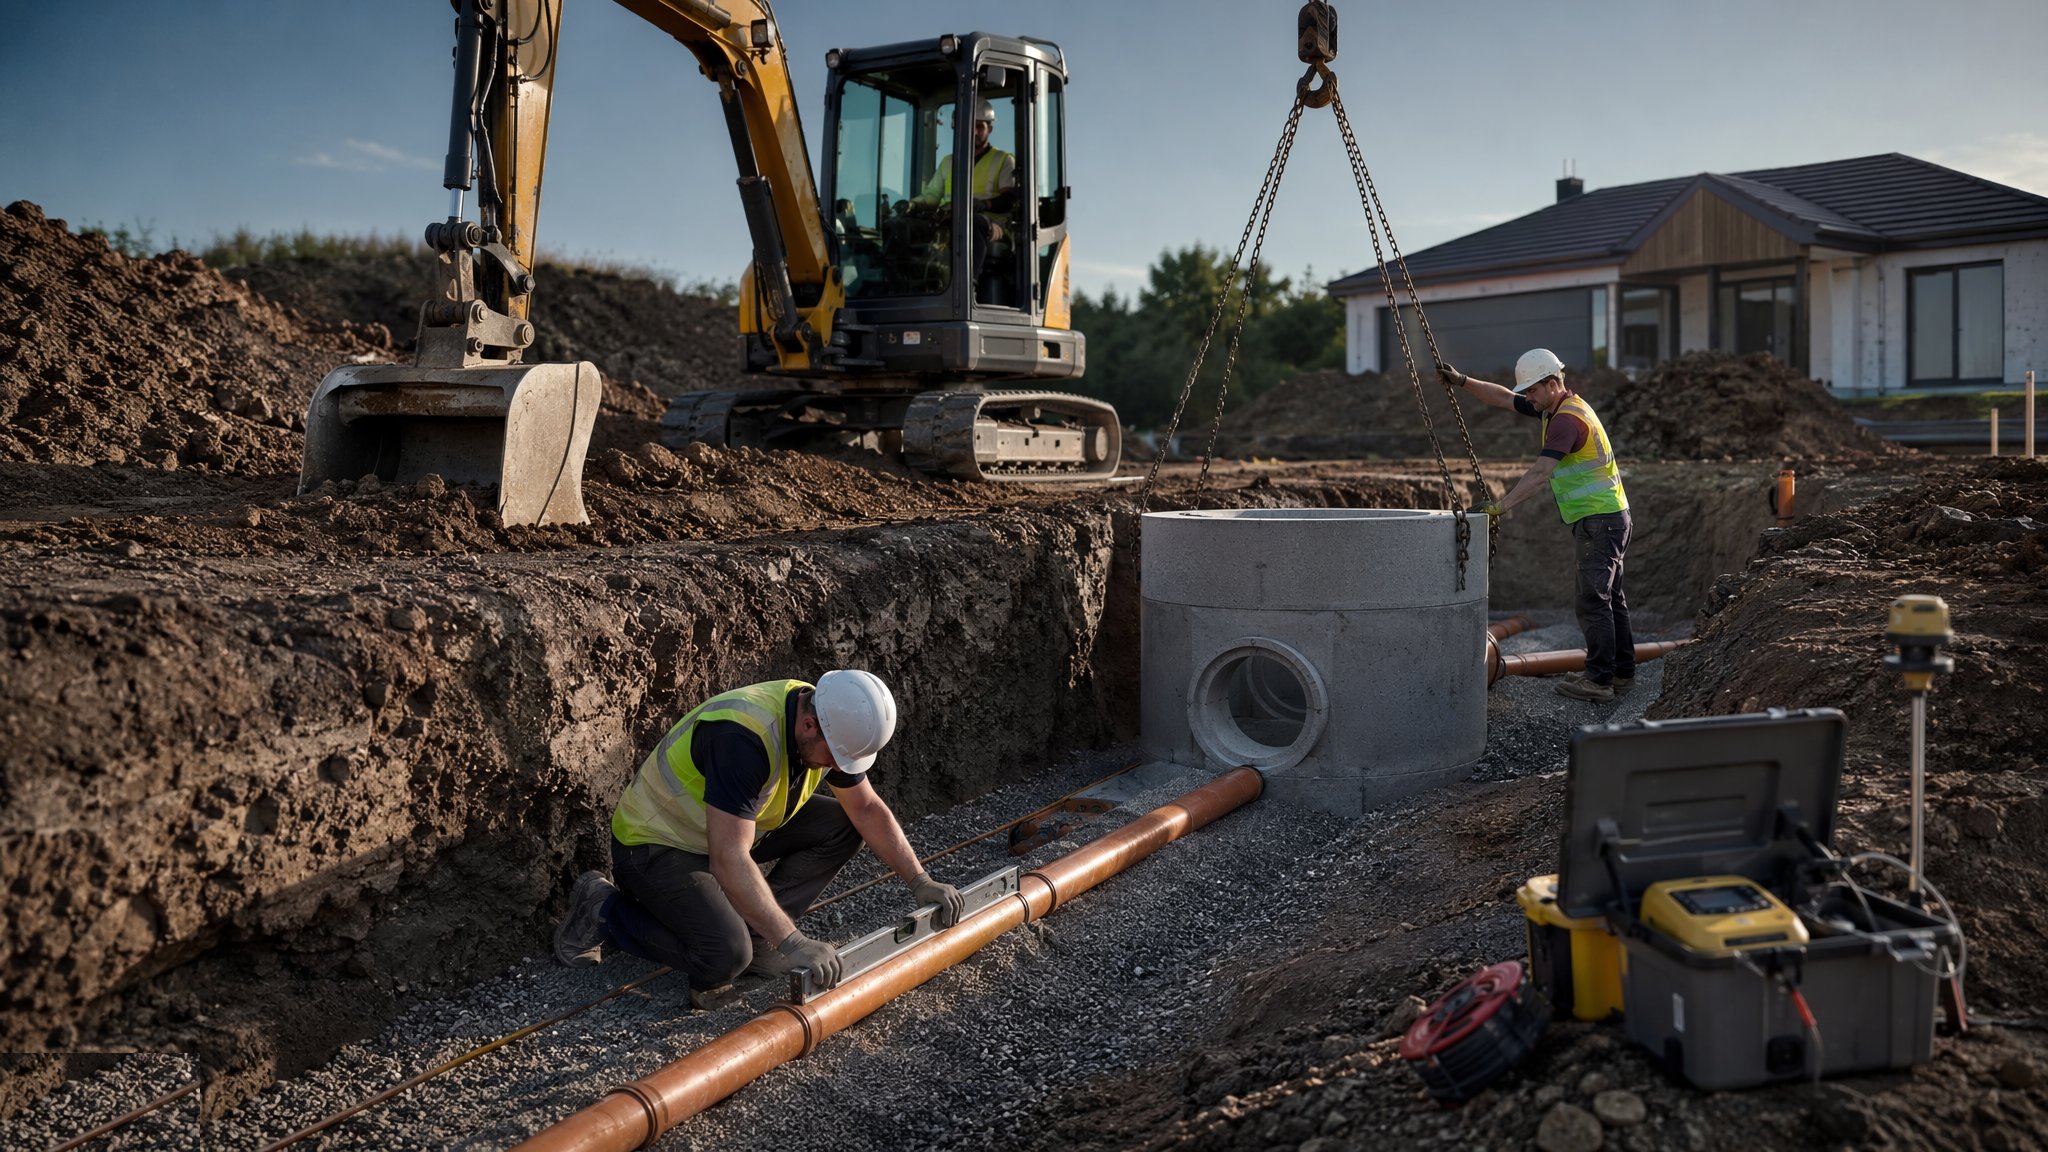
What is Soakaways & SuDS?
A soakaway disposes of surface water into the ground instead of into a sewer. At its simplest it is a pit filled with clean single-sized stone; more usually now it is a modular crate system, which gives far more storage for the same excavation. A fuller sustainable drainage approach goes further and treats the water as it moves: permeable paving over the parking, a filter drain or swale to carry flow slowly, a basin or pond to hold it, and infiltration where the ground allows. All of it is sized by the drainage designer from a percolation test and a design storm - the installer builds the storage, the designer decides how big it has to be.
Nothing about the design is possible until the ground has been tested. Percolation testing at the proposed location and depth, with the groundwater level checked, is what says whether infiltration is viable at all. Heavy clay, rock close to the surface or a high water table can rule a soakaway out completely, and finding that out after the excavation is a very expensive way to learn it. Position matters just as much as size: a customary stand-off of around 5 m from any foundation is the usual starting point, with the designer fixing the actual distance, and the system is kept clear of boundaries, services, trees and anything downslope that would suffer from the water arriving.
Silt is what actually kills soakaways, and it kills them slowly enough that nobody connects the cause to the effect. Runoff carries grit off roofs and paving; without a catchpit or silt trap upstream, the fines migrate into the storage and the void fills over a few years until the system simply stops working. The other failures are all at installation: a bucket smearing the excavation face until the soakaway is effectively lined in clay, geotextile omitted or lapped the wrong way so fines wash straight in, an overflow route that was never thought about so the water comes out at the back door, a crate system crushed by backfill or by a vehicle load that was never allowed for, and no access point at all, so the system can never be inspected or jetted.
How does Soakaways & SuDS work, step by step?
- 1
Step 1: Test the ground before anything is designed
Percolation testing goes in at the proposed position and depth, with the groundwater level checked at the same time. Dig a trial pit in the same location while you are there, because it tells you what you are actually excavating into and whether there is anything down there - made ground, rock, an old foundation - that changes the job. Bear in mind that a test run in a dry spell flatters the result: the same ground in February may behave very differently, and the design has to work in February.
- 2
Step 2: Fix the position and the stand-offs
Set the system clear of foundations by the stand-off the design gives, clear of boundaries, buried services and trees, and downhill of the building rather than uphill of it. Water softening the ground beneath a foundation is one of the few drainage defects that turns into a structural problem. Check what is downslope as well - a soakaway that discharges into a neighbour's garden by another route is still your soakaway. Then mark the position so it survives the rest of the groundworks.
- 3
Step 3: Excavate carefully and prepare the void
Dig to the design dimensions and keep the sides safe - a deep soakaway excavation is a confined-space and collapse risk that gets treated far too casually. Then rake or scarify the base and the faces to break up the smeared surface the bucket leaves behind. This is the step most often skipped and it is the one that determines whether the ground actually accepts water, because a polished clay face will not infiltrate no matter how big the storage is.
- 4
Step 4: Line, install the storage and build in the inlet
Line the excavation with the specified geotextile with generous laps, so that soil fines are kept out and the void stays open. Assemble the crates or place clean single-sized stone as the design requires, then wrap and lap the geotextile over the top. Bring the inlet pipe in at the level the design shows, and build in an inspection or access point so the system can be looked at, rodded and jetted in future. An installation with no access is an installation nobody will ever maintain.
- 5
Step 5: Control the silt and design in the overflow
Fit a catchpit or silt trap on the inlet wherever the runoff carries grit, and put it where somebody can actually empty it - a silt trap under a lawn is a silt trap that stays full. Confirm the designed overflow or exceedance route, so that when the storage fills in a bigger storm the water goes somewhere harmless rather than towards the building. Infiltration is almost never a complete answer on its own; the exceedance route is part of the system, not an admission that it failed.
- 6
Step 6: Backfill, prove it and hand over the maintenance
Backfill in layers without crushing the storage, respecting any depth of cover and vehicle loading limits the design sets, then restore the surface. Run water in from the downpipes and watch it go away. Record the exact position, depth and access point on the as-built - a buried crate system with no record is an obstruction the next excavation finds the hard way. Then hand over the maintenance regime in writing, with the silt trap at the top of the list, because that single item is what keeps the system working.
What are the benefits of Soakaways & SuDS?
- No sewer connection and no surface water discharge charge to pay for the life of the building
- Keeps surface water local, which is increasingly what approving authorities require rather than prefer
- Crate systems give a high void ratio, so the storage is large for the excavation volume
- Permeable paving handles the parking and access areas with no separate collection system at all
- A wider sustainable drainage train also improves water quality and can be part of the landscape design
- Reduces flow into combined sewers and cuts flood risk downstream of the site
What are the limitations of Soakaways & SuDS?
- It depends entirely on the ground - clay, shallow rock or a high water table can rule it out completely
- Percolation testing is seasonal, and a dry-weather result can flatter a design that has to work in winter
- Silt is a slow killer and the maintenance that prevents it is very rarely carried out
- Stand-offs from foundations, boundaries, trees and services consume a lot of usable garden or plot
- The excavation is large, so muck-away can cost more than the storage system itself
- Performance is invisible until the day it fails, and by then it is under a finished landscape
What is Soakaways & SuDS best suited for?
What plant does Soakaways & SuDS need?
- 360 excavator with a clean bucket, and a dumper for stone and muck-away
- Percolation test kit - water bowser or supply, tape, timer and a test pit
- Trench support or battering for deep excavations, as the temporary works require
- Geotextile and crate handling equipment for placing and wrapping the storage
- Whacker plate or roller for compacting backfill in layers without crushing the storage
- Jetting unit and camera for proving the inlet and for later maintenance
How is Soakaways & SuDS quality-checked?
- Percolation test results and groundwater levels on file, with the storage sized from them by the designer
- Stand-offs from foundations, boundaries, trees and services measured and recorded before excavation
- Excavation base and faces scarified before lining - the step most often missed
- Geotextile laps and top wrap checked and photographed before any backfill
- Silt trap or catchpit installed, accessible, and written into the handover maintenance regime
- Overflow or exceedance route confirmed, and the final position, depth and access point recorded on the as-built