Post-tensioned flat slabs
Thin concrete floors stressed after casting by a specialist - long spans, flat soffits, and a permanent no-drilling rule.
Last updated 2026-09-05
What is Post-tensioned flat slabs?
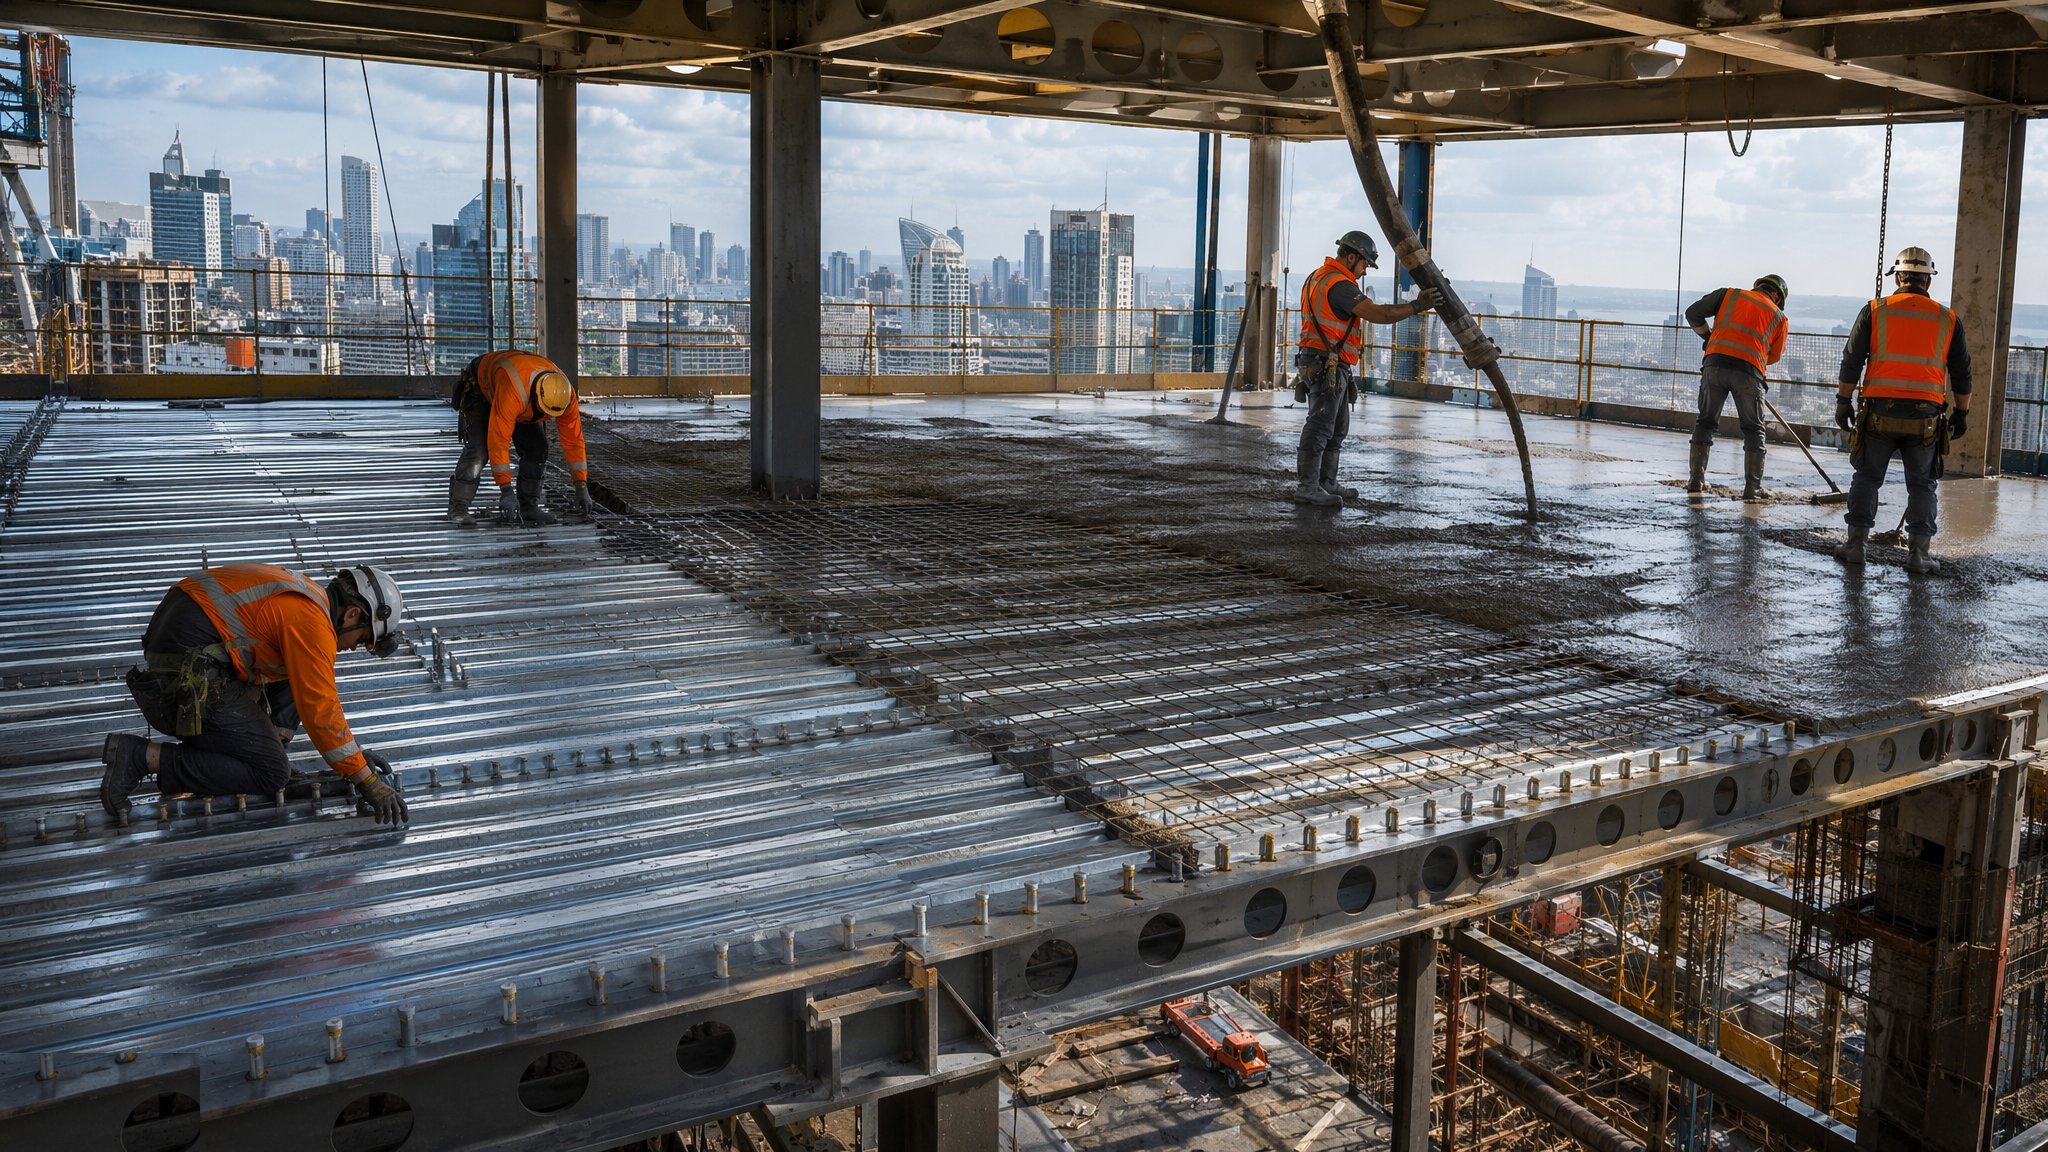
A post-tensioned flat slab is an in-situ concrete floor that is cast around ducted high-strength strand and then stressed once the concrete has gained sufficient strength. Tensioning the strand puts the slab into compression and lifts part of the load off it before the building is ever occupied, so the same span can be carried on a noticeably thinner slab than a conventionally reinforced floor would need. On a multi-storey commercial building that thinner floor compounds: less concrete per floor, less weight through the columns and foundations, and either more storeys within a fixed height or better floor-to-ceiling heights within the same envelope. Because the slab is flat, the soffit is flat too, and services run in a clear zone under it without weaving through downstand beams.
The work is done by a specialist post-tensioning contractor working to the structural engineer's design, and that division of responsibility is not a formality. The tendon profiles, the stressing values, the sequence and the timing are all engineered, verified and recorded by people who do only this, using calibrated equipment and their own quality regime. The site team builds the slab around their work: formwork and falsework, ordinary reinforcement, edge anchorages, and a pour that has to be right first time because there is no easy way to correct a tendon that has been cast in the wrong position. Cover and profile matter more here than on almost any other concrete element, because a tendon sitting a little high or a little low does not do what the design assumed.
The constraint that follows the building forever is drilling and coring. A stressed tendon runs the length of the slab carrying a very large force, and cutting one is both a structural loss and an immediate danger to anybody near the anchorage. Post-tensioned floors are therefore marked as such, recorded on as-built drawings, and subject to a permit regime for any penetration, with the position of tendons confirmed by scanning before a drill touches the concrete. That rule applies to the fit-out contractor on day one and to the tenant's contractor in twenty years' time. On most projects the record drawings, the slab marking and the permit procedure are treated as part of the deliverable, not as paperwork, because they are what keeps the floor safe for the rest of its life.
How does Post-tensioned flat slabs work, step by step?
- 1
Step 1: Design the slab and appoint the specialist
The structural engineer sets the grid, the slab arrangement and the performance the floor has to achieve, and the post-tensioning specialist develops the tendon layout, the anchorage details and the stressing arrangement to suit. The two designs are reconciled, checked and issued together, because the ordinary reinforcement, the tendon profile and the anchorage zones all have to coexist in a thin slab. Deflection, vibration, cracking and the movement of the slab as it shortens under stress are all considered at this stage. Nothing on site is decided by eye - the profile, the sequence and the acceptance criteria are all fixed in the design before the first pour.
- 2
Step 2: Build formwork and falsework that will not move
A flat slab is cast on a full-area soffit table or panel system carried on a designed falsework arrangement. Because the tendon profile is measured from the soffit, the accuracy and the stability of that formwork directly controls whether the floor works as designed. The falsework is a temporary works item with its own designer, check and permit, founded on a floor that has been confirmed capable of carrying it, and it is inspected and signed off before loading. Edge forms are set out precisely because the anchorages sit in them, and any deviation at the edge is a deviation in the tendon.
- 3
Step 3: Fix reinforcement, tendons and anchorages
Ordinary reinforcement is fixed first where the sequence requires it, then the tendons are laid to the specialist's layout and supported on chairs at the intervals the design sets, so that the profile rises and falls exactly as drawn. Anchorages are fixed square and true at the slab edges with their bursting reinforcement in place, and the anchorage zone is congested by nature so it is built carefully and inspected closely. Ducts are checked for continuity and damage, service penetrations are formed only where the layout permits them, and any clash is resolved with the designer rather than by moving a tendon. Positions are surveyed and photographed before the pour because after the pour they are invisible.
- 4
Step 4: Pour, compact and cure the slab
Concrete is placed in the agreed sequence, taking care not to displace tendon supports or knock chairs out of line, and compacted thoroughly around the anchorage zones where the steel is densest. The pour is a continuous operation to a planned construction joint, and the concrete is specified to gain strength quickly enough to allow stressing to the programme. Curing is protected and monitored, and cubes are cast specifically for the stressing release as well as for the twenty-eight day record. Early stressing before the concrete has reached the strength the design requires is one of the recognised failure modes in this work, and it is controlled by the results, not the calendar.
- 5
Step 5: Stress the tendons in the designed sequence
When the strength results allow, the specialist stresses the tendons in the order the design sets, using calibrated jacks and pumps. Only trained operatives carry out the work, and the area behind each anchorage is cleared and barriered because that is the line of any failure during stressing. Extensions are measured against the calculated values as each tendon is stressed and the results are recorded and assessed at the time - a tendon that pulls short or long is investigated before the work moves on, not afterwards. The whole sequence is a controlled operation with its own method statement, and the site team keeps clear until the specialist releases the area.
- 6
Step 6: Grout, cut and seal the anchorages
On bonded systems the ducts are grouted so that the tendon is protected and acts with the concrete along its length, with the grout injected and vented to fill the duct completely. Unbonded systems rely on the sheathing and the grease around the strand instead, so the anchorage itself carries the whole force permanently and its protection is critical. Strand tails are cut back and the anchorage pockets are cleaned, filled and sealed to keep water and air away from the steel. These operations are recorded tendon by tendon because they are the corrosion protection for the life of the floor.
- 7
Step 7: Strike, record and impose the drilling regime
Falsework is struck only when the specialist confirms the stressing and grouting are complete and the designer authorises release, and the slab is then surveyed for level and any expected movement. As-built drawings showing tendon positions are produced and issued, the slab is marked on the soffit and the surface to warn that it is post-tensioned, and a permit-to-drill procedure is set up covering scanning, approval and supervision for every future penetration. On most projects this pack is handed over formally with the building. Fit-out and tenant works then follow it - no drilling, coring or chasing without scanning and written approval, for the life of the structure.
What are the benefits of Post-tensioned flat slabs?
- Long spans on a thin slab, giving open, column-light commercial floor plates
- Flat soffit with no downstands, so services run in a clear zone and the ceiling void works harder
- Less concrete and less reinforcement per floor, reducing weight through columns and foundations
- Thinner floors save storey height, buying either extra floors or better floor-to-ceiling heights
- Compression in the slab controls cracking, which helps durability and helps exposed soffit finishes
- Fast floor-to-floor cycles on repetitive commercial frames once the sequence is established
What are the limitations of Post-tensioned flat slabs?
- Drilling, coring and chasing are permanently restricted, and every future penetration needs scanning and a permit
- Depends on a specialist contractor, calibrated equipment and a trained crew, so the trade is a programme dependency
- Tendon profile and cover have to be right before the pour - errors are invisible and expensive afterwards
- Stressing cannot start until the concrete reaches the strength the design requires, so early-age results govern the cycle
- Anchorage zones are congested and unforgiving, and stressing operations need exclusion zones behind them
- Alterations, large new openings and demolition are all harder and need specialist assessment
What is Post-tensioned flat slabs best suited for?
What plant does Post-tensioned flat slabs need?
- Full-area soffit tables or panel formwork on designed falsework, with edge forms and stop ends
- Tower crane or placing boom, concrete pump and vibrating pokers
- Calibrated stressing jacks, pumps and gauges operated by the specialist
- Grouting pumps, mixers and vents for bonded systems
- Laser levels, survey equipment and cube curing facilities for early-age strength
- Covermeters and tendon scanning equipment for pre-pour checks and for later permits to drill
How is Post-tensioned flat slabs quality-checked?
- Falsework designed, checked, permitted and inspected before any load is applied
- Tendon profile, support spacing, anchorage position and cover surveyed and photographed before the pour
- Duct continuity and anchorage bursting reinforcement inspected in the congested zones
- Early-age concrete strength results used to authorise stressing, held on record
- Stressing extensions measured tendon by tendon, compared against calculated values and signed off by the specialist
- Grouting, anchorage sealing and as-built tendon drawings recorded and handed over with the permit-to-drill procedure