Post-tensioned concrete flat-slab frame
Tendons stressed after the slab has cured, pulling against the concrete to balance load - thin slabs, long spans, flat soffits, and a floor that can never be drilled blind.
Last updated 2026-09-05
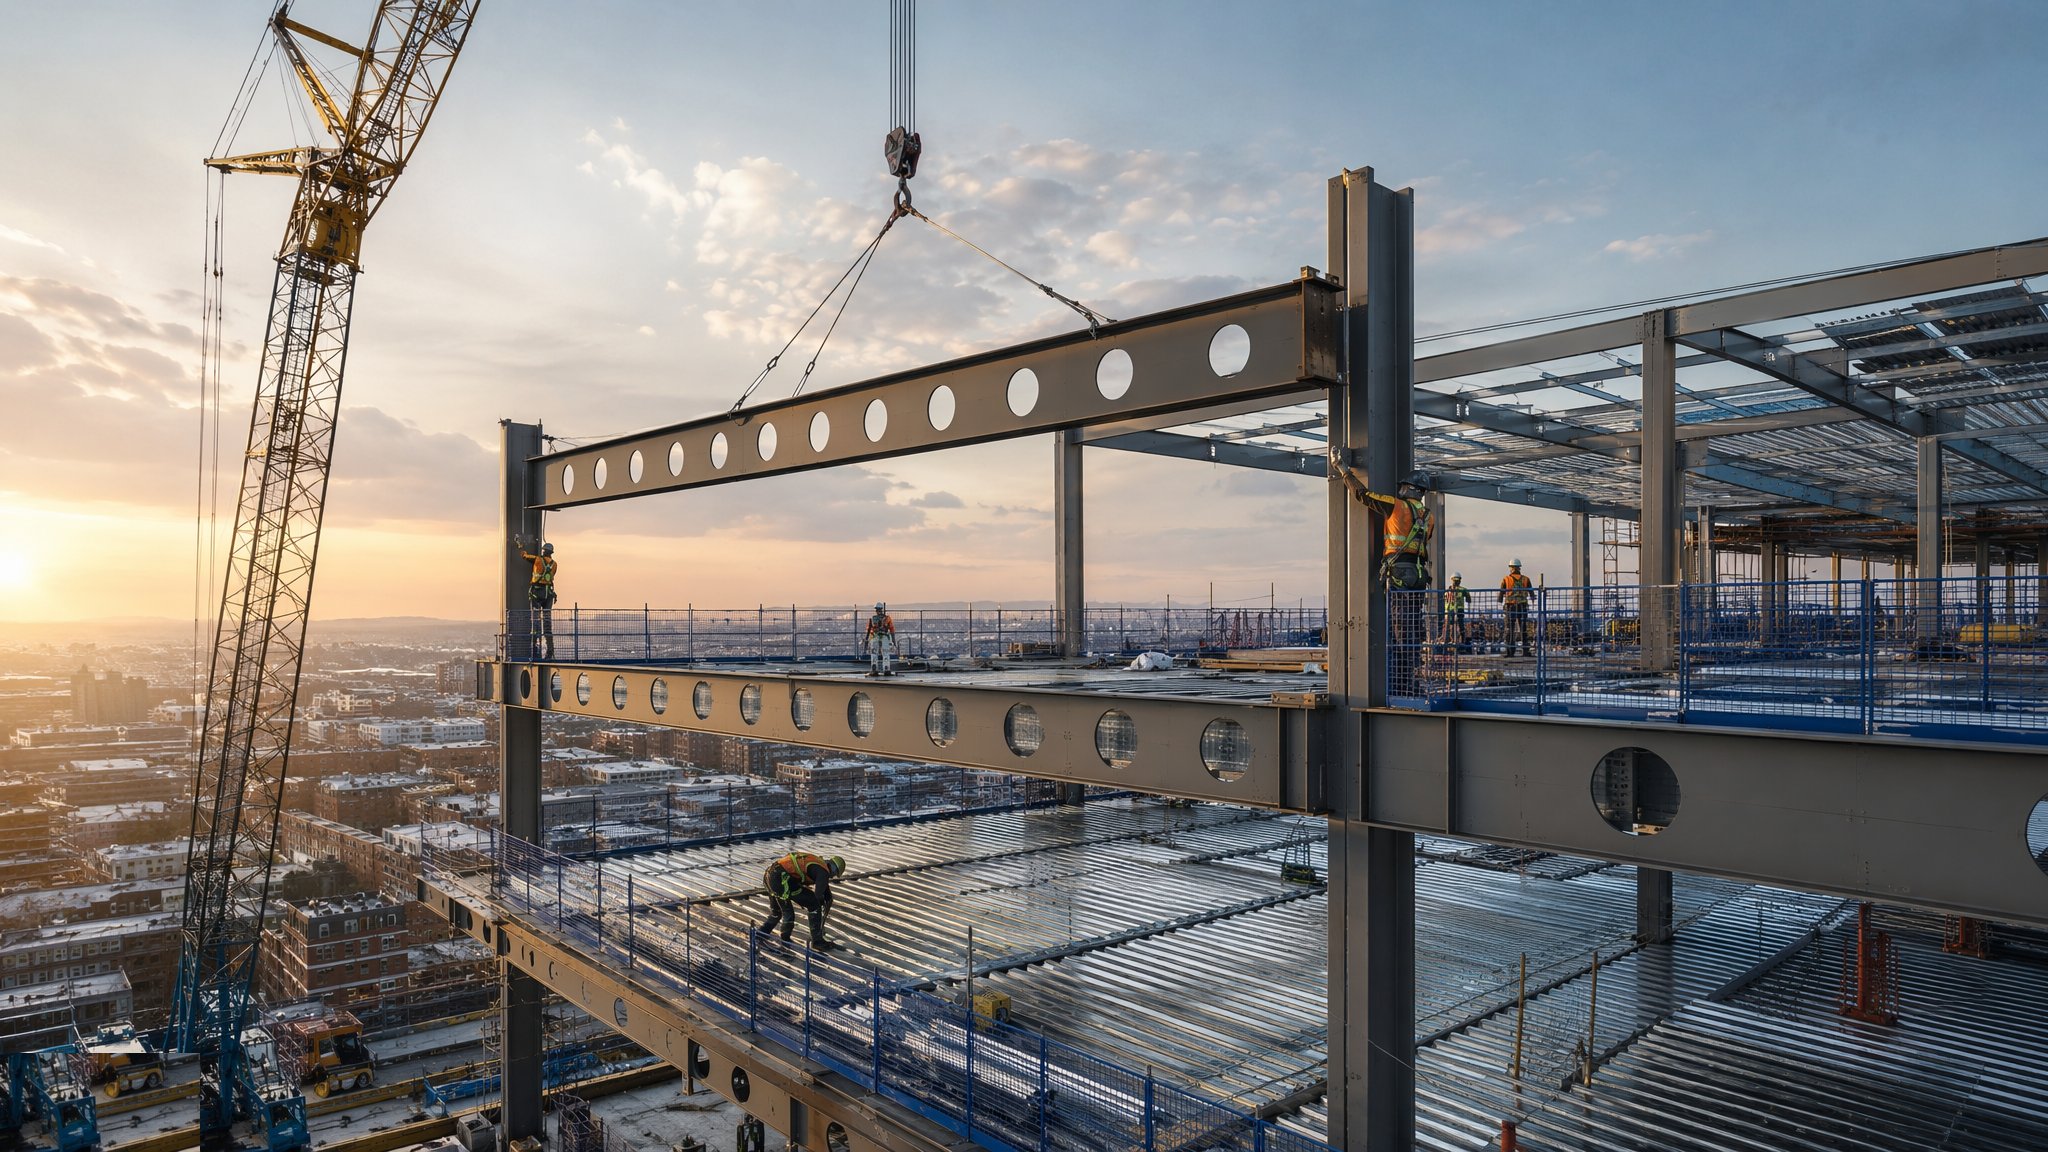
What is Post-tensioned concrete flat-slab frame?
A post-tensioned flat slab is an in-situ concrete floor with high strength steel tendons cast into it that are tensioned after the concrete has gained strength. The tendons are pulled by a specialist and anchored at the slab edge, and because they are anchored against the concrete itself they put the slab permanently into compression and apply an upward force along their profile. That upward force balances a proportion of the load the floor has to carry, so the slab works far harder than a conventionally reinforced one of the same depth. The practical result is what the design team is really buying: a thinner slab over a longer span, with a flat soffit and no downstand beams. On a commercial building that combination is powerful. Services run in any direction under a flat soffit without ducking around beams, the floor-to-floor height comes down, and over a tall building that saving turns into either a shorter building or another lettable floor.
It is a system rather than a slab, and it comes with a supply chain and a discipline of its own. The tendons are strands inside a sheath or a duct, laid to a profile the structural engineer has designed - typically draped low at midspan and high over the columns, so that the upward force is where the load wants to push down. That profile is set out and supported at close centres by chairs before the pour, and it is checked and recorded, because a tendon in the wrong place at the wrong height does not do the job the calculation assumed. Bonded systems grout the ducts after stressing so that the strand and the concrete act together; unbonded systems use greased and sheathed strands that stay free inside their coating for the life of the slab. The engineer chooses. Either way the anchorages at the slab edge are heavily reinforced zones and are among the most congested and most inspected details on the whole floor.
Two things dominate a post-tensioned frame on site, and they both need holding hard. The first is the stressing operation itself. Stressing is carried out by the specialist post-tensioning contractor, to the structural engineer's design, with calibrated equipment and full records, and always under a strictly enforced exclusion zone with nobody permitted to stand behind a jack. The forces involved are large and the consequences of a failure during stressing are severe, which is why it is never a general site operation and never something a main contractor crew attempts. All the numbers - the forces, the sequence, the timing and what a satisfactory result looks like - live with the specialist and the engineer. The second is permanent and outlasts the project. A post-tensioned slab contains tendons in tension for the life of the building. It must never be drilled, cored, cut or chased without the tendons being located first by a competent survey and the work agreed with the structural engineer. That constraint applies to every future tenant fit-out, and it is the reason as-built tendon layouts, clear signage and the operation and maintenance record matter as much on this frame type as anything built into it.
How does Post-tensioned concrete flat-slab frame work, step by step?
- 1
Step 1: Decide that the building wants a post-tensioned floor
The case is made at design stage and it is mostly about geometry and programme. Post-tensioning is attractive where spans are long, where the soffit needs to be flat so services can run freely, where the floor-to-floor height is under pressure, or where slab self-weight is driving the columns and foundations. It is less attractive on short spans, on heavily irregular grids with awkward column positions, on floors that will be full of openings, and on buildings where the client wants freedom to cut the slab about in future. The structural engineer weighs the whole picture, including the specialist supply chain and the buildability of the edge details, and the decision is taken before the frame is designed rather than as a value engineering exercise afterwards.
- 2
Step 2: Coordinate the openings before anything is set out
Openings in a post-tensioned slab are a design matter, not a site matter. Risers, stair openings, large service penetrations and future flexibility zones all have to be agreed with the structural engineer and designed into the tendon layout, because tendons cannot simply be diverted around a hole that appears late. This forces the services and architectural coordination to be complete earlier than on other frame types. It is one of the genuine costs of the system and it is best treated as such openly at the start, rather than discovered when a subcontractor asks for a core hole three weeks before handover.
- 3
Step 3: Set up the formwork and falsework for the floor cycle
The slab is cast in-situ, so the floor cycle is a formwork cycle. Tables, panels or a proprietary system are set out to level, supported on falsework designed by the temporary works designer, with edge protection and safe access built into the deck. The flat soffit is one of the advantages of the system here too, because a flat table deck is far quicker to cycle than a deck full of beam boxes. The falsework carries the wet concrete and everything on it, and it stays in place until the designer says otherwise. Formwork level and alignment are checked before anything else goes on the deck, because a slab is only as flat as the deck it is cast on.
- 4
Step 4: Fix the reinforcement, then set the tendon profile
Conventional reinforcement goes in first where the sequence requires it, then the tendons are laid out to the tendon layout drawing. Each tendon has a designed profile along its length, and it is supported on chairs at the centres the specialist requires so that it holds that profile through the pour. This is the part of the job that gets rushed and should not be. The height of a tendon above the soffit at any point is what generates the upward force in the design, so profile heights are checked and recorded before the pour by both the specialist and the engineer's representative. Anchorage zones at the slab edge are congested and are inspected as a distinct hold point.
- 5
Step 5: Pour, cure and prove the strength
The pour is planned with the engineer, including the position of any construction joints, since a joint in a post-tensioned slab has to respect the tendon arrangement. The concrete is placed and compacted carefully around the anchorages and the tendon congestion, and finished to the flatness the specification requires. Curing is then taken seriously, because the slab cannot be stressed until it has developed the strength the engineer requires, and that strength has to be demonstrated by test results rather than assumed from the calendar. Cubes are taken and cured alongside the slab so that what is tested reflects what is in the floor.
- 6
Step 6: Stress the tendons - specialist only, exclusion zone enforced
Stressing is carried out by the specialist post-tensioning contractor to the structural engineer's design, using calibrated jacks and pumps, with every operation recorded. The area is cleared and a strict exclusion zone is enforced around and especially behind the jacks for the duration, because the energy stored in a stressed tendon is released instantly if something fails. Only the trained stressing crew is permitted in the zone. The forces, the order in which tendons are stressed, the timing and the criteria for a satisfactory result all belong to the specialist and the engineer, and they are not published on site drawings for others to interpret. The site's job is to hand over a clean, cured, accessible slab, keep everybody else out, and let the specialist work.
- 7
Step 7: Complete the anchorages and grout where the system is bonded
Once stressing is signed off, the strand tails are cut back and the anchorage recesses are cleaned, made good and protected against corrosion, because an exposed anchorage is the vulnerable point of the whole system. On a bonded system the ducts are then grouted so that the strand and the surrounding concrete act together and the strand is protected for the life of the structure. Grouting is its own controlled operation with its own records. Only when the anchorages are complete and protected is the floor a finished piece of structure, and the paperwork closing that out is what the engineer signs against.
- 8
Step 8: Record the tendon layout and protect the slab for life
The as-built tendon layout is recorded and issued into the building's operation and maintenance information, and the slab is marked so that anybody working on it later knows what it contains. This is the step that gets skimped and it is the one that matters longest. Every future fit-out that wants to fix to the soffit, core a hole for a new riser or chase the slab must locate the tendons first with a competent scanning survey and agree the work with the structural engineer. Cutting a stressed tendon is dangerous at the moment it happens and it permanently removes capacity from the floor. No drilling, coring or cutting is carried out on a post-tensioned slab without that survey and that agreement - there is no version of this that is acceptable to judge by eye.
What are the benefits of Post-tensioned concrete flat-slab frame?
- Thinner slabs over longer spans than conventional reinforced concrete of the same depth
- Flat soffit with no downstands, so services run in any direction and the floor zone drops
- Lower floor-to-floor height, which over a tall building saves height or buys an extra storey
- Reduced slab self-weight carries through to smaller columns and lighter foundations
- Fewer columns and larger clear spans give genuinely open, flexible floor plates
- Compression in the slab helps control cracking and deflection in service
- A repetitive flat formwork cycle can be turned round quickly once the gang is in rhythm
What are the limitations of Post-tensioned concrete flat-slab frame?
- The slab can never be drilled, cored or cut without the tendons being located first and the work agreed with the structural engineer
- Stressing is a specialist operation with severe consequences if it goes wrong, and demands strict exclusion zones
- Openings must be designed in from the start - late penetrations are a design change, not a site change
- Depends on a specialist supply chain, which is a programme and procurement risk on remote or small projects
- Tendon profile accuracy governs performance, so pre-pour setting out and inspection cannot be rushed
- The floor cannot be stressed until the concrete has proved its strength, which fixes a minimum cycle time
- Anchorage zones are congested, hard to pour well, and vulnerable to corrosion if not made good properly
- Demolition and major alteration are more complex and more hazardous than for a conventional frame
What is Post-tensioned concrete flat-slab frame best suited for?
What plant does Post-tensioned concrete flat-slab frame need?
- Tower crane serving the formwork cycle, reinforcement and materials
- Formwork tables or panel systems with falsework designed by the temporary works designer
- Concrete pump or placing boom, with vibrators for compaction around congested anchorage zones
- Power floats and levelling equipment for the slab finish
- Specialist post-tensioning contractor's stressing jacks and pumps, with calibration certificates in date
- Grouting plant with recording equipment where a bonded system is used
- Cube moulds and curing arrangements matched to the slab, for strength verification before stressing
- Tendon detection and scanning equipment for any subsequent penetration work
How is Post-tensioned concrete flat-slab frame quality-checked?
- Openings and penetrations agreed with the structural engineer and designed into the tendon layout before setting out
- Falsework and formwork inspected and signed off against the temporary works design before loading
- Tendon positions and profile heights checked and recorded against the tendon layout drawing as a hold point before the pour
- Anchorage zone reinforcement inspected separately, given its congestion and importance
- Concrete cubes cured with the slab and tested to demonstrate the strength the engineer requires before stressing
- Stressing carried out only by the specialist contractor with calibrated equipment, full records, and an enforced exclusion zone
- Anchorages cut back, made good and corrosion protected, and ducts grouted and recorded on bonded systems
- As-built tendon layout recorded, issued into the operation and maintenance information, and the slab marked so no future work drills blind