Beam and slab frames
Slabs to beams, beams to columns - the frame that carries the awkward loads.
Last updated 2026-08-25

What is Beam and slab frames?
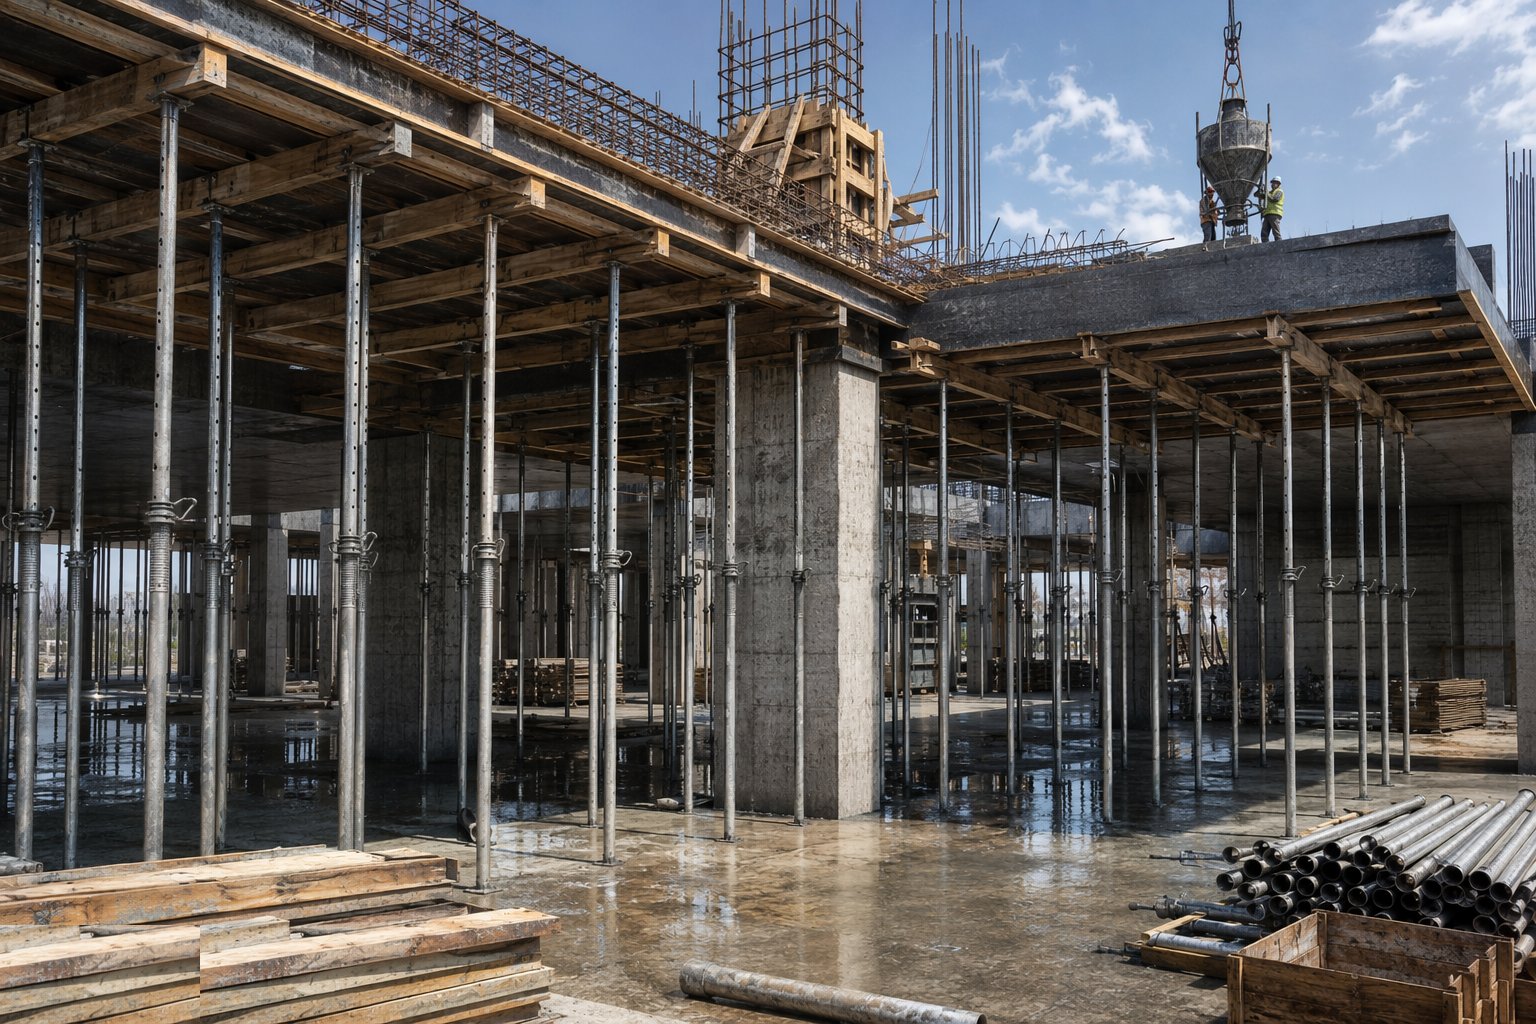
The beam and slab frame is the classical concrete structure: one-way slabs span onto beams, beams onto columns, columns to the foundations. It costs more formwork labour than a flat slab - every beam is a formed soffit and two sides - but buys stiffness, longer spans, higher load capacity and simpler, more robust shear behaviour. Where loads are heavy, spans are long, or the structure must transfer columns at podium level, beams are not a style choice, they are the calculation.
Transfer structures are the beam frame's home territory. Where a tower's column grid cannot continue through an open ground floor - a lobby, retail, a station box - deep transfer beams or a transfer slab collect the columns above and deliver them to the supports below. These are among the heaviest reinforced elements on any site: congested cages, mass pours with thermal control, and striking times measured in weeks against structure-cured cubes. They are designed with reserve and built with ceremony, because there is no redundancy if a transfer element underperforms.
The site's quality battles are congestion and sequencing. Beam-column junctions stack bars in three directions - the fixability of the cage must be rehearsed on the drawings before the steel arrives, or the gang improvises laps in the worst possible place. Pouring sequence matters: columns and walls first to a designed kicker level, then beam soffits, then slab - each stage inspected before the next hides it. Done well, a beam frame is the most forgiving concrete structure to live with; done loosely, the honeycombing and cover failures concentrate exactly where the forces do.
Process storyboard
Step 1 of 6 - slide through the snapshots.
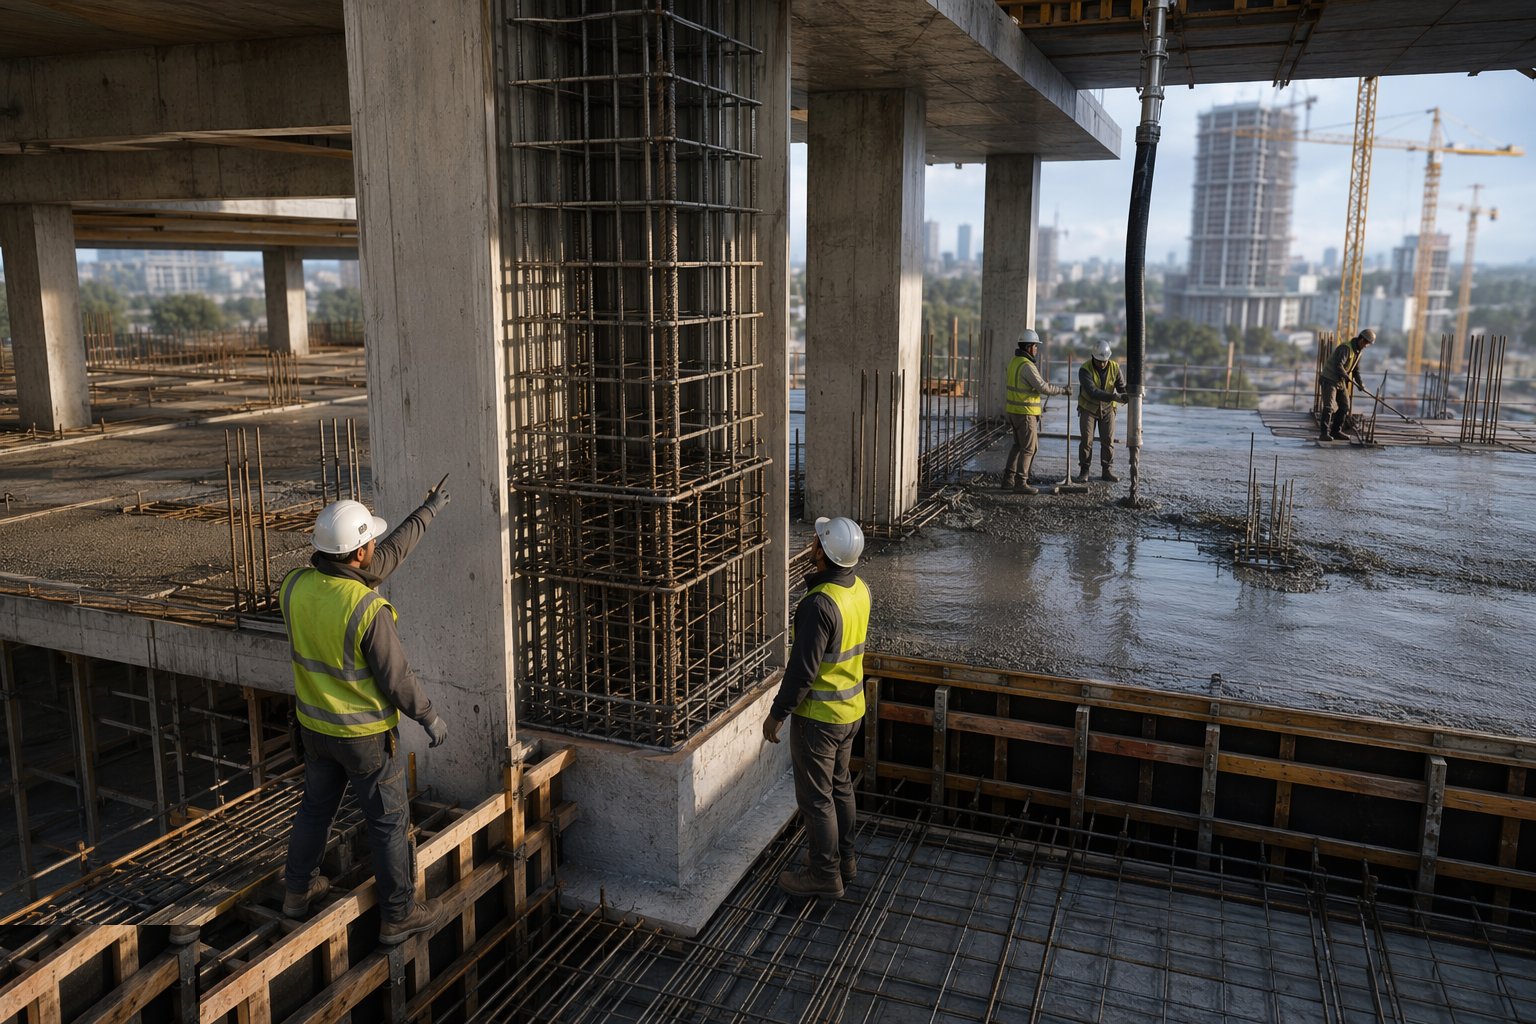
STEP 1
Rehearse the cage and the pour sequence
Beam-column junctions are reviewed for fixability - bar diameters, bends and laps against the physical space - and the pour breaks are designed: columns to…
How does Beam and slab frames work, step by step?
- 1
Step 1: Rehearse the cage and the pour sequence
Beam-column junctions are reviewed for fixability - bar diameters, bends and laps against the physical space - and the pour breaks are designed: columns to kicker, then beams and slabs. Congested junctions get concrete mix and vibration plans, because a poker that cannot reach is honeycomb you cannot see.
- 2
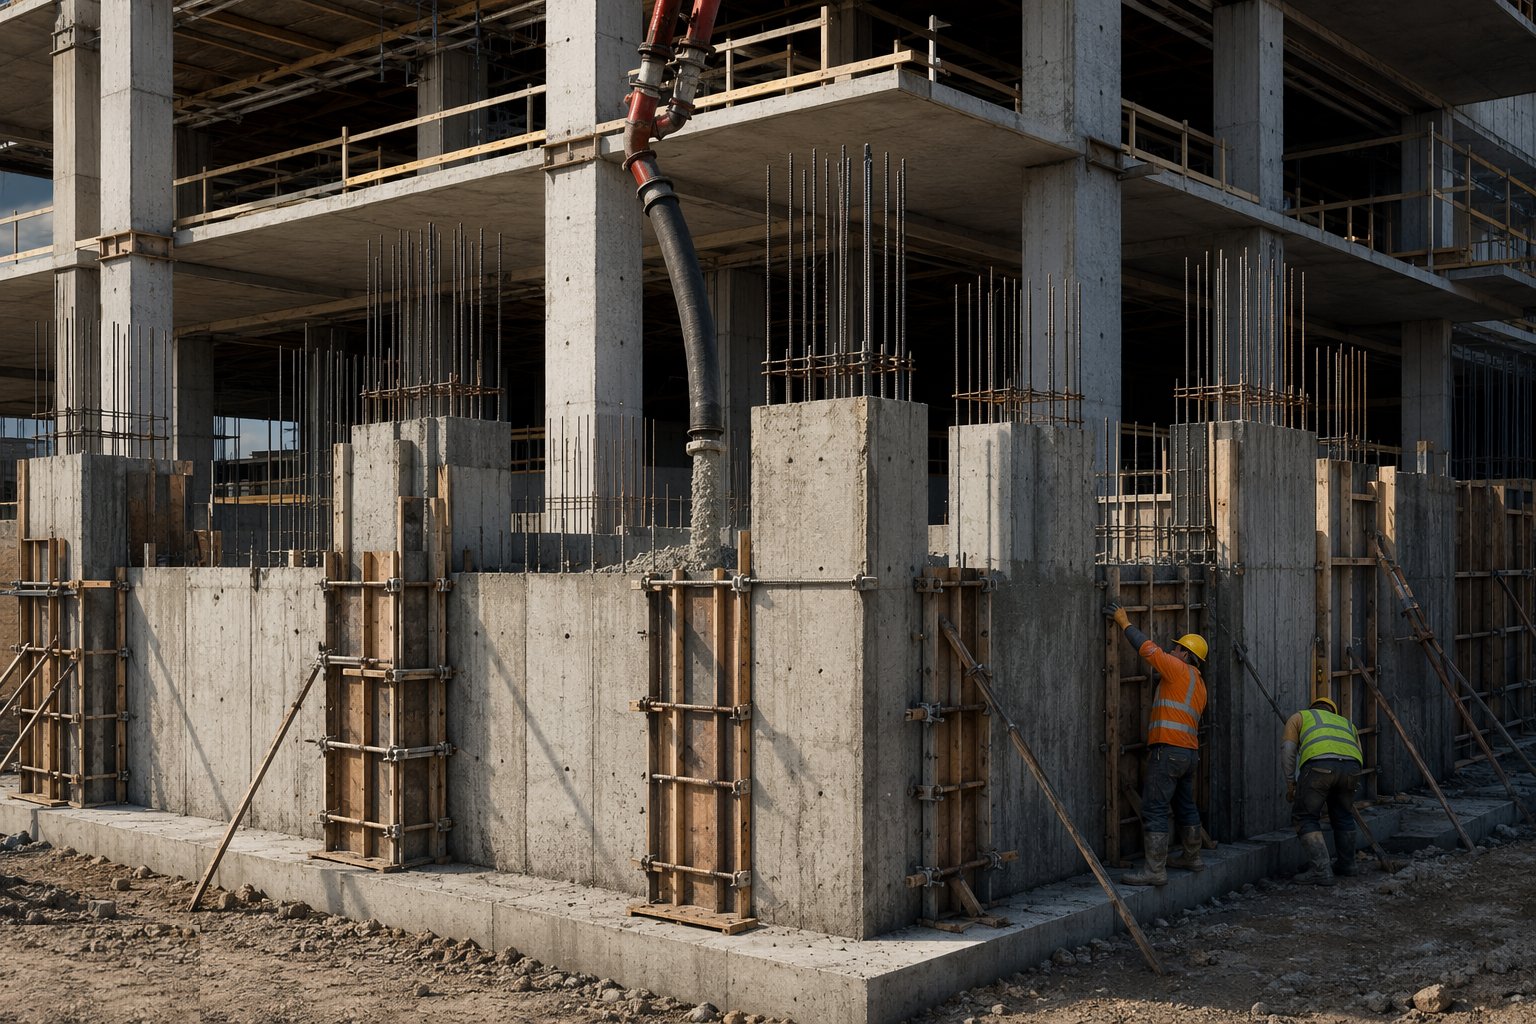
Step 2: Cast columns and walls to kicker level
Column and wall forms are set plumb from the grid on prepared kickers, reinforcement inspected, and concrete placed and vibrated in controlled lifts. Construction joints land at the designed levels, prepared and roughened for the next stage.
- 3
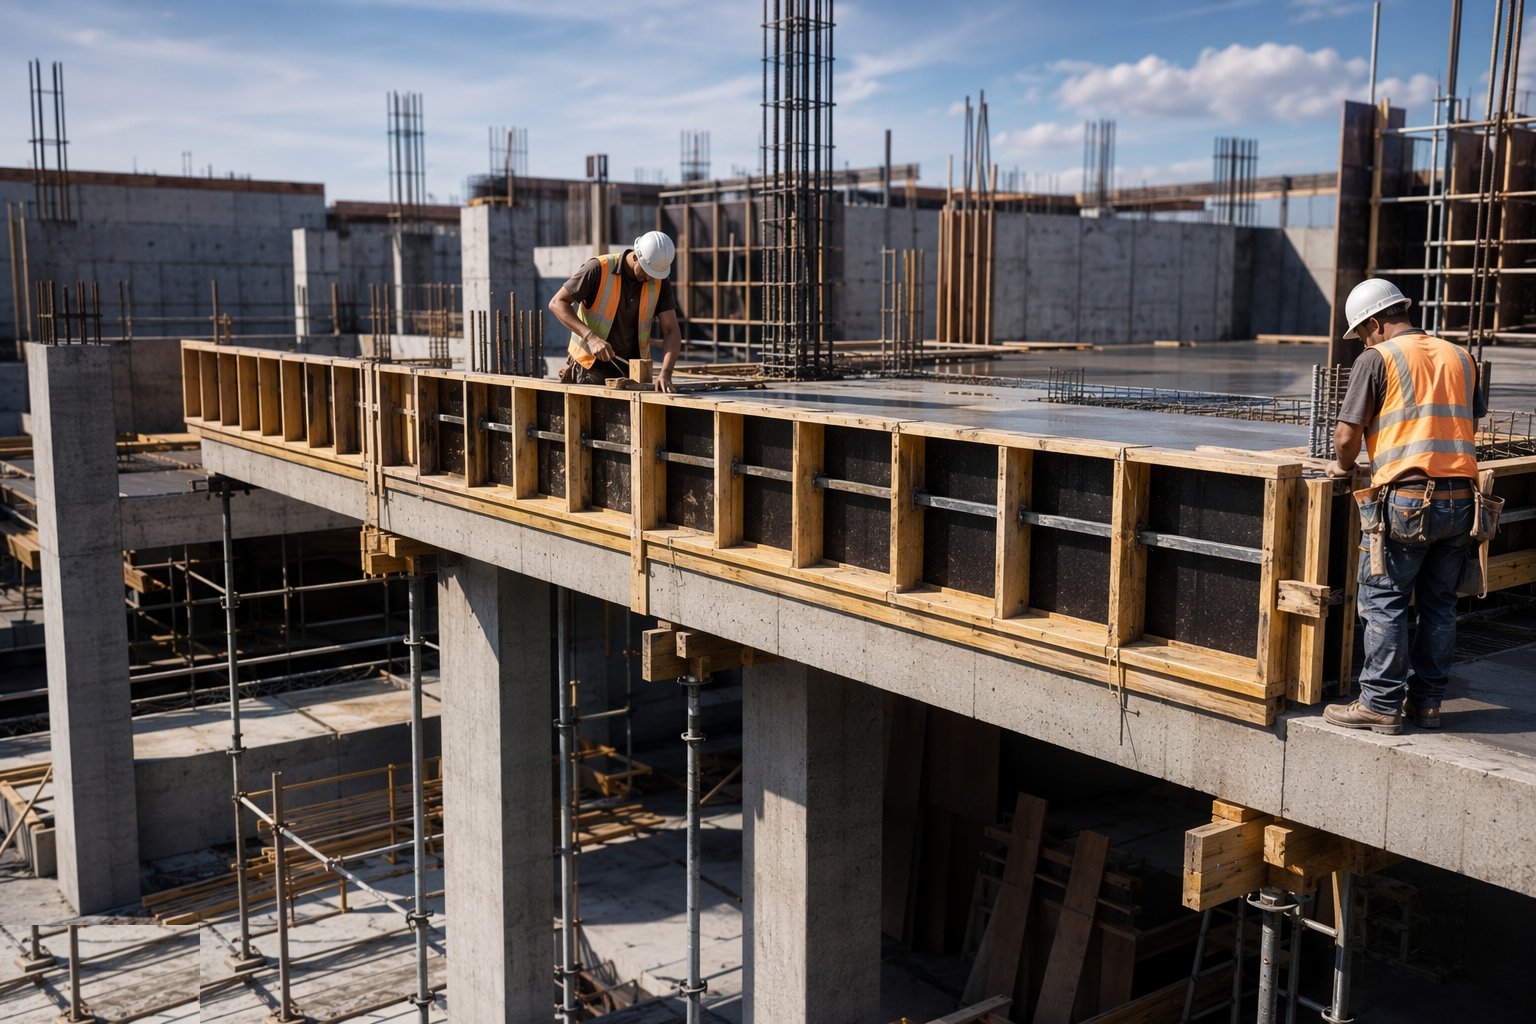
Step 3: Erect beam soffits and sides
Beam formwork is set to line, level and camber where designed, on falsework rated for the wet loads. Soffit levels are surveyed before steel - a beam soffit low by 15 mm is a cover failure and a deflection problem built in.
- 4
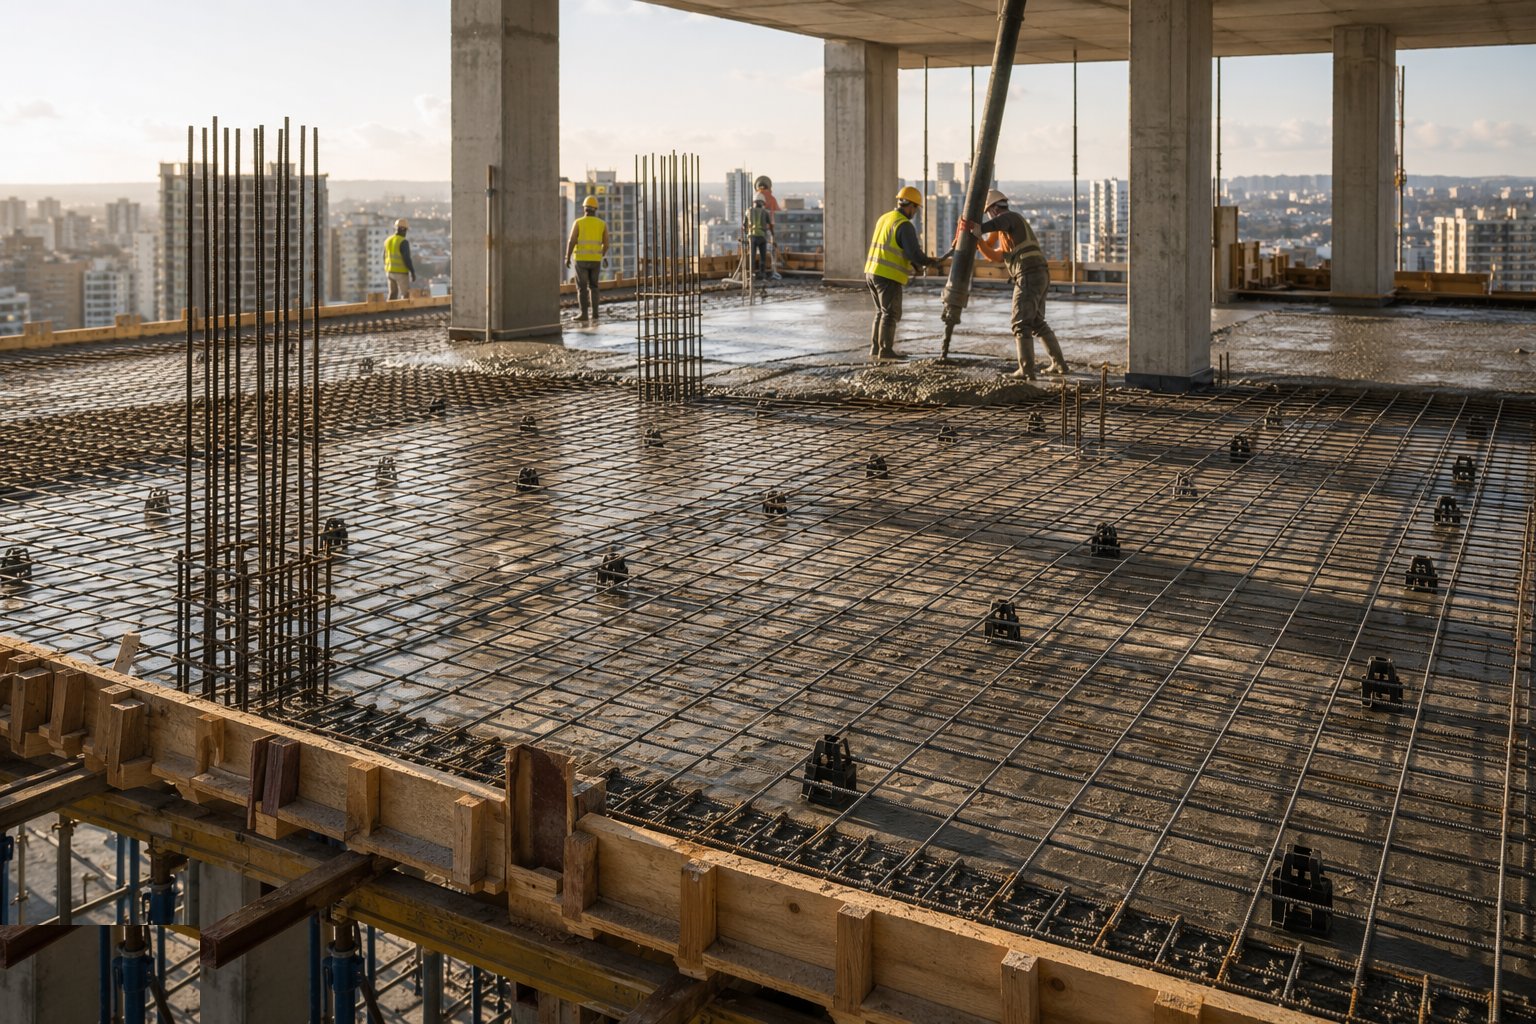
Step 4: Fix beam and slab reinforcement
Beam cages - bottom bars, top bars, links at the design pitch - are fixed with laps and anchorage per the schedule; slab mesh or mats follow on chairs. Junction zones are checked bar by bar against the drawing. The pre-pour inspection signs the concealed work before the pour releases.
- 5
Step 5: Pour in the designed sequence
Beams are poured and vibrated full depth - layered placement with the poker reaching the soffit - then slabs follow, screeded to level. Slump and cubes per plan; construction joints only at designed positions. Around congestion, vibration is verified by sound and spill, not assumption.

- 6
Step 6: Strike by strength, not calendar - especially transfers
Beam soffits and props stay until structure-cured cubes prove the specified strength - on transfer elements, weeks and formal sign-off. Deflection is surveyed against prediction at strike and recorded. Then forms fly, records file, and the frame climbs.
What are the benefits of Beam and slab frames?
- Stiffer than flat slabs - longer spans, less deflection, better vibration behaviour
- Handles heavy and irregular loads - plant rooms, transfers, podiums
- Simple and robust shear behaviour - fewer hidden critical details
- Beams define service zones - coordination is planned, not discovered
- The only real answer for column transfer at podium level
What are the limitations of Beam and slab frames?
- Formwork labour is heavy - every beam is formed, struck and refixed
- Slower floor cycle than flat slab - the programme pays for the stiffness
- Downstand beams eat ceiling void and floor-to-floor height
- Junction congestion risks honeycombing exactly at maximum force
- Transfer elements demand mass-pour and thermal discipline
What is Beam and slab frames best suited for?
What plant does Beam and slab frames need?
- Formwork systems for beams, columns and slabs; falsework and props
- Tower crane and concrete pump with placing boom
- Poker vibrators in sizes matched to the congestion
- Rebar fixing equipment and mechanical couplers for heavy bars
- Thermal monitoring kit for transfer pours
- Survey equipment for camber, soffit levels and deflection
How is Beam and slab frames quality-checked?
- Fixability review records for congested junctions before steel arrives
- Pre-pour inspection per stage: columns, beams, slabs - signed
- Slump and cubes per plan; structure-cured cubes governing striking
- Thermal monitoring records for transfer and mass pours
- Deflection survey at strike against predicted values