Post-tensioned slabs
Tensioned steel squeezes the slab thin - longer spans, less concrete, and a file you must never lose.
Last updated 2026-08-25
What is Post-tensioned slabs?
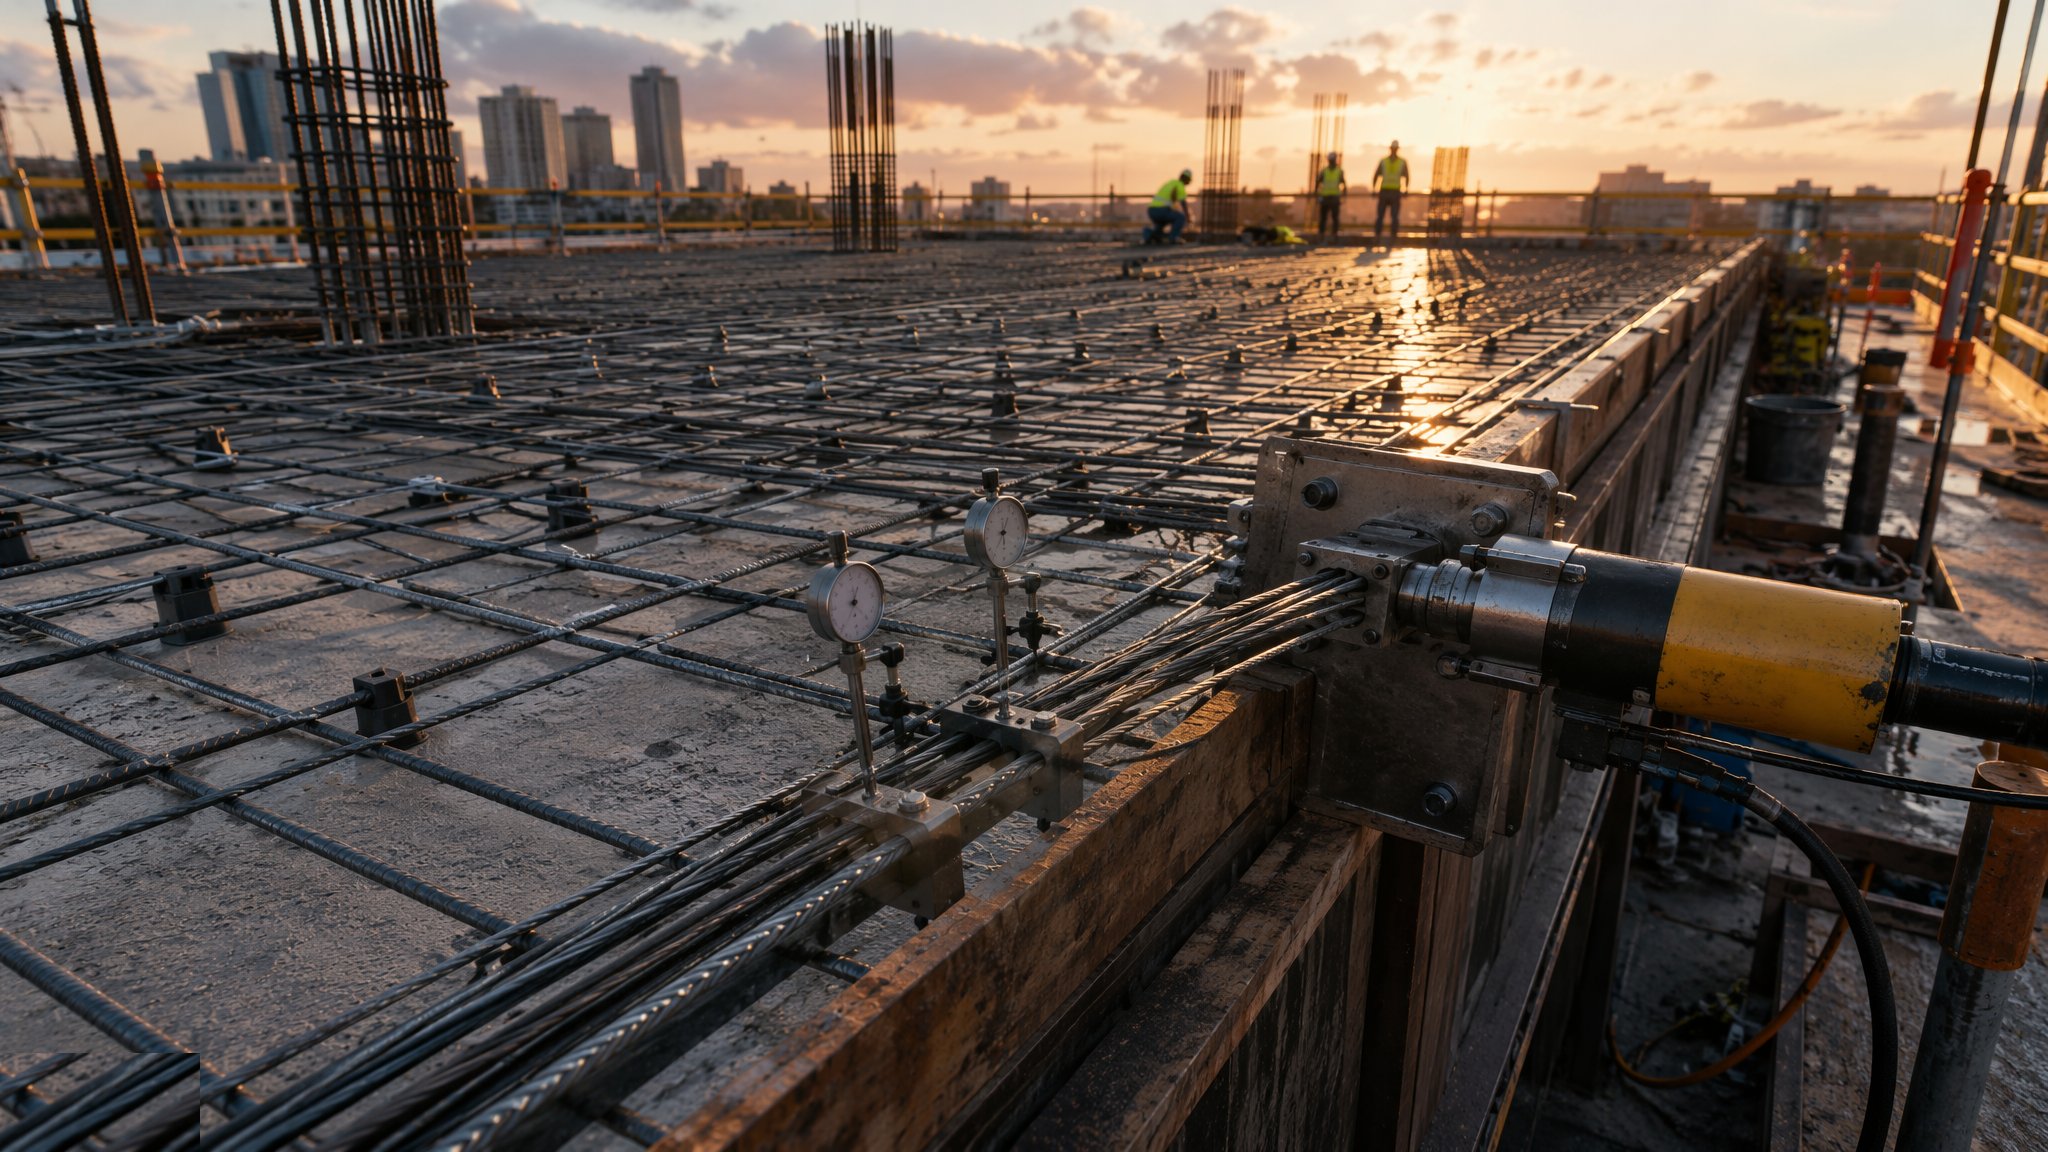
Post-tensioning compresses a concrete slab with high-strength steel tendons tensioned after the concrete has gained strength. The precompression cancels the tension that bending would otherwise cause, so the slab can be thinner and span further than ordinary reinforced concrete - typically saving 20–30% of slab depth, with flatter soffits, fewer columns and less concrete, steel and embodied carbon. On large floor plates - offices, car parks, big residential plates - PT is often the economic winner once the tendons' cost is weighed against the frame and height savings.
The technique is disciplined chemistry and physics. Tendons - greased-and-sheathed monostrands in flat ducts, or bonded multistrand in grouted ducts - are laid to a designed profile, high over supports and low at midspan, on the formwork with the ordinary reinforcement. After the pour, at the specified concrete strength, each tendon is stressed with a hydraulic jack to a calculated force, and the measured elongation is checked against the calculation: force without matching extension means a blocked duct or a broken strand. Anchorages are locked off, pockets made good, and bonded systems are grouted.
PT creates a permanent legacy obligation. The slab is full of tensioned steel at tonnes of force: coring or drilling without scanning and reference to the stressing records can sever a tendon with explosive release - the "do not drill" warning is literal, and the records must survive the building. On site, the watchpoints are tendon profile accuracy (the profile is the structural design made physical), anchorage zone reinforcement (where the force actually lands), and the exclusion zone during stressing - a failed anchorage is a projectile. Done by a specialist PT contractor with rigorous records, it is routine; done casually, it is a structural and safety hazard rolled into one.
Process storyboard
Step 1 of 6 - slide through the snapshots.
STEP 1
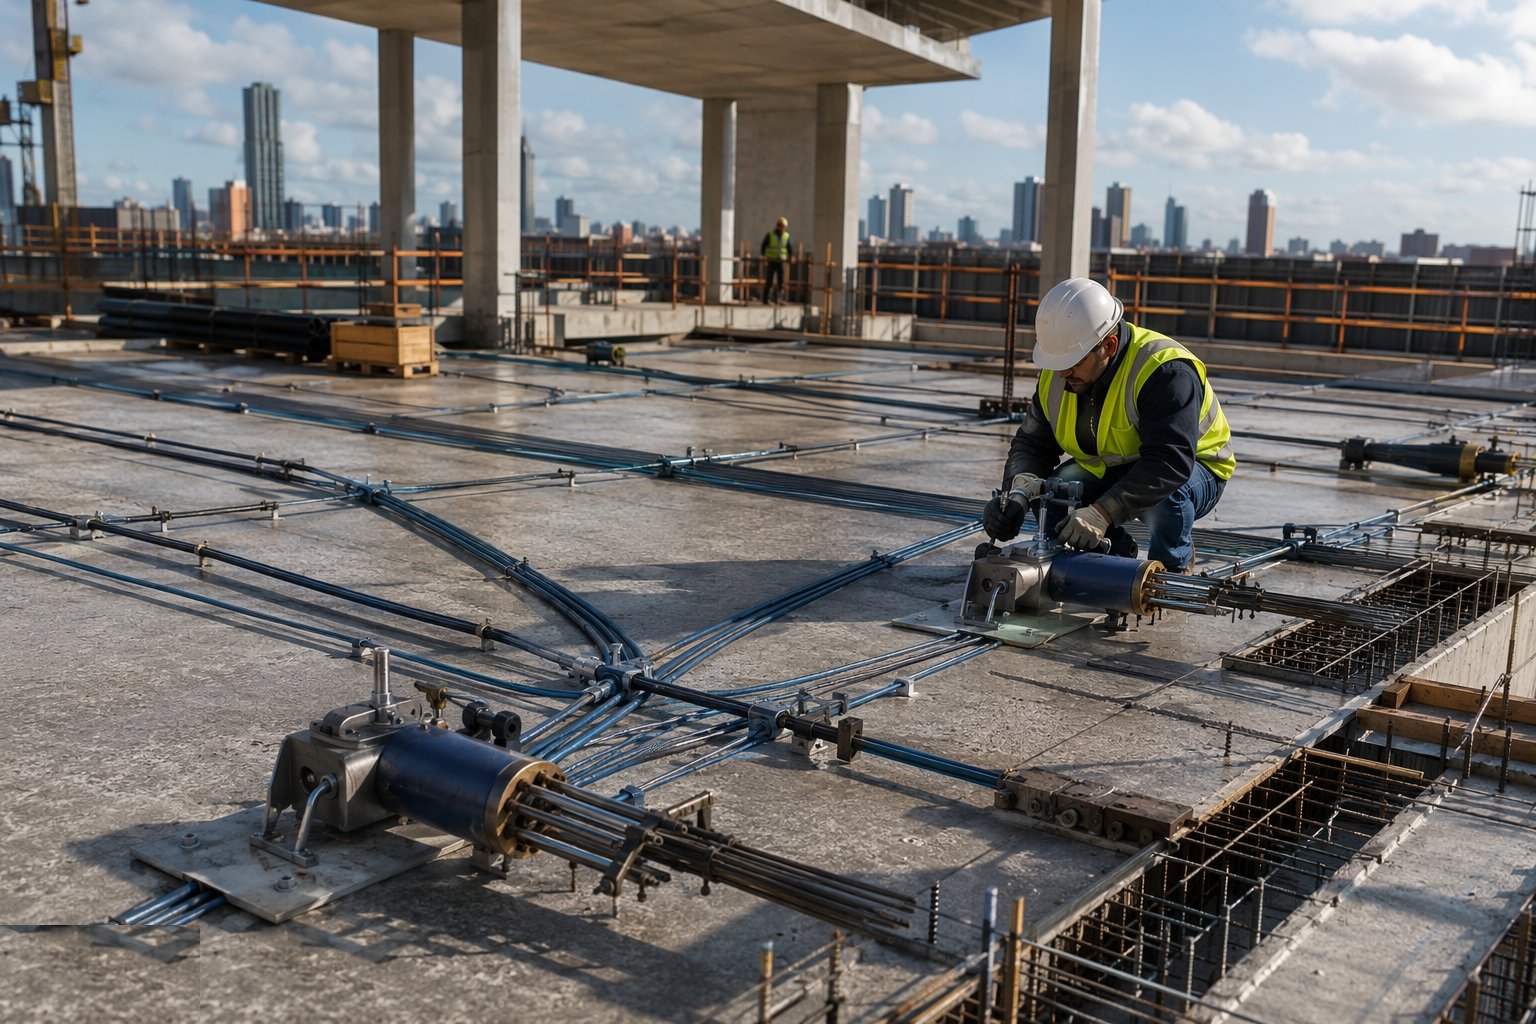
Design the tendon layout into the pour plan
Tendon profiles, anchorage positions, stressing sequence and pour breaks are engineered and drawn before formwork.
How does Post-tensioned slabs work, step by step?
- 1
Step 1: Design the tendon layout into the pour plan
Tendon profiles, anchorage positions, stressing sequence and pour breaks are engineered and drawn before formwork. Sleeves and cast-ins are coordinated against the tendon layout - a services sleeve through a tendon path is a redesign, not a site adjustment.
- 2
Step 2: Lay the tendons to profile
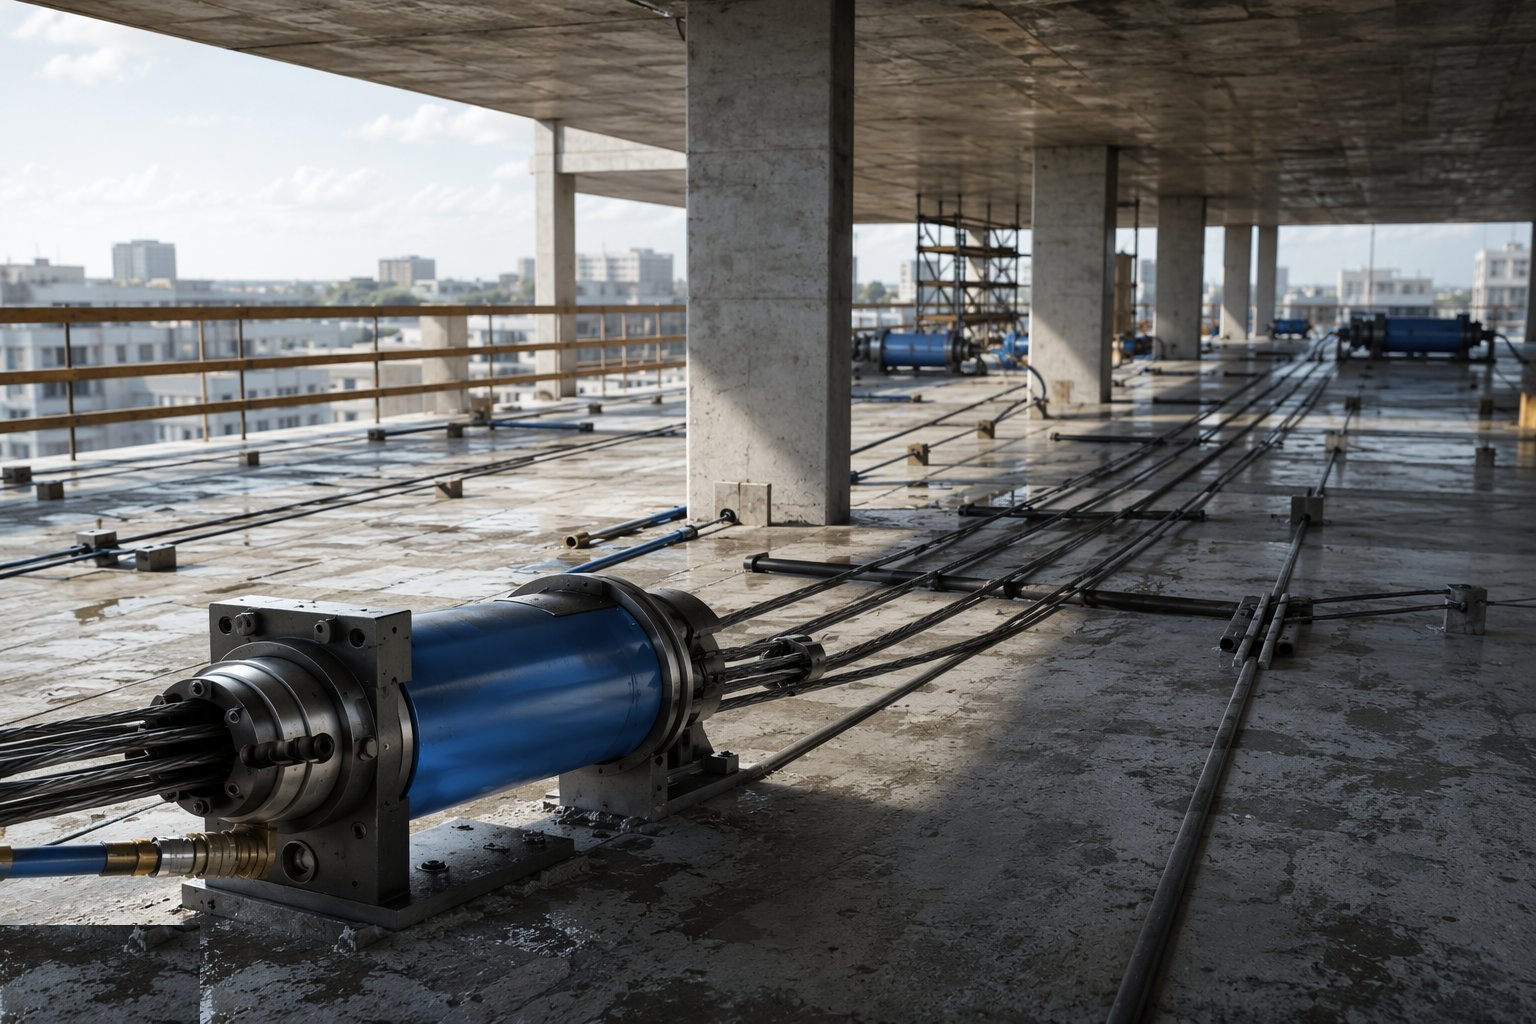
After bottom reinforcement, tendons are unrolled and supported on chairs at the designed profile heights, checked at support and midspan points. Ducts are undamaged, anchorages fixed true to the form with their local bursting reinforcement, and stressing pockets formed. The pre-pour inspection signs the profile - after concrete, it is unverifiable.
- 3
Step 3: Pour with tendon protection
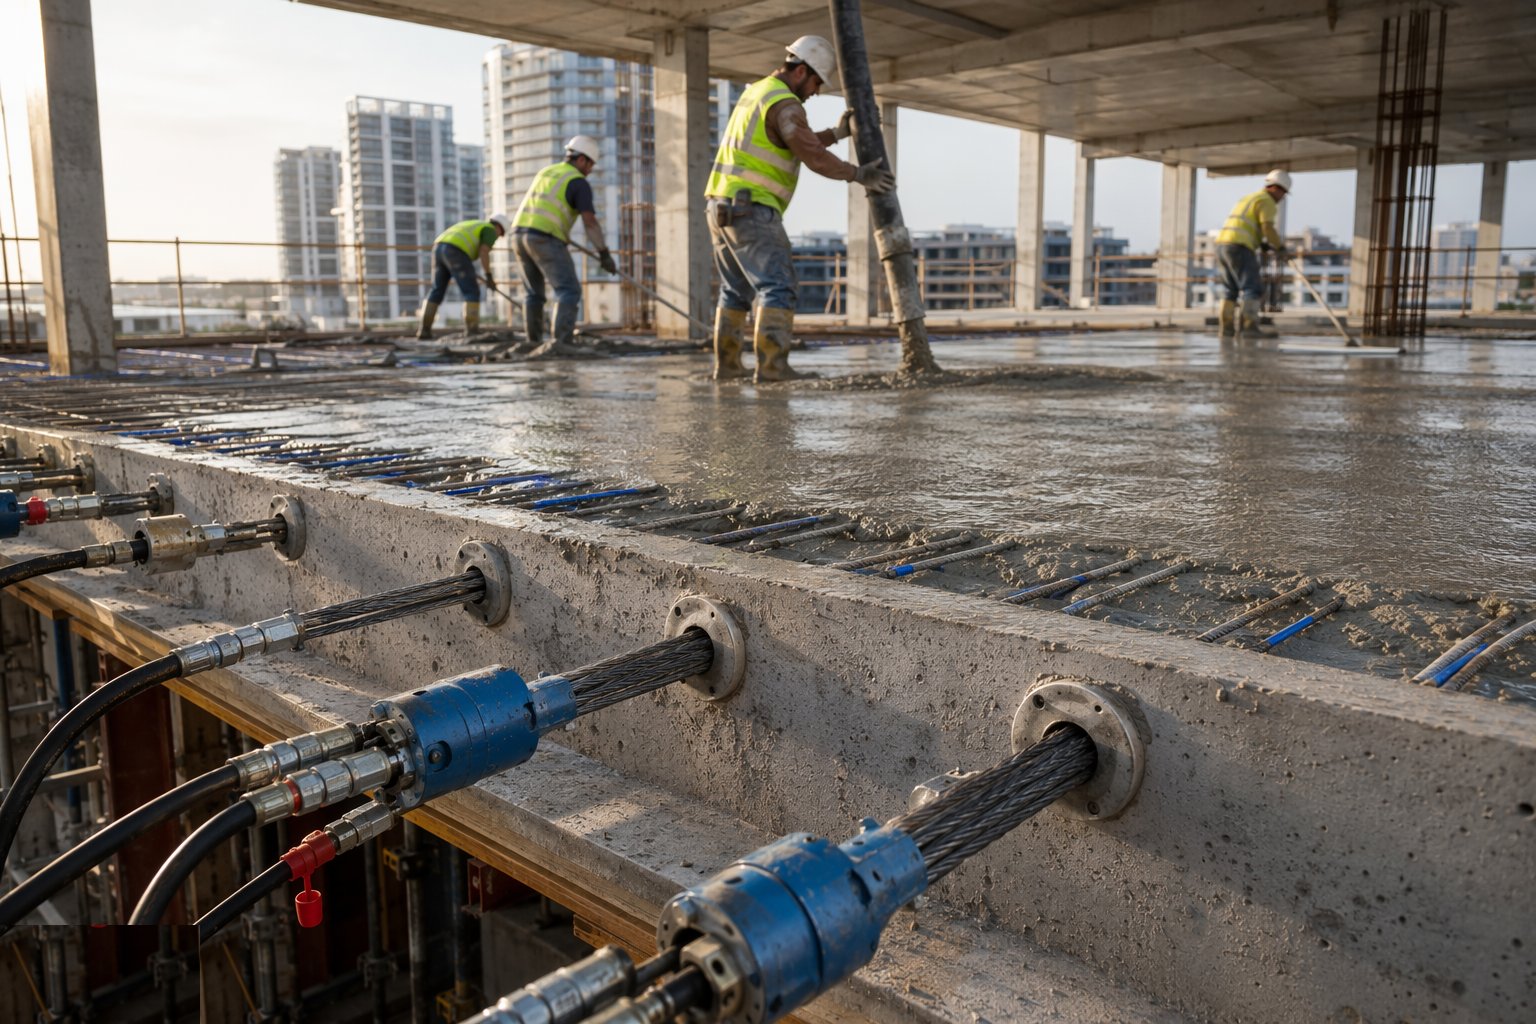
Concrete is placed and vibrated with care around anchorages and ducts - congested anchorage zones get small pokers and close attention, because honeycomb where the force lands is a structural defect. Slump and cubes per plan, with extra cubes marked for the stressing-strength check.
- 4
Step 4: Stress at proven strength
At the specified cube strength, the specialist crew stresses each tendon in the designed sequence with a calibrated jack, recording force and elongation per tendon. Both must match the calculation within tolerance; discrepancies stop the operation for investigation. The exclusion zone is enforced - nobody stands behind or in line with a live jack.
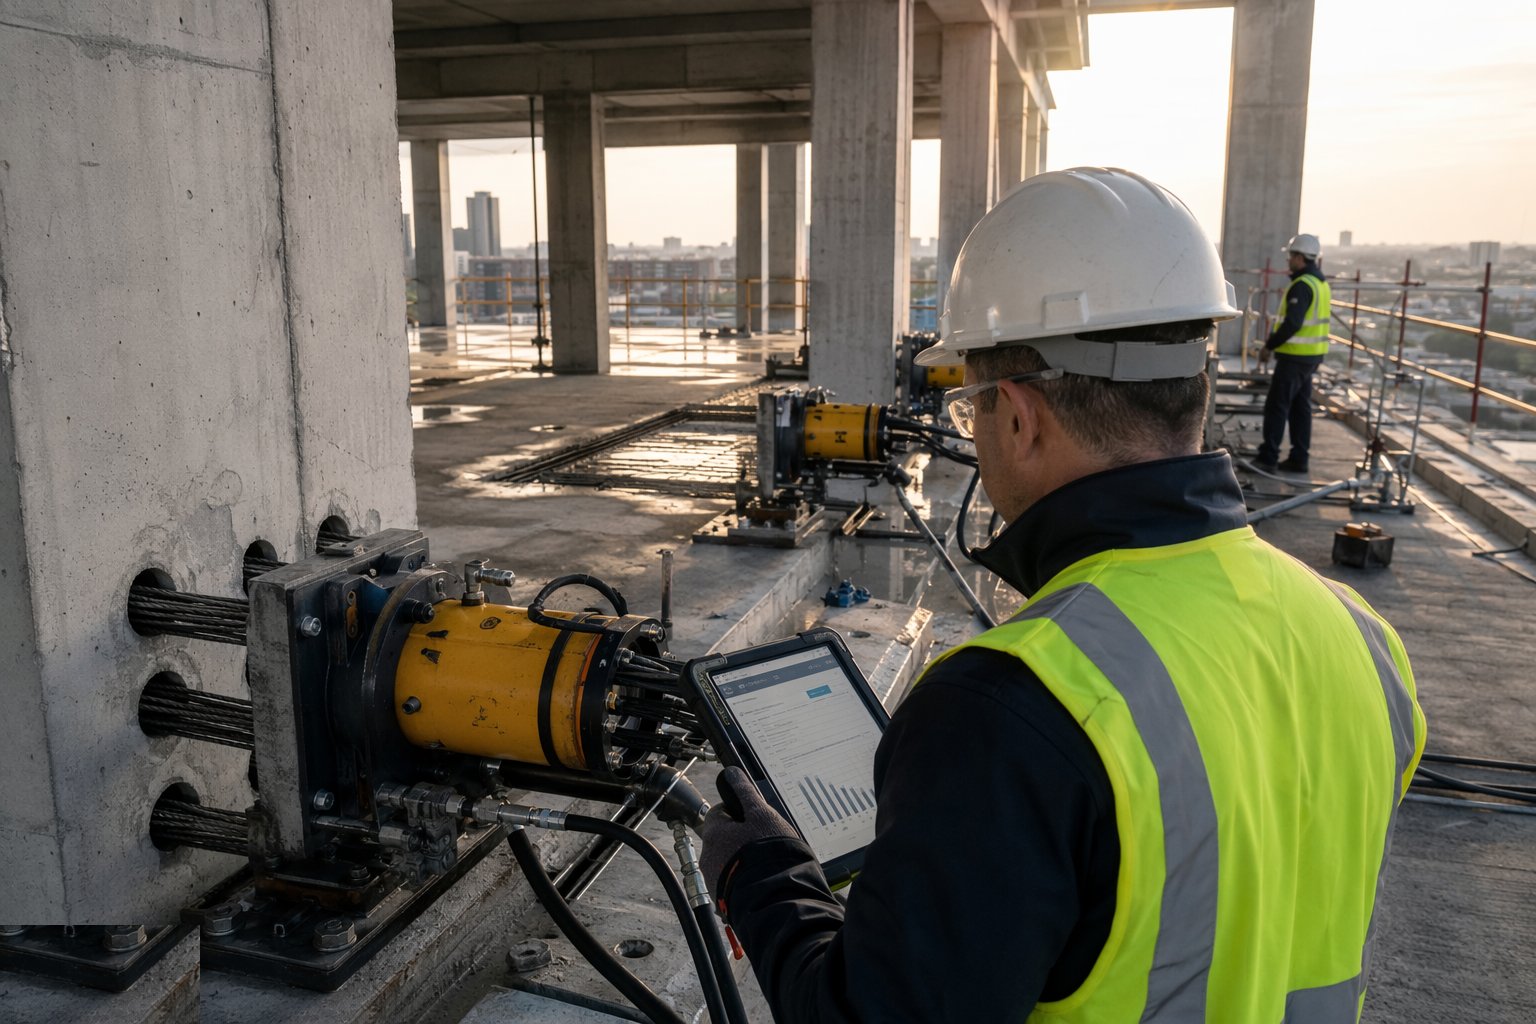
- 5
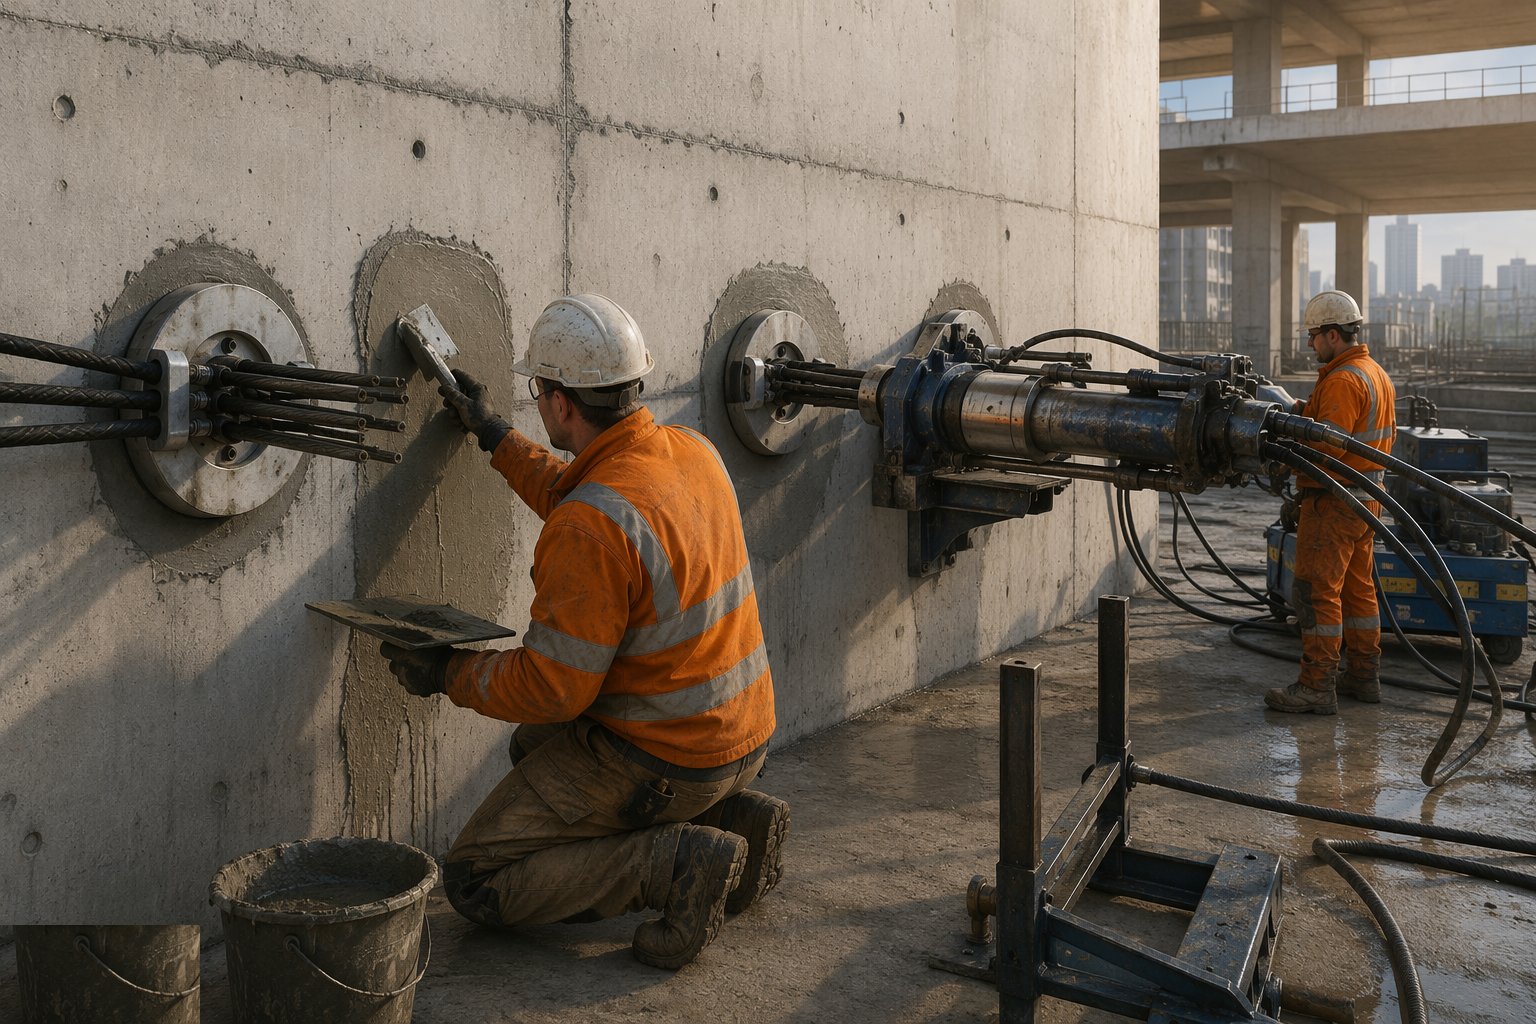
Step 5: Lock off, grout and make good
Tendons are locked off at the anchorages, tails cropped, and bonded systems grouted through the ducts with tested grout. Stressing pockets are made good with shrinkage-compensated mortar. Every record - force, elongation, grout test - is filed against the tendon reference.
- 6
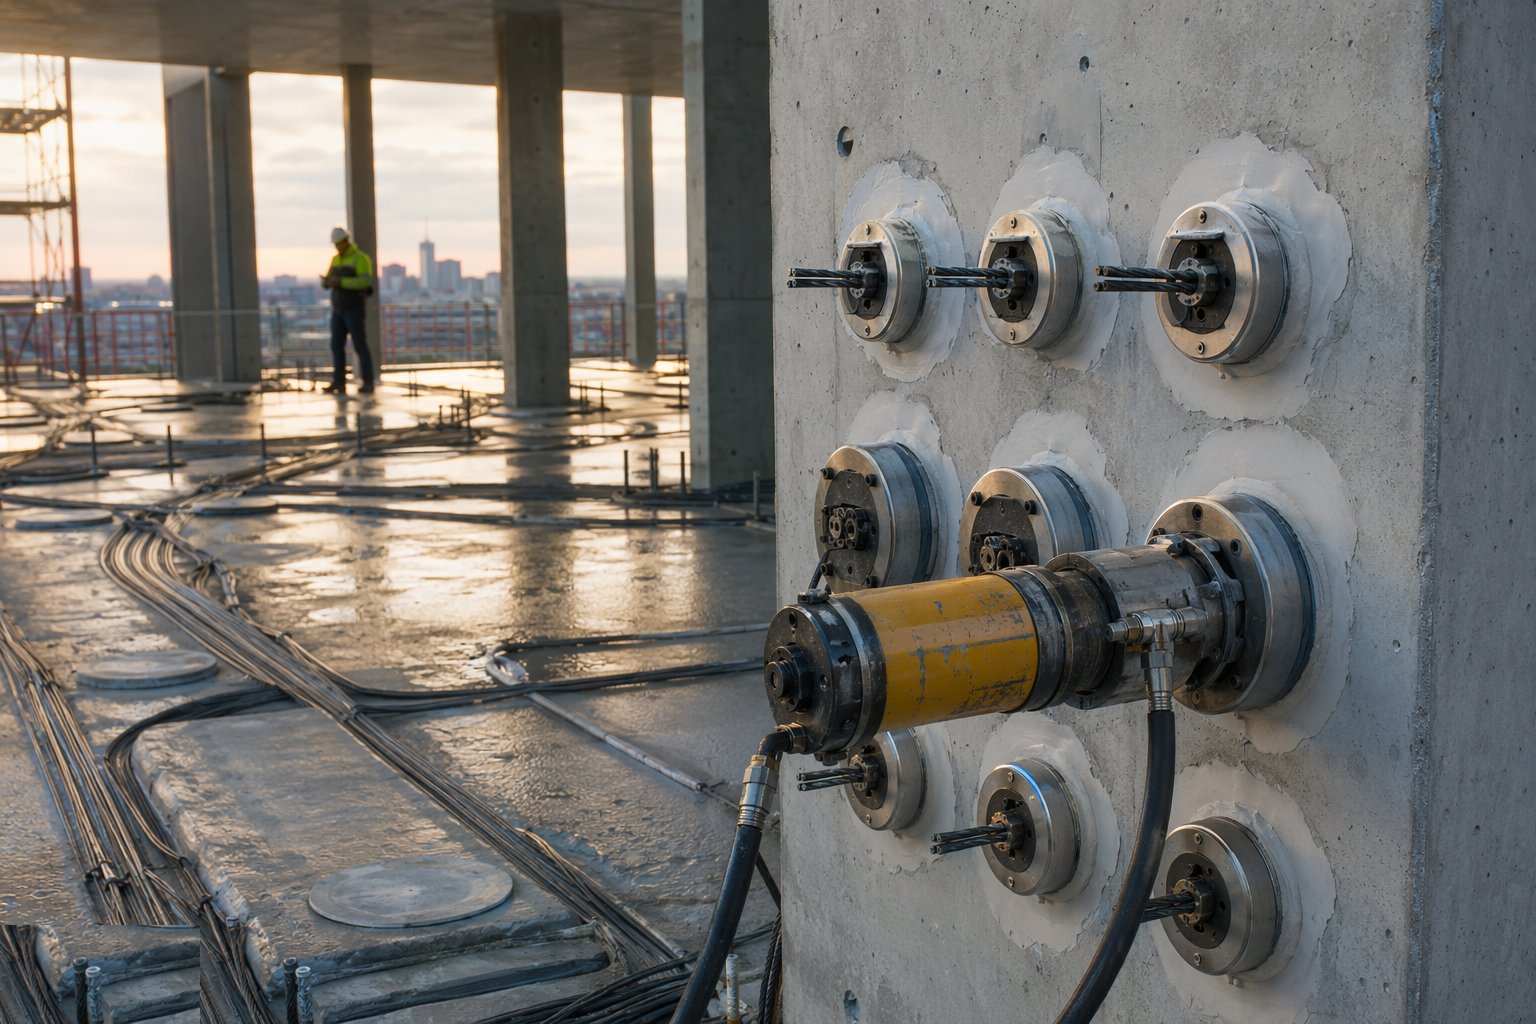
Step 6: Mark, record and protect for the building's life
PT zones are marked on the as-builts and physically where the design requires; the stressing records go into the handover and H&S file as permanent documents. Trades following are briefed: scan before you drill, and the records are the law.
What are the benefits of Post-tensioned slabs?
- Thinner slabs and longer spans - 20–30% depth saving against ordinary RC
- Fewer columns and less material - frame cost, height and carbon all fall
- Excellent deflection and crack control - the precompression does the work
- Fast cycles with early stressing - partial prestress releases formwork sooner
- Flat soffits retained - all the flat-slab services flexibility
What are the limitations of Post-tensioned slabs?
- Specialist subcontractor dependency - design, supply and stressing are one package
- Future drilling and coring is a controlled operation forever - records must survive the building
- Anchorage zones are congested, critical and hidden after the pour
- Stressing is a hazardous operation - failed anchorages release stored energy violently
- Small or heavily holed plates lose the economics quickly
What is Post-tensioned slabs best suited for?
What plant does Post-tensioned slabs need?
- PT specialist equipment: stressing jacks, pumps, grouting plant - all calibrated
- Standard frame plant: crane, pump, tables, vibrators
- Tendon laying equipment: coils, pushers, shears
- Cube curing dedicated to stressing-strength verification
- Scanning equipment for later trades: cover meters, radar
How is Post-tensioned slabs quality-checked?
- Tendon profile survey before pour - heights at supports and midspan
- Anchorage zone reinforcement inspection - signed
- Cube verification of stressing strength before any jack connects
- Stressing records per tendon: force and elongation within tolerance
- Grout testing for bonded systems; pocket make-good inspection
- As-built PT layout and stressing records in the permanent handover file