Dry lining and plastering
Boards on plumb studs, skim trowelled flat - the surface every other finish is judged against.
Last updated 2026-08-22
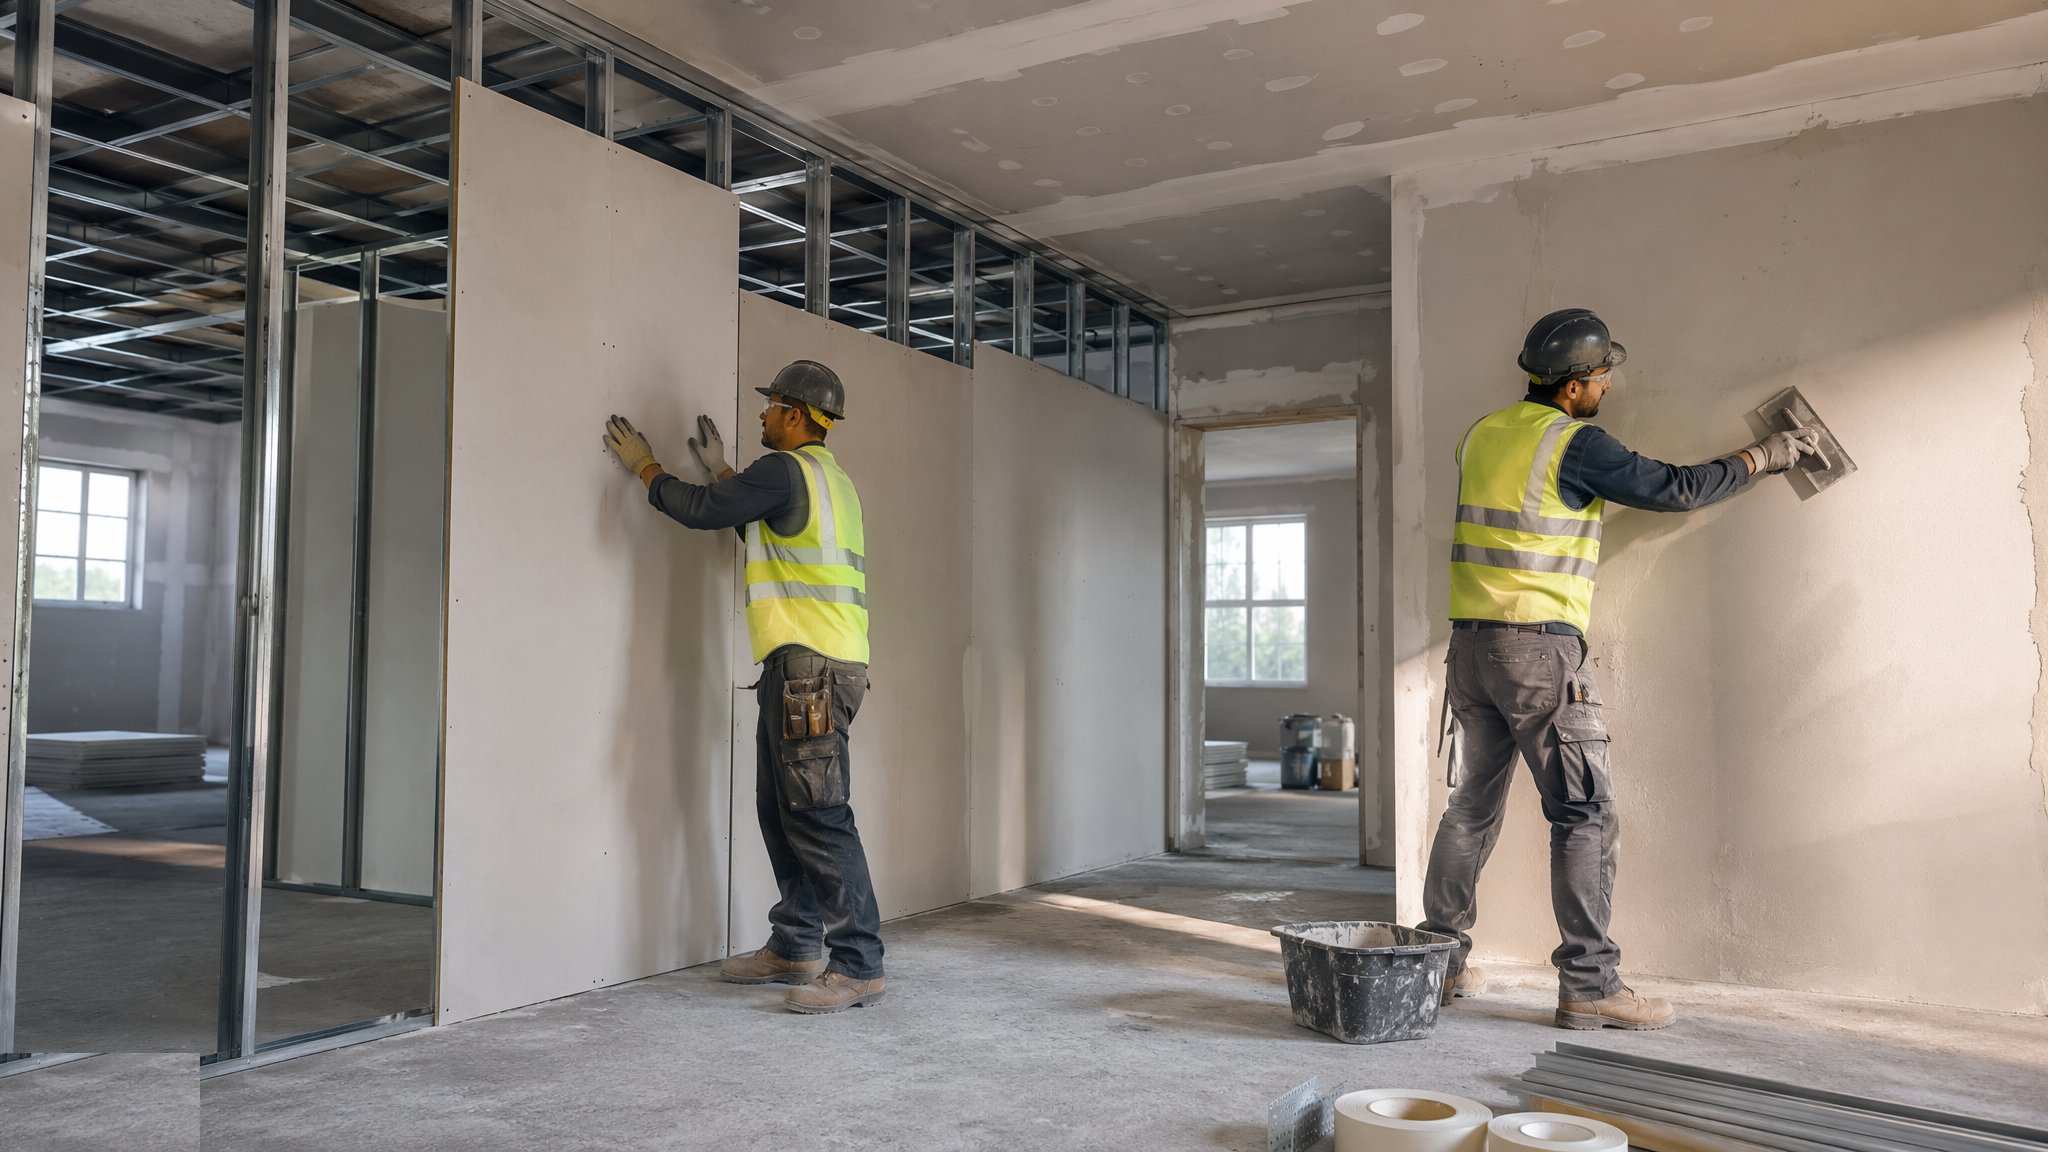
What is Dry lining and plastering?
Dry lining covers two families of work: plasterboard fixed to metal stud or timber partitions, and boards dab-fixed to masonry on plumb lines. The board itself is a specification decision - standard, moisture-resistant, fire-rated, acoustic - matched to the room and the duty. Joints are staggered, screw centres follow the specification, and deflection heads at the slab soffit let the frame move without cracking the wall: the board is a lining, not a structural restraint.
The finish comes two ways. Skim plaster is the wet route - beads set plumb and true, then gypsum finish coats trowelled to a flat, closed surface that takes paint directly. Taping and jointing is the dry route - joints taped, filled and sanded in grades, faster and without the drying time, but less forgiving: a poor taped joint telegraphs through paint in raking light for the life of the building. Both are judged in critical light, because daylight raking across a wall from a window reveals everything a straight glance forgives.
The trade's first commandment is that plaster is a finish, not a remedy. Backgrounds are checked for plumb, line and level before boarding, and the first-fix photograph file is confirmed before any wall closes - services buried wrongly are found now or never. Drying is managed, not forced: ventilation and gentle heat, with conditions recorded, because force-dried skim cracks and skim over a still-wet background fails with mould and softening, dated to the day someone rushed it.
Process storyboard
Step 1 of 6 - slide through the snapshots.
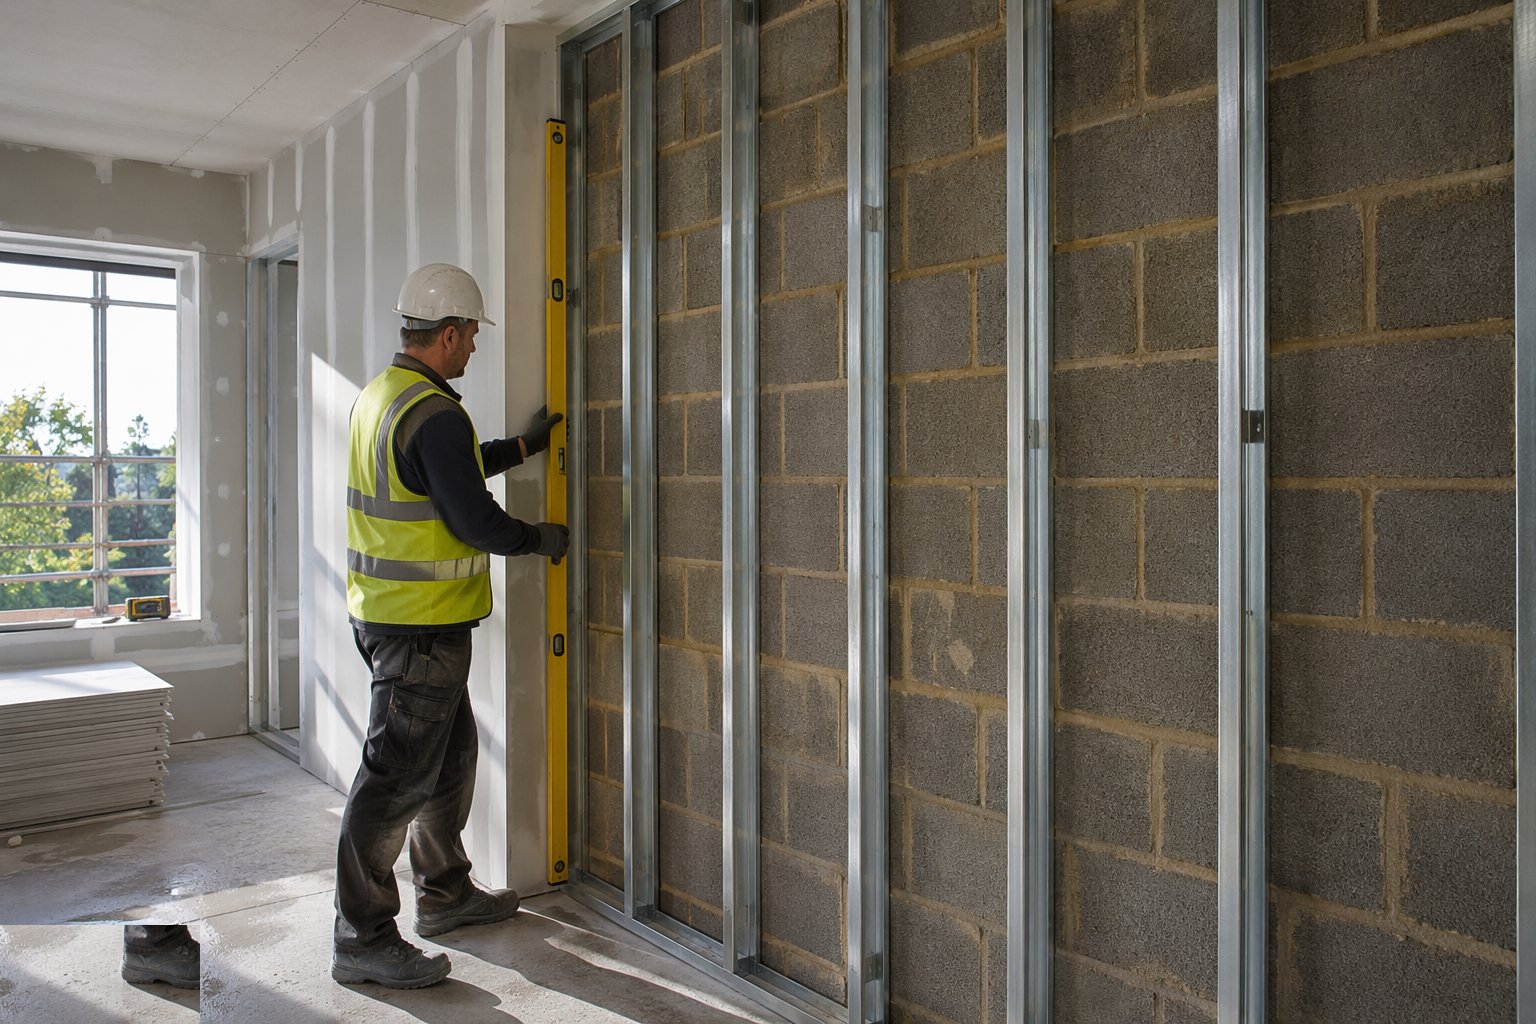
STEP 1
Check the background before boarding
Studs are checked plumb and true, masonry for line and flatness, and the first-fix photographs confirmed against the physical services.
How does Dry lining and plastering work, step by step?
- 1
Step 1: Check the background before boarding
Studs are checked plumb and true, masonry for line and flatness, and the first-fix photographs confirmed against the physical services. A boarded wall copies the accuracy of what is behind it - it corrects nothing.
- 2
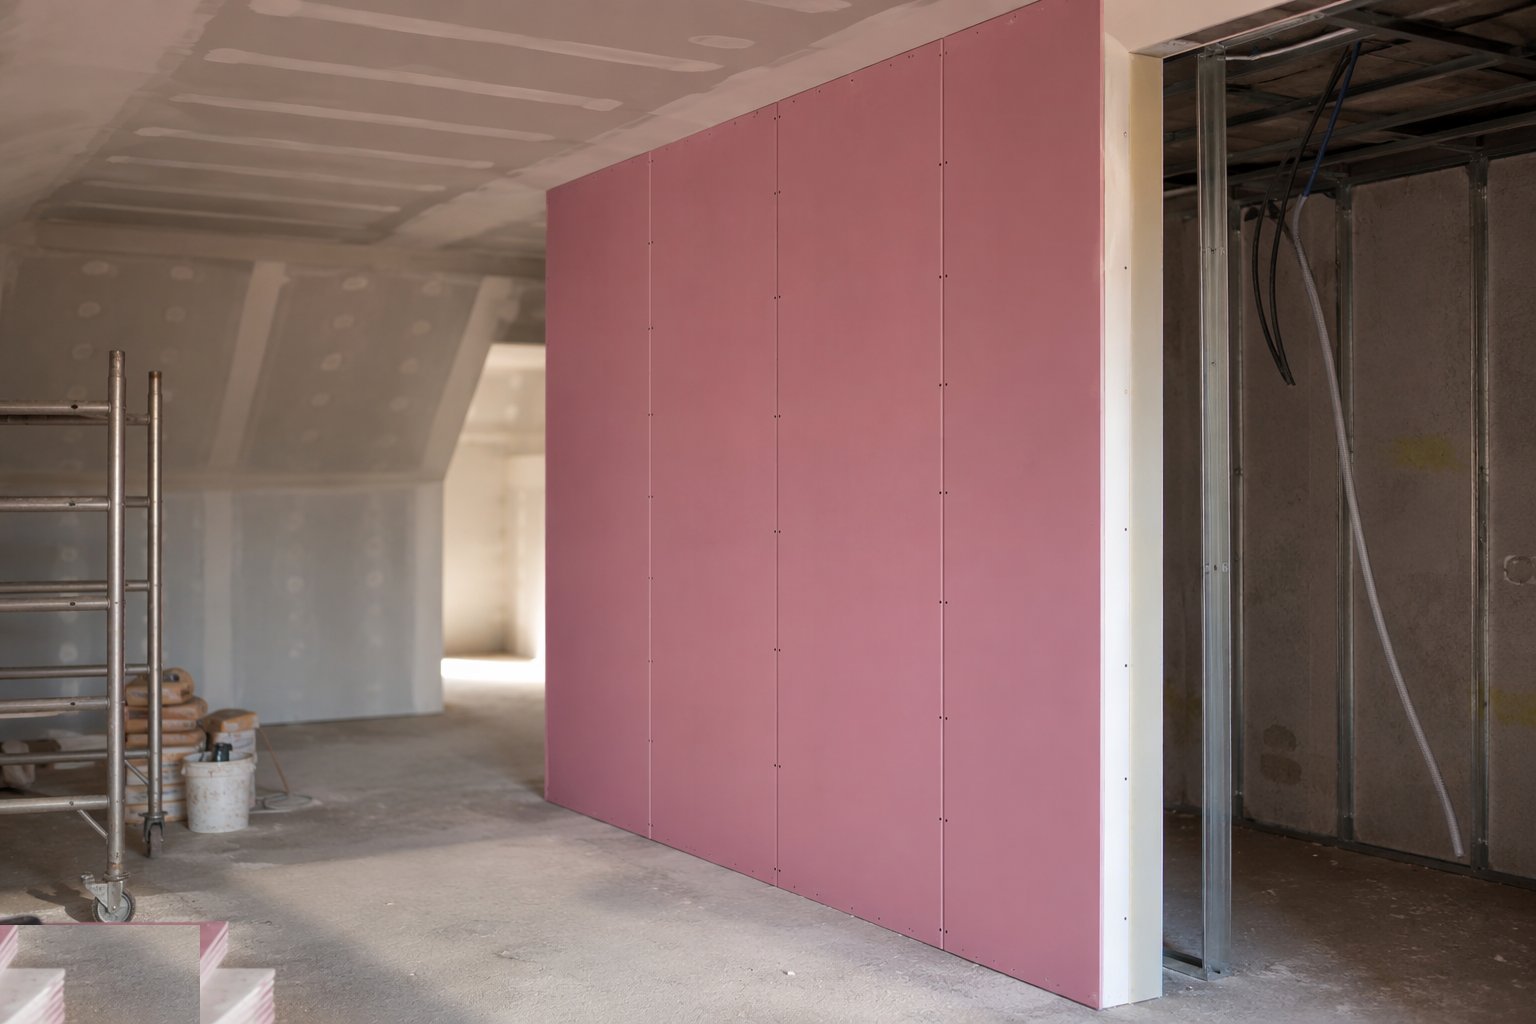
Step 2: Board to the specification
The correct board type for the room is fixed with staggered joints and specified screw centres; openings are framed, deflection heads formed at the soffit, and pattresses fitted where radiators, cabinets and handrails will one day hang.
- 3
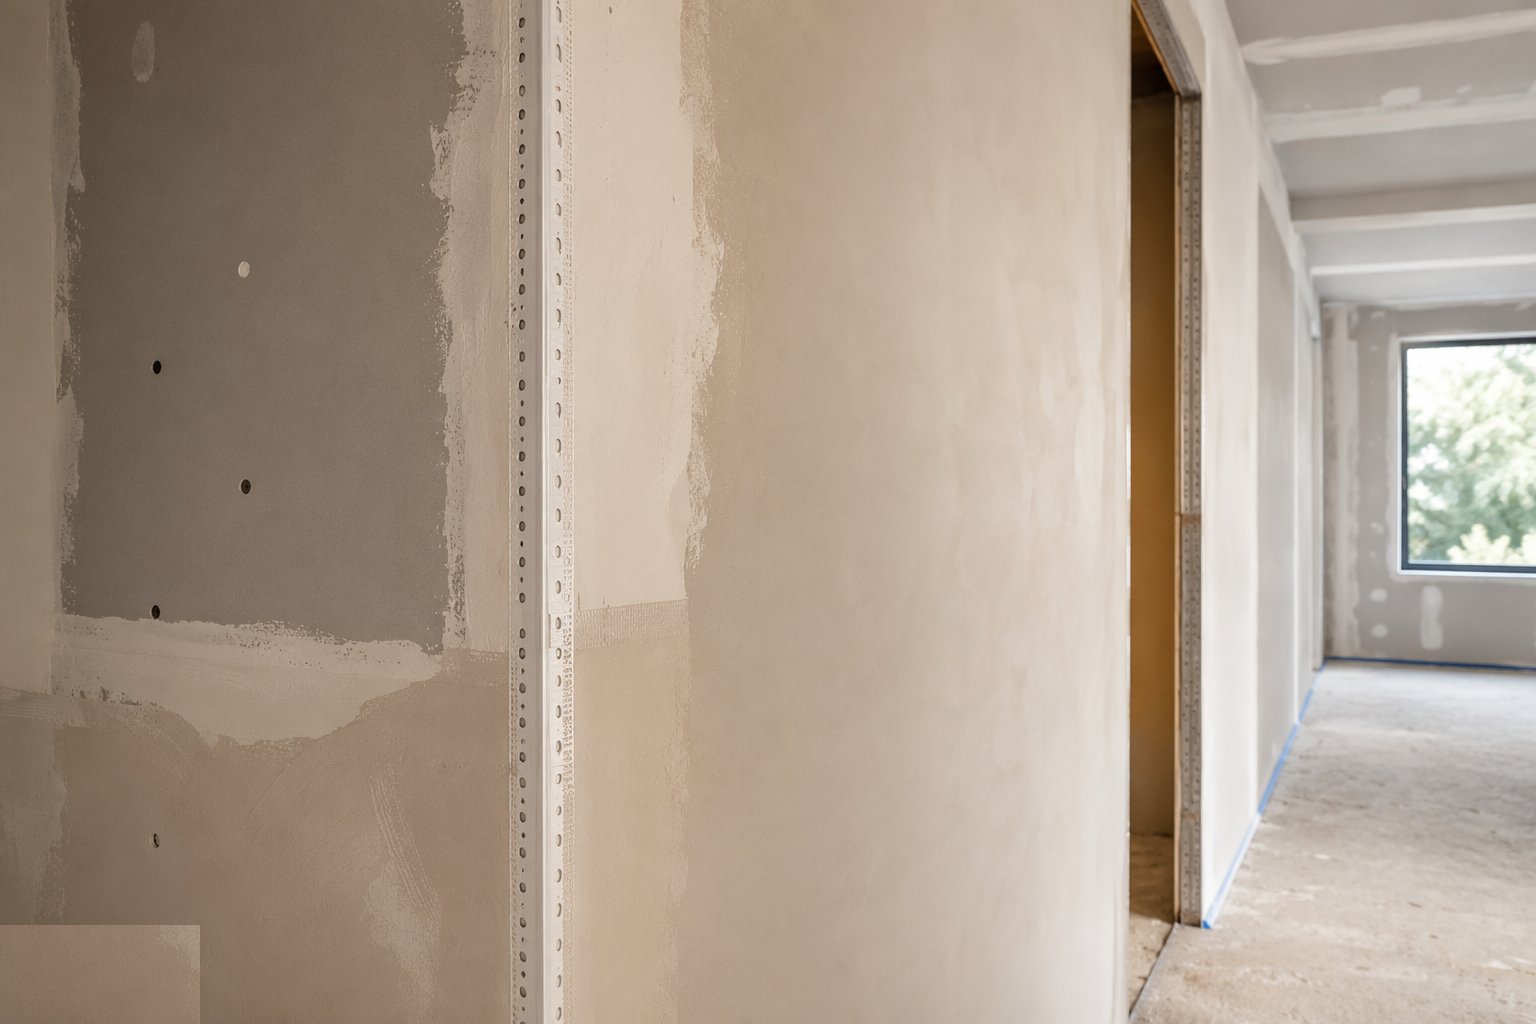
Step 3: Set beads and abutments
Corner beads and stop beads are set plumb and true, movement joints placed where the design puts them. The bead line is the geometry the skim follows - a wandering bead is a wandering corner forever.
- 4
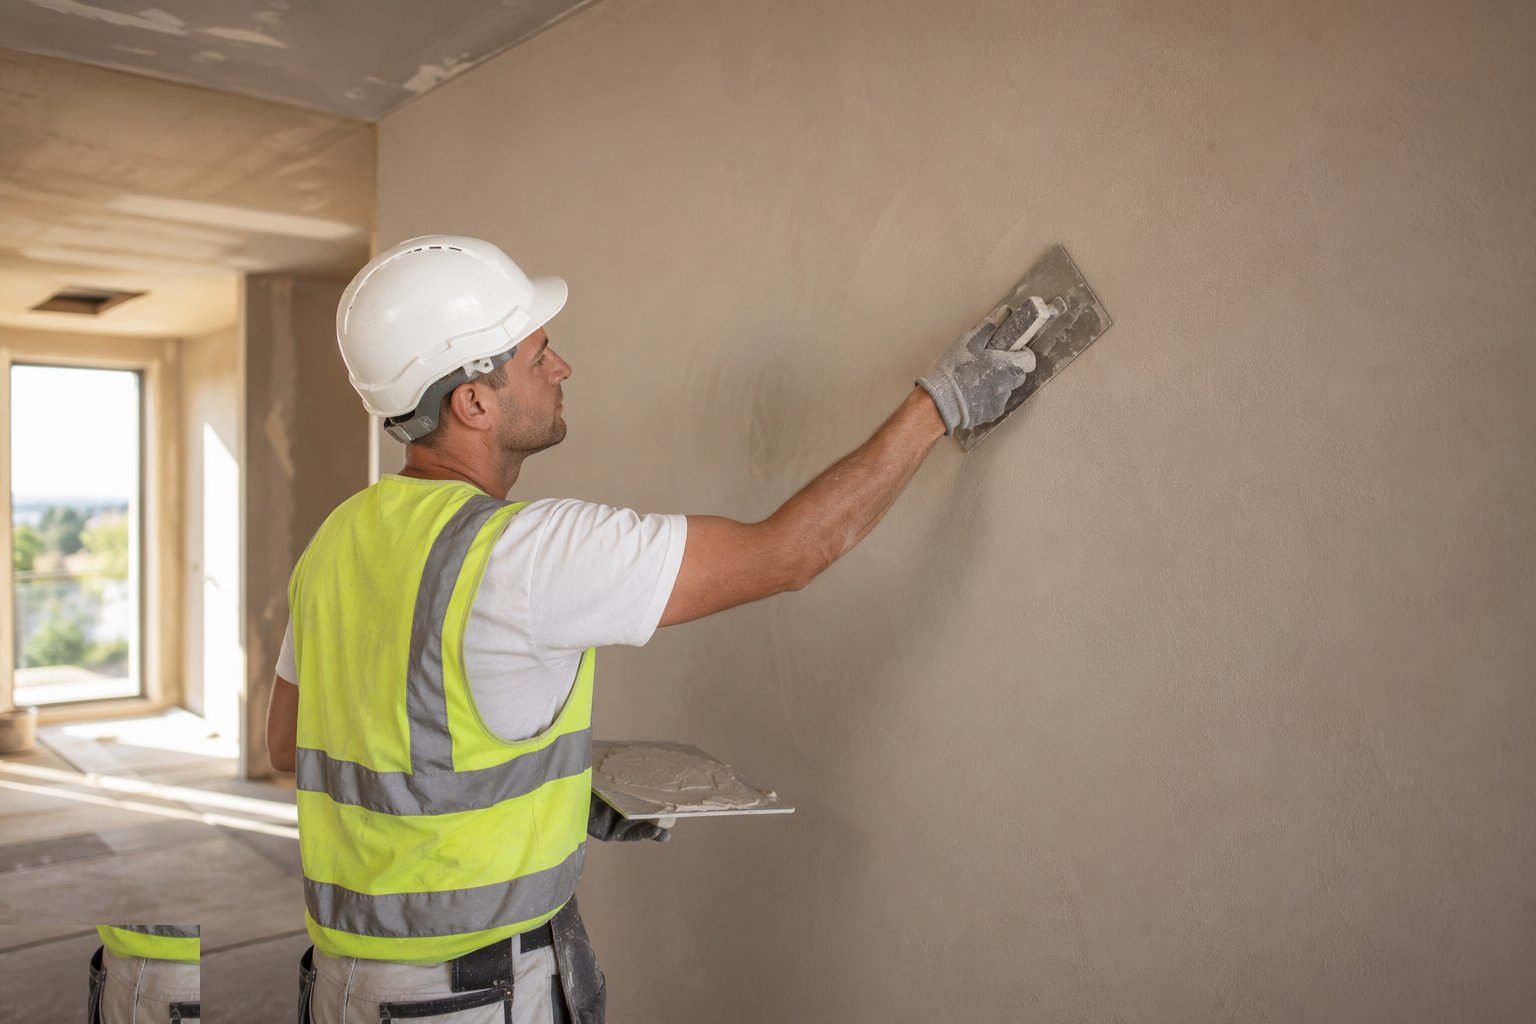
Step 4: Skim or tape and joint
Skim coats are applied, trowelled and finished to a flat, closed surface. Jointed systems are taped, filled and sanded through the grades. The standard is set on the first wall, inspected in critical light, and held for every wall after it.
- 5
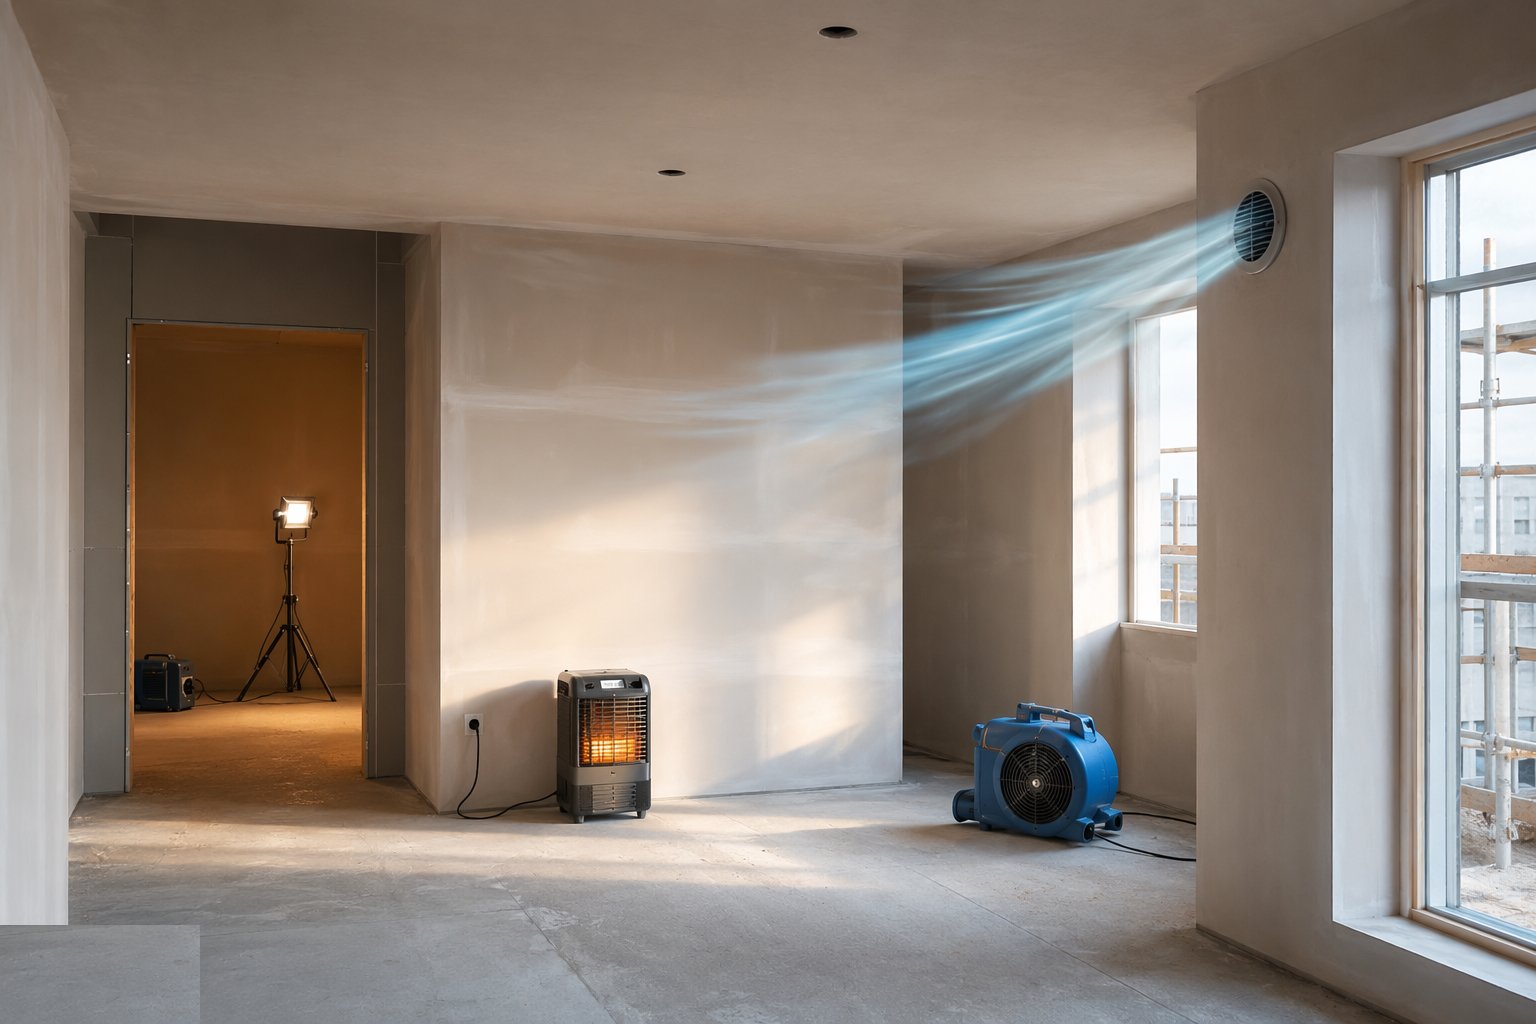
Step 5: Manage the drying
Ventilation and gentle heat, never forced drying; temperature and humidity are recorded while the skim cures. Cracks from rushed drying arrive with the date of the decision written in them.
- 6
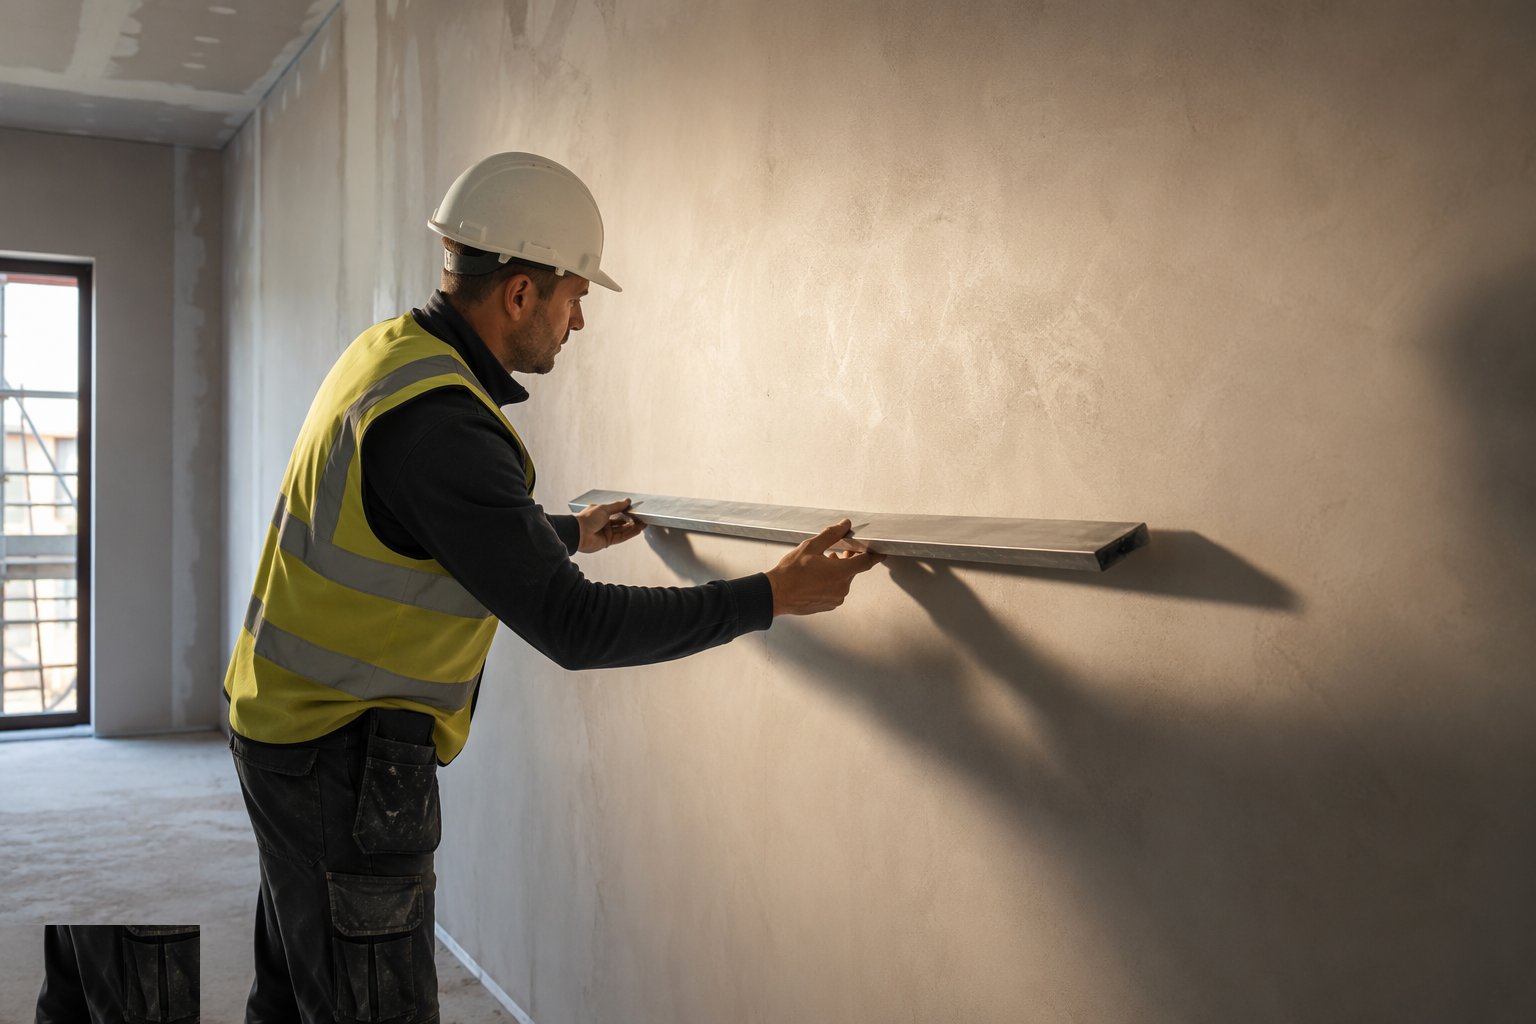
Step 6: Inspect in critical light
Flatness is checked with a straightedge and the surface read in raking light before the decoration programme starts. Snags are closed by the trade that owns them, while the scaffold and the mixer are still on the floor.
What are the benefits of Dry lining and plastering?
- Fast enclosure - stud partitions rise in days with their services inside them
- Paint-ready finish - skimmed or jointed boards go straight to decoration
- Performance built in - fire, acoustic and moisture grades selected per location
- Lightweight - no wet-trade mass on the frame, and faster drying than wet plaster on blockwork
- Repairable - local damage cuts out and patches without rebuilding the wall
What are the limitations of Dry lining and plastering?
- Only as flat as the frame - boarding copies stud accuracy; it does not correct it
- Skim cracks on movement - deflection, rushed drying or missing beads all read as cracks
- Taped joints telegraph - poor jointing shows in raking light for the life of the building
- Moisture-sensitive - boards and skim in a wet building fail with mould and softening
- Fixing-dependent - heavy items need pattresses or proper fixings into the studs
What is Dry lining and plastering best suited for?
What plant does Dry lining and plastering need?
- Board lifters, screw guns and collated screw systems
- Plastering kit: mixers, trowels, hawks, darbies and beams
- Taping and jointing tools, sanders with extraction
- Podiums and towers for ceilings
- Straightedges, lasers and levels for background checks
- Dehumidifiers and heaters for drying management
How is Dry lining and plastering quality-checked?
- Background plumb, line and level checked before boarding
- Board type, screw centres and stagger verified against the specification
- Beads checked plumb and true before skim
- Flatness checked with a straightedge; raking-light inspection before decoration
- Drying conditions recorded - temperature, humidity, ventilation
- First-fix photograph file confirmed before any wall closes
More internal finishes methods
Next method
Suspended and MF ceilings