Tiling, flooring and decoration
Finishes with tolerances - moisture-proven screeds, tanked wet rooms, and paint judged in raking light.
Last updated 2026-08-22
What is Tiling, flooring and decoration?
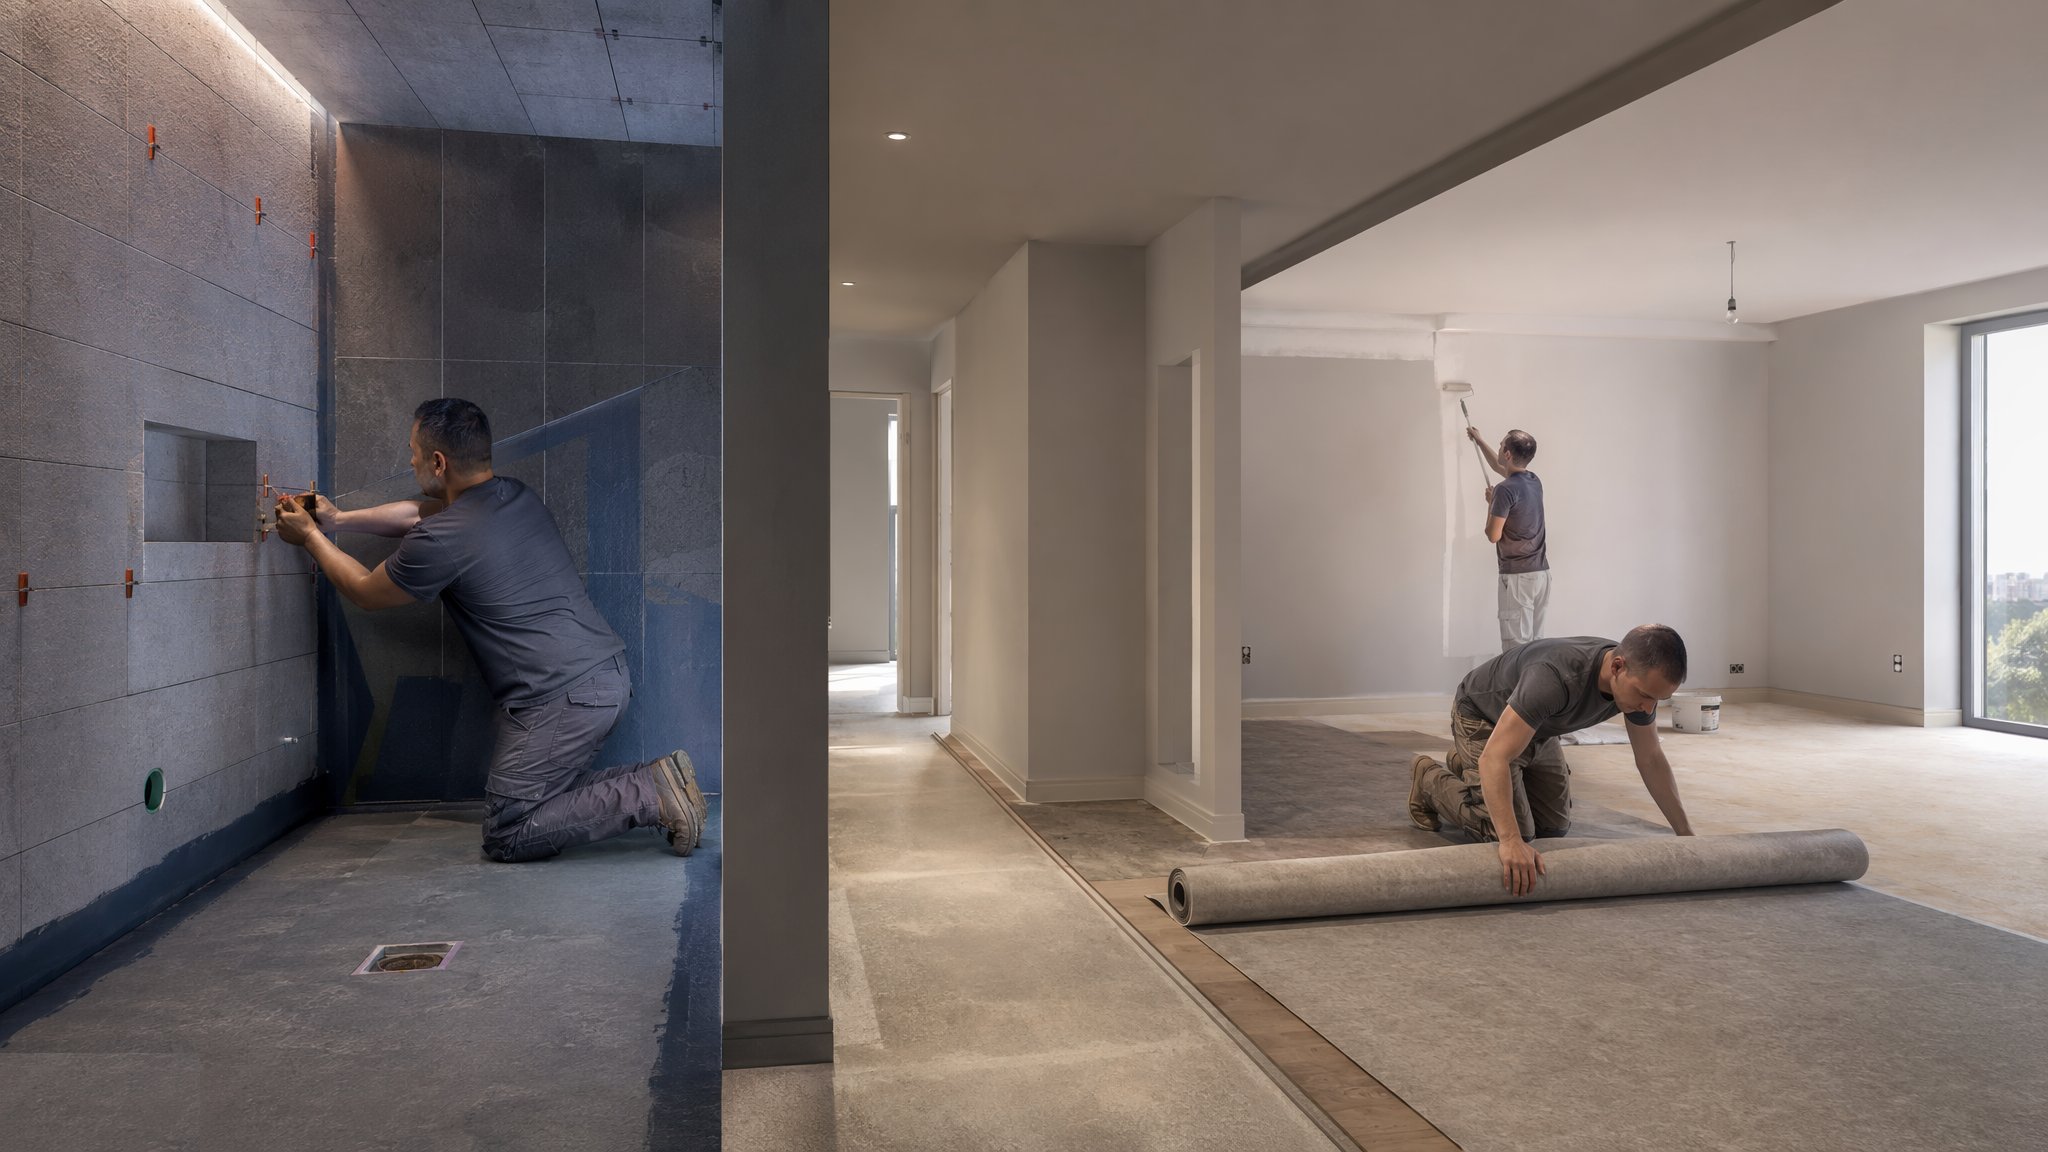
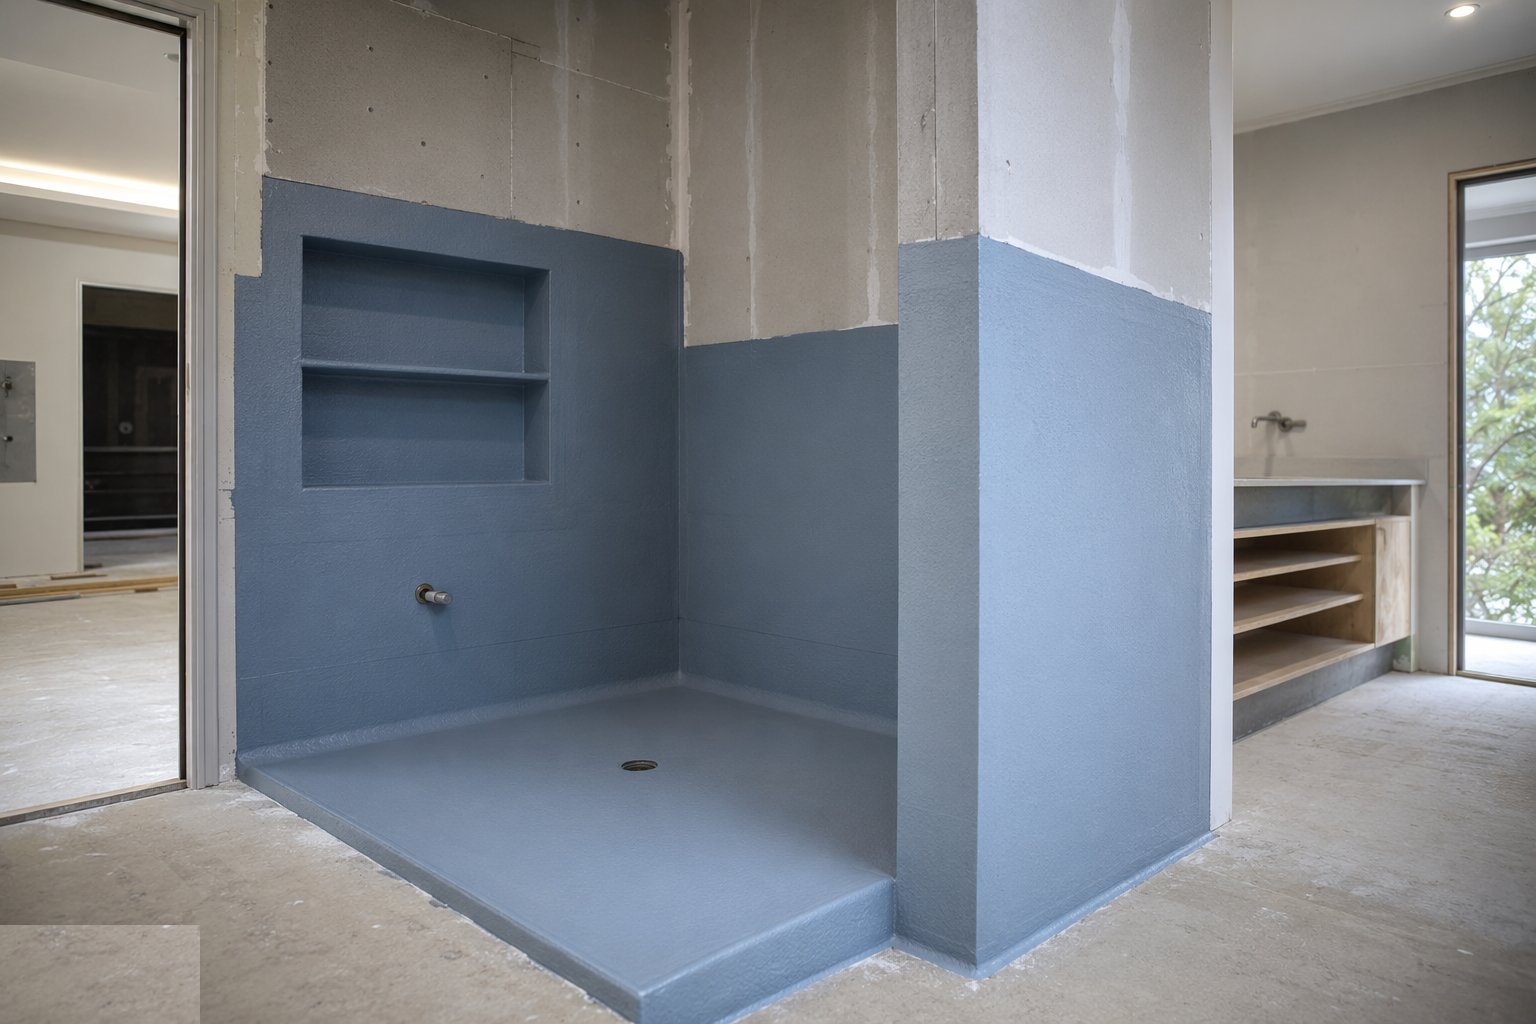
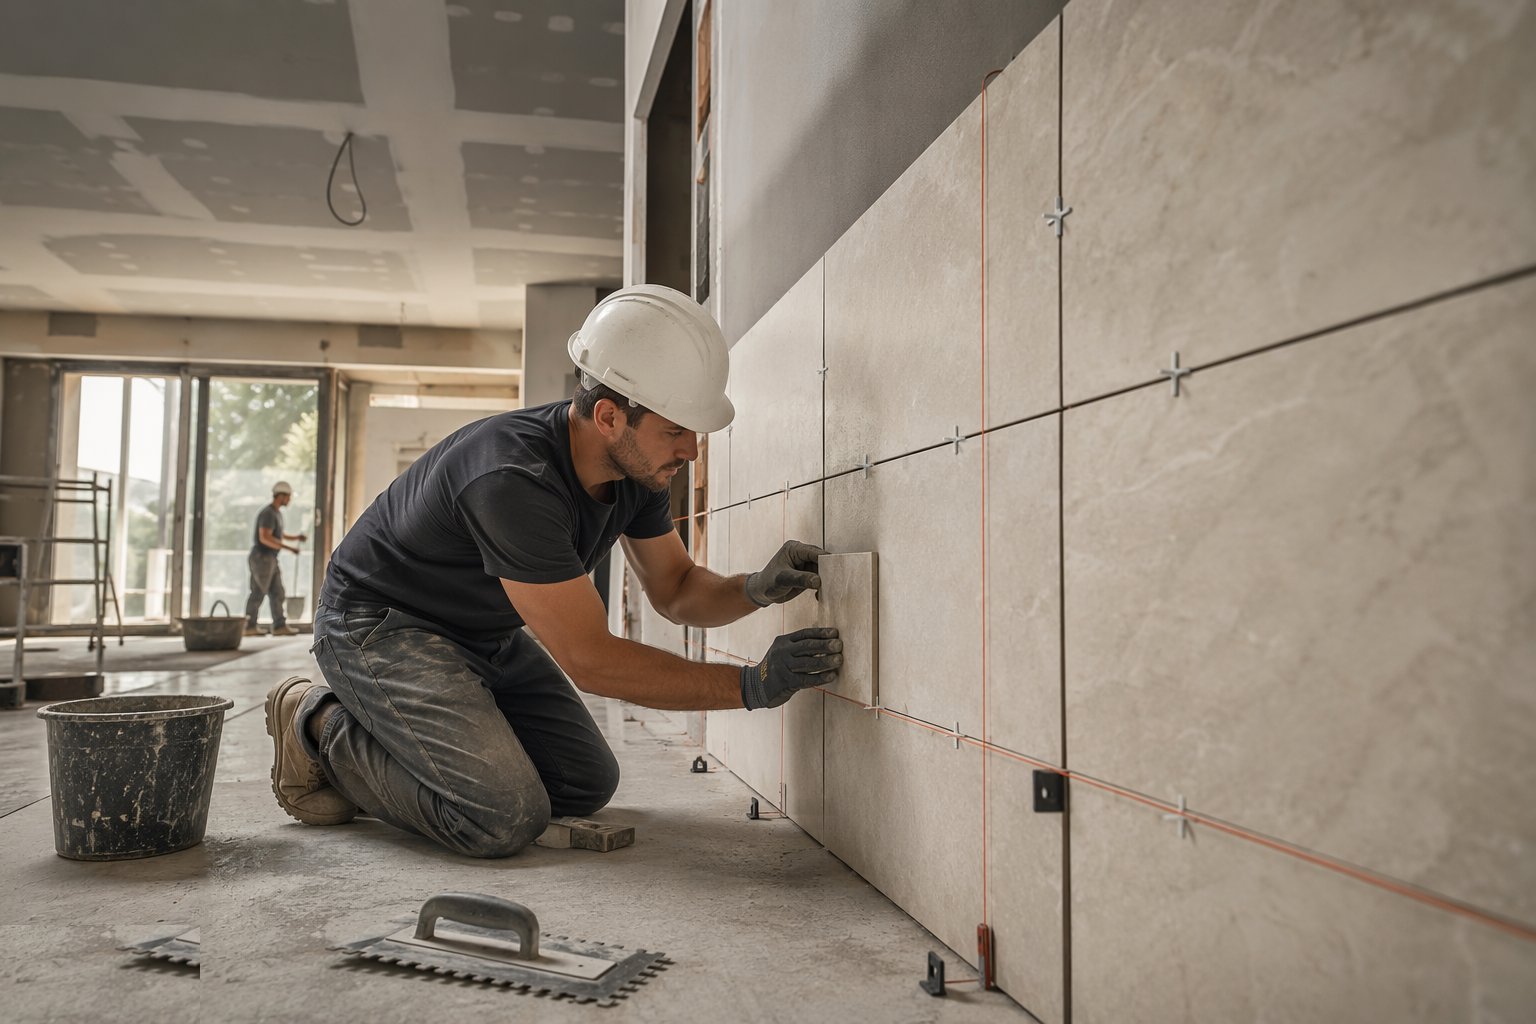
Tiling starts with the background, not the tile. Moisture-resistant board in wet areas, then the tanking system applied and cured to the manufacturer's schedule - corners, penetrations and joints detailed with the system's own tapes and collars, because showers leak at the details, never in the middle of the wall. Tiles are set out from a datum so cuts land symmetrically, fixed with the specified adhesive at solid-bed coverage in wet areas, and grouted after curing. Falls to floor drains are verified with a level and a bucket of water before the silicone goes in - a dry floor that ponds is a wet room that fails.
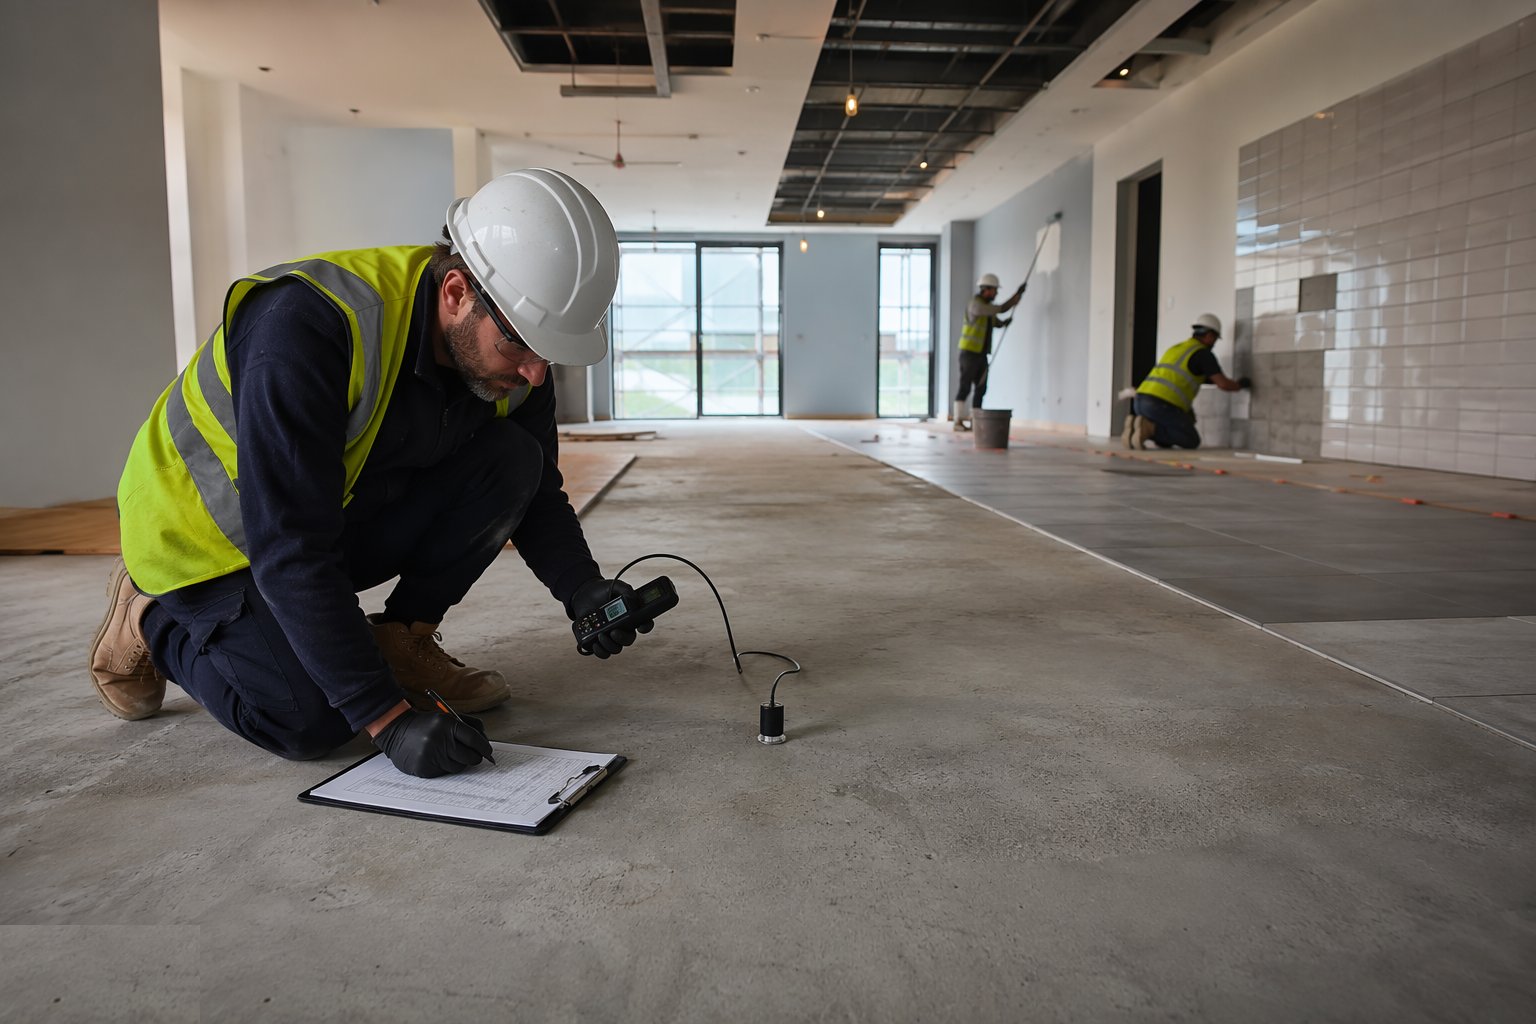
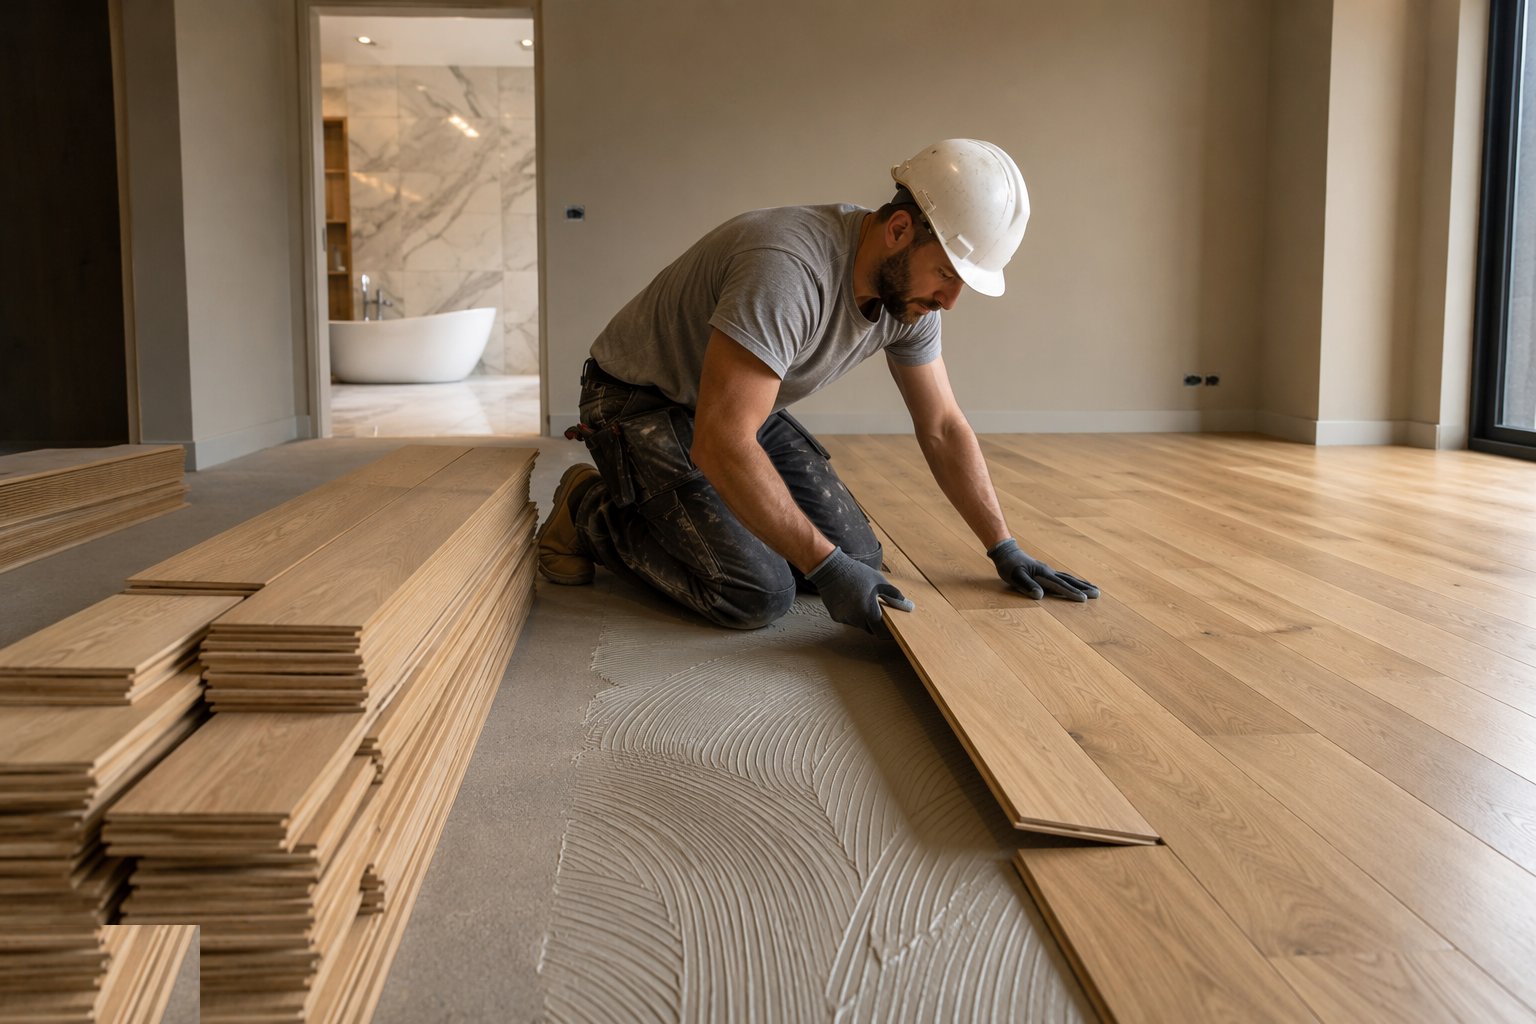
Floor finishes are hostage to the screed beneath them. Moisture is verified with hygrometer or moisture meter readings recorded against the finish manufacturer's limits - resilient finishes and timber have no tolerance for a damp slab, and cupping, lifting and mould are the three signatures of a floor laid too early. Flatness is checked against the specified regularity; timber is acclimatised; underlays and adhesives follow the specification; expansion gaps are left at every perimeter and covered, never filled. Finished floors are protected immediately - hardboard or membrane, taped at the joints.
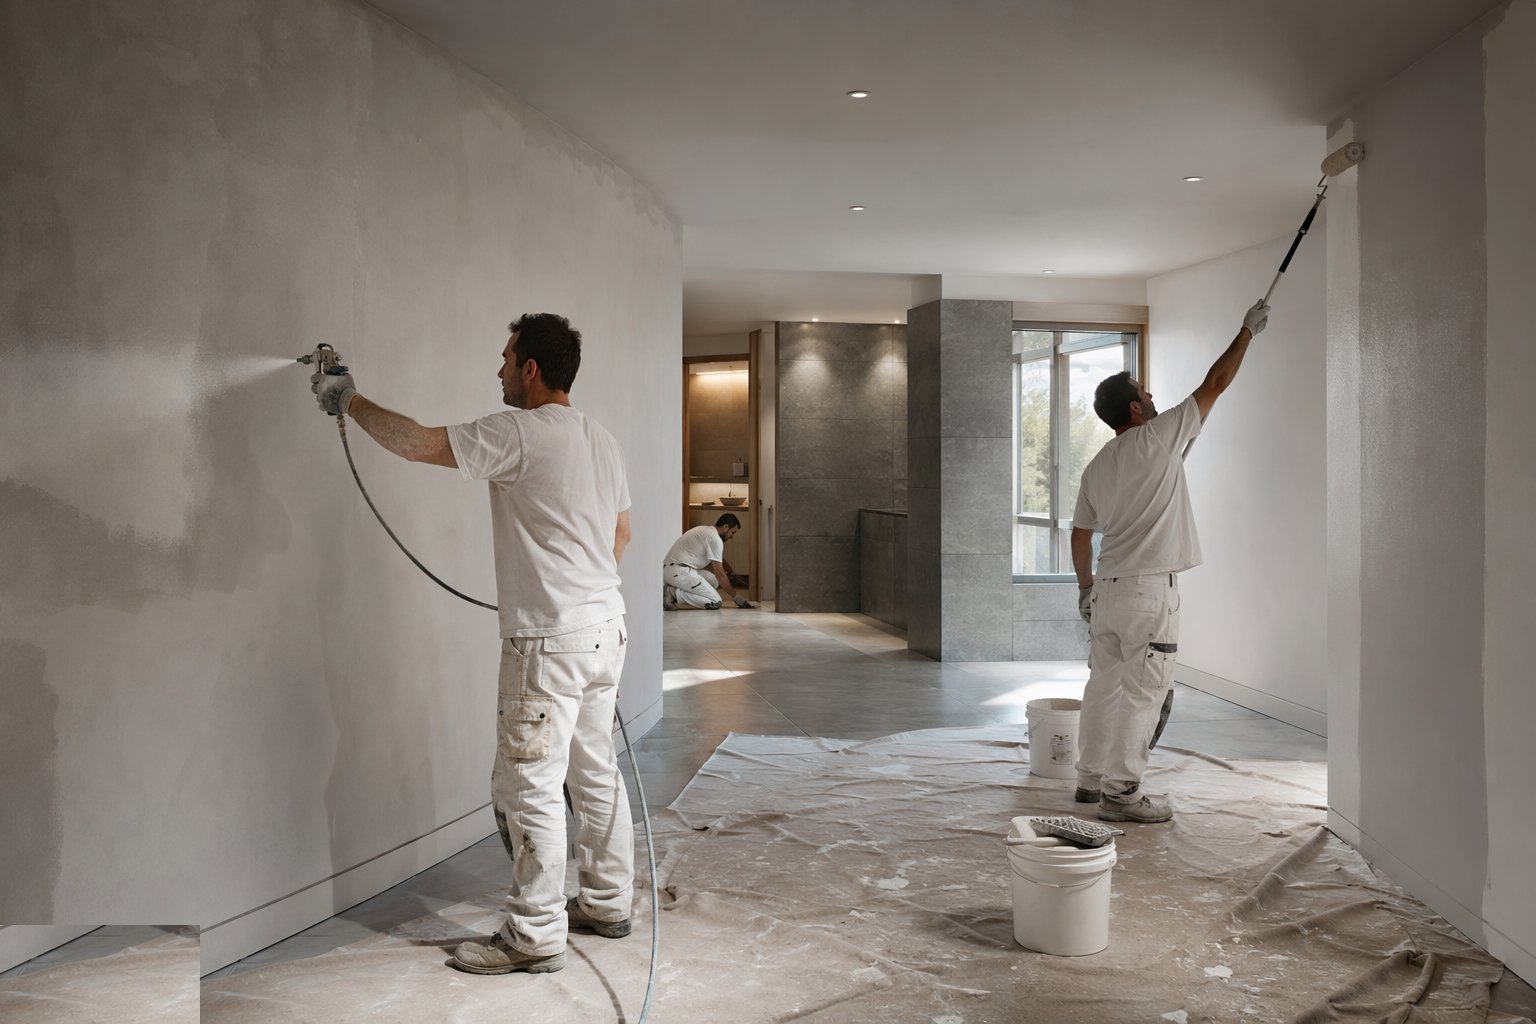
Decoration closes the sequence. New plaster takes a thinned mist coat, then full coats with proper drying between; surfaces are filled, sanded and inspected in raking light before the final coat, because the final coat hides nothing - it only seals in whatever is beneath it. Cutting lines at ceilings and colour changes are what the eye catches first. Each finish has a moisture and flatness tolerance the substrate must provably meet, and the room-by-room sign-off with photographs is what separates a handover from a remediation programme.
Process storyboard
Step 1 of 6 - slide through the snapshots.
STEP 1
Verify the substrate
Screed moisture readings are taken and recorded against the finish manufacturer's limits; flatness is checked with a straightedge; backgrounds are confirmed…
How does Tiling, flooring and decoration work, step by step?
- 1
Step 1: Verify the substrate
Screed moisture readings are taken and recorded against the finish manufacturer's limits; flatness is checked with a straightedge; backgrounds are confirmed sound, dry and clean. Finishes installed over an unproven substrate become defects with dates attached.
- 2
Step 2: Tank the wet zones
The tanking system is applied per the manufacturer - corners, penetrations and joints detailed with the system's tapes and collars - and cured for the specified time before a tile is cut. Tanking rushed is tanking failed.
- 3
Step 3: Set out and tile
Tiles are set out from a datum so cuts land symmetrically, fixed with solid-bed adhesive coverage in wet areas - checked by lifting a fresh tile - and grouted after curing. Falls to drains are proven with water before any sealant is applied.
- 4
Step 4: Lay the floor finishes
Timber is acclimatised; underlays, adhesives and finishes follow the specification; expansion gaps are left at perimeters and covered, not filled. Finished floors are protected immediately and the protection is logged.
- 5
Step 5: Decorate from mist coat to finish
New plaster gets a thinned mist coat, then full coats with drying between; surfaces are filled and sanded and inspected in raking light before the final coat. Cutting lines are struck steady - they are the first thing the eye checks.
- 6
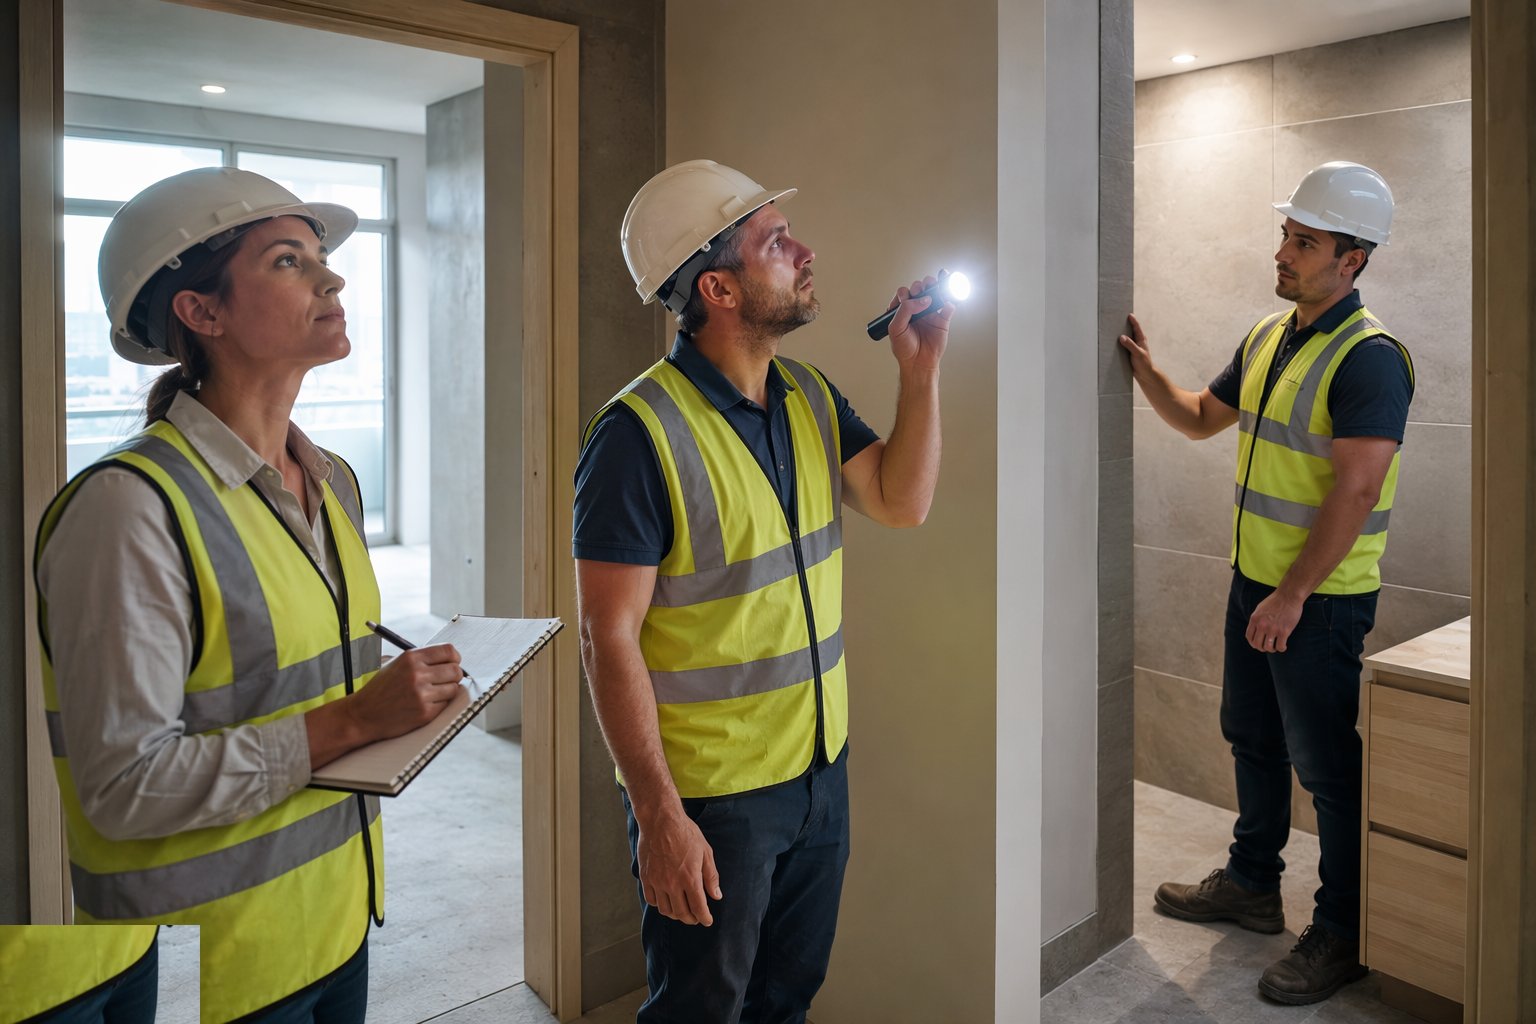
Step 6: Snag, protect and release
Rooms are snagged with light and a notebook before the trade leaves the floor; protection is maintained and policed until practical completion approaches. Each finished floor is locked, signed and released.
What are the benefits of Tiling, flooring and decoration?
- Durability where it matters - tanked, tiled wet rooms shrug off decades of water
- Visible quality - crisp decoration and flat floors are the finishes buyers photograph
- Moisture discipline pays - proven-dry substrates eliminate cupping, lifting and mould claims
- Fast coverage - repeatable room types and spray or roller application give high daily output
- Local repairability - tiles, planks and paint patch locally without strip-out
What are the limitations of Tiling, flooring and decoration?
- Substrate-dependent - every finish copies the moisture and flatness beneath it
- Tanking is only as good as its detailing - corners and penetrations are where showers leak
- Drying-time hostage - paint and adhesives need conditions the programme rarely grants
- Damage-prone - finished floors and paintwork are one careless trade away from rework
- Hollow tiles hide - spot-bedding passes the eye and fails the tap test months later
What is Tiling, flooring and decoration best suited for?
What plant does Tiling, flooring and decoration need?
- Tile cutters, wet saws and mixing drills
- Moisture meters and hygrometers for substrate verification
- Floor sanders, rollers and installation tools
- Sprayers, rollers and cutting-in kit for decoration
- Laser levels and straightedges for setting out
- Protection materials: boards, membranes, tapes
How is Tiling, flooring and decoration quality-checked?
- Screed moisture results recorded and within the finish manufacturer's limits
- Tanking inspected and cured before tiling; falls to drains proven with water
- Adhesive coverage checked by lifting a fresh tile - solid bed in wet areas
- Flatness and expansion gaps verified per floor finish type
- Raking-light inspection of plaster and paint before sign-off
- Room-by-room sign-off sheets with photographs and protection logged