Electrical second fix
Accessories dressed, boards labelled - then dead-tested, live-tested and certificated circuit by circuit.
Last updated 2026-08-22
What is Electrical second fix?
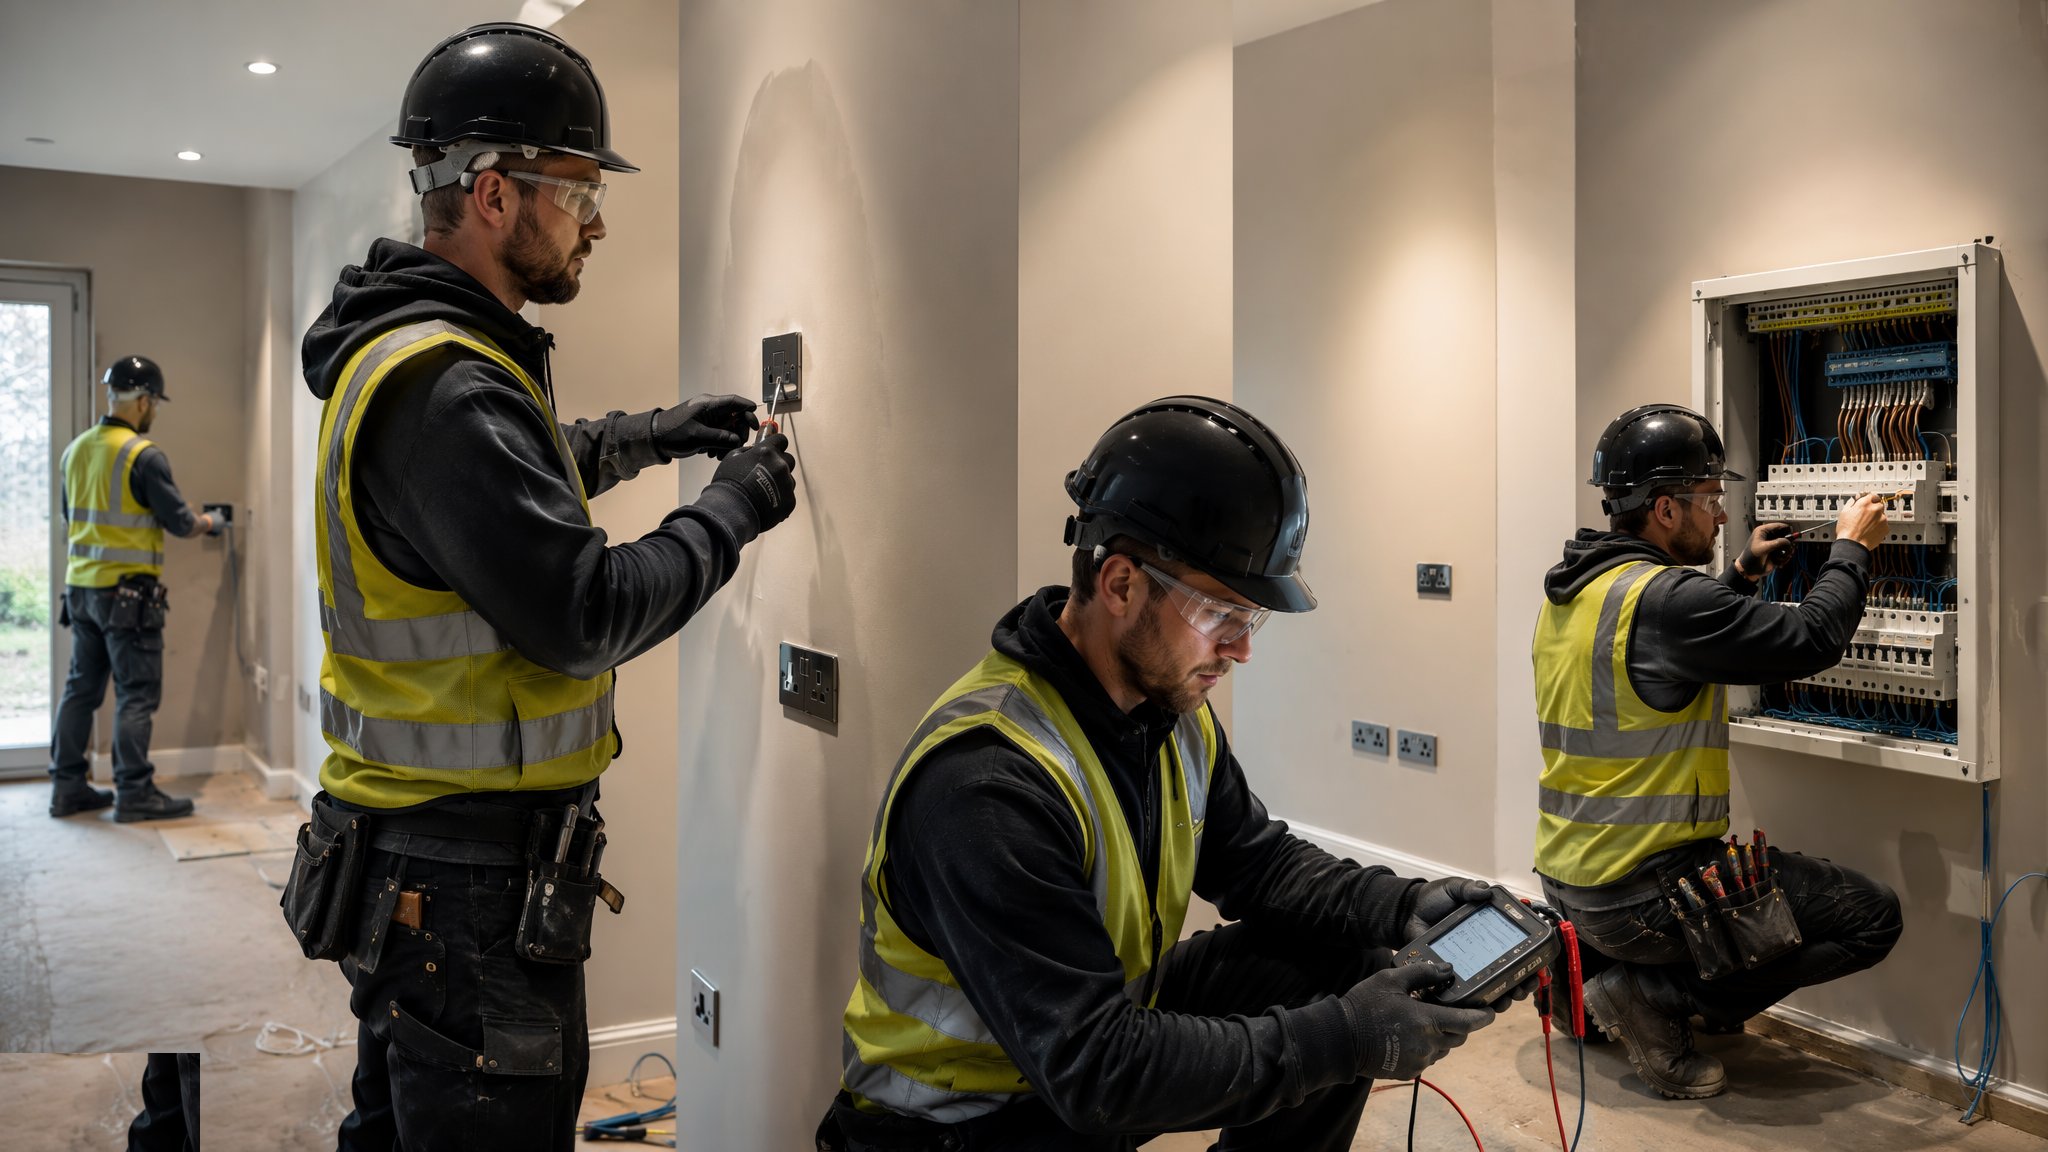
Second fix puts the face on the installation: sockets, switches and plates fitted to the back boxes and levelled, luminaires connected and supported from structure rather than the ceiling tile, consumer units and distribution boards dressed with every circuit identified and a printed directory on the door. It is visible workmanship - a crooked socket or a scrawled board schedule in a finished room tells the occupant exactly how the hidden work was done.
The substance is the test sequence, run per the wiring regulations. Dead tests first, on the isolated installation: continuity of protective conductors, insulation resistance, polarity. Then controlled energisation, area by area, and the live tests: earth fault loop impedance, prospective fault current, RCD trip times. Every result is recorded circuit by circuit on the schedule of test results, and the electrical installation certificate is signed by a qualified supervisor - one per dwelling, one per board, filed in the handover pack.
Certification is the product. Building control, the warranty provider and the eventual buyer all need that certificate; a dwelling without one does not hand over cleanly. Energisation itself is managed like a lifting operation - safe isolation and lock-off where work continues, warning notices where boards are live, and a clear record of which areas are energised. The instruments are calibrated and the testers are qualified, because the entire evidence chain stands on those two facts.
Process storyboard
Step 1 of 6 - slide through the snapshots.
STEP 1
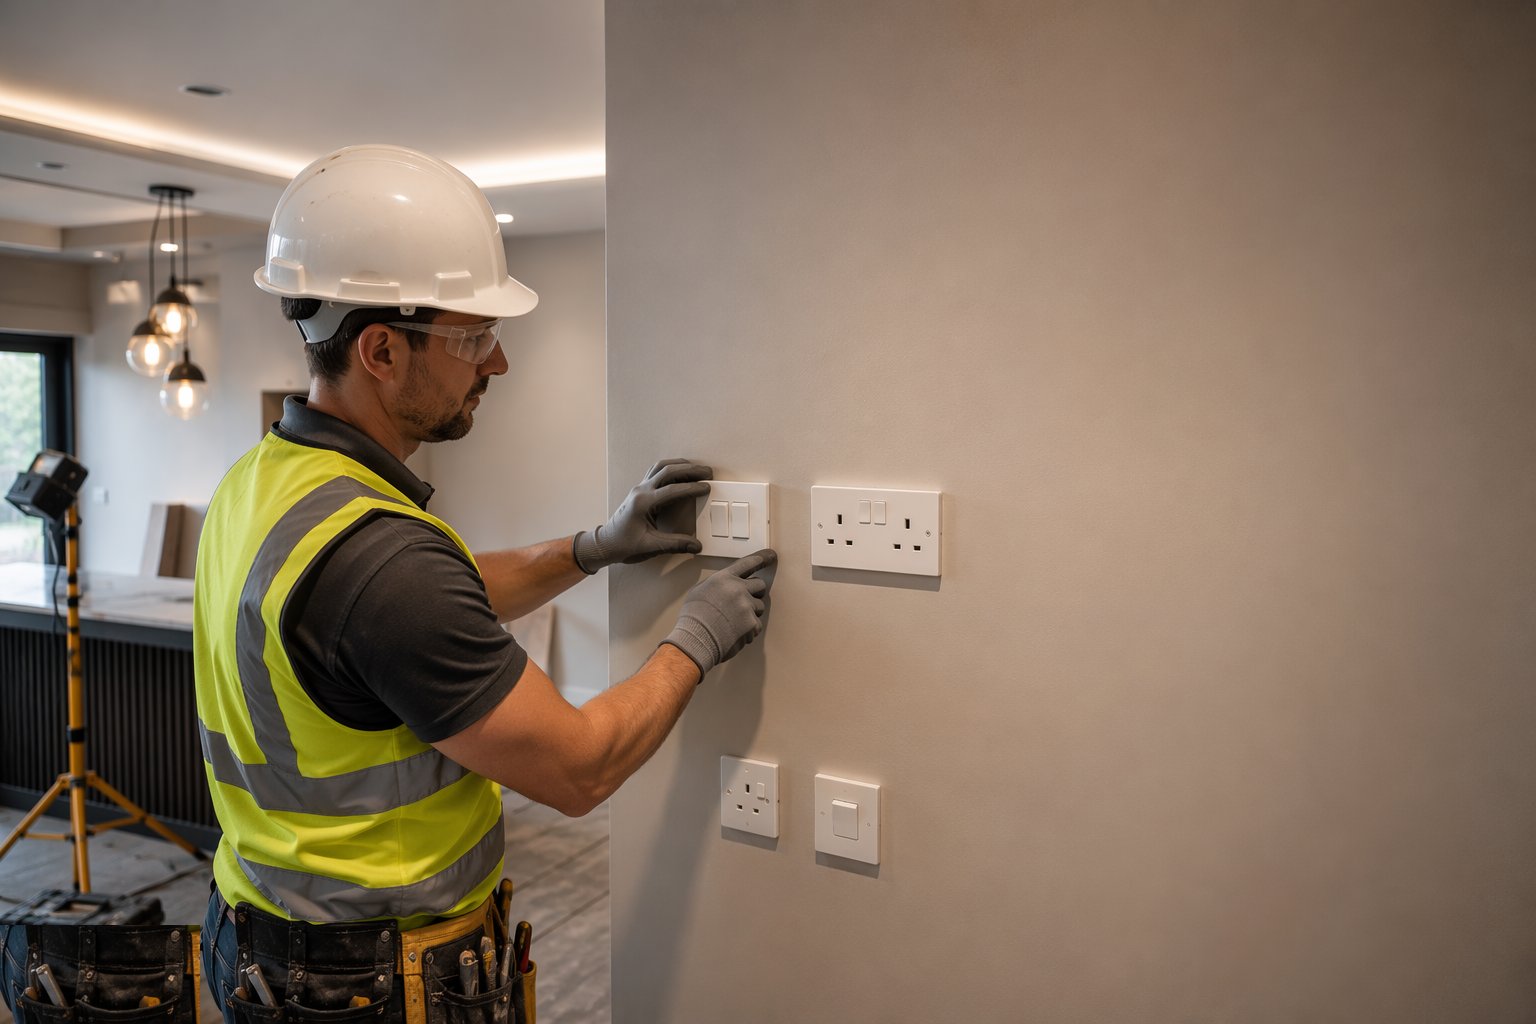
Dress the accessories and plates
Sockets, switches and plates are fitted to the back boxes, levelled, and terminations made to the correct torque.
How does Electrical second fix work, step by step?
- 1
Step 1: Dress the accessories and plates
Sockets, switches and plates are fitted to the back boxes, levelled, and terminations made to the correct torque. Accessories sit flush and true - the eye forgives nothing at switch height.
- 2
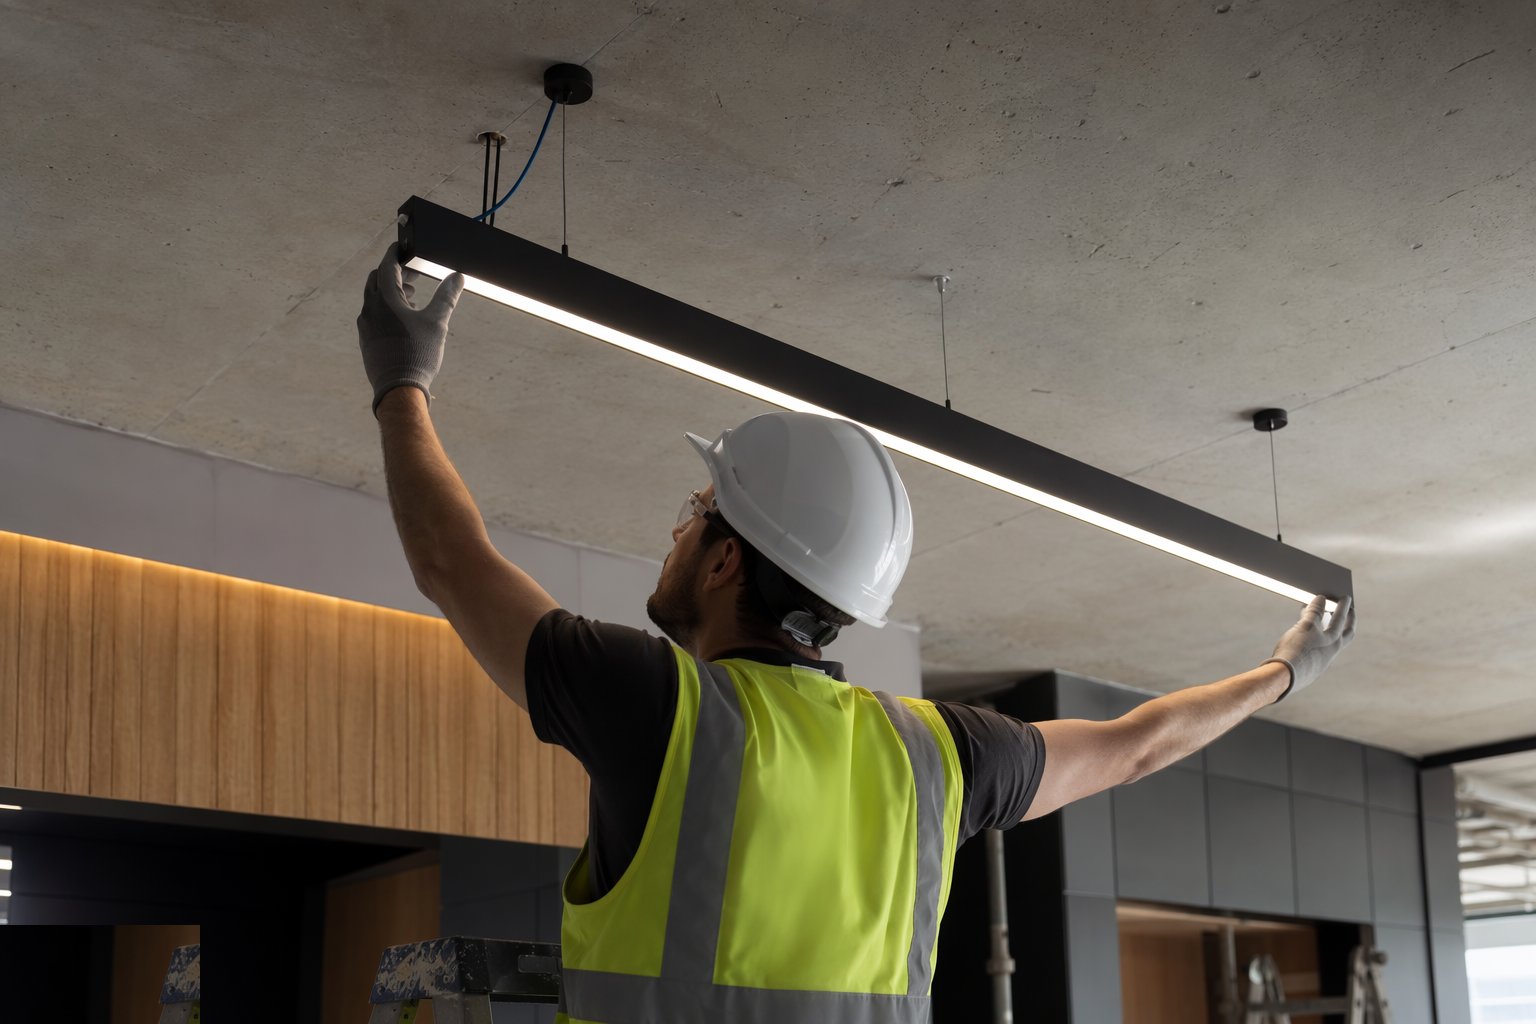
Step 2: Fit and connect the luminaires
Luminaires are connected and supported from structure where their weight demands it; emergency fittings are addressed or configured for self-test. Nothing heavy hangs from a ceiling tile.
- 3
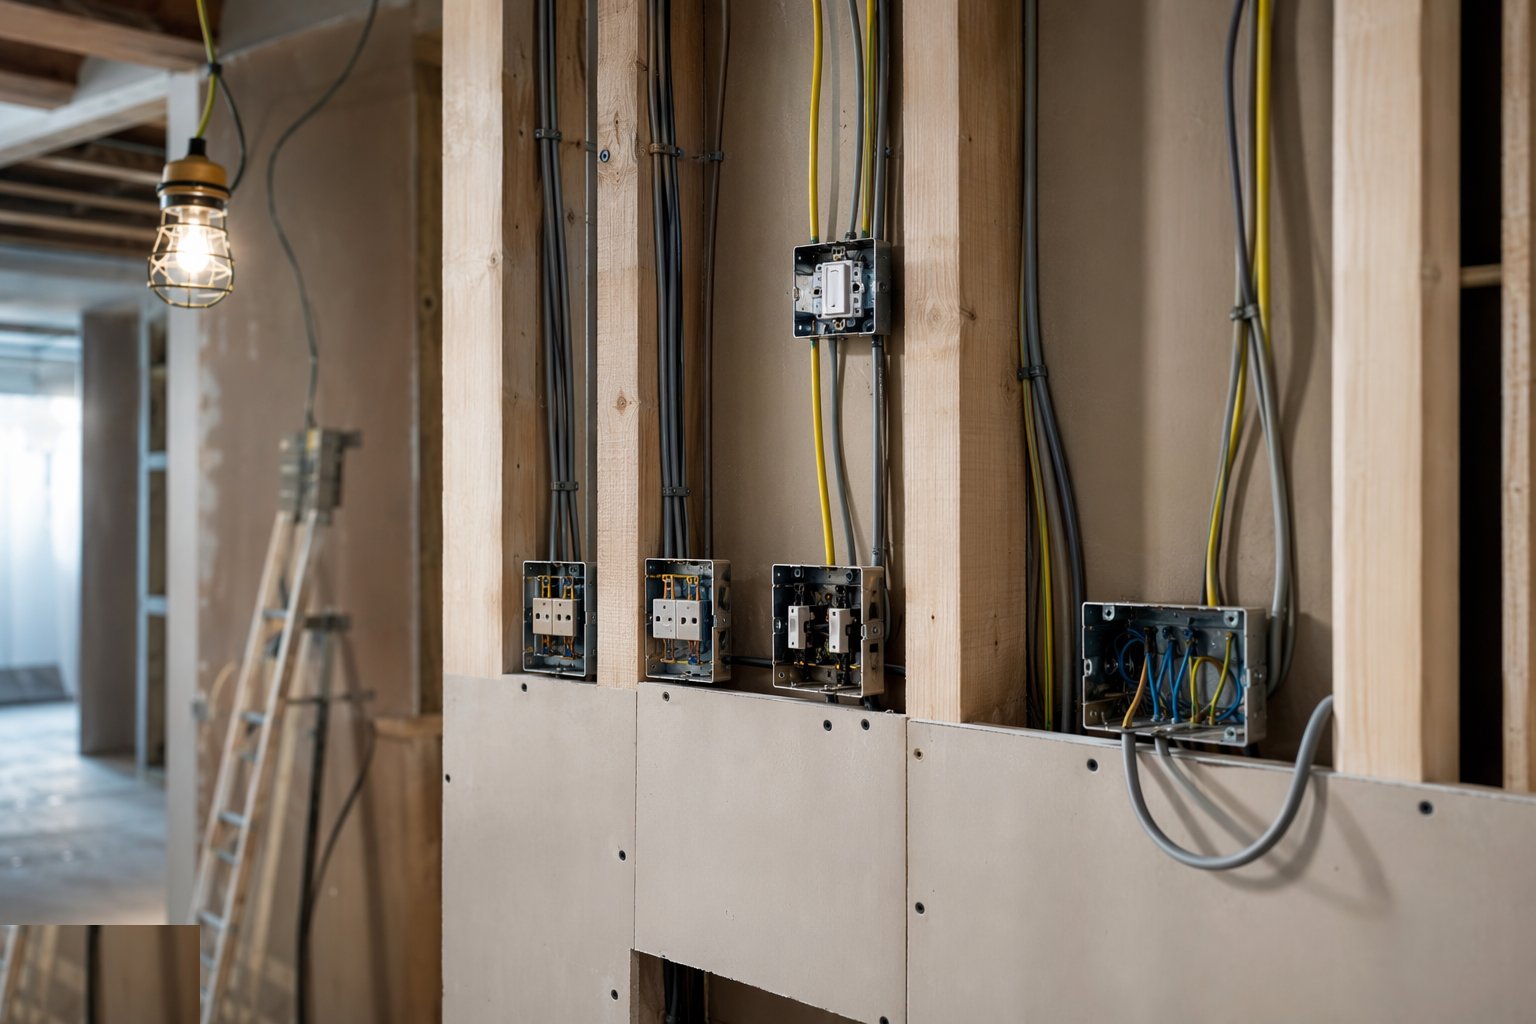
Step 3: Dress the boards
Circuits are landed tidy, every way identified, and the directory printed - not scrawled. The board schedule is a handover document and gets treated like one.
- 4
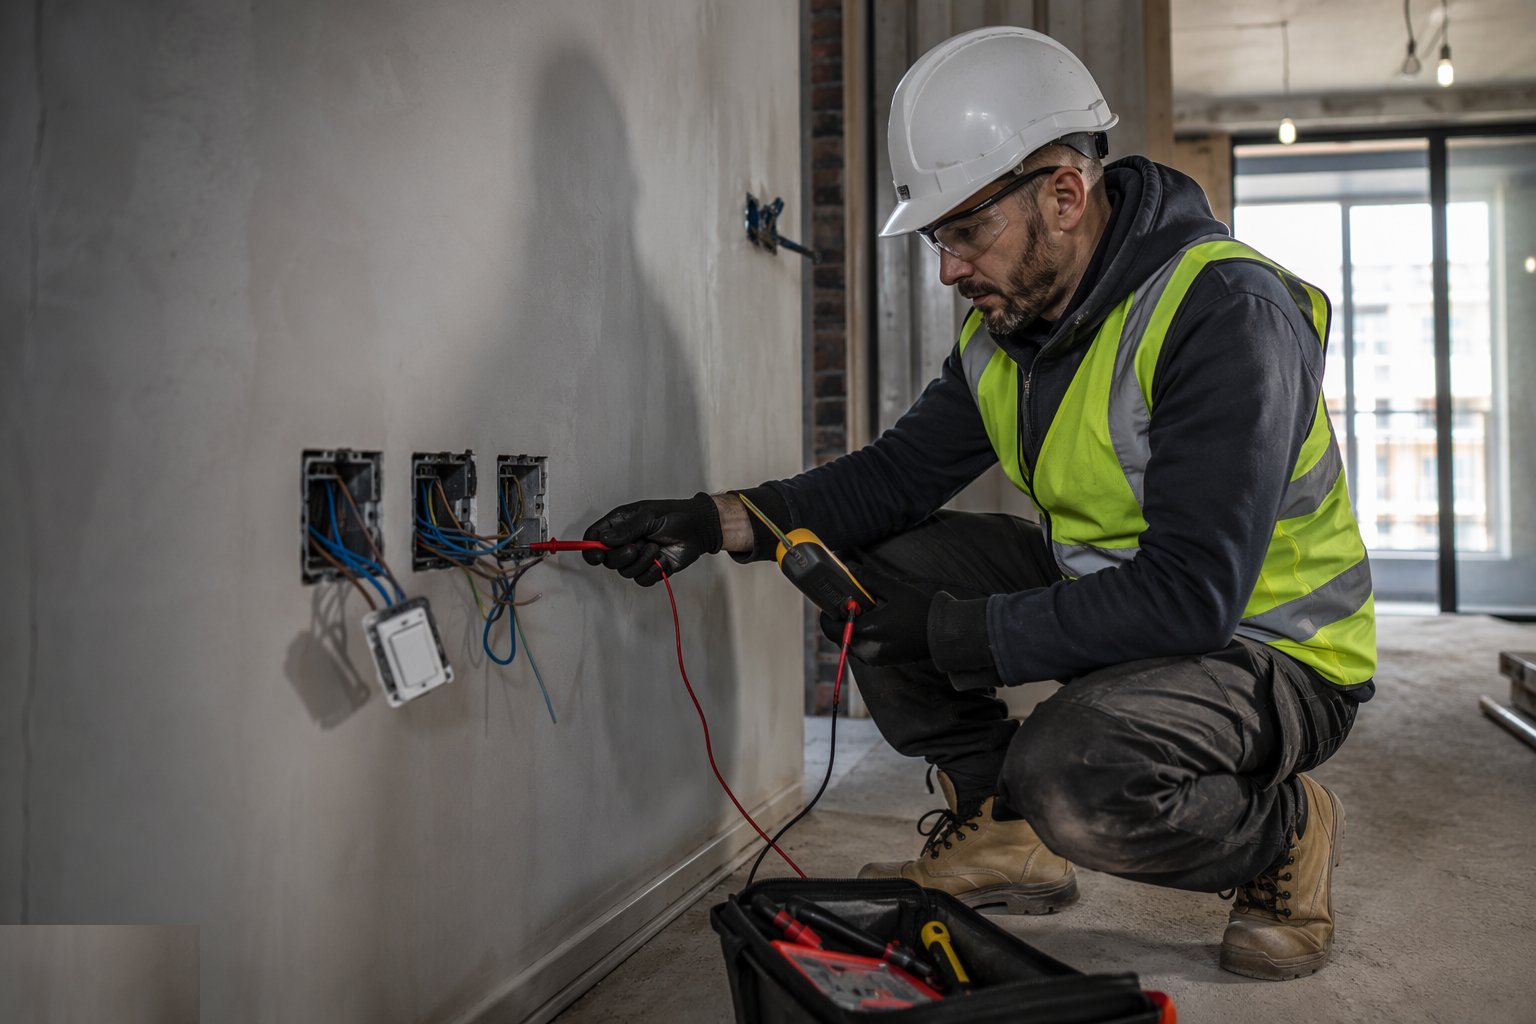
Step 4: Run the dead tests
On the isolated installation: continuity of protective conductors, insulation resistance between live conductors and to earth, and polarity - recorded circuit by circuit on the schedule of test results. Failures are investigated and fixed before energisation, not after.
- 5
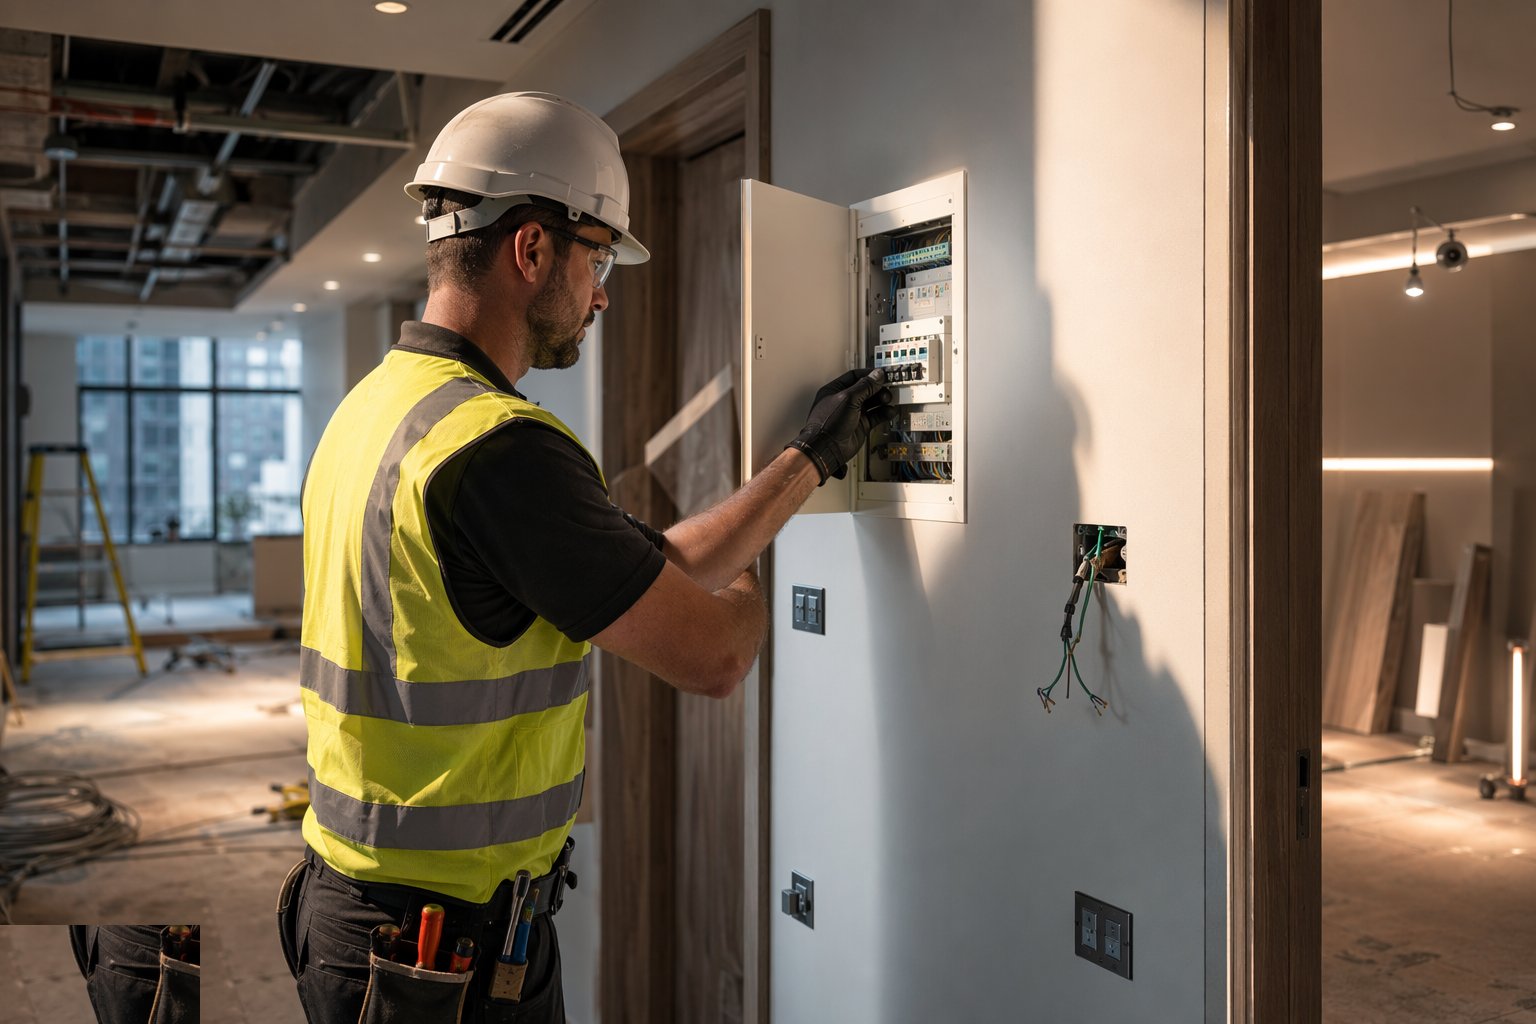
Step 5: Energise and run the live tests
Energisation proceeds area by area under permit with notices posted. Earth fault loop impedance, prospective fault current and RCD trip times are measured and recorded against the design values.
- 6
Step 6: Certify and file
The electrical installation certificate is completed and signed by the qualified supervisor, with the schedule of test results attached, and filed per dwelling or board. The handover pack is incomplete until they are all in.

What are the benefits of Electrical second fix?
- Certified safety - the full test sequence proves the installation before anyone lives with it
- Fast fault-finding forever - labelled boards and directories halve every future call-out
- Crisp finishes - levelled accessories and tidy boards are visible workmanship
- Controlled energisation - area-by-area livening keeps the site safe as systems come alive
- Handover-ready evidence - certificates per dwelling satisfy building control and warranty providers
What are the limitations of Electrical second fix?
- Instruments and competence cost - calibrated kit and qualified testers are non-negotiable
- Late energisation squeezes commissioning - the power-on date drives the whole tail of the job
- Inherits first-fix errors - a skinned cable in a wall is found at insulation resistance, expensively
- Accessory quality shows - cheap plates and rushed dressing read badly in finished rooms
- Records are perishable - test sheets not completed on the day get reconstructed badly later
What is Electrical second fix best suited for?
What plant does Electrical second fix need?
- Calibrated multifunction test instruments
- Torque screwdrivers for terminations
- Label printers for circuits and directories
- Access equipment for high-level luminaires
- Lock-off and safe-isolation kit
- Test leads, proving units and RCD test adaptors
How is Electrical second fix quality-checked?
- Schedule of test results completed circuit by circuit - dead and live
- Instrument calibration certificates current and on file
- Board directories printed and verified against the physical circuits
- Safe isolation and energisation permits logged area by area
- Certificates signed by the qualified supervisor per dwelling or distribution board
- Certificates filed to the handover pack before practical completion