Strip foundations
A ribbon of concrete under every wall - the default foundation of domestic construction.
Last updated 2026-08-22
What is Strip foundations?
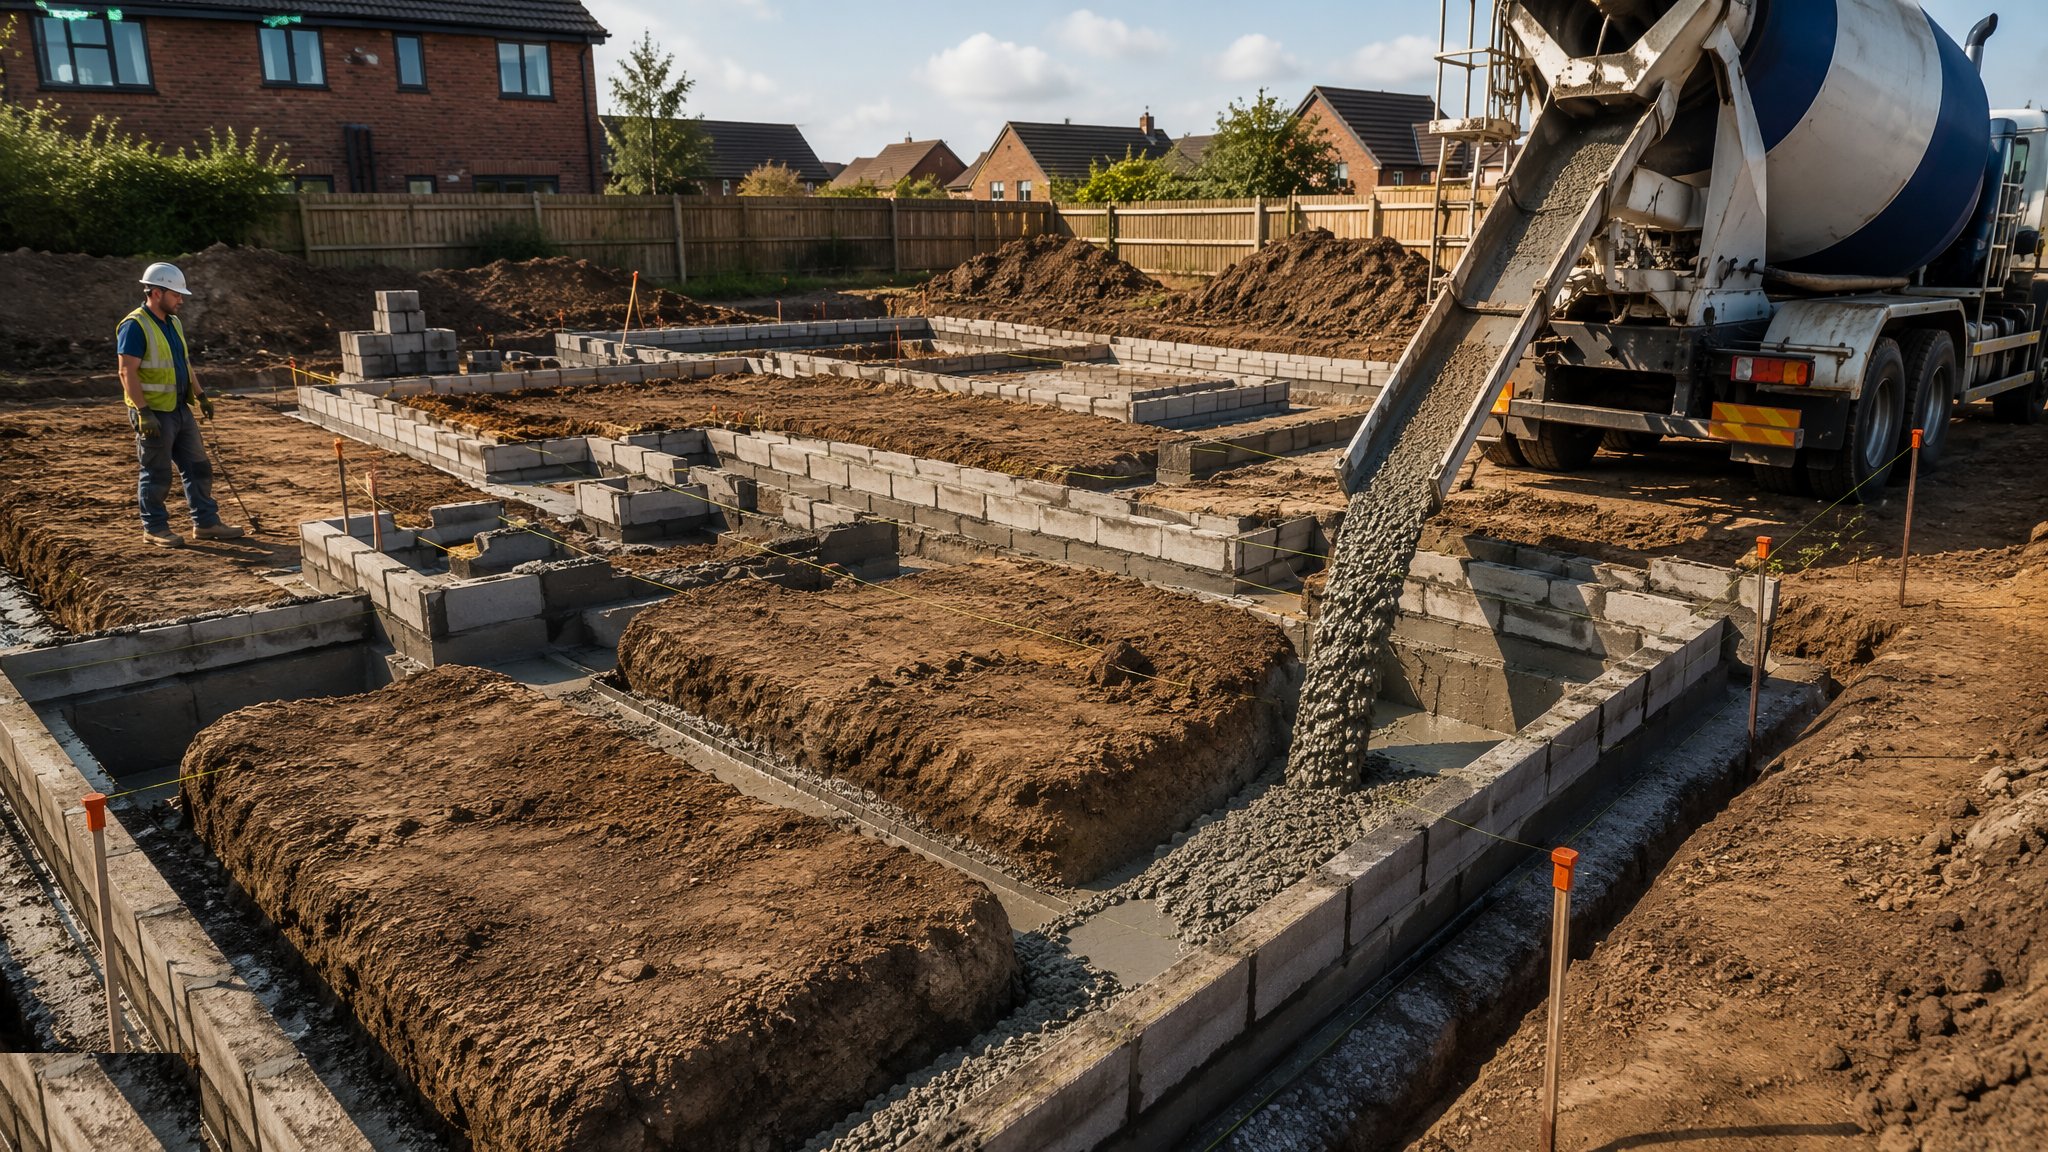
Strip foundations are the most-built foundation in the country: a continuous ribbon of concrete, typically 450–750 mm wide and 150–300 mm thick for housing, cast in a trench directly beneath every load-bearing wall. The load from the wall spreads through the concrete at 45 degrees onto the formation below, so the width comes from the load divided by the allowable bearing pressure - arithmetic so simple it hides the judgement underneath: what is the ground actually like, and what will it do over the next hundred years?
Depth is the other half of the design, and it is governed by everything except the load: frost susceptibility (450 mm minimum in most of the country), shrinkable clays (a metre or more, and deeper still near trees, where the depth charts rule), and the need to found on undisturbed soil below topsoil and made ground. A strip poured at a nominal depth because "that is what we always do" is a subsidence claim in waiting on clay sites with trees nearby.
Two variants dominate. Traditional shallow strips pour a metre or less of concrete and bring masonry up to DPC level from the foundation top; trenchfill pours concrete to within a couple of brick courses of ground level, saving the below-ground blockwork and the man-hours in the trench. Trenchfill is faster and safer - nobody works in a deep trench - but uses more concrete and demands an accurate dig, because the trench sides are the formwork. On both, the pre-pour inspection of the formation is the hold point that decides the building's future: soft spots, roots, fill and water-damaged ground are dug out and made good before concrete, or they are cracks in the wall above within five years.
Process storyboard
Step 1 of 6 - slide through the snapshots.
STEP 1
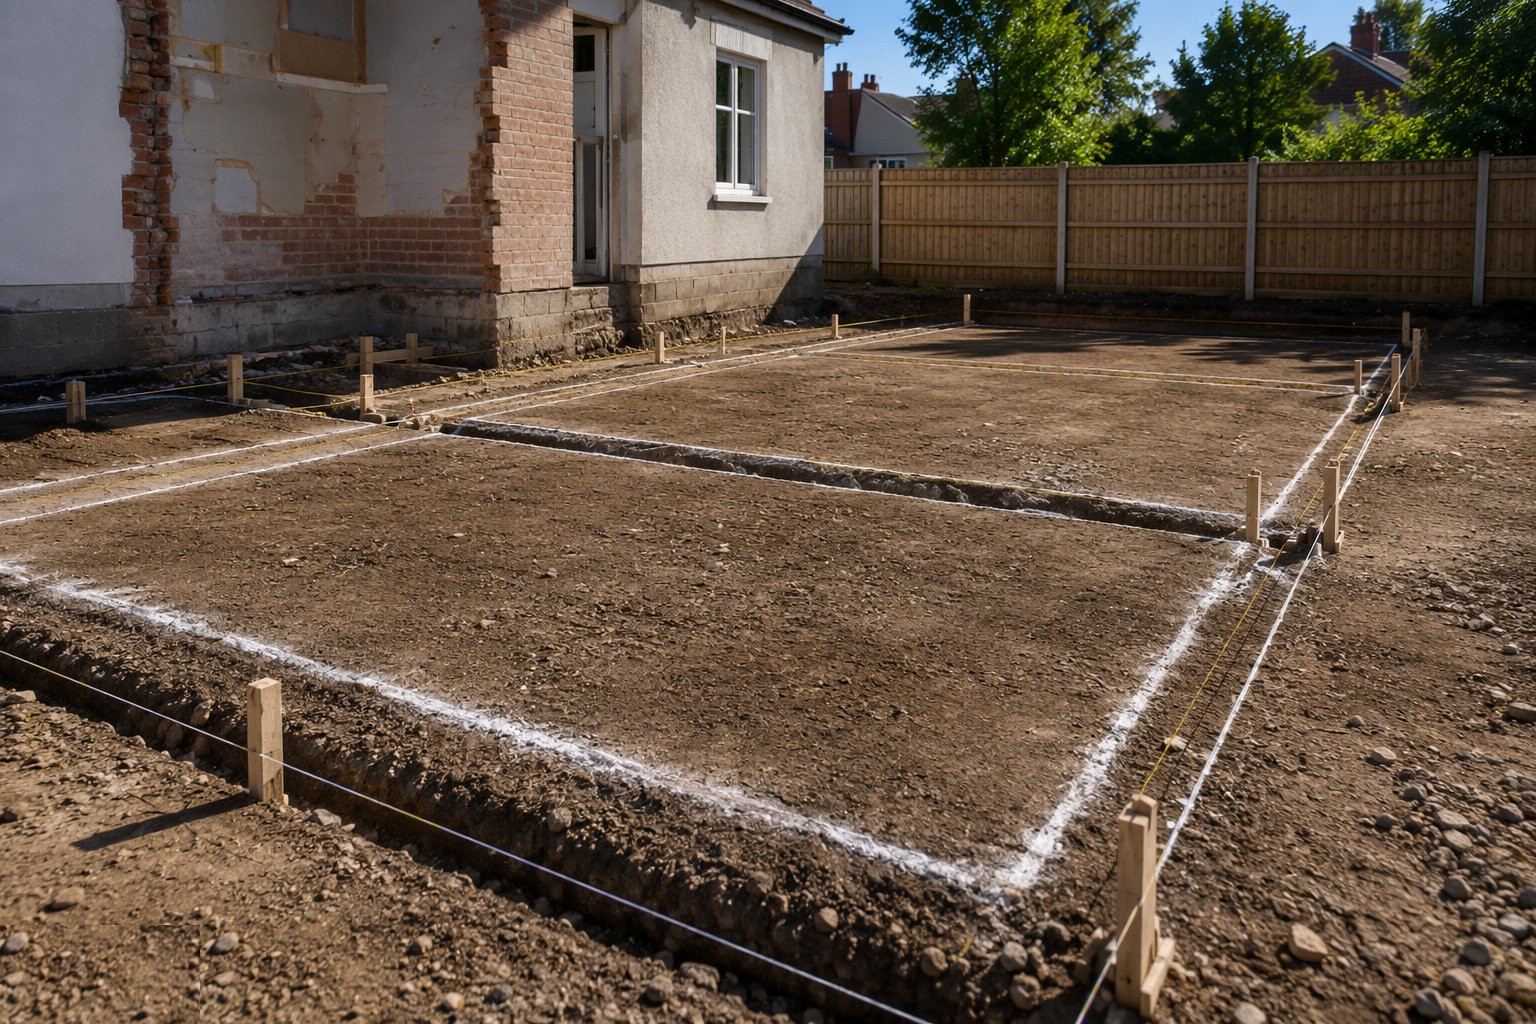
Set out the trenches from the control points
Wall centre lines are transferred from the site grid to profile boards at each corner, and trench lines are marked from the profiles.
How does Strip foundations work, step by step?
- 1
Step 1: Set out the trenches from the control points
Wall centre lines are transferred from the site grid to profile boards at each corner, and trench lines are marked from the profiles. Dimensions and diagonals are checked before the dig - a foundation 50 mm off line is a wall 50 mm off line, and walls off line become roof trusses that do not fit.
- 2
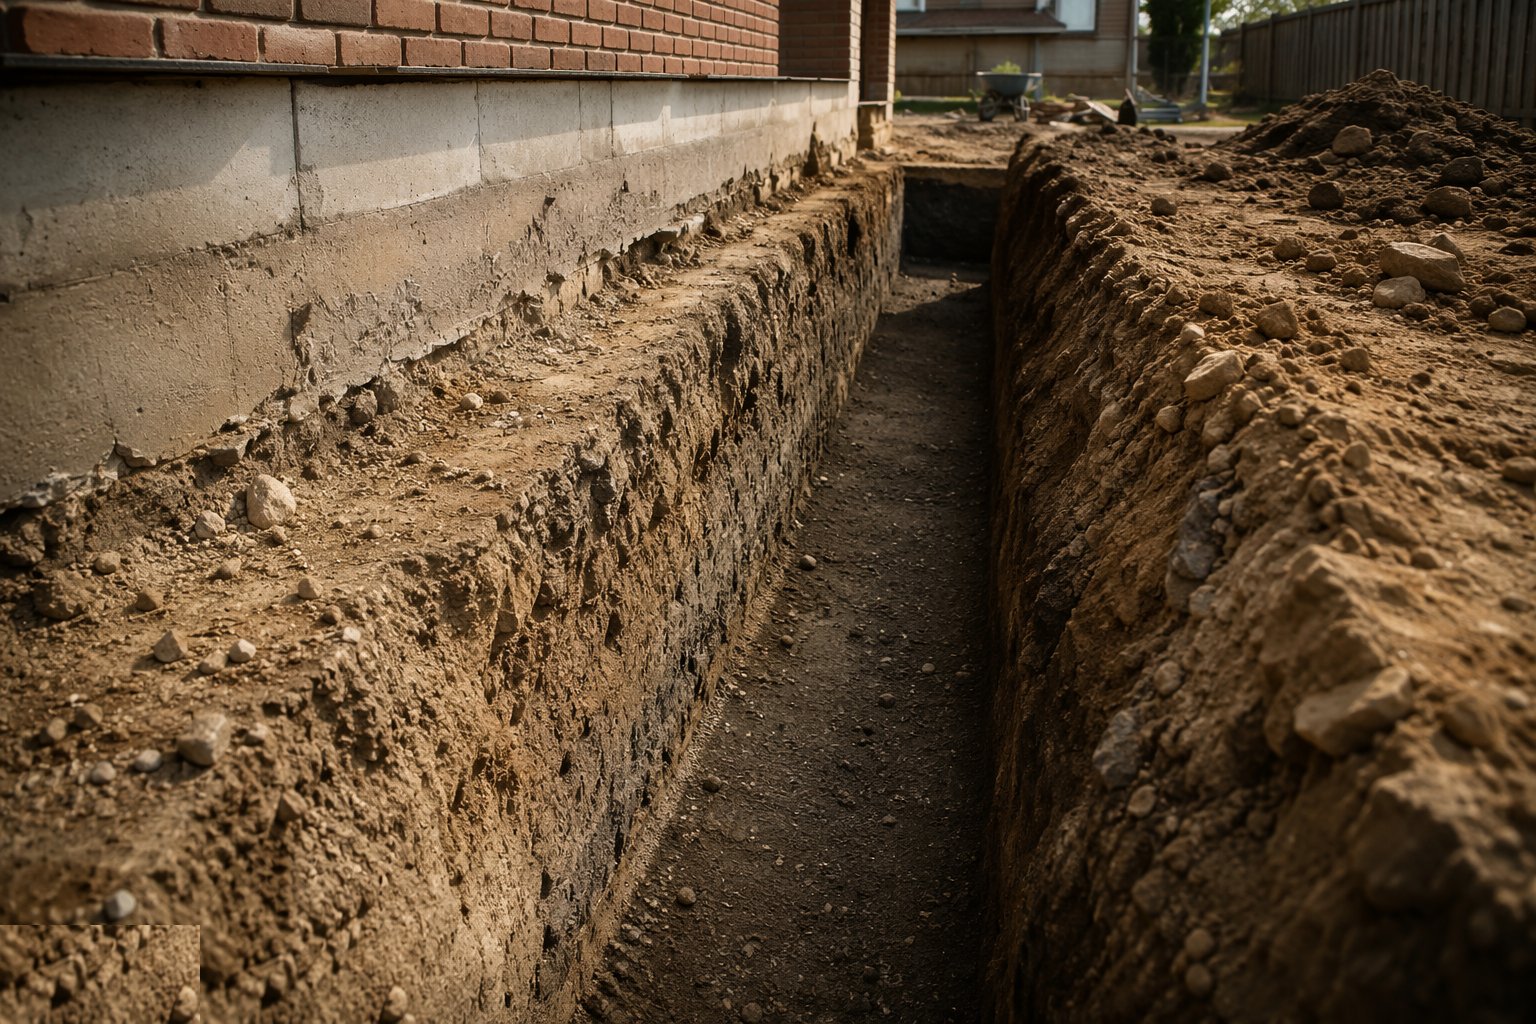
Step 2: Excavate to the design depth and stratum
The excavator digs to the profile lines with a trenching bucket, keeping the base clean and undisturbed; the last spit is trimmed carefully. Founding level is checked from the datum as the dig proceeds. In clay the dig is programmed tight against the pour - an open clay trench through a wet weekend is a softened formation that no longer matches its inspection.
- 3
Step 3: Inspect the formation - the hold point
The engineer or building control inspector walks the trench: correct stratum, correct level, no soft spots, roots, old fill, services or water damage. Suspect material is dug out and made good with mass concrete in designed steps. The approval is recorded before any concrete is ordered - this five-minute inspection is the cheapest quality control in construction.
- 4
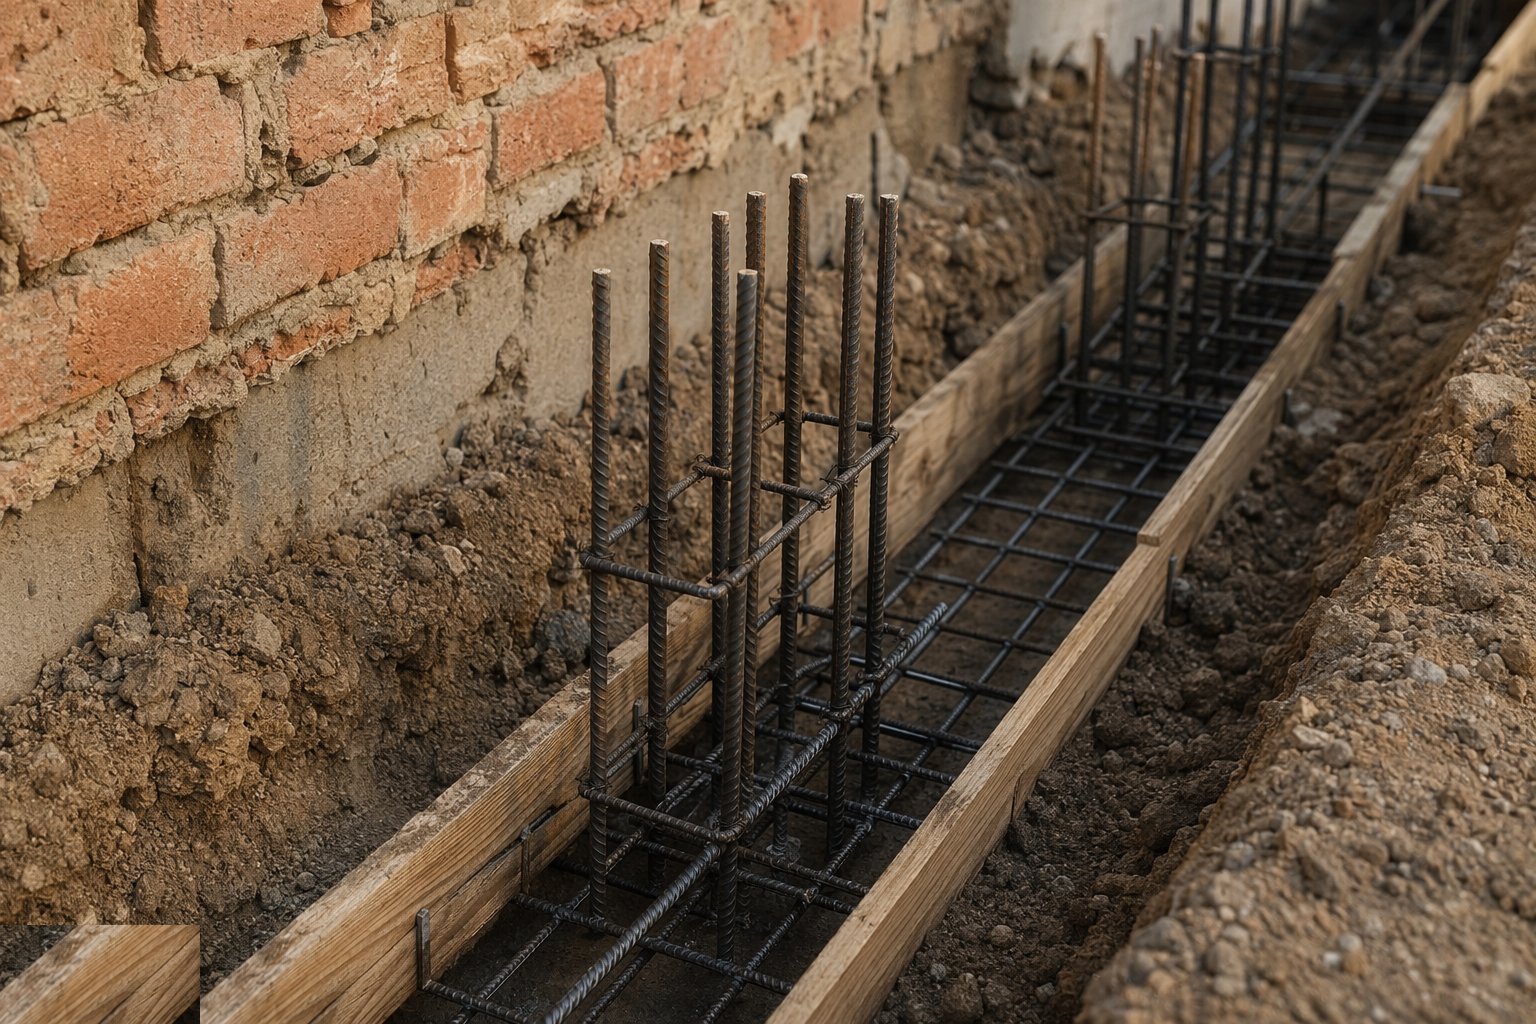
Step 4: Fix reinforcement and starters where designed
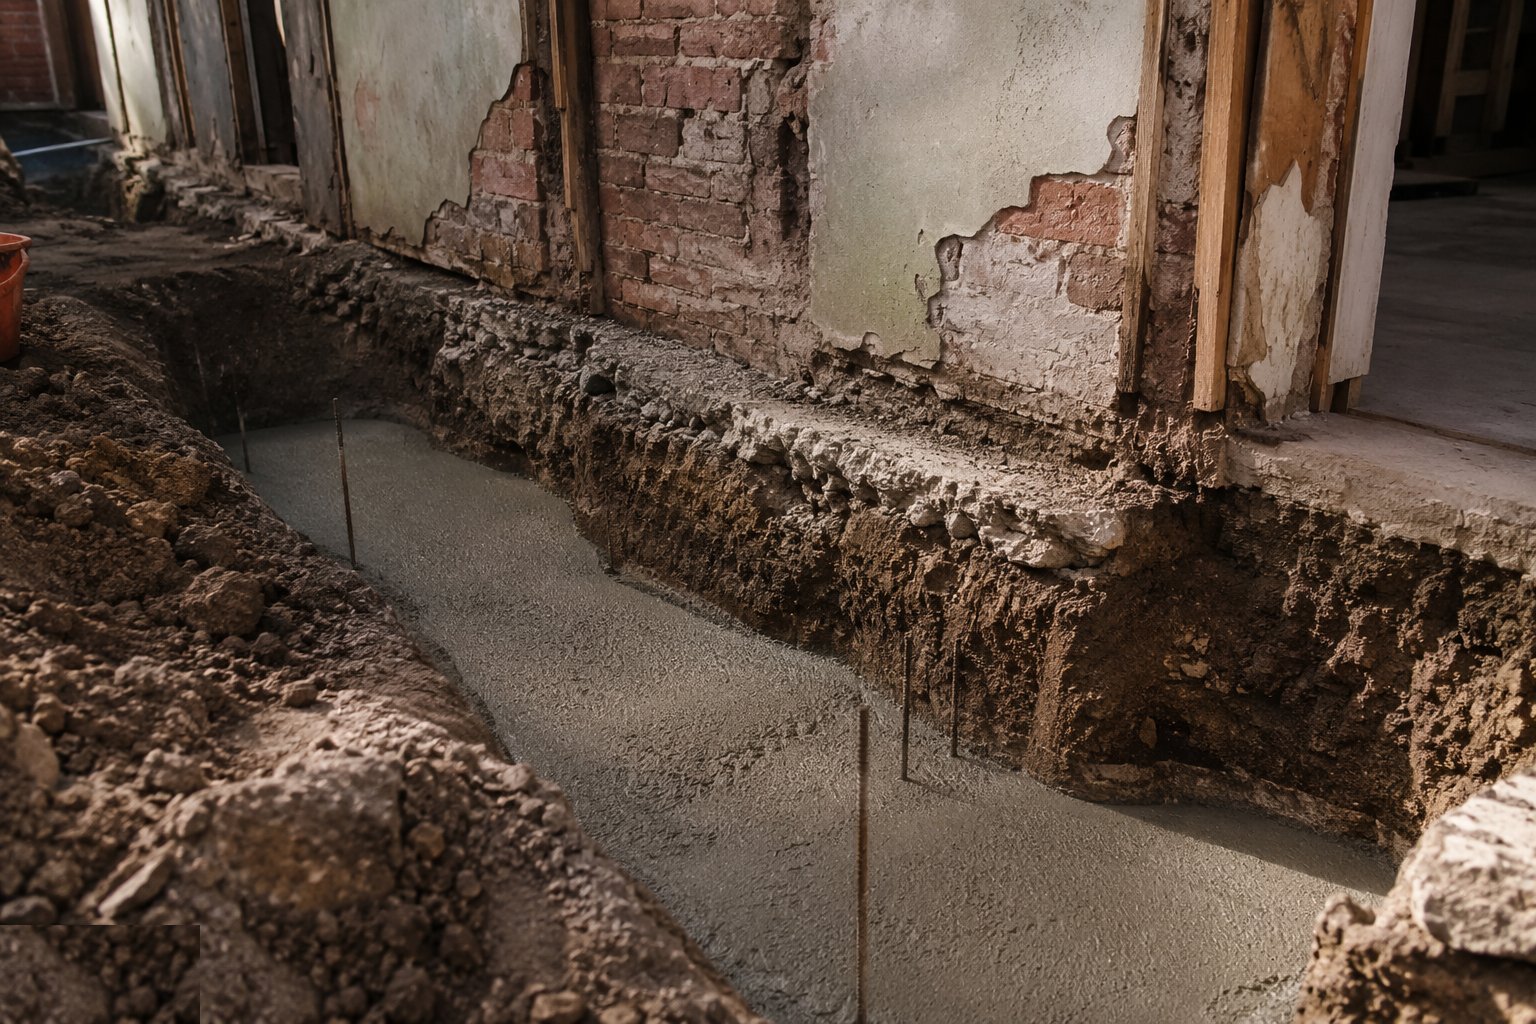
Where the design calls for reinforced strips, blinding goes down first for a clean working face; mesh and bars are fixed to the bending schedule with the specified cover - typically 50–75 mm against the ground - on chairs and spacers. Starter bars for walls above are templated to land true.
- 5
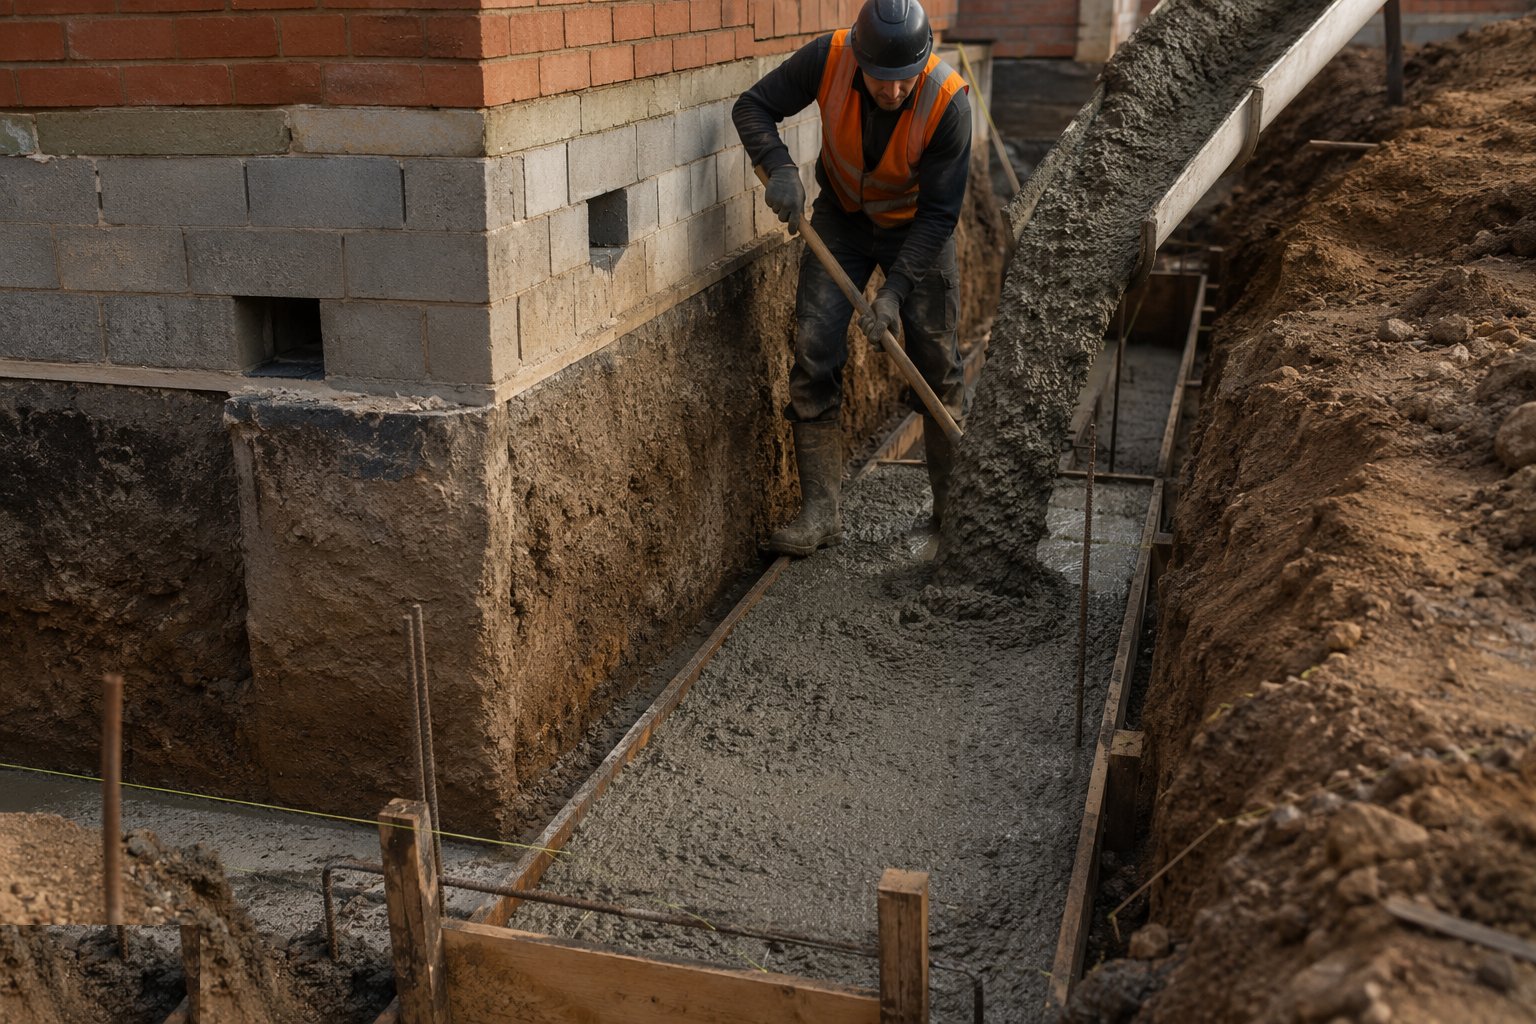
Step 5: Pour and compact the concrete
Concrete to the specified mix - commonly a GEN or RC mix to BS 8500 - is placed by chute direct from the truck where access allows, or by pump or skip. Each load is slump-checked against the order and the concrete is poker-vibrated to expel air. The top is tamped to the profile level: the accuracy of this surface is the accuracy of every course above it.
- 6
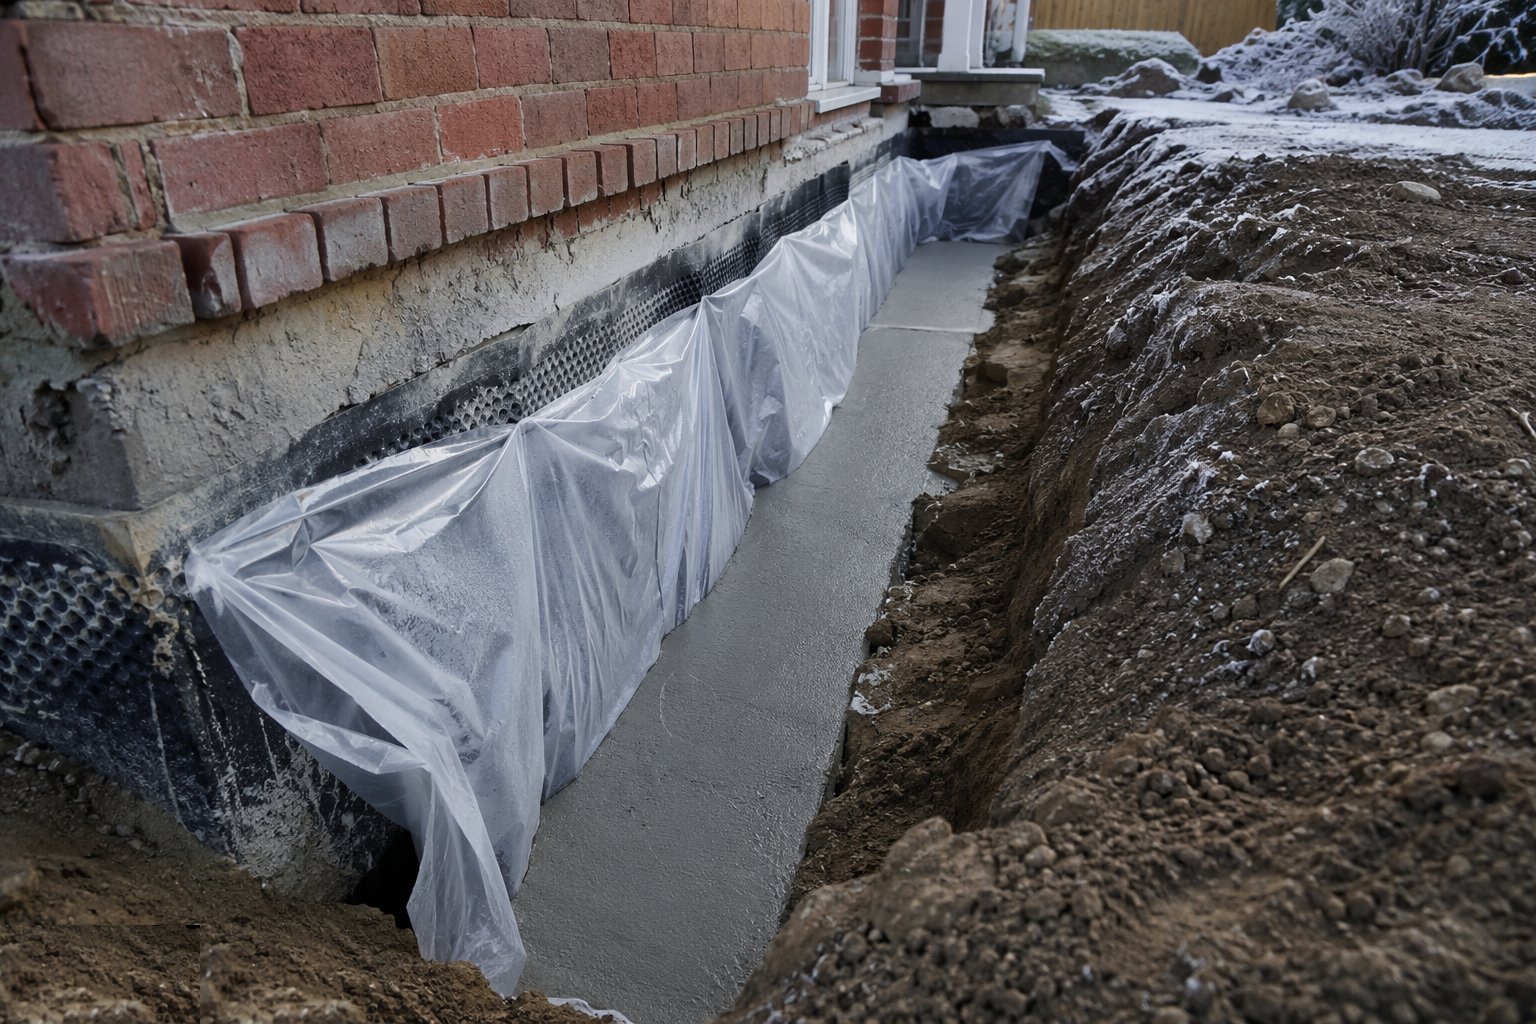
Step 6: Cure, protect and backfill
Cubes are taken from the pour for 7- and 28-day crushing; fresh concrete is protected from frost, rain and drying wind. Masonry above waits for adequate strength - typically a minimum of three days. Trench sides are backfilled in compacted layers, levels are as-built recorded, and the QA file - inspection, tickets, cubes - is completed as the work happens.
What are the benefits of Strip foundations?
- Cheapest foundation that exists on decent ground - minimal plant, minimal skill, minimal time
- Simple to design and inspect - the building control hold point is quick and definitive
- No formwork needed for trenchfill - the ground is the mould
- Robust and tolerant - mass concrete forgives minor workmanship variation
- Local supply and local labour - any groundwork gang can build them well
What are the limitations of Strip foundations?
- Needs decent bearing within a metre or so - weak ground, deep fill or mining rule it out
- Depth on shrinkable clay near trees can reach 2.5 m+ - at which point rafts or piles win on cost
- Trench excavation is a hazard - support, access and weather management
- Sensitive to formation condition - one undetected soft spot is a settlement crack
- Not suitable for concentrated column loads - that is what pads are for
What is Strip foundations best suited for?
What plant does Strip foundations need?
- 360° excavator with trenching bucket
- Readymix trucks with chutes, or a pump/skip for restricted access
- Poker vibrator and tamping screed
- Laser or dumpy level and staffs
- Profile boards, lines and pins
- Rebar cutting and tying tools where reinforcement is specified
How is Strip foundations quality-checked?
- Formation inspection and sign-off recorded before every pour
- Founding level checked from datum; trench width and line against profiles
- Slump test on each load against the ordered consistence
- Cube samples crushed at 7 and 28 days
- Reinforcement and cover checked against the bending schedule where designed
- Delivery tickets filed with mix, volume and batch time
More shallow foundations methods
Next method
Pad foundations