Glazing specifications
The glass does the thermal heavy lifting - specify the coating, the gas and the spacer, then check the markings.
Last updated 2026-08-22
What is Glazing specifications?
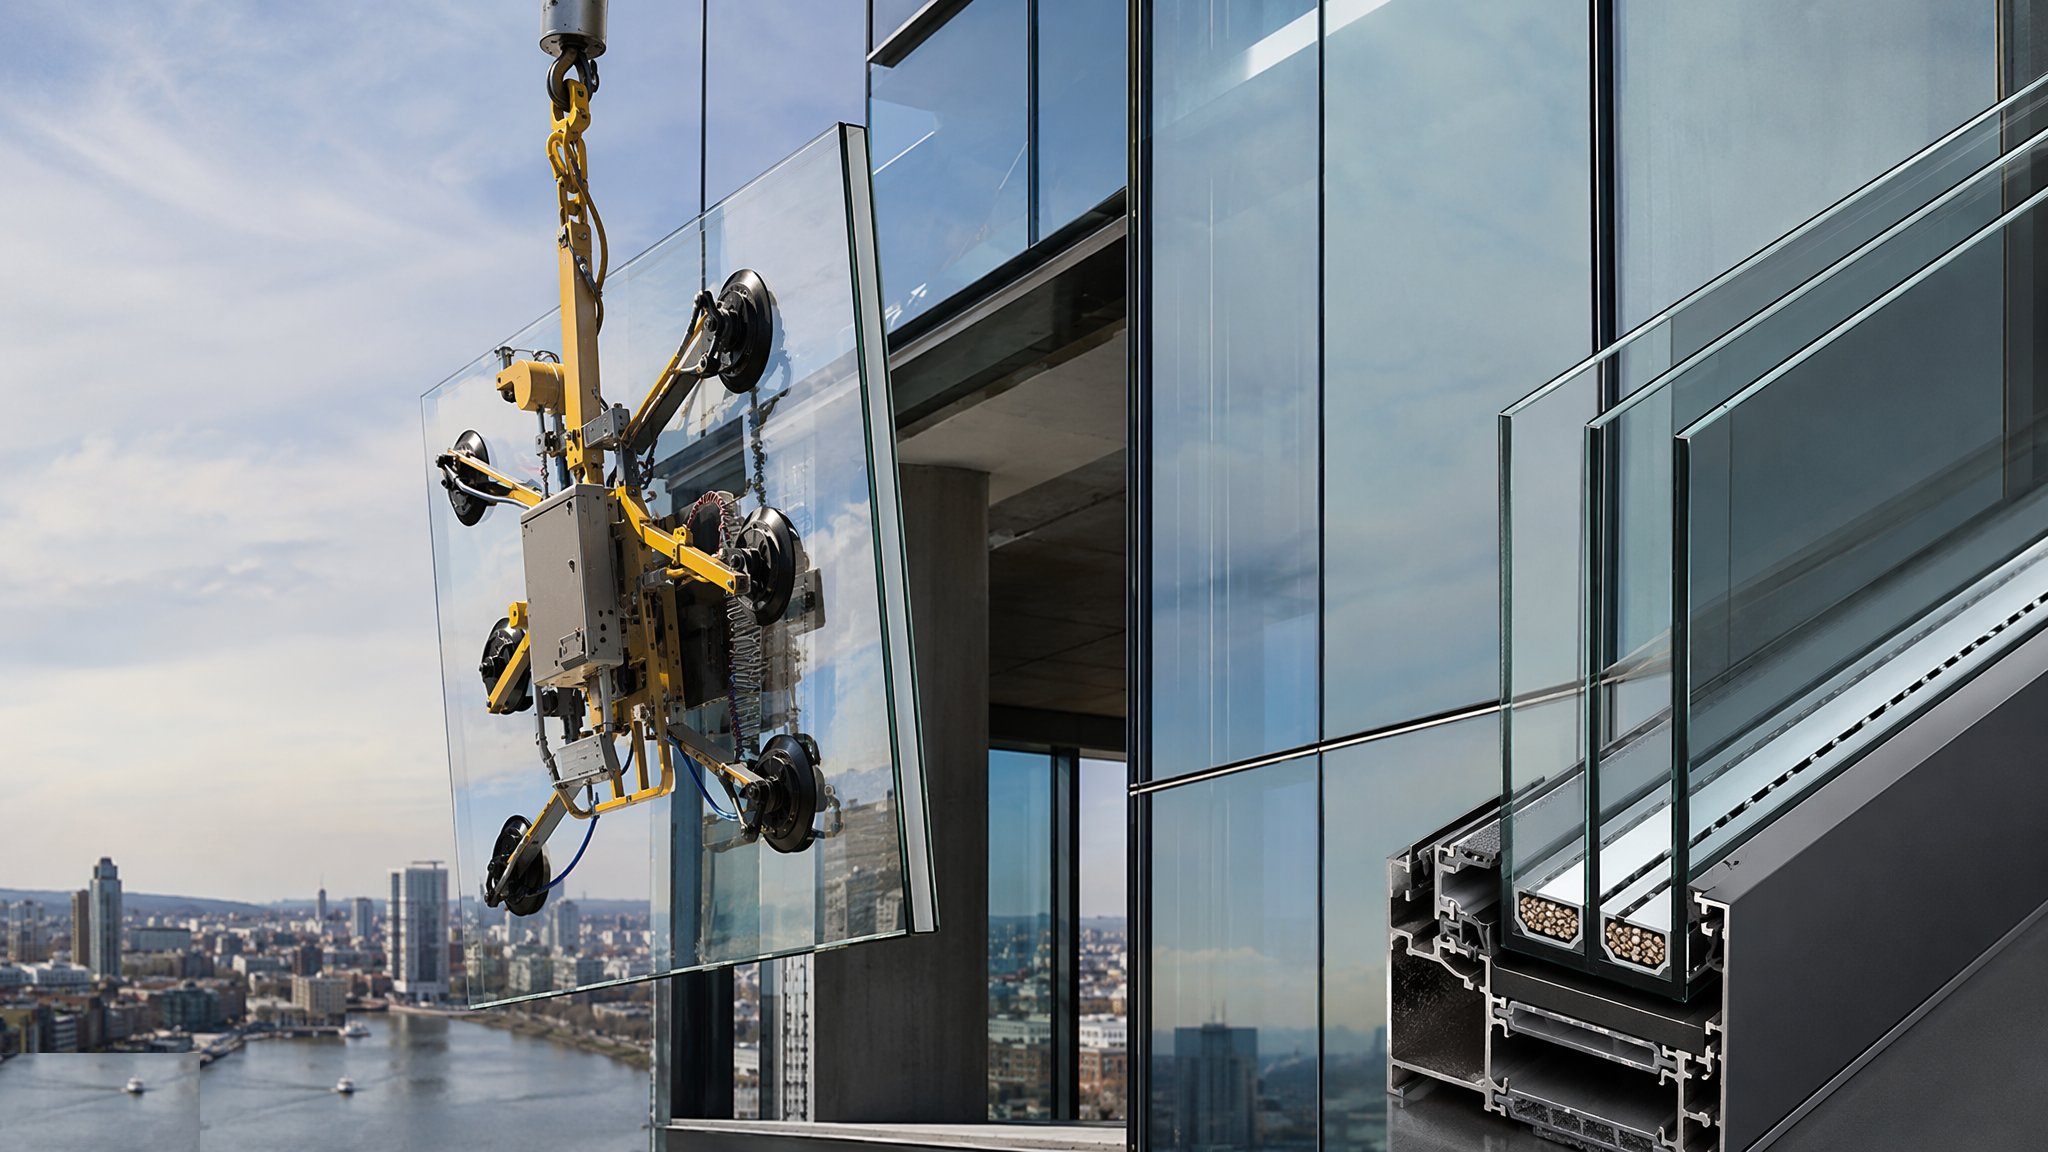
The frame gets the attention, but the glazing unit does the work. A modern insulated glazing unit is an engineered sandwich: two or three panes, a low-emissivity coating on a specified face, an argon or krypton gas fill, a warm-edge spacer replacing the old aluminium cold bridge, and perimeter seals that must hold the gas and exclude moisture for twenty years or more. The build-up is written as a code - 4-16-4 with a soft-coat low-E and argon is the volume default - and the performance lives in the choices: centre-pane U-values around 1.0–1.1 W/m²K for standard double glazing, toward 0.5–0.7 W/m²K for triple, with g-values tuned for solar gain strategy and acoustic laminates cutting traffic noise where the site demands.
Safety glazing is a regulation, not an option, and it is checked by its markings. Toughened or laminated glass is mandatory in critical locations - doors and side panels, low-level glazing below 800 mm, and glass in and around baths and screens - because annealed glass breaks into blades and safety glass breaks into granules or holds together on its interlayer. Every safety pane carries a permanent marking of its standard and class, and verifying those markings in the right locations is a defined inspection task, not a nice-to-have: an unmarked pane in a door is a compliance failure and an injury waiting for the same moment.
Specification failures are quiet and expensive. A unit installed with its low-E coating on the wrong face still looks like glass; it just performs worse for twenty years. Failed perimeter seals fog the unit with condensation between the panes - the signature of a dead unit. Edge deletion, spacer type and gas fill are invisible at handover unless the documentation and the spacer stamp say so. The glazing schedule is therefore a technical document: build-up, coating face, gas, spacer, safety class, acoustic rating, and orientation - and the site discipline is to check delivered units against it, glaze them the right way round, and photograph the markings before the beads go on. Glass is the last thing anyone checks and the first thing the energy calculation assumed.
Process storyboard
Step 1 of 6 - slide through the snapshots.

STEP 1
Write the glazing schedule from the performance targets
The schedule is built from the energy calculation, the acoustic assessment and the safety regulations: unit build-up per elevation, U-value and g-value…
How does Glazing specifications work, step by step?
- 1
Step 1: Write the glazing schedule from the performance targets
The schedule is built from the energy calculation, the acoustic assessment and the safety regulations: unit build-up per elevation, U-value and g-value targets, coating type and face, gas fill, spacer type, laminated or toughened panes where security, acoustics or critical locations demand, and any solar-control or privacy glass. Orientation-specific specifications go on the drawings, because south and north elevations often want different glass.
- 2
Step 2: Verify delivered units against the schedule
Units are checked at delivery: build-up per the label or spacer stamp, coating presence verified with a coating detector where required, safety glass markings present in every critical-location unit, sizes and thicknesses against the schedule, and edge and seal condition inspected. Damaged or unmarked units are rejected at the door - a wrong unit discovered glazed is a reglaze, a delay and an argument.

- 3
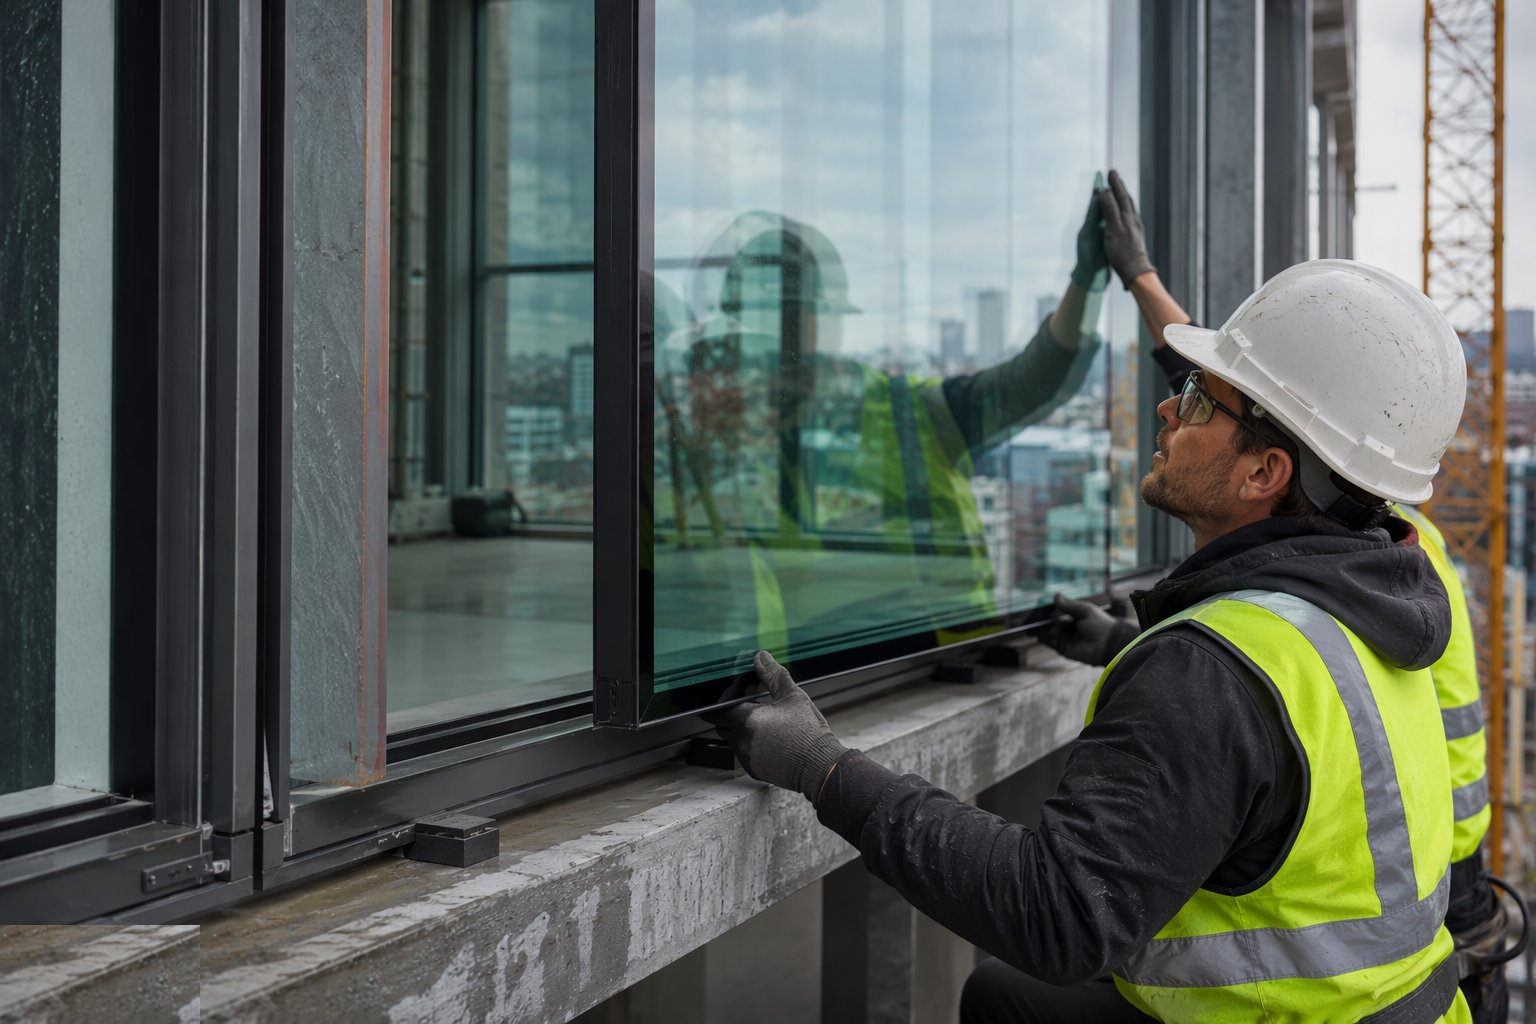
Step 3: Glaze to the system - blocks, orientation and drainage
Units are landed on setting and location blocks per the frame system, positioned so the designed load path runs through the blocks and not the fixings. Coated faces and laminated panes are oriented as specified - coatings face the cavity on the designed pane, laminates face the threat. Beads, gaskets and wedge seals are fitted in sequence with drainage and ventilation slots left clear.
- 4
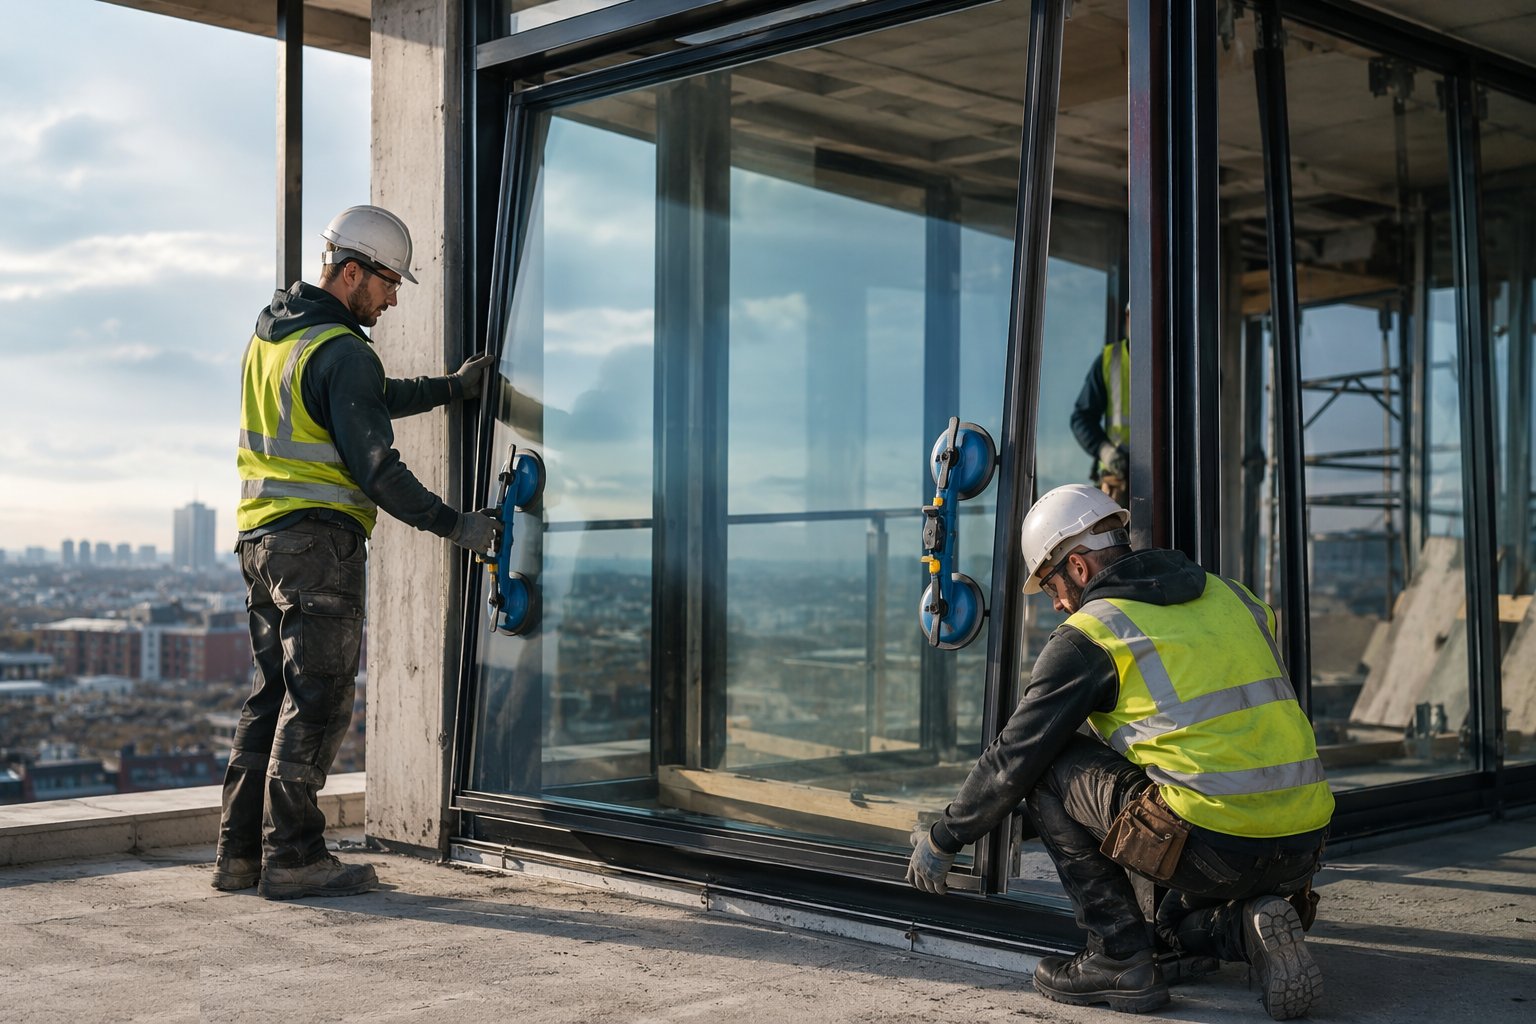
Step 4: Toe-and-heel the opening lights
Opening sashes are braced by the glazing itself: packers arranged diagonally so the glass carries the sash weight to the hinge side, preventing the dropped sash that binds and gaps its seals. The technique is verified by operation - a correctly braced sash closes square with even gasket compression and stays adjusted for years instead of months.
- 5
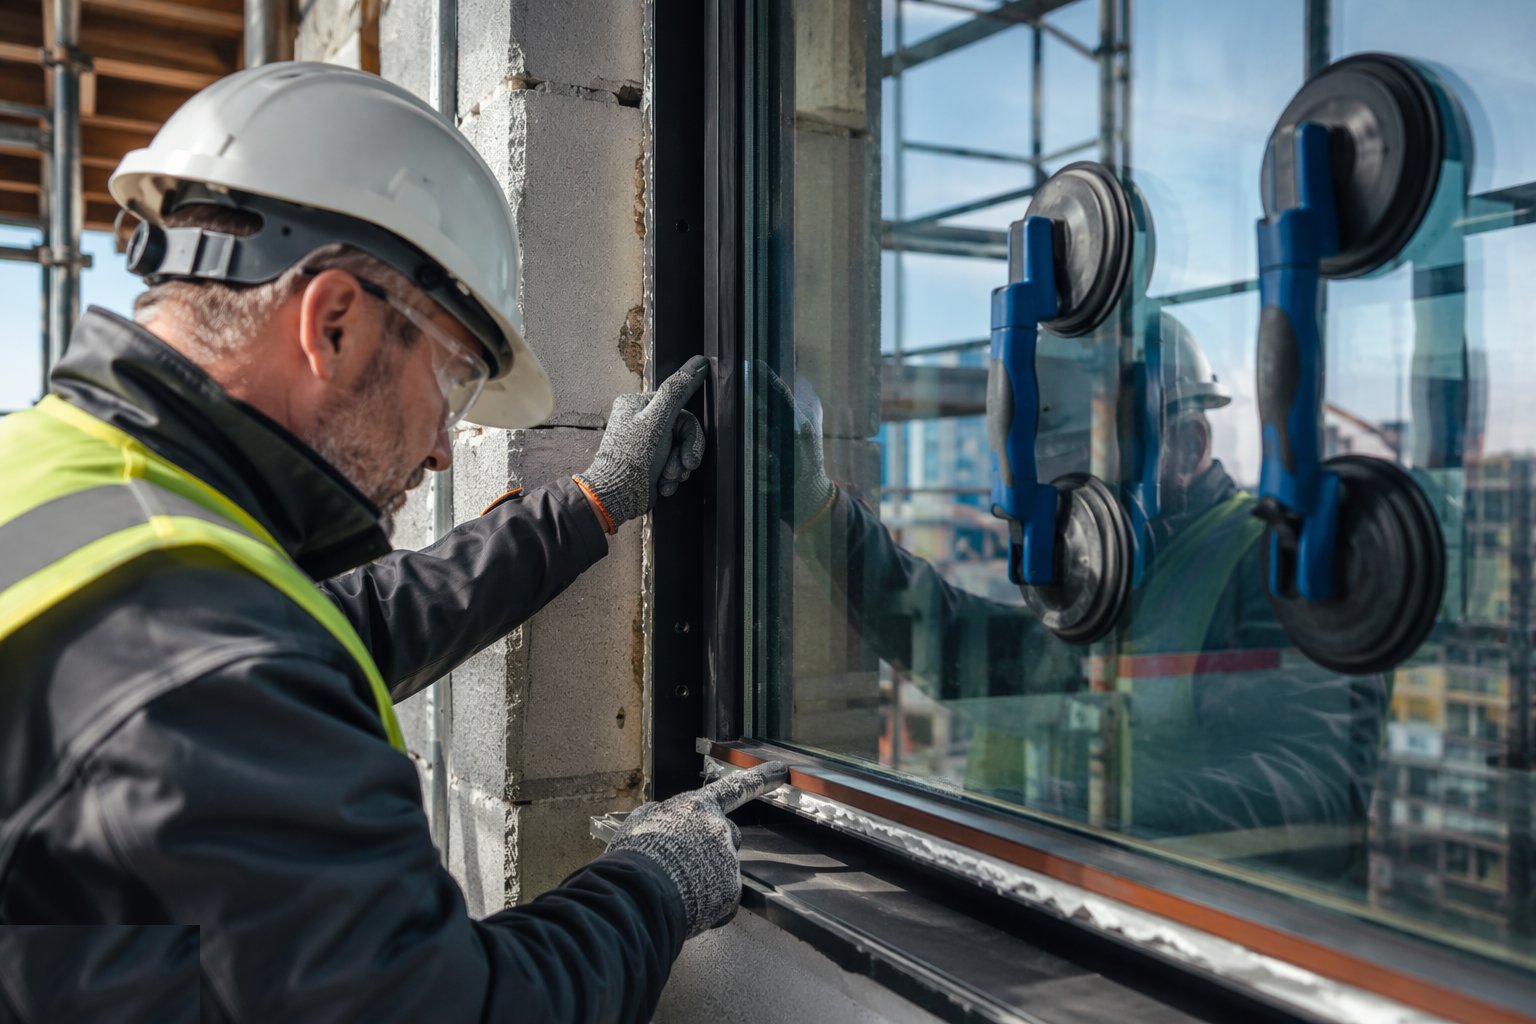
Step 5: Verify markings and orientation before closure
Before beads and closures conceal the evidence, safety glass markings in critical locations are photographed and logged per unit, coating orientation is confirmed, and spacer stamps are recorded against the schedule. On certified and passivhaus-adjacent projects this glazing log feeds the compliance file. It takes minutes per unit and it is the only check the glazing will ever get.
- 6
Step 6: Inspect in service and manage the failures
At handover and first inspection, units are checked for seal failure - fogging between panes - chips, shelling at edges and stress cracks, which are documented and replaced under the glazing warranty. Cleaning guidance follows the coating: some solar-control and self-clean coatings have specific regimes. The glazing log with markings, schedules and warranty terms goes to the owner, because glass is a twenty-year component on a two-year defects horizon.

What are the benefits of Glazing specifications?
- Engineered performance - U-values to 0.5 W/m²K centre-pane, tuned solar gain, acoustic control
- Low-E coatings, gas fills and warm-edge spacers cut heat loss and edge condensation dramatically
- Safety glazing in critical locations is life-safety compliance, permanently marked and verifiable
- Laminated panes add security, acoustic and UV-filtering performance in one upgrade
- Triple glazing enables low-energy and passivhaus envelopes
- Units are replaceable - failures and future upgrades are local, not demolition
What are the limitations of Glazing specifications?
- Performance is invisible - wrong coating face, gas or spacer only shows in the energy bills
- Seal failures fog units over time - manufacturing quality and warranty terms matter
- Triple glazing is heavy - frames, hinges and handling must be specified for it
- Acoustic laminates and specialist glass carry long lead times and real cost
- Large units need mechanical handling and careful logistics
- Regulation and certification are marking-based - unmarked or wrongly located safety glass is a defect
What is Glazing specifications best suited for?
What plant does Glazing specifications need?
- Suction handlers and glazing robots for large and heavy units
- Coating detectors for low-E face verification
- Setting, location and toe-and-heel packers per the frame system
- Bead and gasket fitting tools
- Glazing schedule and markings log - the paperwork is plant here
- Photography kit for the markings and orientation record
How is Glazing specifications quality-checked?
- Delivered units verified against the glazing schedule - build-up, spacer stamp, labels
- Safety glass markings confirmed and logged in every critical location
- Coating face and laminate orientation verified per unit before beading
- Setting blocks, toe-and-heeling and drainage slots checked per unit
- Perimeter seal and gasket continuity inspected before closure
- Post-installation survey for seal failure, chips and stress cracks before handover