uPVC windows and doors
The volume housing standard - welded, reinforced and racked by nobody who wants it to last.
Last updated 2026-08-22
What is uPVC windows and doors?
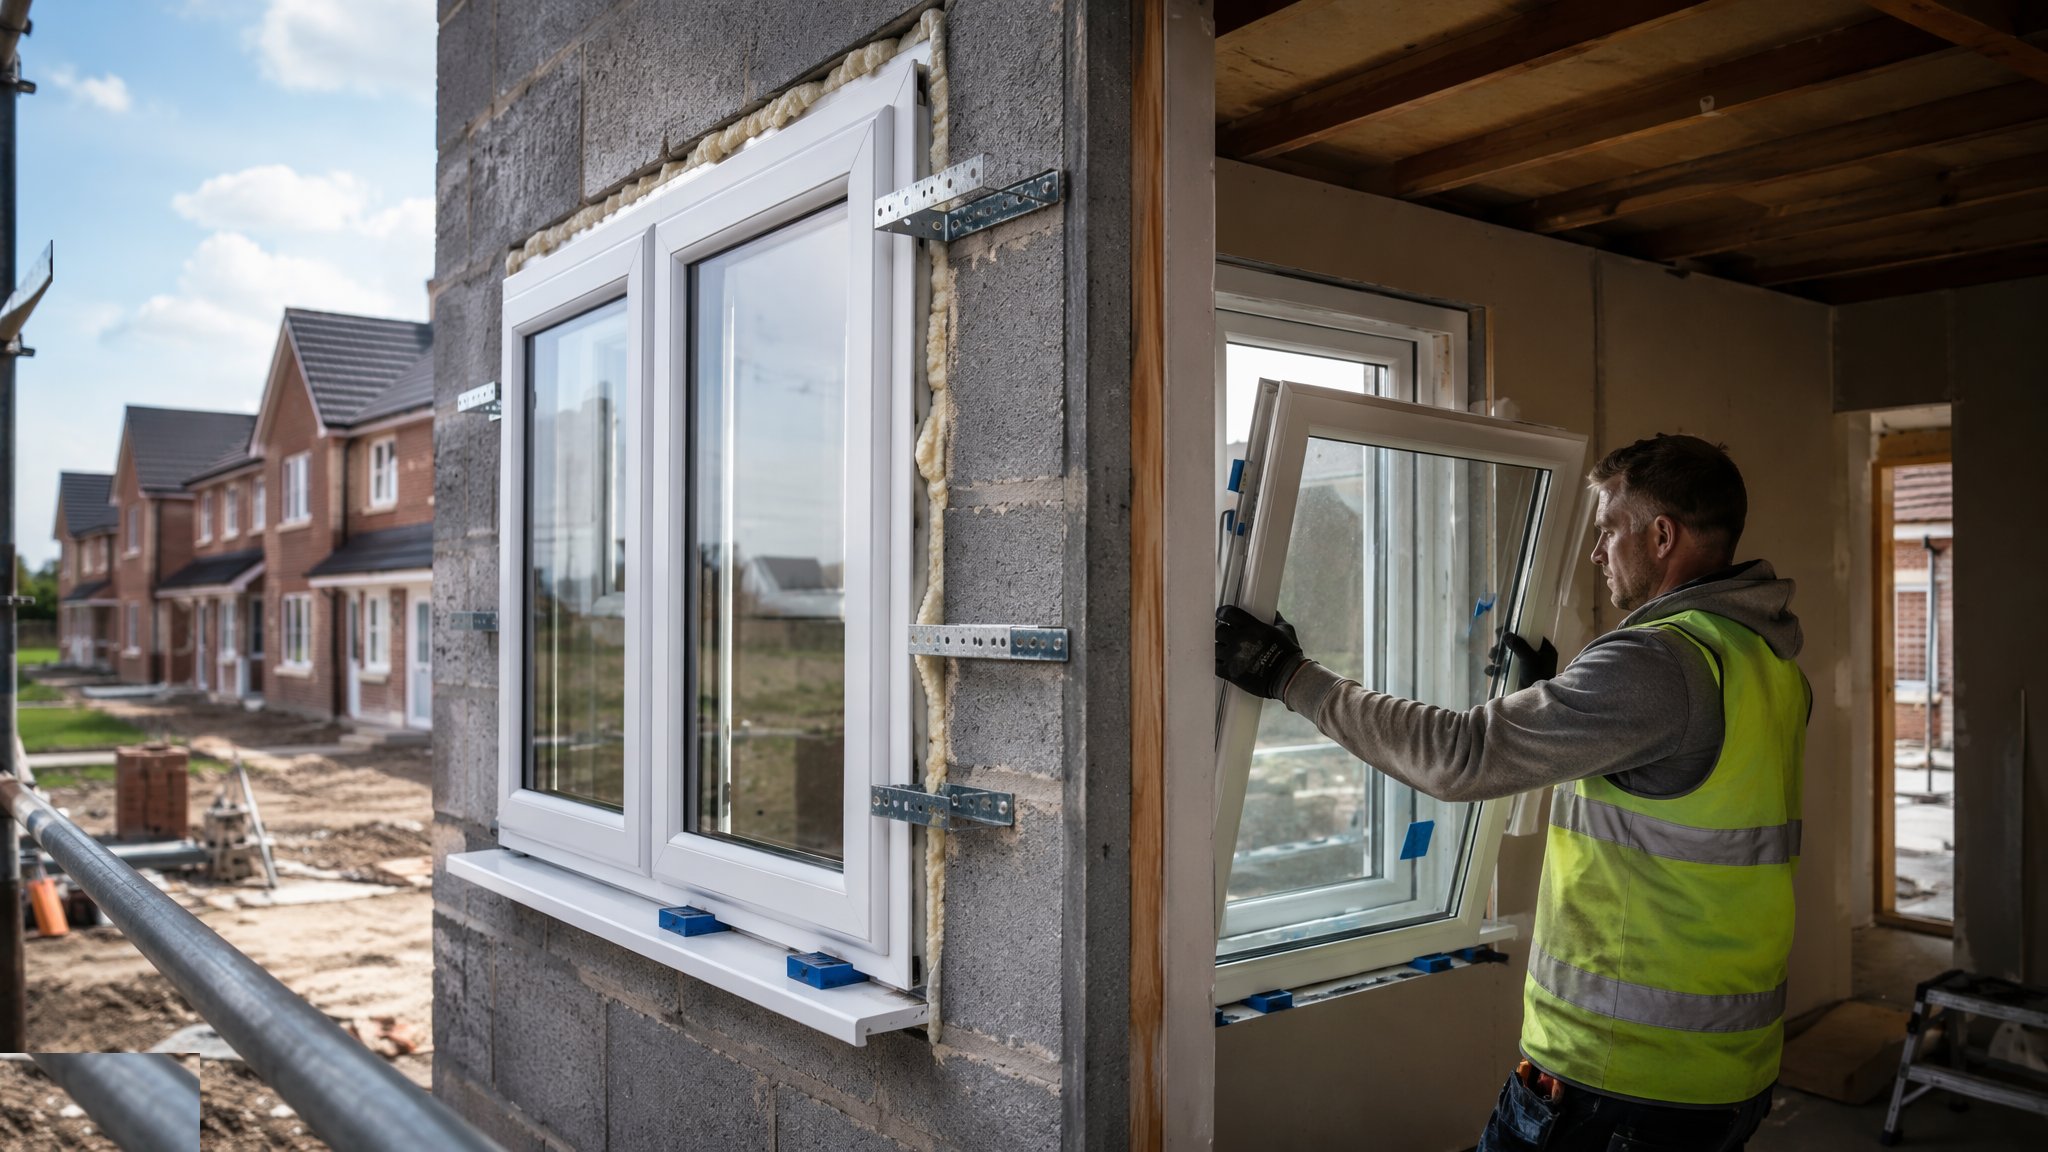
uPVC is the default window of volume housing for sound reasons: multi-chamber extruded profiles welded at the corners, galvanised steel reinforcement in the larger sections, double-glazed units and multi-point locking, all at a price and a maintenance burden - essentially zero - that nothing else touches. A decent uPVC casement with a 28 mm argon-filled low-E unit achieves whole-window U-values around 1.2–1.4 W/m²K, meeting energy standards without exotic specification, and the material does not rot, rust or need repainting in its service life. The industry makes them by the million, and the good ones are genuinely good.
Quality in uPVC lives in three places: the reinforcement, the hardware and the welding - and in the installation, because a uPVC frame is a flexible plastic tube until it is glazed and fixed. Profiles over a designed size must carry steel reinforcement screwed correctly, or the frame creeps and the sashes drop. Welded corners must be cleaned and squared; hinges and keeps must be adjusted, not assumed. But the most common failure is inflicted on site: a frame packed at the corners, pulled out of square by over-tightened fixings, or bowed by expanding foam will bind, gap its seals and leak air for twenty years while everyone blames the window.
The installation physics are the same as every window - plumb, level, square, fixed at the specified centres, air seal inside tighter than the weather seal outside, drainage slots left clear - but uPVC adds its own rules. Packers go adjacent to fixing points and under mullions, never bowing the profile. Low-expansion foam fills the gap but is never the fixing. Trickle vents, where fitted, must actually be open to satisfy ventilation requirements. And the frame's drainage and pressure-equalisation slots must never be sealed shut by an enthusiastic sealant gun - a uPVC frame is designed to let water in to the rebate and drain it out again, and blocking that path fills the frame with water.
Process storyboard
Step 1 of 6 - slide through the snapshots.
STEP 1
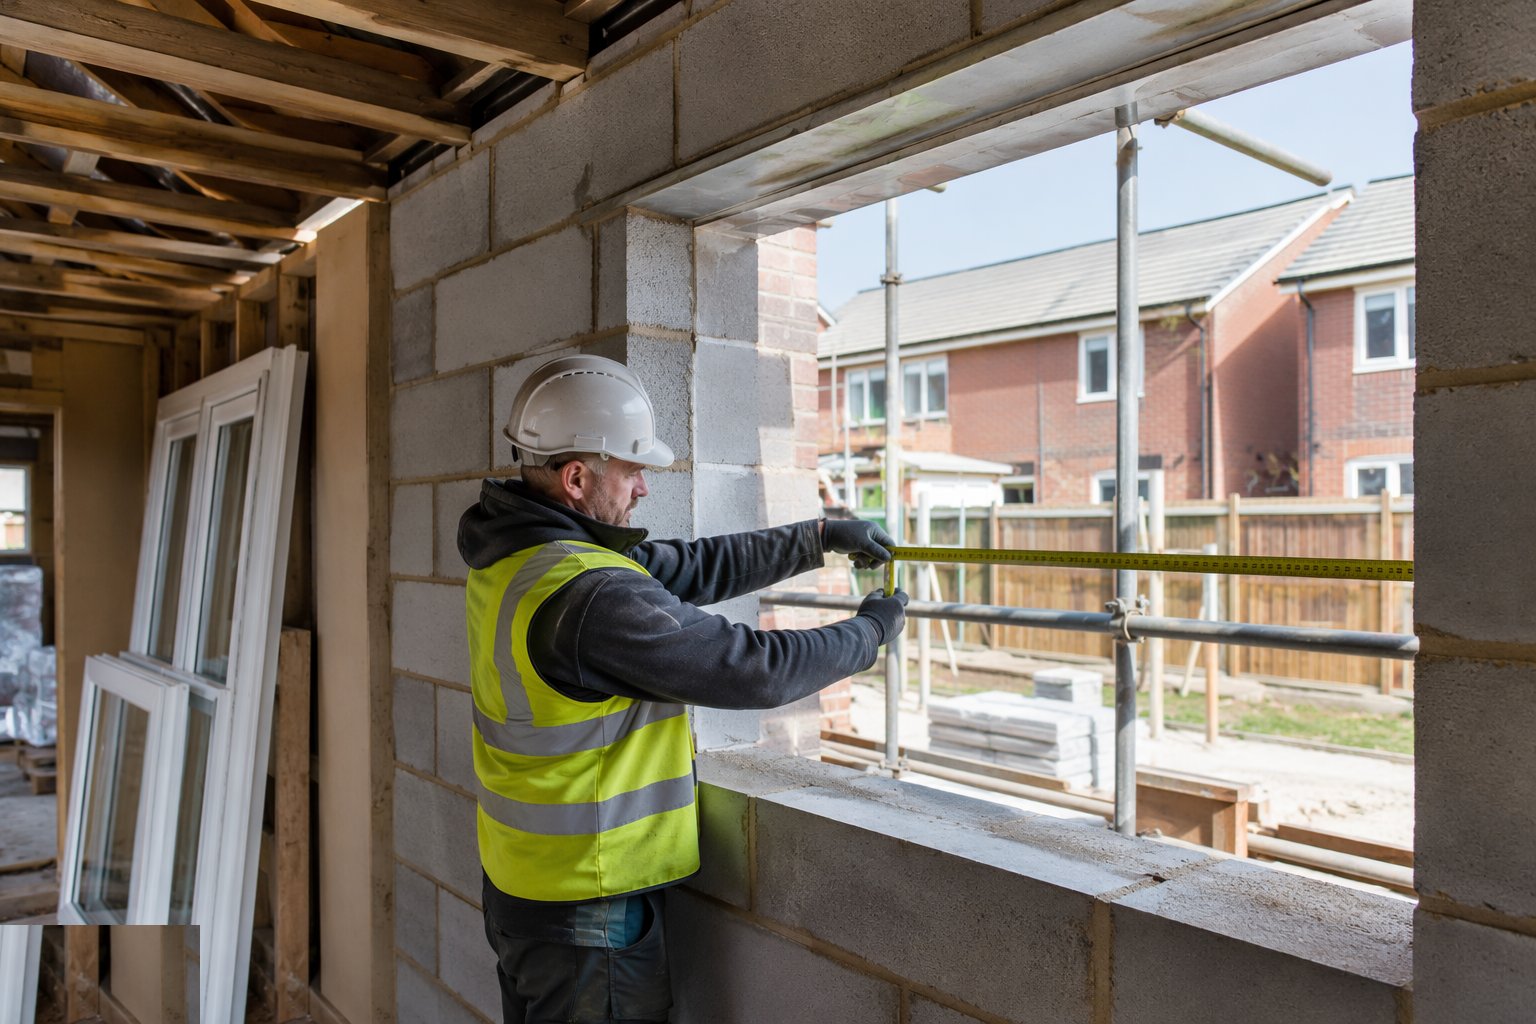
Survey the openings and verify the units
Openings are measured - width, height, diagonals, cill level - after the structure is final, and manufacturing sizes come off the survey minus the designed…
How does uPVC windows and doors work, step by step?
- 1
Step 1: Survey the openings and verify the units
Openings are measured - width, height, diagonals, cill level - after the structure is final, and manufacturing sizes come off the survey minus the designed fitting tolerance. Delivered frames are checked against the schedule for size, handing, glazing, reinforcement and hardware, and inspected for transport damage before acceptance. Frames are stored upright, protected, out of the sun that can bow dark profiles.
- 2
Step 2: Prepare the opening and set the cill
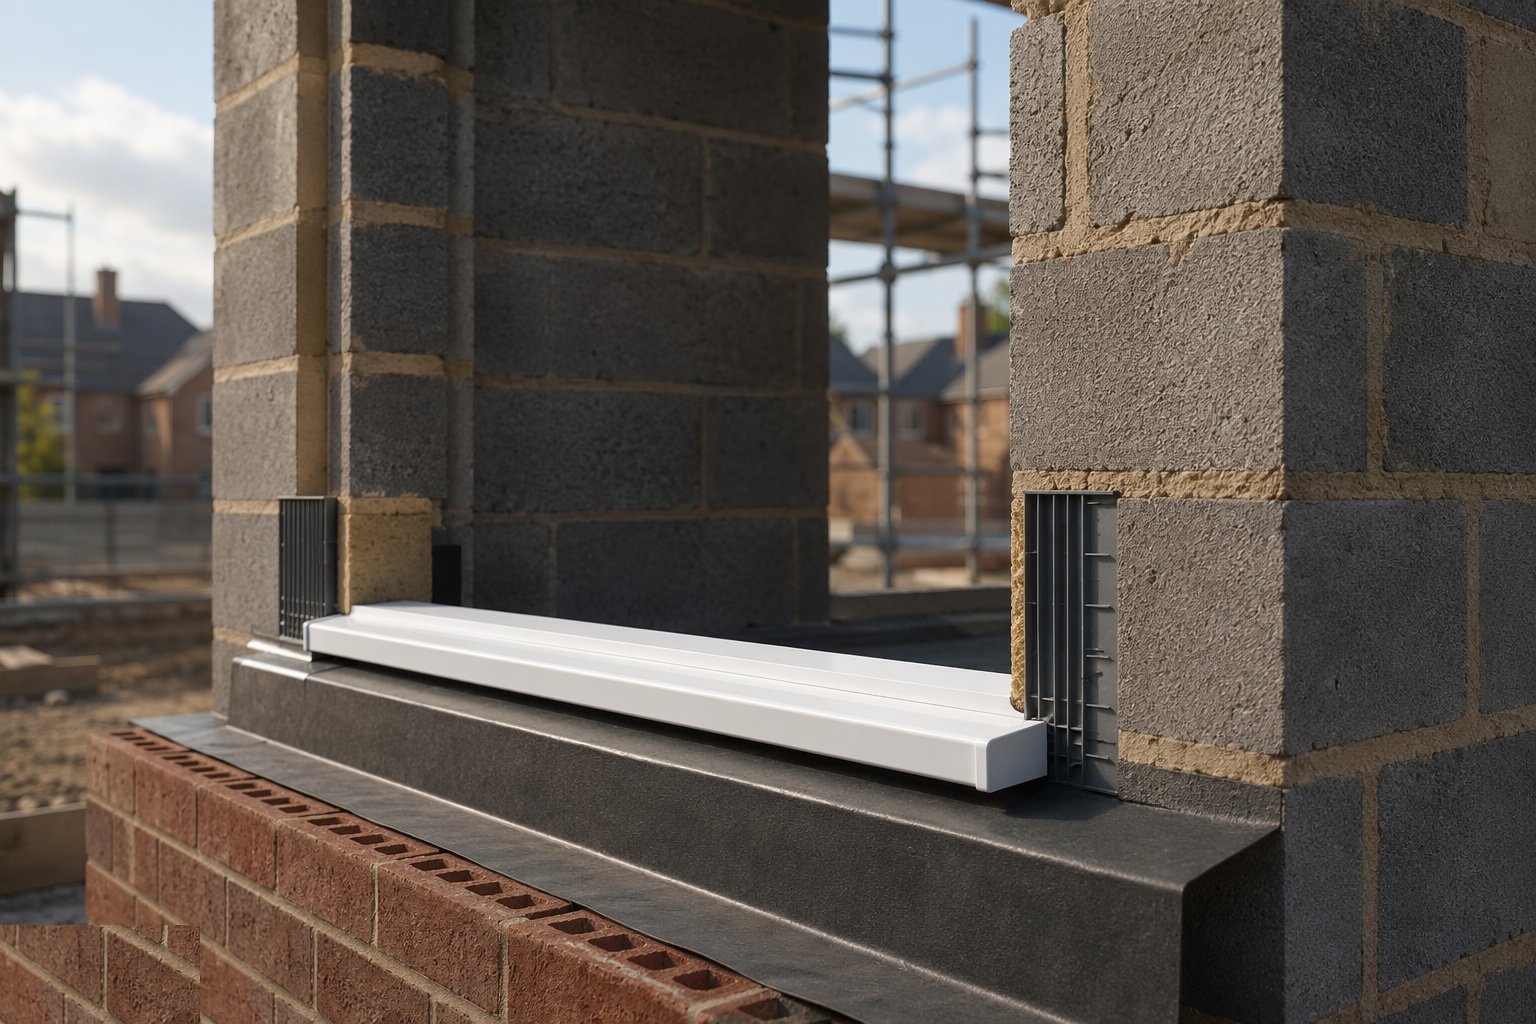
The opening is cleaned, cavity closers and DPC junctions verified, and the cill is set level and true - bedded and fixed where specified, end caps fitted, DPC sealed. The cill is the frame's datum and its first weather defence; a cill out of level is a sash that never quite closes and nobody knows why.
- 3
Step 3: Position, pack and fix the frame square
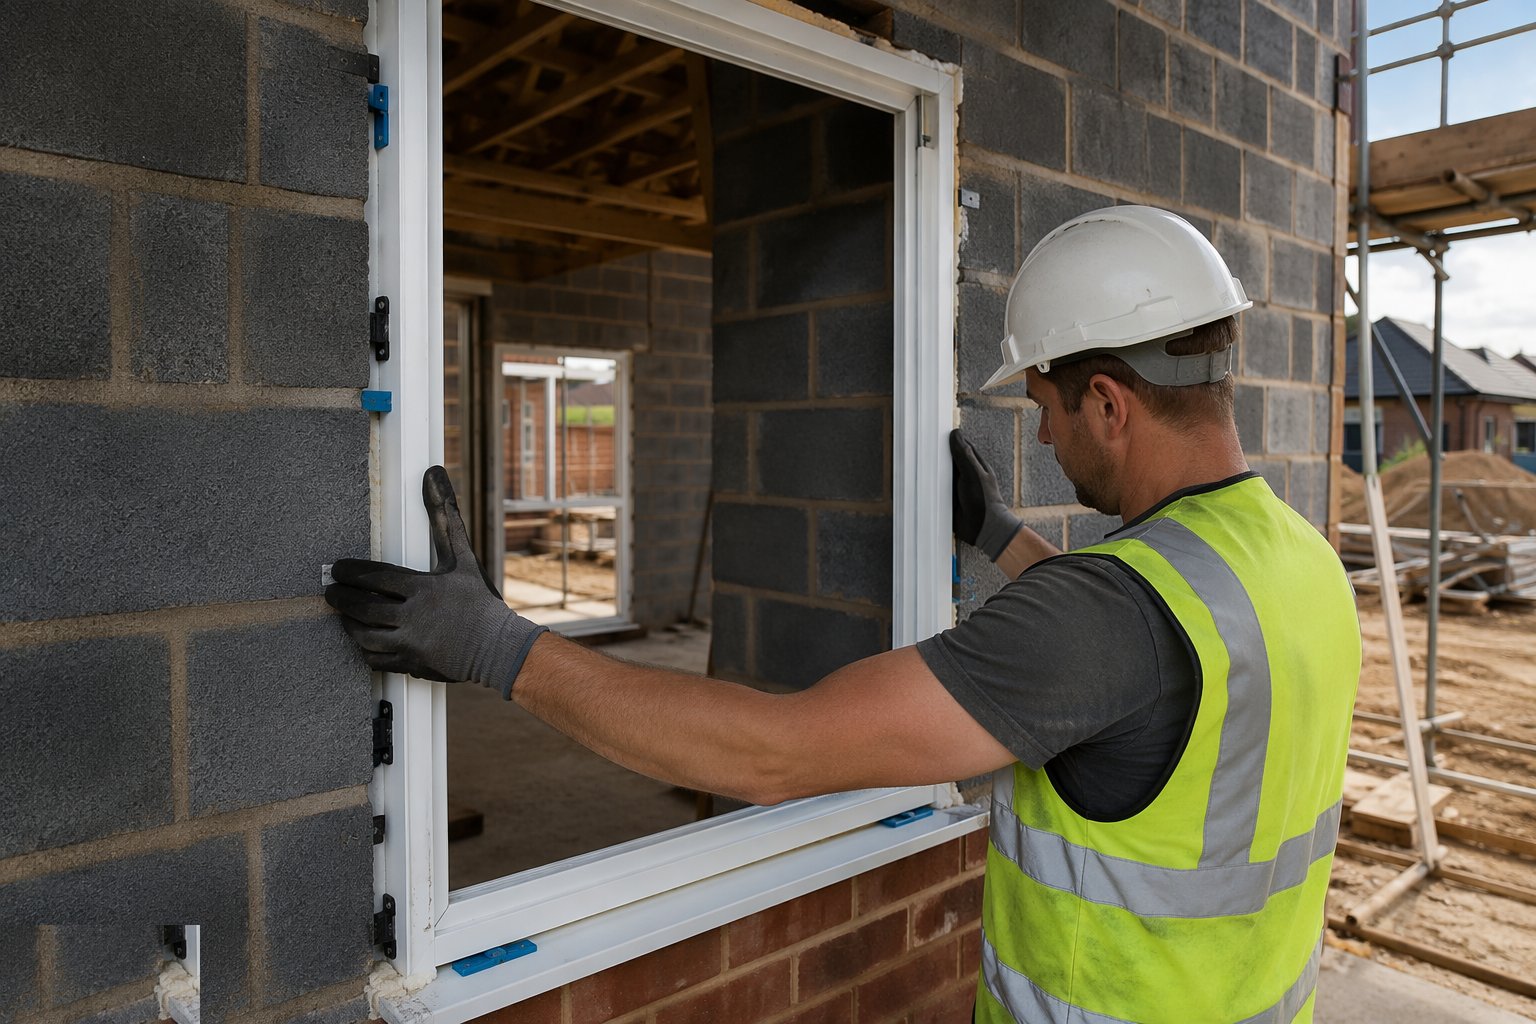
The frame is offered in, plumbed, levelled and squared on setting packers placed adjacent to fixing points and under transoms and mullions - never under open profile where they bow it. Fixings go through the frame at the specified centres with the correct frame fixings or straps, wound in gently with the diagonals and the sash operation checked continuously. A frame pulled out of square by its own fixings binds forever.
- 4
Step 4: Glaze and toe-and-heel the sashes
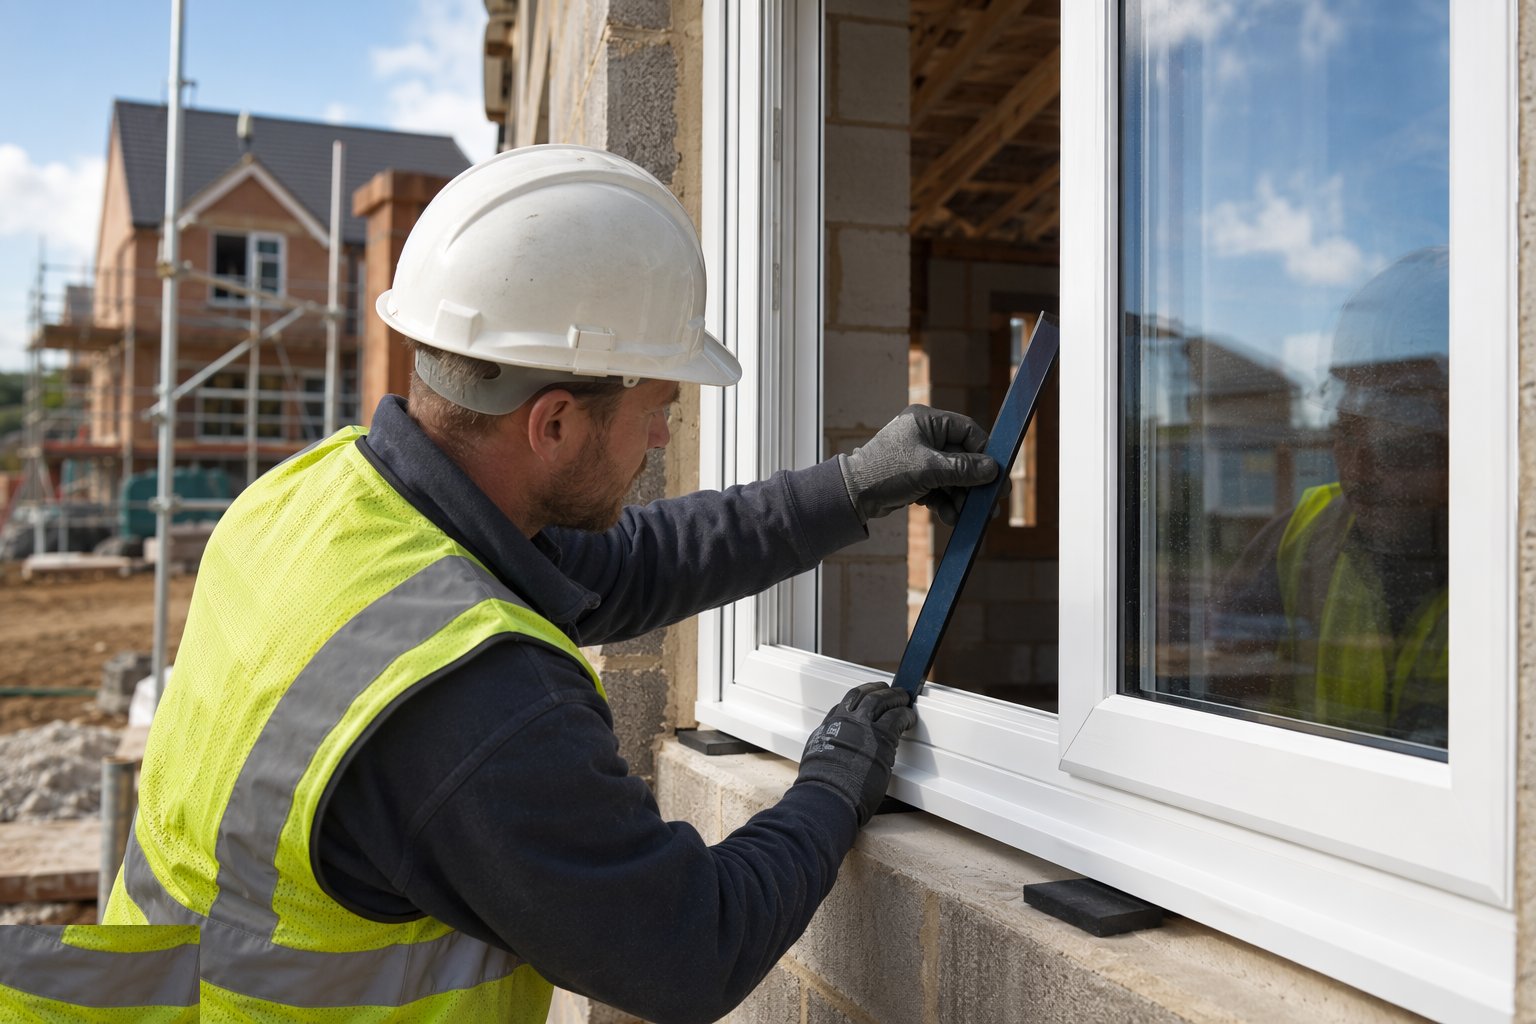
Units are landed on glazing blocks per the system, and opening sashes are toe-and-heeled - the glazing packers arranged to brace the glass as a diagonal, transferring the sash weight to the hinge side so the sash cannot drop. Beads are clipped in, gaskets seated, and drainage and pressure-equalisation slots confirmed clear. Every opening light is cycled and the keeps adjusted for even compression.
- 5
Step 5: Seal the perimeter - air line and weather line
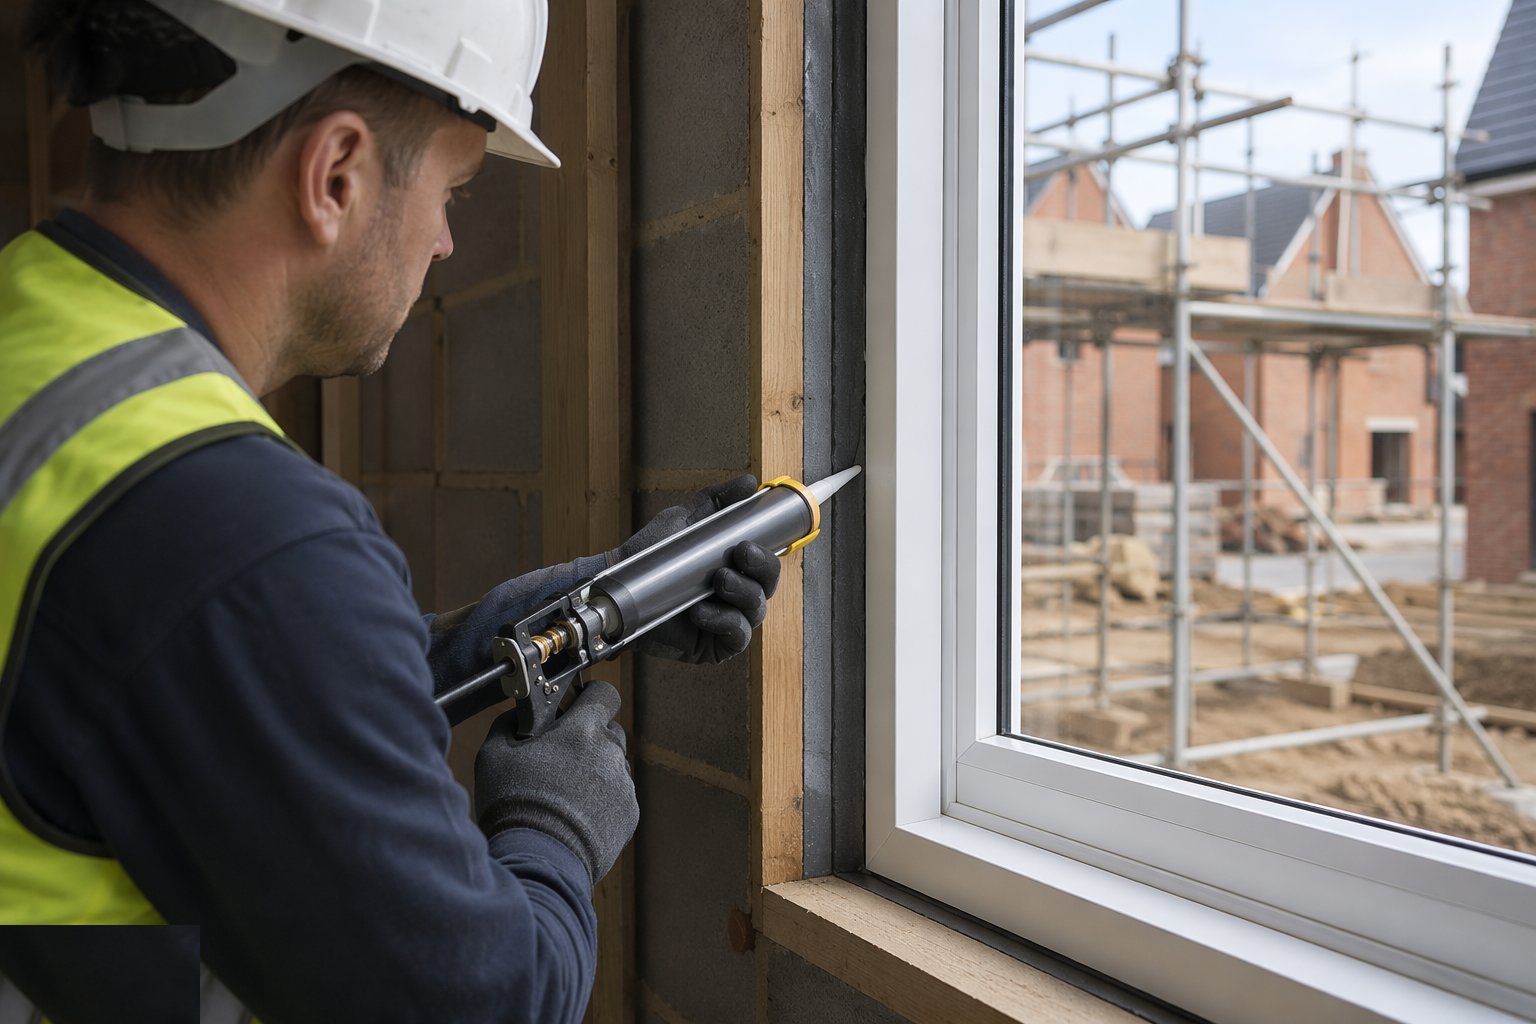
The internal air seal - low-expansion foam or tape, continuous to the airtightness line - is formed with the gap insulated; the external seal is sealant over backing or compressible tape, left able to drain. Inside tighter than outside: any water penetrating the outer seal drains out rather than being trapped. Drainage slots at the cill and frame base are verified open after sealing, not assumed.
- 6
Step 6: Commission, protect and hand over
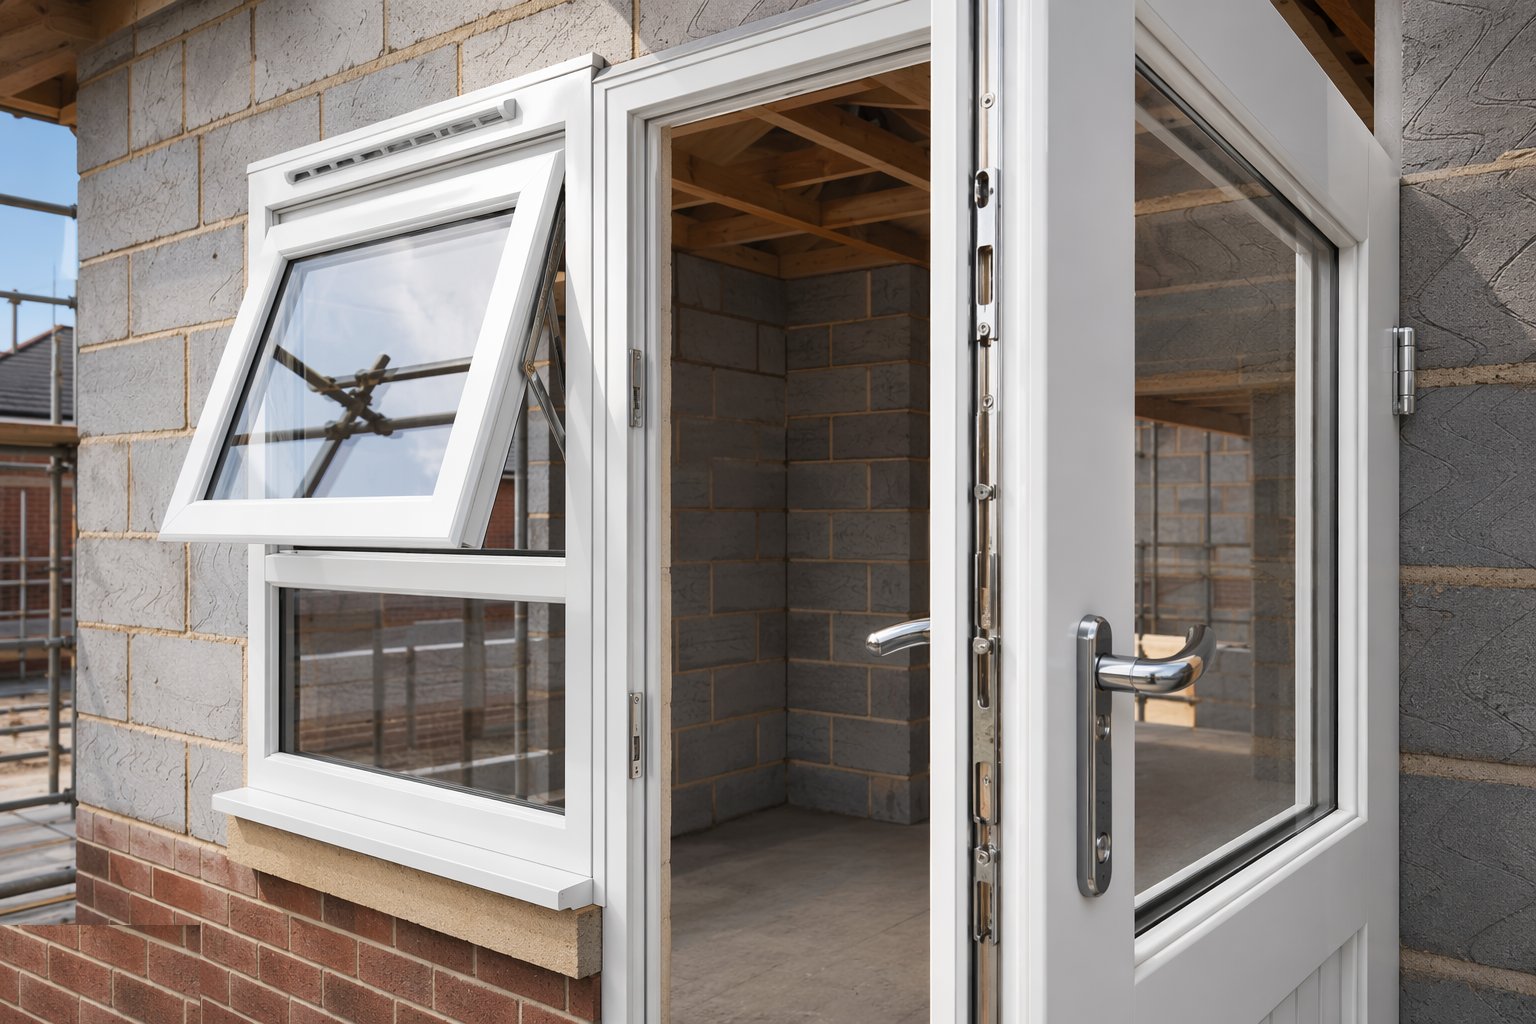
Hinges, handles, multi-point locks, restrictors and trickle vents are adjusted until every opening light seals and operates smoothly. Keys and operation instructions are logged. Frames stay protected until the finishes are complete - a scratched profile or a cracked unit discovered at handover has already cost a replacement and a return visit. Operation, locking and vent checks are signed off per unit.
What are the benefits of uPVC windows and doors?
- Lowest installed cost for compliant performance - the volume housing default for a reason
- Zero maintenance finish - no painting, no rot, wipe-clean for decades
- Good thermal performance - whole-window U-values around 1.2–1.4 W/m²K with standard units
- Multi-point locking and welded construction give solid security performance
- Fast installation with a huge, competitive supply chain
- Stable dimensions and long gasket life when installed square
What are the limitations of uPVC windows and doors?
- Flexible frames - installation errors (racking, bowing, foam-fixing) destroy operation permanently
- Chunky sightlines compared with aluminium or timber
- Dark colours and large spans need reinforcement and heat discipline to avoid bowing
- Quality varies hugely by fabricator - reinforcement, welding and hardware separate good from grim
- Limited repair options - damaged profiles are replaced, not repaired
- Environmental profile of PVC divides opinion despite recycling schemes
What is uPVC windows and doors best suited for?
What plant does uPVC windows and doors need?
- Levels, lasers and measuring kit for surveys and setting
- Frame fixings, straps, setting and glazing packers
- Low-expansion foam guns and sealant applicators
- Suction handlers for large glazed units
- Steps, podiums and towers for upper floors
- Adjustment tools for hinges, keeps and locks
How is uPVC windows and doors quality-checked?
- Opening survey records against the manufacturing schedule
- Reinforcement, welding quality and hardware verified at delivery against the spec
- Frame plumb, level, square and diagonal checks per unit during fixing
- Packer positions verified - adjacent to fixings, no bowed profiles
- Air seal continuity and drainage slot freedom checked per unit
- Operation, compression, locking and trickle-vent checks signed off per unit
More windows, doors & glazing methods
Next method
Aluminium systems