Homes & villas - timber stud & joist
Timber structure and hidden carpentry go in first, the visible finish goes on last, and everything between the two is coordination.
Last updated 2026-09-05
What is Homes & villas - timber stud & joist?
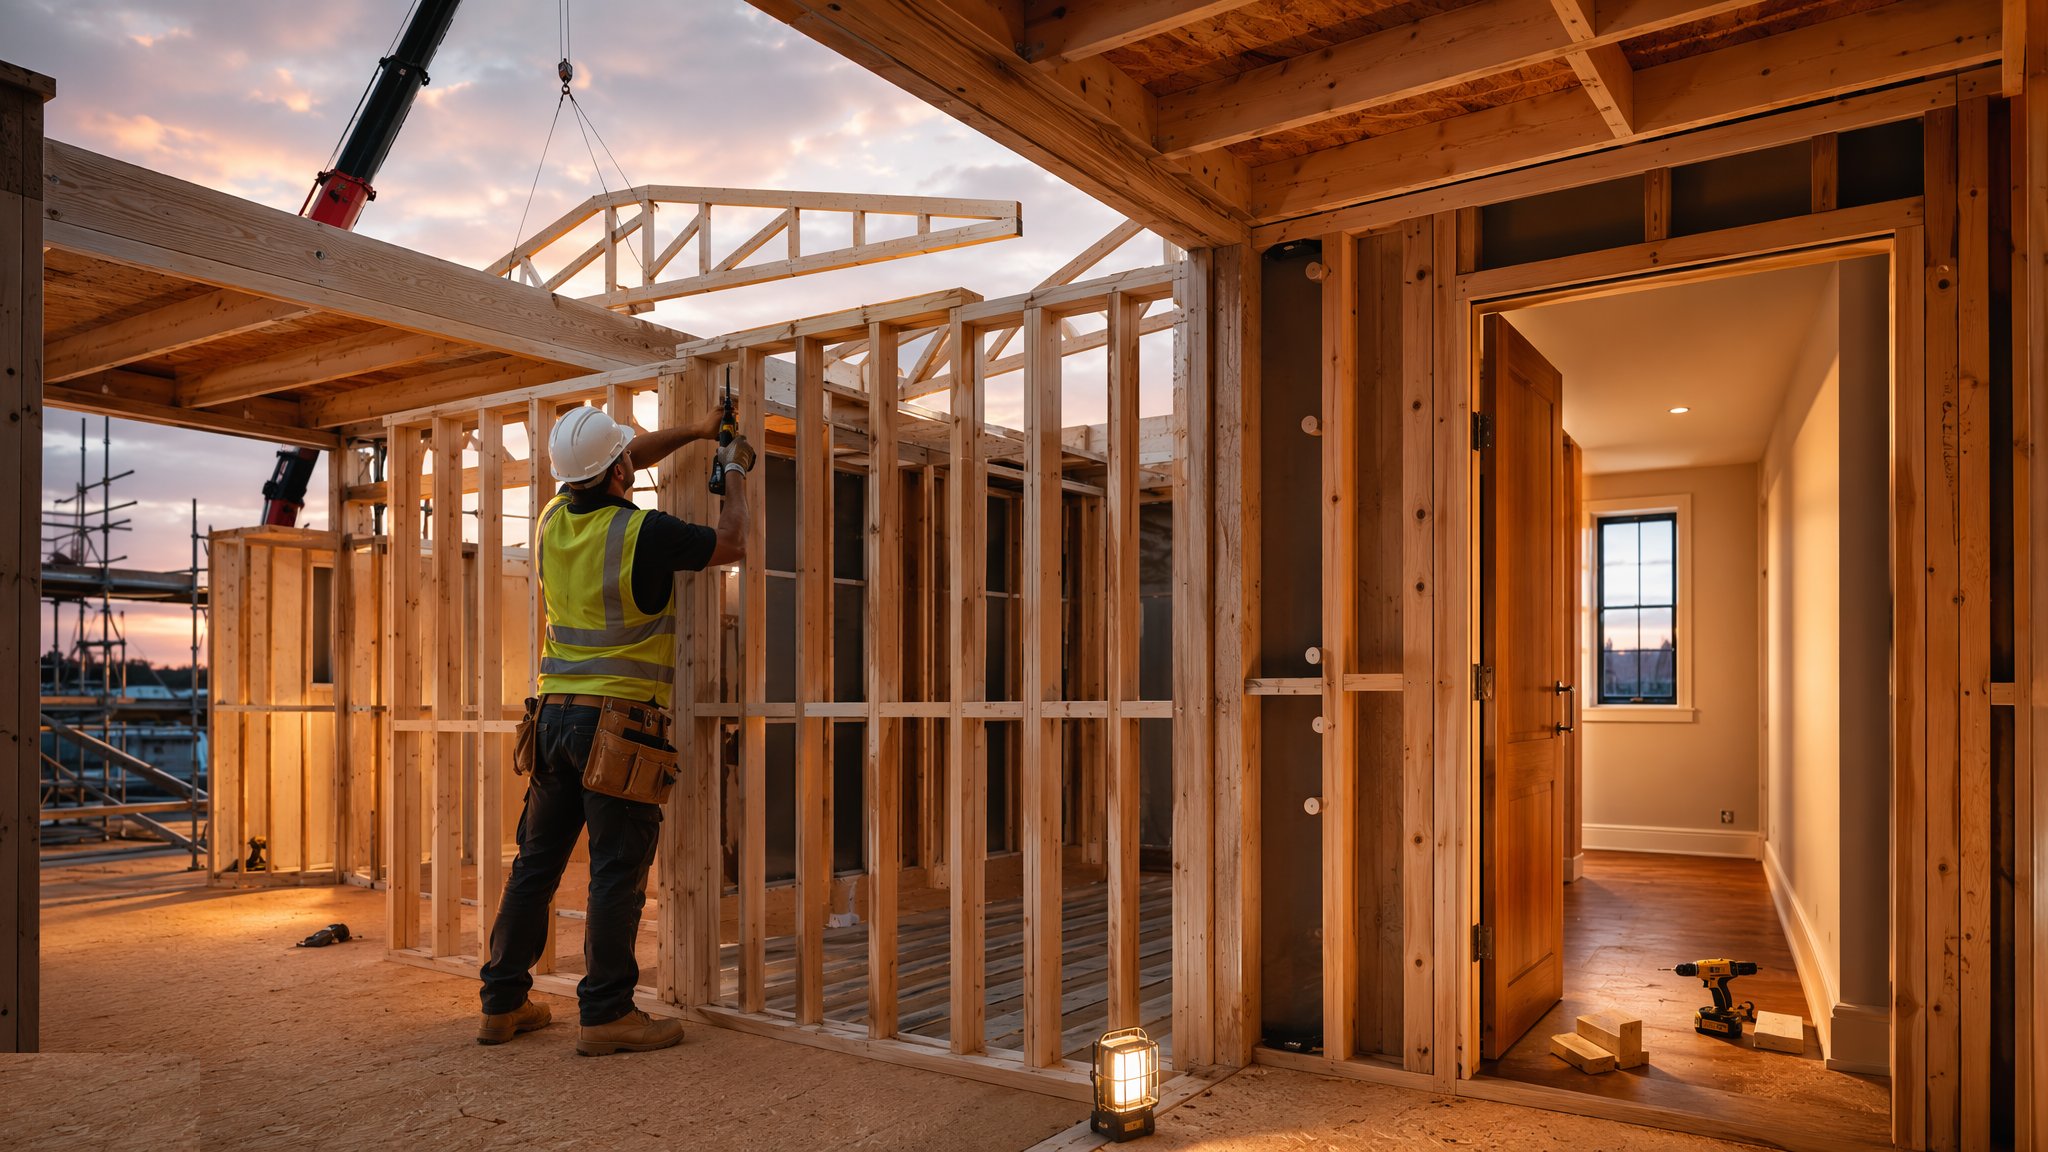
On houses and villas the carpenter builds twice. First fix is the structural and hidden work: floor joists and their support, stud partitions, noggins, floor decking, roof carpentry where it is cut on site, door linings, window boards and the timber grounds that later trades fix to. None of it is seen when the project is finished, and all of it decides how the finished project looks. Second fix is the visible work: hanging doors, fitting architraves and skirtings, boxing, shelving, stair balustrade components and ironmongery. Between the two sit the plasterer, the electrician, the plumber and the heating engineer, and the sequence is always the same - first fix carpentry, first fix services, boarding and plastering, then second fix carpentry once the building is dry and warm.
The distinguishing feature of housing carpentry is that the timber is doing structural work and the specification for it comes from someone else. Joist sizes, spans, stud centres, header and trimmer arrangements around openings, and the fixings that hold the whole thing together are all set by the structural engineer and shown on the drawings. Common practice puts studs at 400 or 600 mm centres and joists at similar spacings so that boards and decking land on a support, but what a particular project uses is a design decision, not a rule of thumb the carpenter applies on site. The same is true of anything cut into a structural member. Notching and drilling to let a pipe or a cable through changes how the timber behaves, and on most projects the drawings say where it is allowed and where it is not. Where they do not, the answer comes from the designer before the saw comes out.
The other thing housing carpentry lives with is moisture and movement. Timber shrinks as it dries, and a house is wet for weeks after the screed and plaster go in. Carcassing delivered green or stored badly will move once the heating comes on, and the movement shows up as sprung floors, cracked plaster at wall and ceiling junctions, and doors that stop closing. Good projects protect the timber on delivery, keep it off the ground and under cover, get the building dried out before second fix starts, and allow for shrinkage where the design calls for it. The last point is the one that gets forgotten: the plasterer and the decorator inherit whatever tolerance the carpenter leaves. A stud wall that is out of plumb becomes a skirting with a gap behind it and a door that has to be scribed. First fix accuracy is not a matter of pride, it is the finished quality of the project.
How does Homes & villas - timber stud & joist work, step by step?
- 1
Step 1: Read the drawings and set out
Before anything is cut, the carpenter works through the architectural and structural drawings together and marks the work out on the slab or the deck. Wall lines, door and window openings, service risers and the position of anything that has to be built around are set out from datum, not measured from the last wall. Openings are checked against the door and window schedules, because a lining built to the wrong size is a lining that comes out again. On most projects a level and line datum is established on each floor and every subsequent dimension is taken from it.
- 2
Step 2: Frame the floors
Joists are set out at the centres shown, supported on the arrangement the structural engineer has specified - hangers, wall plates or a bearing built into the masonry - and levelled. Trimmers frame the stair opening and any other penetration. The carpenter checks that joists are the right way up where they are cambered, that bearings are full, and that nothing has been substituted for something of a different depth. Any strutting or blocking shown on the drawings goes in as drawn. Where engineered joists are used, the manufacturer's details govern what may be cut and where, and those details are followed rather than interpreted.
- 3
Step 3: Build the stud partitions
Sole plates and head plates are fixed to the set-out lines, studs go in at the specified centres, and openings are framed with the sill, header and trimming studs the drawing shows. Partitions carrying a structural load are a different item from a simple dividing wall, and the drawings say which is which. The carpenter plumbs and lines each wall as it is built, because a wall that is 10 mm out at the head is 10 mm of packing behind a door lining later. Where a wall has an acoustic or fire performance to meet, the build-up is specified and the carpenter builds what is drawn without substituting materials.
- 4
Step 4: Fit noggins, grounds and linings
Noggins are added wherever something will later be fixed to the wall: sanitary ware, radiators, wall units, handrails, television brackets and the edges of every board. Missing noggins are the most common reason a second fix trade has to open a finished wall back up. Door linings are fitted plumb, square and to the finished floor level, packed off the studwork rather than forced, and protected once in. Window boards, stair components and any timber that plaster will run up to go in at the same stage.
- 5
Step 5: Coordinate the services through the structure
First fix carpentry and first fix services occupy the same space, and the order matters. Drainage and larger pipework routes are agreed before floors are decked so that joist positions and service runs are resolved on paper rather than with a saw. Cables and pipes crossing joists or studs need a route, and where that route passes through a structural member the permitted position is a design matter. On a well-run project the carpenter, the plumber and the electrician walk the floor together before decking, and any clash that needs a structural answer goes to the engineer.
- 6
Step 6: Deck the floors and protect the work
Floor decking is laid to the specified pattern with joints supported, glued where the specification calls for it, and fixed at the stated centres. It is then covered, because the deck will be walked on, loaded out and rained on by everyone who follows. Protection is a real cost line, not an afterthought - a damaged deck under a finished floor covering is expensive to put right. The building is dried out and brought up to temperature before any finished timber arrives, and second fix materials are stored inside in those conditions to acclimatise.
- 7
Step 7: Second fix the visible carpentry
Once plastering is complete and the building is dry, doors are hung to consistent margins, architraves and skirtings are cut, scribed and fixed, and boxing, shelving and stair components are fitted. Mitres are cut to the actual angle rather than assumed at 45 degrees, because few corners on a real project are square. Ironmongery is fitted and adjusted so that doors latch and close properly. Fire door assemblies are a separate matter with their own specified components, and the leaf, frame, ironmongery and seals are fitted as the specification sets out and recorded.
- 8
Step 8: Snag, adjust and hand over
The carpenter walks the plot with the site manager and works through margins, gaps, scribes, fixing marks and door operation. Doors are re-adjusted after the heating has been running, because timber moves as the building dries. Filling and preparation are agreed with the decorator so that responsibility is clear. Anything covered later - noggin positions, service routes through the structure, fire door details - is recorded before it disappears behind plaster.
What are the benefits of Homes & villas - timber stud & joist?
- Timber frames quickly with simple plant, and a small crew can turn round a whole plot
- Easy to adapt on site where a late design change lands, without heavy plant or specialist trades
- Studwork and joisted floors give a generous void for services, which keeps other trades moving
- Timber is a low-carbon structural material compared with the alternatives for the same work
- One trade covers structure and finish, so the setting out and the finished tolerance stay under the same control
- Repeat house types let a crew build a rhythm across a site, with real gains in speed and consistency
What are the limitations of Homes & villas - timber stud & joist?
- Timber shrinks and moves as the building dries, so poor storage or an early second fix shows up in the finished work
- Accuracy at first fix cannot be recovered later - the plasterer and the decorator inherit whatever tolerance is left
- Structural members cannot be cut freely, so service clashes have to be designed out rather than resolved with a saw
- Needs a dry, heated building before finished joinery goes in, which puts second fix on the programme critical path
- Fire and acoustic performance depend on the whole build-up, so material substitution on site is not an option
- Finished carpentry is easily damaged by following trades and needs protection until handover
What is Homes & villas - timber stud & joist best suited for?
What plant does Homes & villas - timber stud & joist need?
- Circular saws, mitre saws, jigsaws and a bench or chop station set up under cover
- Cordless drills, impact drivers and nail guns with the fixings the specification calls for
- Laser level, spirit levels, squares and a set-out datum on every floor
- Telehandler or hoist for landing carcassing timber and sheet materials at each level
- Racked and covered storage for carcassing, decking and finished joinery, kept clear of the ground
- Dust extraction, task lighting and the temporary heat and ventilation used to dry the building before second fix
How is Homes & villas - timber stud & joist quality-checked?
- Setting out checked against datum on each floor before framing starts
- Joist and stud arrangement, centres and support details verified against the structural drawings, with any deviation referred to the designer
- Walls checked for plumb and line, and openings checked against the door and window schedules before boarding
- Noggin and ground positions recorded before the walls are closed up
- Timber moisture condition and storage checked on delivery, and the building confirmed dry and heated before second fix
- Door margins, scribes and ironmongery operation inspected plot by plot, with fire door assembly components recorded
More carpentry - first & second fix methods
Next method
Residential towers - drywall & door sets