Roof carpentry - trusses & cut roofs
Two ways to build a roof, one designed off site and one built on it, and both dangerous until they are complete and restrained.
Last updated 2026-09-05
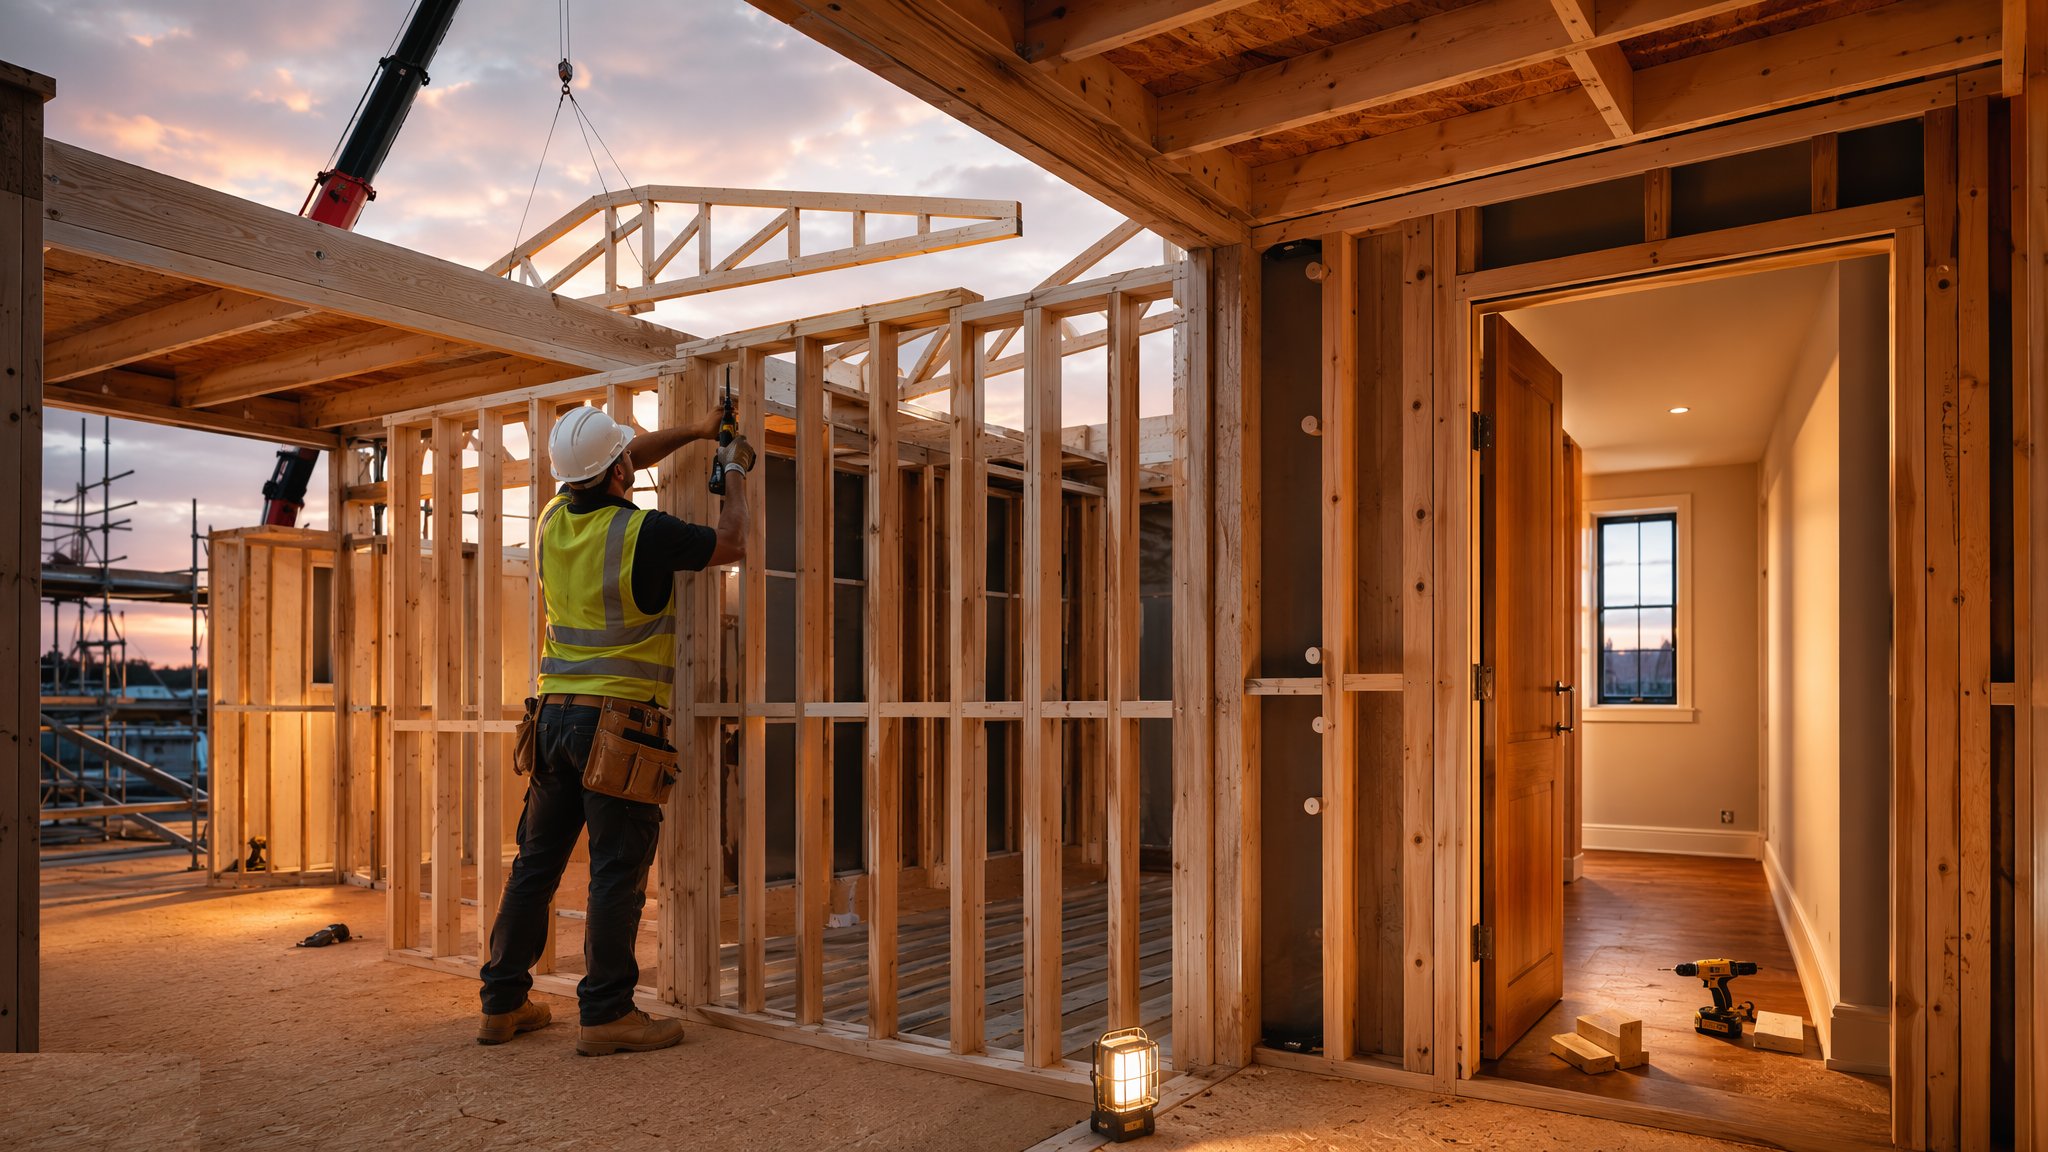
What is Roof carpentry - trusses & cut roofs?
A pitched roof is built one of two ways. A trussed roof uses prefabricated trusses designed and manufactured off site, delivered to a schedule and lifted into place as complete units. A cut roof is built from individual members - rafters, ridge, purlins, ceiling ties, hips and valleys - cut and assembled in place by the carpenter. Trusses dominate volume housing because they are quick, consistent and use less timber for the same span. Cut roofs hold their place where the geometry is complicated, where the roof space is to be used, where the plan is irregular or where the project is a repair or an extension to something already built. Many projects use both, with trusses over the main run and a cut section where the geometry defeats them.
Trusses are a designed engineered product, not a component the carpenter can adapt. Each truss is designed for a specific position in a specific roof, and the design covers the member sizes, the connector plates, the spacing, the supports it bears on and the restraint that holds the whole roof together. That has two consequences on site. The first is that trusses are ordered early, because the design and manufacture take time and the delivery has to be scheduled against the programme. The second, and the one that matters more, is that a truss must not be cut, notched, drilled or altered on site for any reason. If a service, a rooflight or a tank platform needs to pass through the roof, the arrangement is designed and the trusses are made or specified for it. A truss that has been trimmed to suit a pipe is no longer the component that was designed.
The serious risk in roof carpentry is stability during erection. Individual trusses are slender and have almost no resistance to being pushed sideways. Until the permanent bracing designed for the roof is fully installed, and until any temporary restraint required during erection is in place, a partially erected roof can collapse sideways without warning, and roof collapses during erection have killed people. The bracing is not something worked out on the roof. It is a designed element, specified by the truss designer and shown on the drawings, and the erection method and any temporary restraint are planned in advance by a competent person before anyone starts lifting. The other constant is the interface with the walls below. Wall plates, their bedding and their fixing down, and the lateral restraint straps connecting the roof to the walls, are all specified, and the roof only works as designed when those connections are made as drawn.
How does Roof carpentry - trusses & cut roofs work, step by step?
- 1
Step 1: Choose the roof type and order early
The choice between trusses and a cut roof follows the geometry, the use of the roof space, the programme and the access. Trusses suit repeating rectangular plans and empty roof voids and go up fast. Cut roofs suit irregular plans, rooms in the roof, complex hips and valleys, and work on existing buildings. Once trusses are chosen, they are designed and manufactured to order, so measurements are confirmed and the order placed well ahead of the roof date. Lead time is a programme risk on most projects, and a truss order placed late holds up everything above the top floor.
- 2
Step 2: Plan the lift and the erection method
Before anything is delivered, the erection is planned: how the trusses reach the roof, what lifts them, where the crane or telehandler stands, the ground conditions under it, the exclusion zone, the access and edge protection for the people working at height, and the restraint arrangements required during erection. This planning is done by a competent person and recorded, and it is the reason a truss roof goes up safely rather than the skill of the crew on the day. Weather is part of the plan too, since a partly erected roof and wind are a bad combination.
- 3
Step 3: Take delivery and store the trusses correctly
Trusses are checked against the schedule on arrival for type, quantity and identification, and inspected for transit damage - split timber, bent or lifted connector plates, distortion. Damaged trusses are set aside and referred rather than used, since a damaged plate is a damaged joint. Storage keeps trusses clear of the ground and supported so they do not sag or twist, and covered without trapping moisture against the timber. A truss that has been left flat in mud for a fortnight is not the product that was designed.
- 4
Step 4: Prepare the wall plates and the supports
Wall plates are set level and to line, bedded and fixed down as the specification requires, and their position is checked against the truss span and the eaves detail. The supports have to be where the truss design assumed they would be, because a truss designed to bear at its ends and propped somewhere else is being loaded in a way it was not designed for. Any structural support within the roof - beams, hangers, supporting walls - is confirmed complete before erection begins.
- 5
Step 5: Erect the roof and install the designed bracing
Trusses are lifted into position, seated on the wall plates at the specified spacing, fixed down as detailed, and held by restraint until the designed bracing is complete. Trusses are unstable until they are braced - that is the single most important fact about the operation. The bracing arrangement is designed and specified by the truss designer and shown on the drawings, and it is installed as drawn and to full extent, not partially and not left to be finished later. No one on the roof decides the bracing. On a cut roof the ridge, rafters, purlins, ties, hips and valleys are assembled in the sequence and to the sizes the structural engineer has specified, with the same rule that the permanent restraint is part of the design.
- 6
Step 6: Tie the roof to the building
A roof is not finished when the trusses are up. Lateral restraint straps connecting the roof structure to the gable and flank walls, the fixing of the roof structure down to the wall plates, and the connections at any junction with another roof section are all specified elements, and they are what make the roof and the walls act together against wind. These connections are inspected before anything covers them, because a strap missed at this stage is invisible once the roof is felted and tiled.
- 7
Step 7: Form openings, verges and eaves
Openings for rooflights, chimneys, hatches and dormers are formed using the trimming arrangement shown on the drawings, and where they pass through trusses the arrangement is one that was designed, whether that is girder trusses, trimmers or an alternative framing. Nothing is cut to make an opening fit. Verges, eaves and gable ladders are then formed, fascia and soffit supports are fixed, and the geometry is checked for line and plane before the covering trades arrive, since a roof that is out of plane will show in every course of tiles.
- 8
Step 8: Check the roof and hand it to the following trades
The finished structure is checked against the drawings: truss positions and spacing, all designed bracing present and complete, fixings and straps installed, wall plate bearing correct, and no member cut, notched or drilled. Any tank or plant platform in the roof space is built on the supports the design provides rather than on convenient members. The roof is then handed over to the felt, batten and tiling trades with edge protection and access maintained, and anything that will be concealed is recorded before it disappears.
What are the benefits of Roof carpentry - trusses & cut roofs?
- Trusses are designed and manufactured off site, giving consistent geometry and a fast, predictable erection
- A trussed roof uses less timber for the same span than an equivalent traditionally cut roof
- Erection is quick, so the building is closed in and made weathertight sooner
- Cut roofs handle irregular plans, complex hips and valleys and rooms in the roof that trusses cannot
- Cut roofs are readily adapted on site, which suits extensions, repairs and work to existing buildings
- Both forms are fully covered by design information, so what has to be built is unambiguous
What are the limitations of Roof carpentry - trusses & cut roofs?
- Trusses are unstable until braced, and a partly erected roof is one of the most dangerous states on a project
- Trusses cannot be cut, notched, drilled or altered on site, so every opening and service route has to be designed in advance
- Design and manufacture lead times make a late truss order a direct programme delay
- Erection needs craneage or a telehandler with the access, ground conditions and exclusion zone to suit
- A trussed roof void is filled with webs, which limits later use of the roof space unless it was designed for it
- Cut roofs are slower, use more timber and depend far more on the skill available in the crew
What is Roof carpentry - trusses & cut roofs best suited for?
What plant does Roof carpentry - trusses & cut roofs need?
- Telehandler or mobile crane with a planned standing position, ground conditions and exclusion zone
- Lifting accessories and truss handling gear suited to the units being lifted
- Edge protection, working platforms, harness and fall arrest provision as the access plan sets out
- Circular, mitre and reciprocating saws, drills and nail guns with the specified fixings, connectors and straps
- Laser and optical levels, long straight edges and lines for wall plate levels and roof plane checks
- Bearers, covers and clear laydown areas for storing trusses off the ground and undistorted
How is Roof carpentry - trusses & cut roofs quality-checked?
- Truss delivery checked against the schedule for type and quantity, and inspected for transit damage and plate condition
- Storage confirmed off the ground, supported and covered without trapping moisture
- Wall plate level, line, bedding and fixing verified, and all supports confirmed complete before erection
- Erection method statement and restraint arrangements prepared by a competent person and in place before lifting
- All designed bracing confirmed present and complete against the drawings, with no member cut, notched or drilled
- Straps, fixings and openings inspected and recorded before the roof is covered