Carpentry - First & Second Fix
The carpenter's two passes through a building - structural studwork, joists, roofs and stair carcasses before the plaster; doors, skirtings, kitchens and joinery after it.
Last updated 2026-09-05
Typical duration
A UK house: first fix 1–2 weeks across the shell, second fix 1–2 weeks after plaster. A tower floor of door sets and skirtings: days per floor off a mock-up, hundreds of repetitions. A cut roof on a large villa: a week or more of a two-carpenter gang.
What is Carpentry - First & Second Fix?
Carpentry comes through a building twice. First fix is everything structural or hidden that must exist before the plasterers arrive: stud walls and partitions, floor joists and decking, roof trusses or a cut roof, stair carcasses, door and window linings in their rough openings, noggins and blocking for everything that will ever be fixed to a wall, and the boxing that hides the services. Second fix is everything you see and touch after plaster and decoration: hanging the internal doors, skirting boards, architraves, window boards, stair balustrades and handrails, kitchen units and worktops, fitted wardrobes, timber flooring where the carpenter lays it, and the ironmongery that makes it all work. The dividing line is the plaster - for carpentry exactly as it is for the MEP plumbing and electrical trades on their own pages - and the whole programme is built around that one wet trade.
One caution before the programme is written: "first fix" and "second fix" have no precise contractual definition - the scope of each must be set out in the contract documents, because where one trade's fix ends and another's begins is the sort of argument that only ever gets settled after the damage is done. In the UAE the trade tilts heavily towards second fix: structural timber is limited, the carcass is concrete and blockwork, and the carpenter's world is joinery - MDF and hardwood door sets, fitted joinery, and timber that must be acclimatised to air-conditioned interiors before it is fixed, or it moves and the mitres open.
Compare the methods at a glance
When and why is Carpentry - First & Second Fix used?
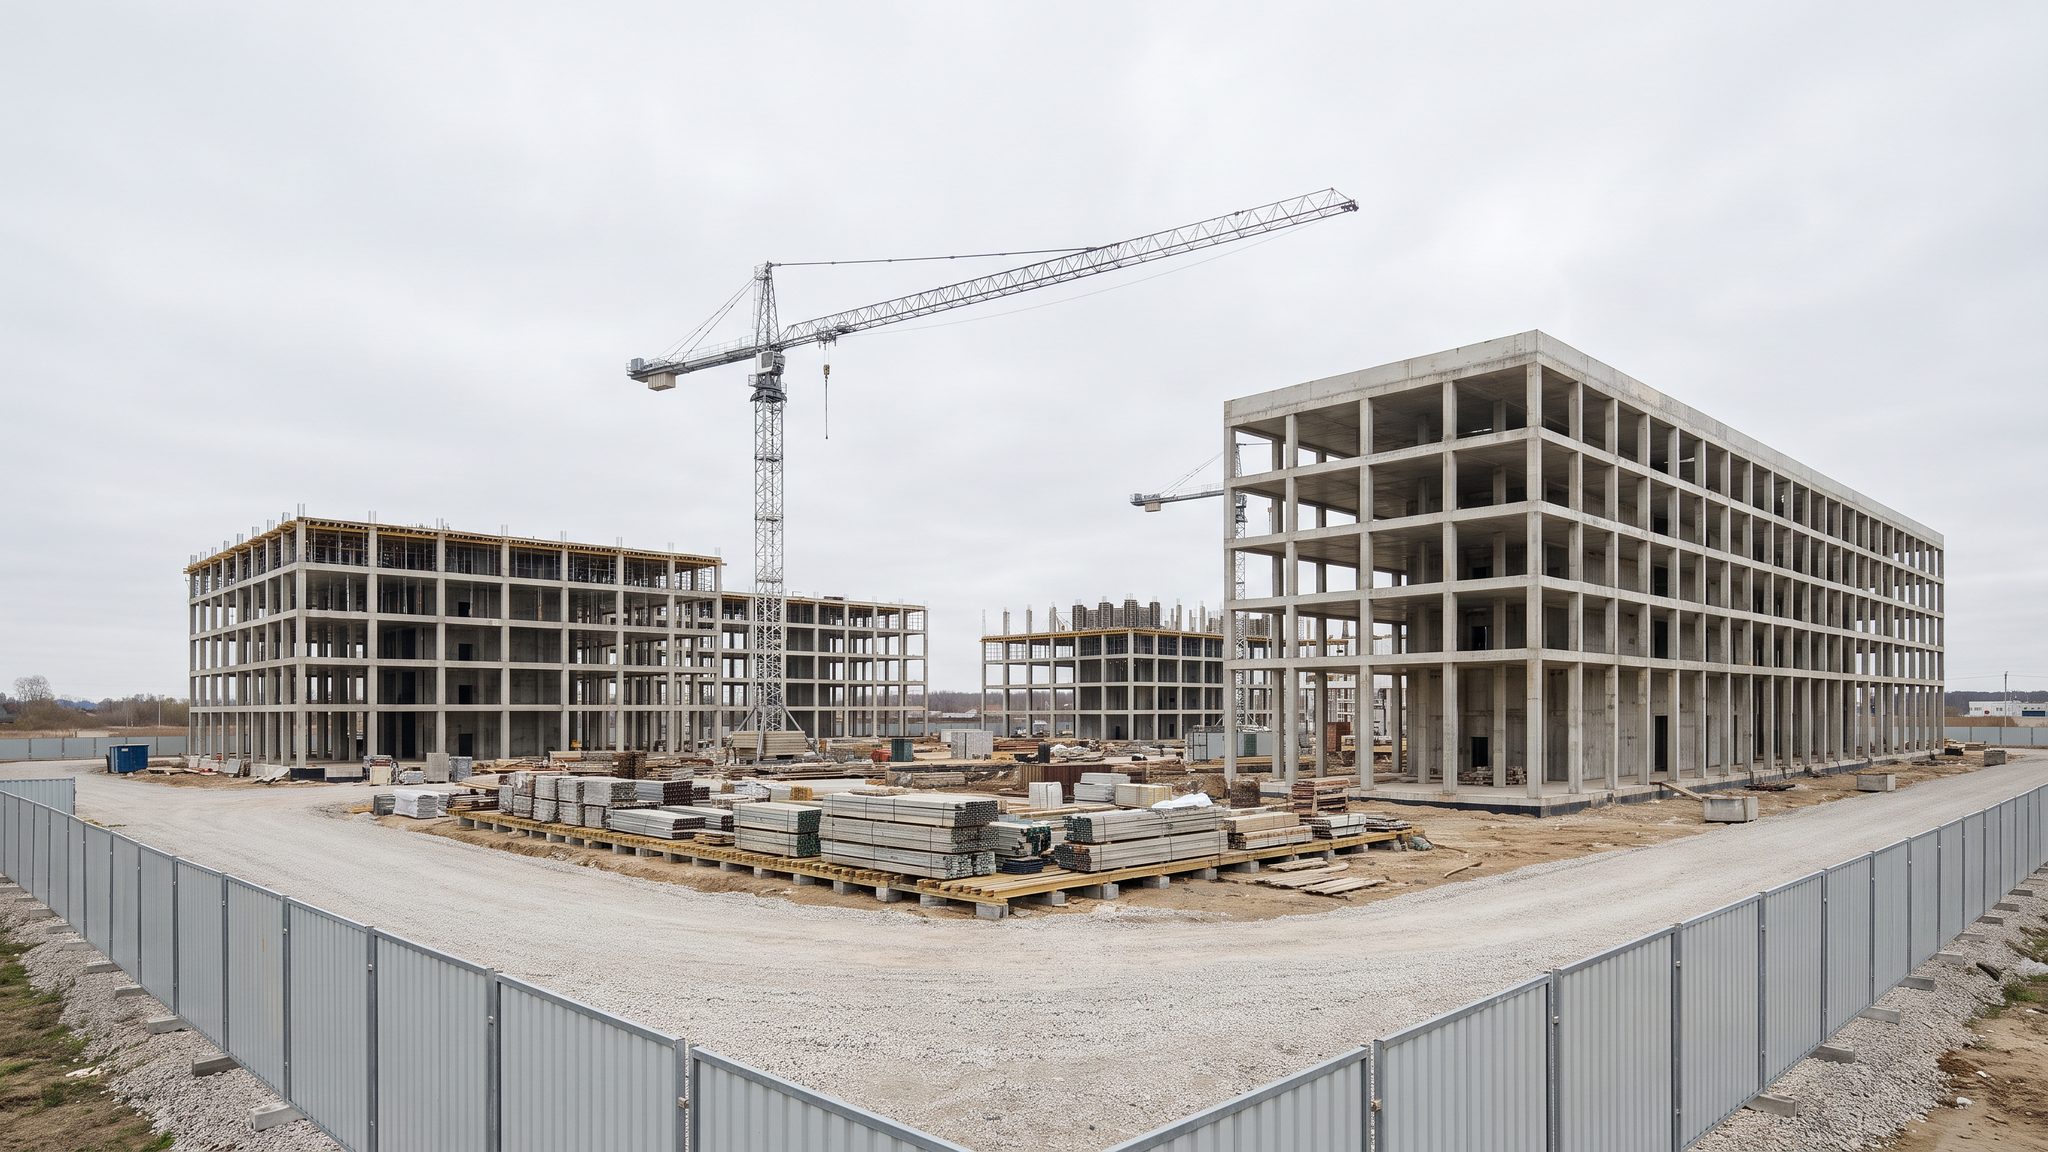
First-fix carpentry sits in the dry structure window - after the frame or masonry shell is up and weathertight enough to work, before the MEP first fix closes the walls and the plasterers follow. It happens then because every service run, every socket back-box and every radiator bracket needs timber to fix to or a route to pass through, and all of it must be hidden before the boards and plaster go on; the chasing and first-fix services guides describe the same window from the MEP side. Second fix waits until plaster is dry and the wet trades are out of the room - decoration substantially complete, floors screeded or boarded - because doors, skirtings and fitted joinery are finished goods that plaster, paint and site traffic destroy. On a house the two passes are one gang coming back; on a tower or a UAE fit-out they are different subcontractors entirely, separated by months, which is exactly why the rough openings and blocking from first fix must be dimensioned for the door sets someone else will hang later.
Walkthrough storyboard
The process in pictures, step by step - Step 1 of 8 - slide through the snapshots.
STEP 1
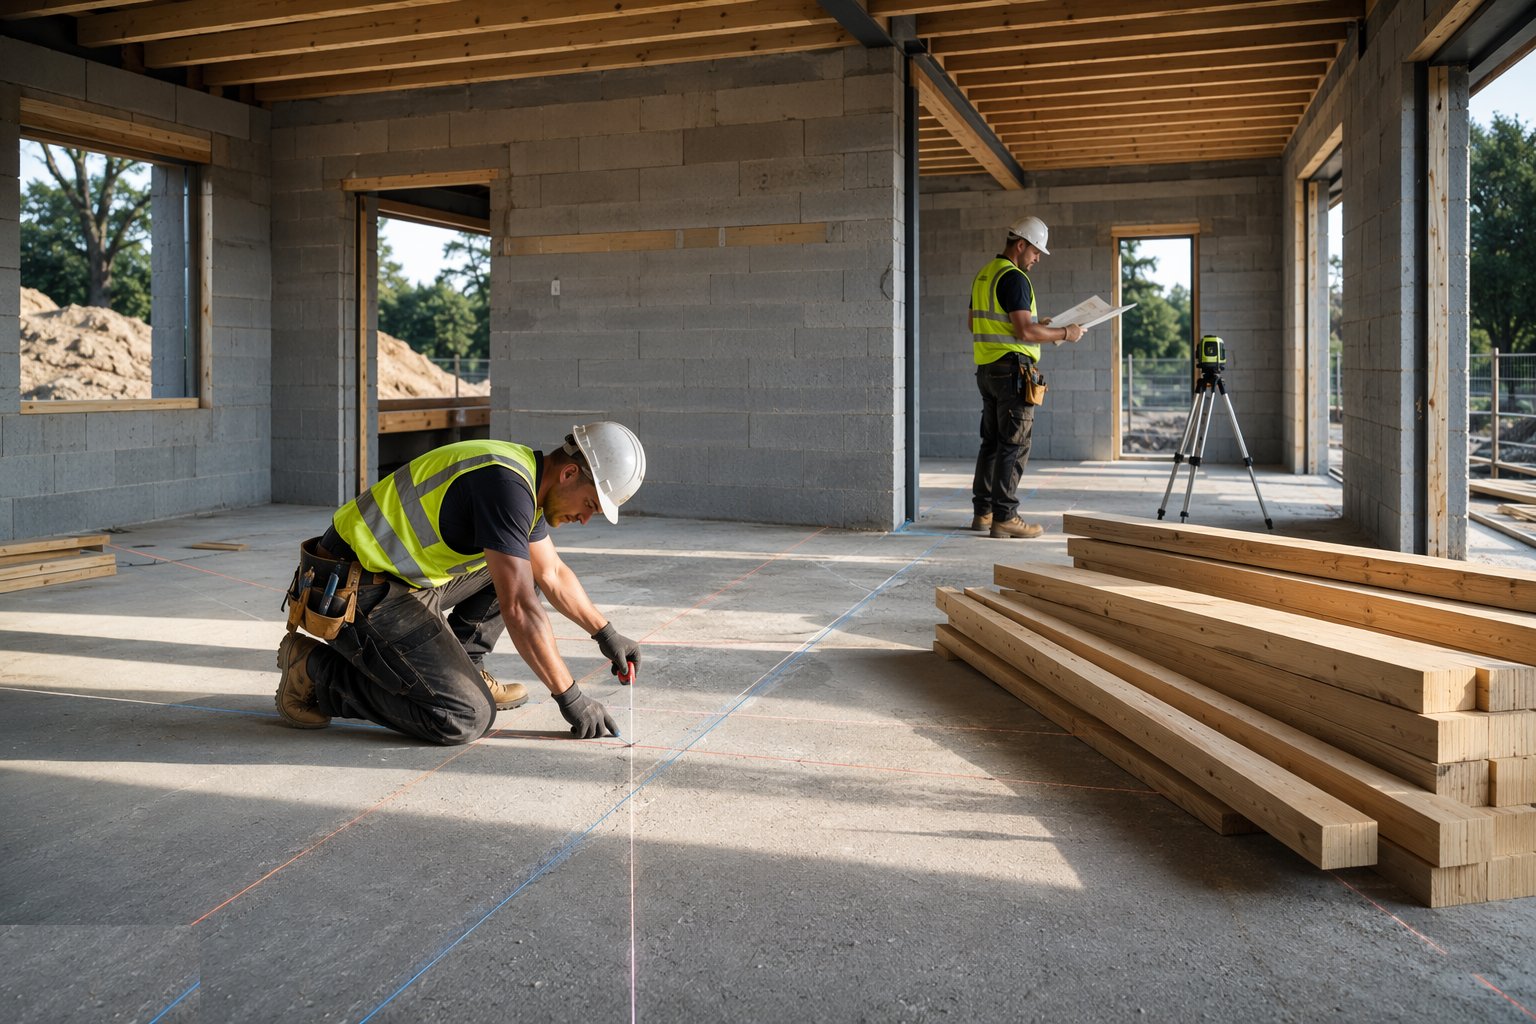
Set out partitions, openings and joist layout
First fix starts on the drawings and the tape: partition lines snapped on the slab or deck, door and window rough openings marked to the door-set schedule,…
Types of Carpentry - First & Second Fix
Explore each method in depth - benefits, limitations, plant and quality control on its own page.
Homes & villas - timber stud & joist
The full traditional trade: timber stud partitions, engineered joists and chipboard decking, trussed or cut roofs, stair carcasses, then back after plaster for doors, skirtings, architraves and the staircase balustrade. The UK housebuilder's staple, and villa construction wherever timber framing is used.
Explore this methodResidential towers - drywall & door sets
Concrete frame and blockwork, so first fix shrinks to metal or timber stud drywall framing, noggins, and door linings set to the openings; second fix is repetitive - the same door set, skirting and wardrobe detail three hundred times off an approved mock-up. The norm on UAE residential towers, with MDF and hardwood door sets out of joinery factories.
Explore this methodOffice fit-out - doorsets, skirtings & joinery
Almost entirely second fix over Cat A finishes: factory-made doorsets, skirtings and architraves, reception and tea-point joinery, and coordination with partition, ceiling and MEP fit-out trades working the same floors. Tolerances are millimetres and the snag list is photographic.
Explore this methodRoof carpentry - trusses & cut roofs
The specialist end of first fix: prefabricated trussed rafters craned and braced to the designer's layout, or a traditional cut roof of rafters, purlins and ridges built in place, with binders, bracing and spandrel walls making the whole thing a structure rather than a pile of timber.
Explore this methodBest suited for
- Homes and villas with timber floors, partitions and roofs - the full two-fix trade
- Residential towers where drywall framing and repetitive door sets need an organised gang
- Office and hotel fit-outs dominated by doorsets, skirtings and fitted joinery
- Any roof, trussed or cut, that wants a carpenter rather than an erector guessing at bracing
- UAE interiors where joinery quality and acclimatisation decide the snag list
Carpentry - First & Second Fix: step by step
- 1
Step 1: Set out partitions, openings and joist layout
First fix starts on the drawings and the tape: partition lines snapped on the slab or deck, door and window rough openings marked to the door-set schedule, joist centres and loadbearing points taken off the engineer's layout, and every wall that will ever carry a radiator, basin, cabinet or handrail identified now so the blocking goes in before the wall closes. This is the coordination pass with the MEP first-fix gangs - the routes agreed here are the routes the services take, and the lintel heights agreed here are the door heights forever.
- 2
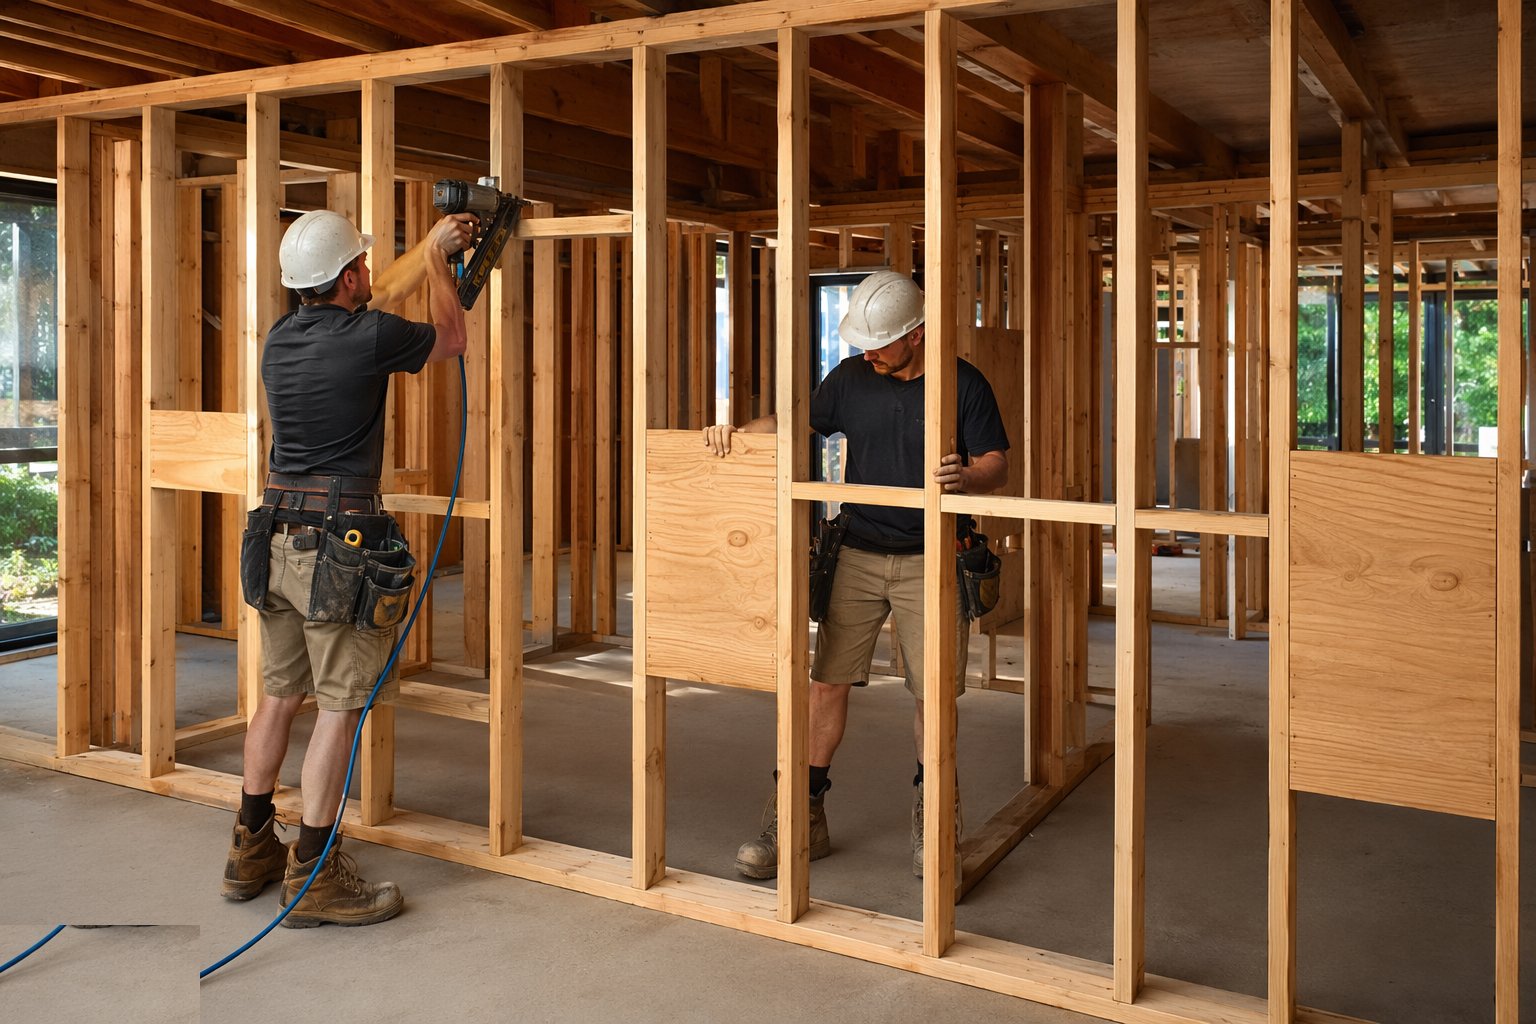
Step 2: Stud walls, partitions, noggins and blocking
Sole and head plates fix down first, studs at 400 or 600 mm centres to take the board edges, openings formed with cripple studs and lintels, and noggins run through the middle for stiffness. Then the part that saves everyone later: blocking for everything the drawings show fixed to the walls - radiators, WCs on frames, kitchen wall units, handrails, TV brackets, curtain tracks - because finding a stud through two layers of plasterboard with a heavy cabinet in hand is not a strategy. In the UK this is sawn treated timber; on UAE towers it is usually metal stud drywall framing with timber or plywood pattresses where the load is real.
- 3
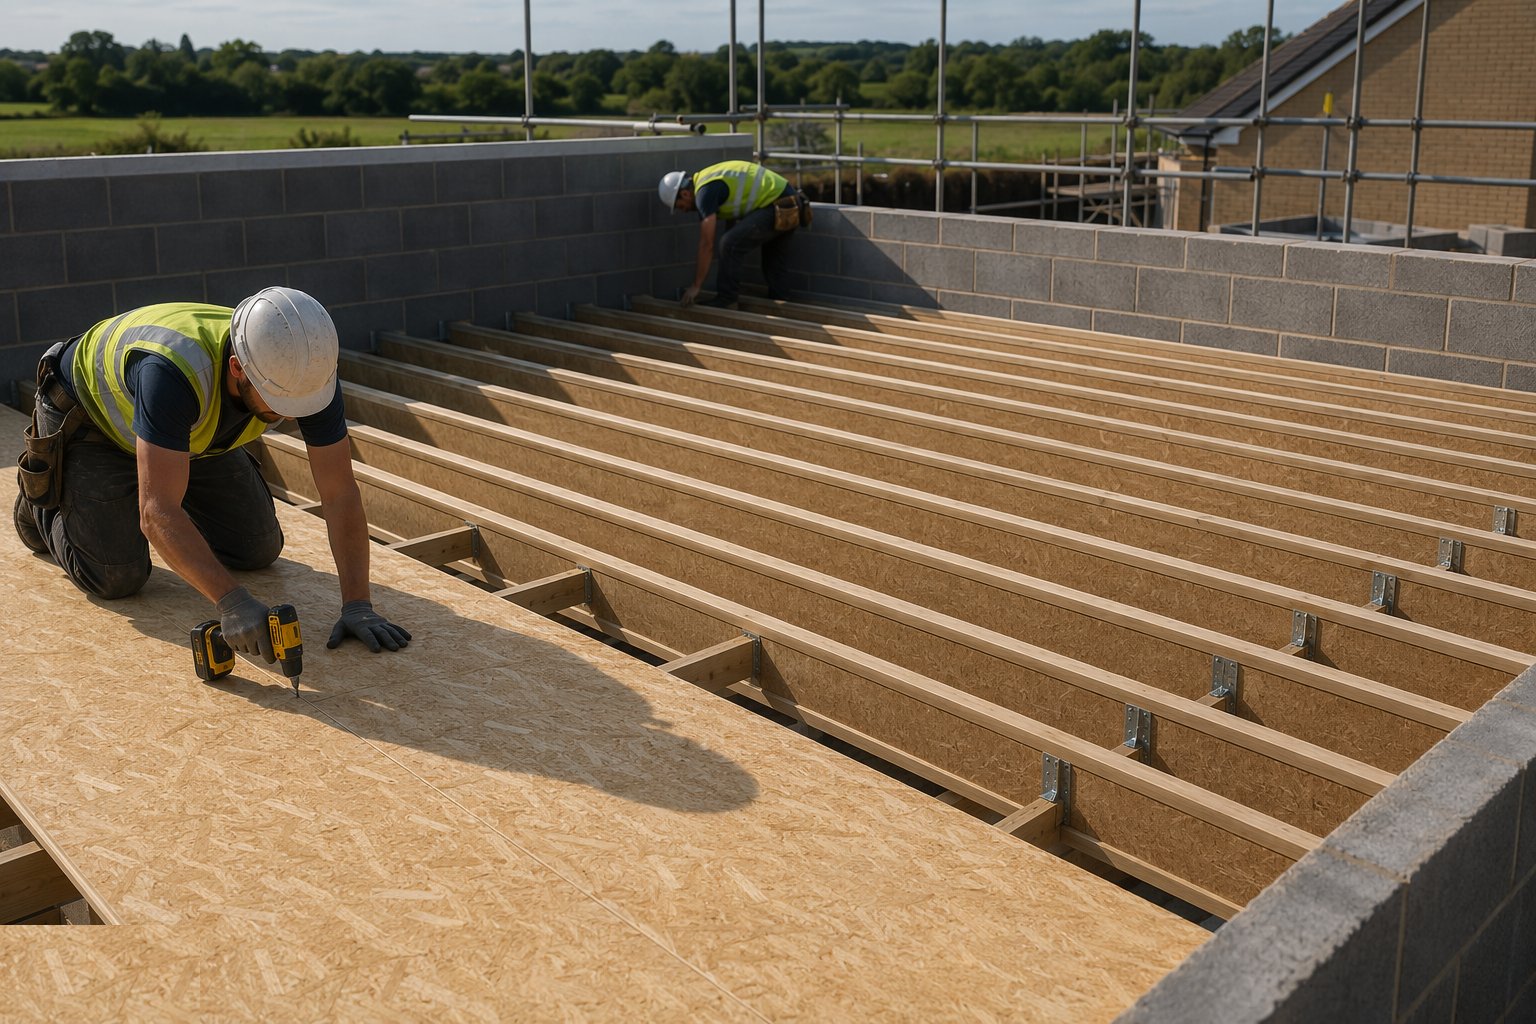
Step 3: Floor joists and decking
Intermediate floors go down as engineered I-joists or solid timber joists at the designed centres, bearing on wall plates or hangers, with strutting between, strongbacks where spans are long, and every service hole drilled within the permitted zones - a joist notched where it should not be is a sagging floor in year three. Deck boarding follows, glued and screwed tongue-and-groove chipboard or plywood, because a squeaky floor is a nail working loose under a board someone was in a hurry with. In UAE concrete construction this step is rare - the slab is the floor - but it survives in villas, roof plant floors and mezzanines.
- 4
Step 4: Roof carpentry - trusses or cut roof
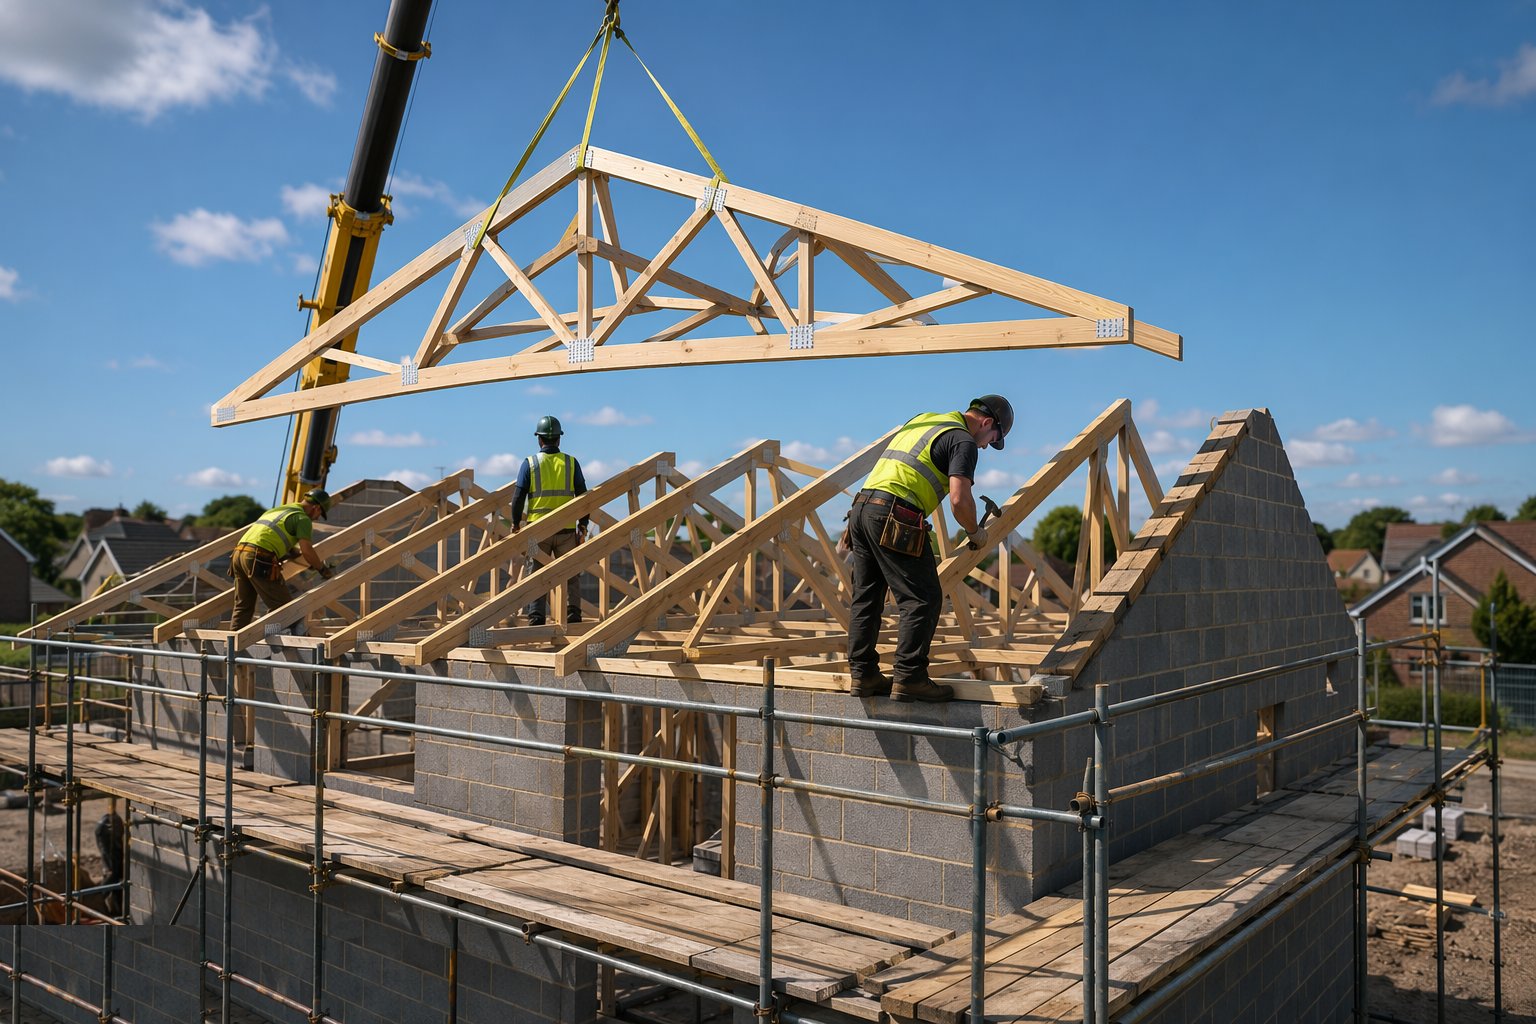
Trussed rafters arrive as a designed package: craned up in bundles, spread to the bracing layout, fixed at 600 mm centres to the wall plates with straps, and made a structure with diagonal and longitudinal bracing, binders and spandrel panels exactly as the truss designer drew it - no improvising, no cutting. A cut roof is built in place: ridge board, rafters birdsmouthed over the wall plates, purlins on struts, collars and hangers, each piece marked and cut on the ground or in the air. Gable ladders, dormer framing and valley sets follow, and the whole lot is strapped down against uplift before the roof tilers load it.
- 5
Step 5: Stair carcass, linings and boxing-in services
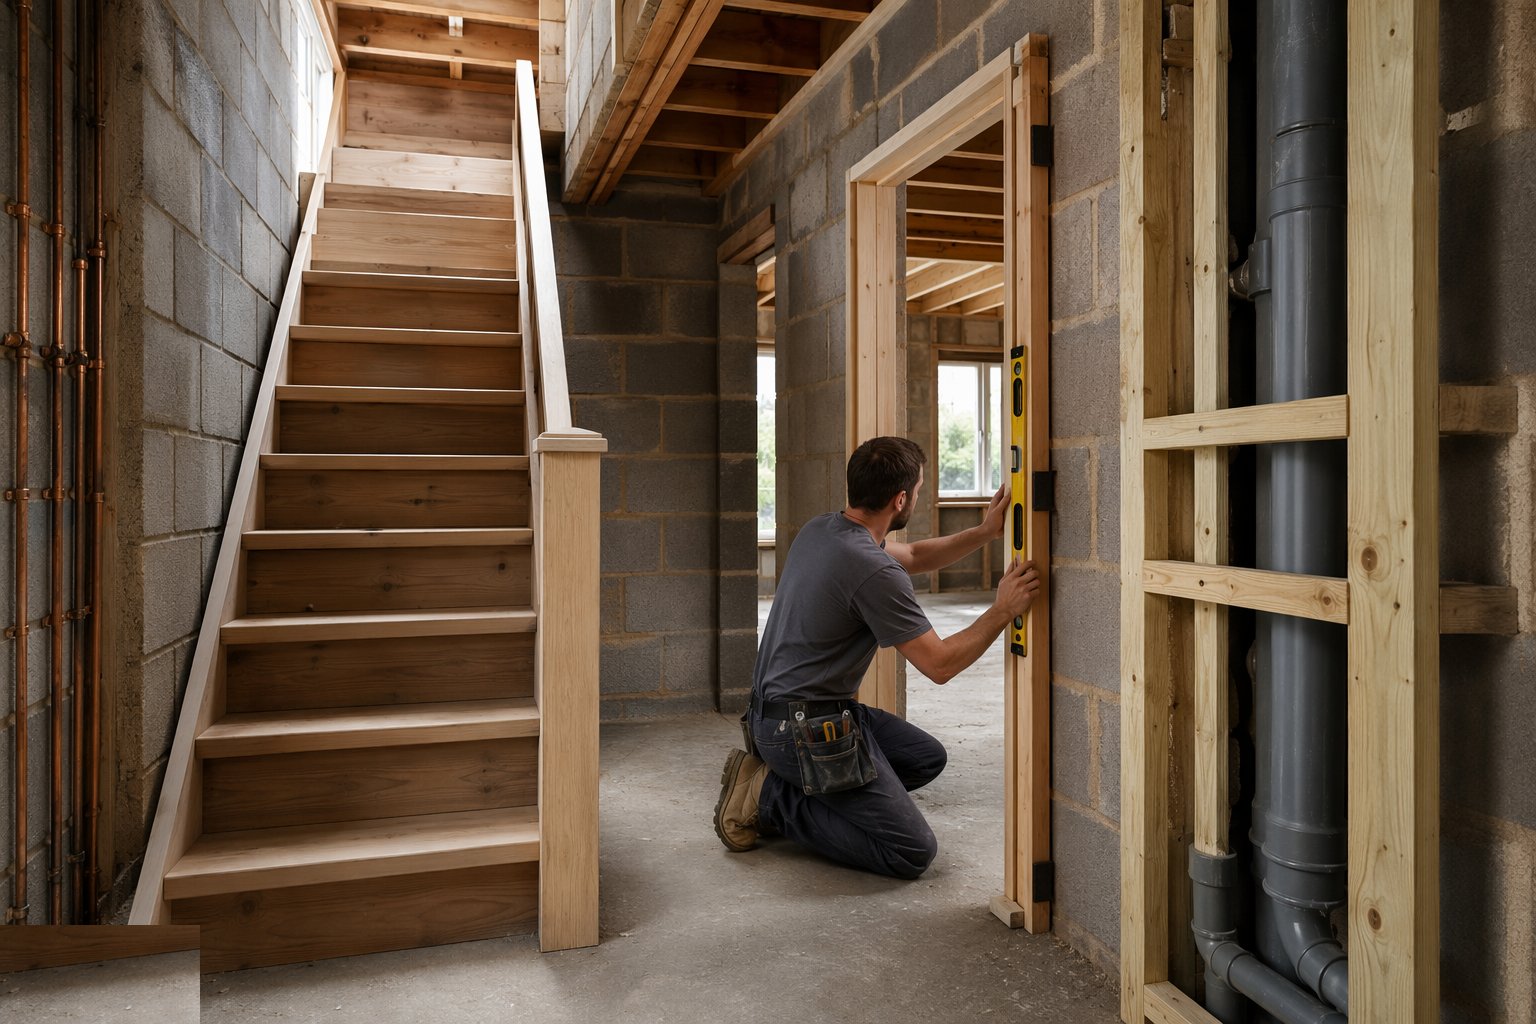
The stair carcass - strings, treads, risers, newel posts - goes in so the trades can stop using ladders, temporarily treaded if it will see site traffic before the finish. Door and window linings fix into their rough openings plumb and square, because every second-fix door inherits whatever the lining gives it; the windows and doors installation guide picks up the glazed units themselves. Finally the services get hidden: pipe and duct runs boxed in with access panels where valves and joints need them, soil stacks cased, and every boxing given the fire stopping the wall behind it had.
- 6
Step 6: Second fix - hang doors and fit ironmongery
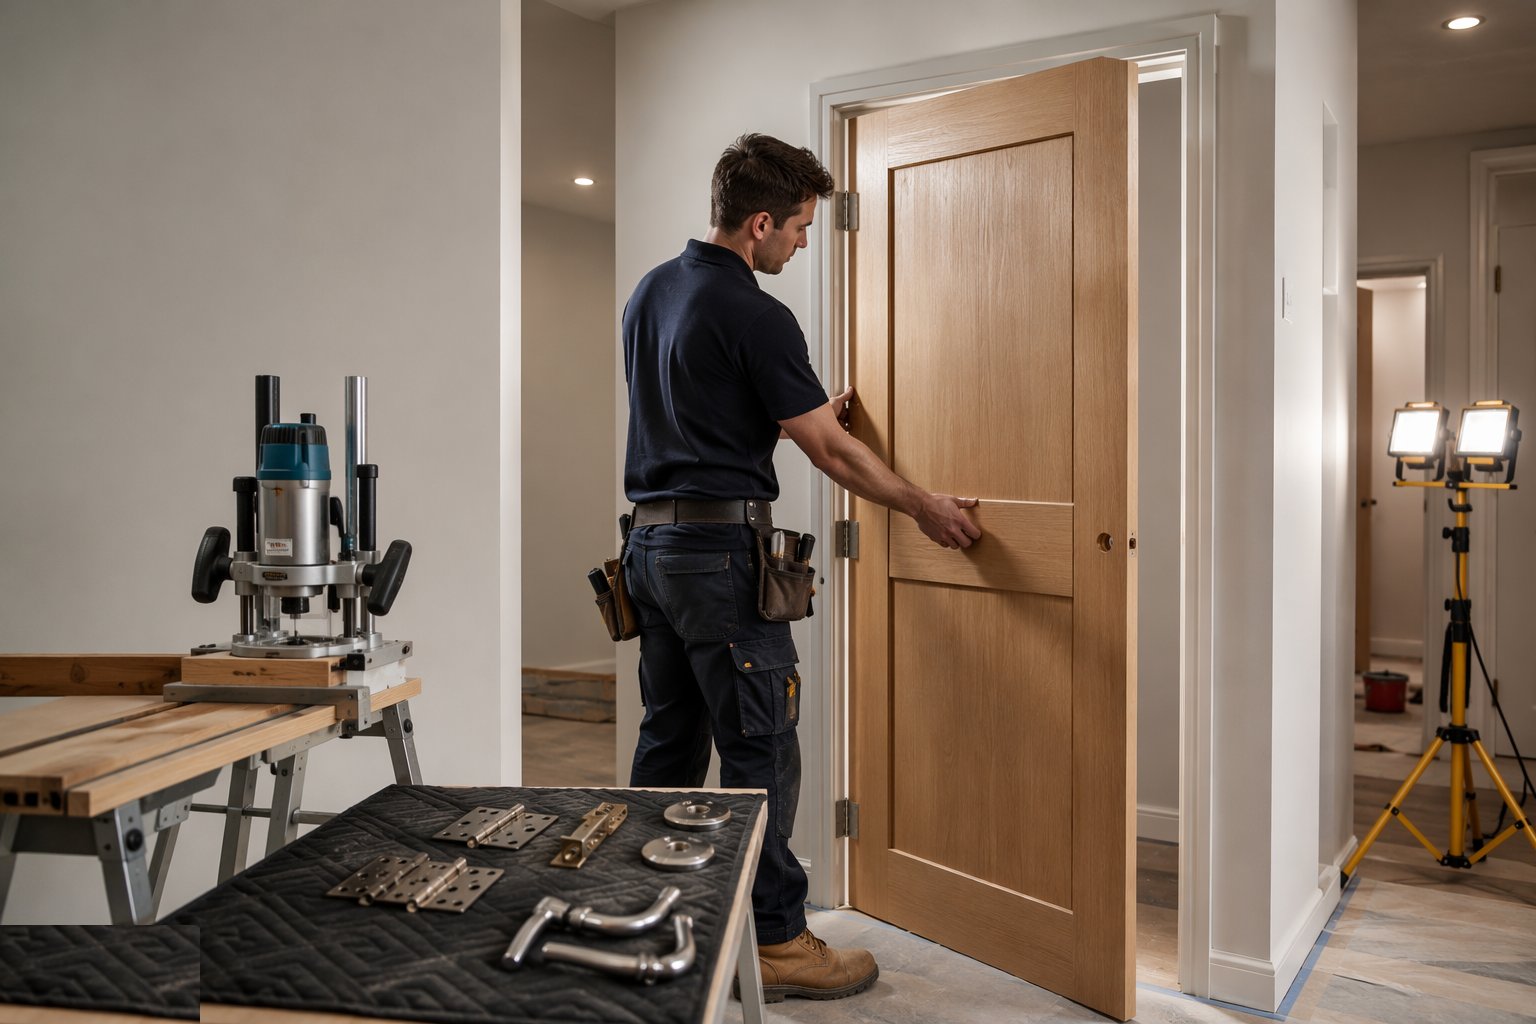
After plaster and the mist coat, the doors arrive. Hinges are let into door and lining, the door shot to the frame with a consistent 3 mm gap, the latch and keeps set, and the leaf swung and adjusted until it closes on the latch without a slam and stays where it is put. Ironmongery follows the schedule: handles, locks and cylinders, closers on fire doors with their intumescent protection intact, bathroom turns, stops and hooks. Fire doors are certified items - the gap tolerances, the seals and the closer are checked as a set, not admired individually.
- 7
Step 7: Skirtings, architraves, window boards and balustrades
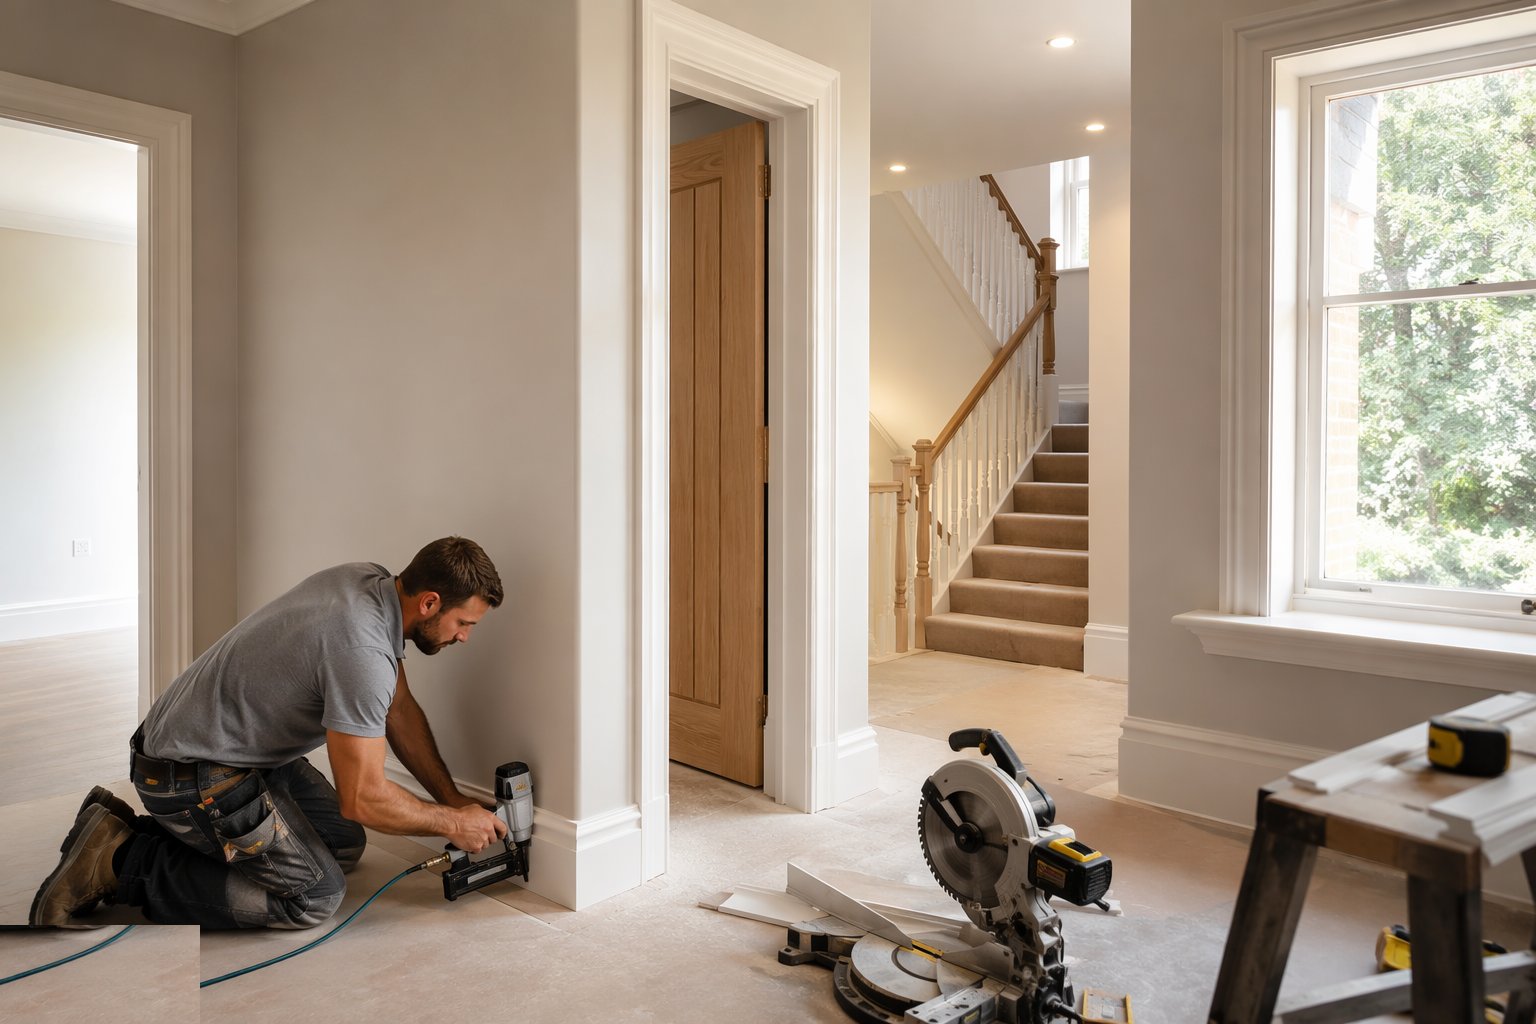
The visible joinery that frames every room: architraves mitred round the door linings, skirtings scribed to the floors and mitred or scribed at the corners, window boards cut and fixed level with their horns into the reveals. Stairs get their finish - handrails, balusters or spindles, newel caps - fixed to the guards-and-barriers rules on heights and the 100 mm sphere that must not pass. Mitres are cut, not caulked into submission; fixings are punched and filled; and where MDF profiles meet a humid UAE summer before the AC is stable, the timber is acclimatised in the building first or the joints open up after handover.
- 8
Step 8: Kitchens, fitted joinery, snag and handover
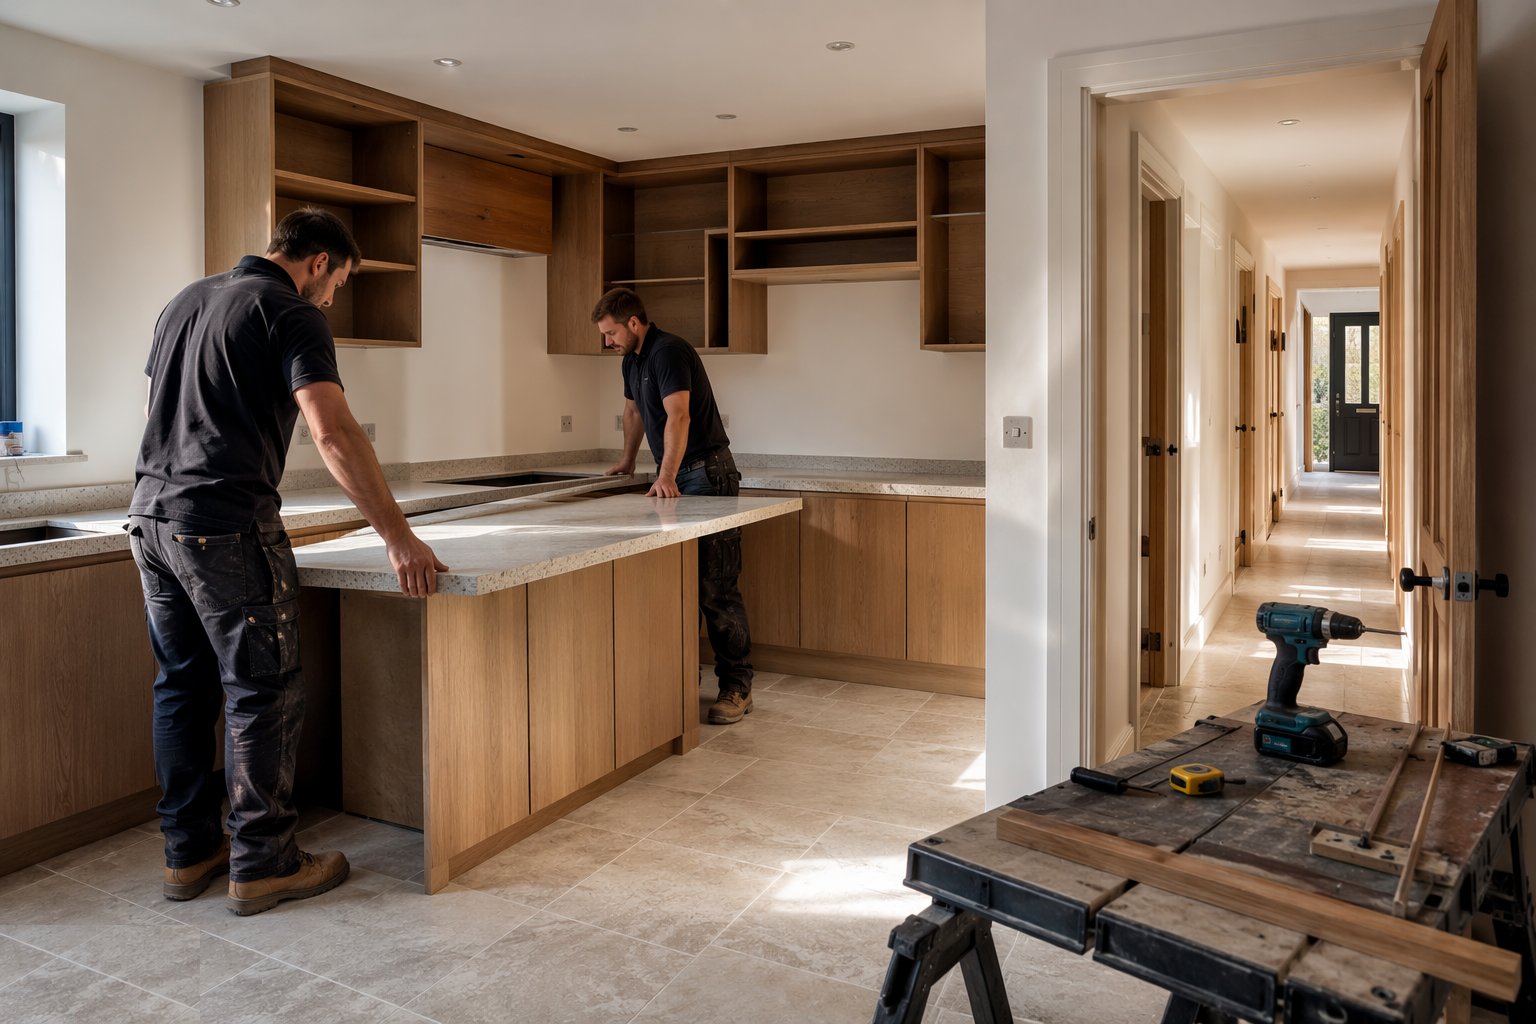
The last pass: kitchen base and wall units fixed level and scribed to the walls, worktops jointed and sealed at the sink cut-outs, plinths and end panels on; fitted wardrobes and storage built and aligned; timber flooring laid where it is the carpenter's scope, with its expansion gaps and acclimatisation per the flooring finishes guide. Then the snag - every door swung and latched, every drawer run, every mitre and scribe inspected at eye level in good light, ironmongery checked against the schedule - and the handover pack: door-set and fire-door certificates, ironmongery schedule, care and adjustment notes for the joinery, and the keys.
Plant & equipment
- Cordless kit: circular saw, mitre saw, jigsaw, planer and nail guns (first and second fix)
- Bench and track saws for sheet goods and worktop cutting
- Router and hinge/lock jigs for door hanging
- Levels, lasers, squares and stud finders; door-boards and morticing stands
- Access towers and podium steps for linings, trusses and high-level boxing
- Telehandler and slinging kit for truss bundles and joist packs
- Dust extraction on saws and routers - MDF dust especially
Quality control & testing
- Timber graded and to spec - C16/C24 carcassing, treated where required; moisture content checked before second fix
- Stud centres, joist spans and bearing lengths against the engineer's layout, not habit
- Truss bracing and straps exactly per the truss designer's layout - photographed before closing
- Rough openings and linings dimensioned to the door-set schedule before plaster
- Fire doors checked as a set: gaps, seals, closer, certification labels intact
- Joinery acclimatised in the finished environment before fixing - non-negotiable in UAE interiors
Safety watchpoints
- Saw and nail-gun discipline: guards on, extraction on, no loose clothing; nail guns are the trade's biggest injury source
- Manual handling: sheet goods, joists and truss bundles - mechanical lift and team lifts
- Work at height on roofs and stairs: edge protection, temporary treads and handrails before the permanent ones
- COSHH on timber treatments, adhesives and wood dust - MDF dust is an enforced hazard
- Truss erection to a method statement: braced as erected, no loading until complete
- Power tools 110 V or battery on UK sites; PAT/inspection regime; eye and hearing protection
Common defects to hunt
- Squeaking, bouncing floors from missed glue, loose screws or joists drilled outside the permitted zones
- Doors that bind or will not latch - linings out of square at first fix, or hinges let in carelessly
- Opened mitres and shrinking skirtings where timber was fixed wet or never acclimatised
- Missing blocking: radiators, cabinets and handrails with nothing to fix to after the walls closed
- Trusses cut or "adjusted" on site - the bracing layout ignored and the structure compromised
- Fire doors failing inspection: wrong gaps, missing seals, closers disconnected for convenience
How long does Carpentry - First & Second Fix take?
Typical duration: A UK house: first fix 1–2 weeks across the shell, second fix 1–2 weeks after plaster. A tower floor of door sets and skirtings: days per floor off a mock-up, hundreds of repetitions. A cut roof on a large villa: a week or more of a two-carpenter gang..
Related processes
- Private Swimming Pool Construction
- CCTV & Security Systems Installation
- TRVs & Heating Controls
- Soft Landscaping & Gardens (Homes & Villas)
- Brick Wall Construction
- Block Wall Construction
- Concrete Structural Walls
- Damp Proofing - DPC, DPM and Cavity Trays
- Firestopping and Passive Fire Protection
- Chasing & First-Fix Cutting for Services
- MEP - Plumbing (First & Second Fix)
- MEP - Electrical (First & Second Fix)
- Ventilation & Air Conditioning
- Below-Ground Drainage Installation
- Sanitary Installation
- Windows & Doors Installation
- Flooring & Floor Finishes
- Carpentry - First & Second Fix in Residential & Housing
- Carpentry - First & Second Fix in Commercial & Workplace
- Carpentry - First & Second Fix in Hospitality & Tourism
- Homes & villas - timber stud & joist - method
- Residential towers - drywall & door sets - method
- Office fit-out - doorsets, skirtings & joinery - method
- Roof carpentry - trusses & cut roofs - method
- Building Trades & Methods sector guide
Previous in sequence
17 - Soft Landscaping & Gardens (Homes & Villas)