CCTV & Security Systems Installation
Cameras, intruder alarms and access control - the ELV trade that wires a building to watch and protect itself.
Last updated 2026-09-05
Typical duration
A villa: 1–2 days plus commissioning evening. A tower: weeks across floors, with a head-end and verification phase at the end that is not optional.
What is CCTV & Security Systems Installation?
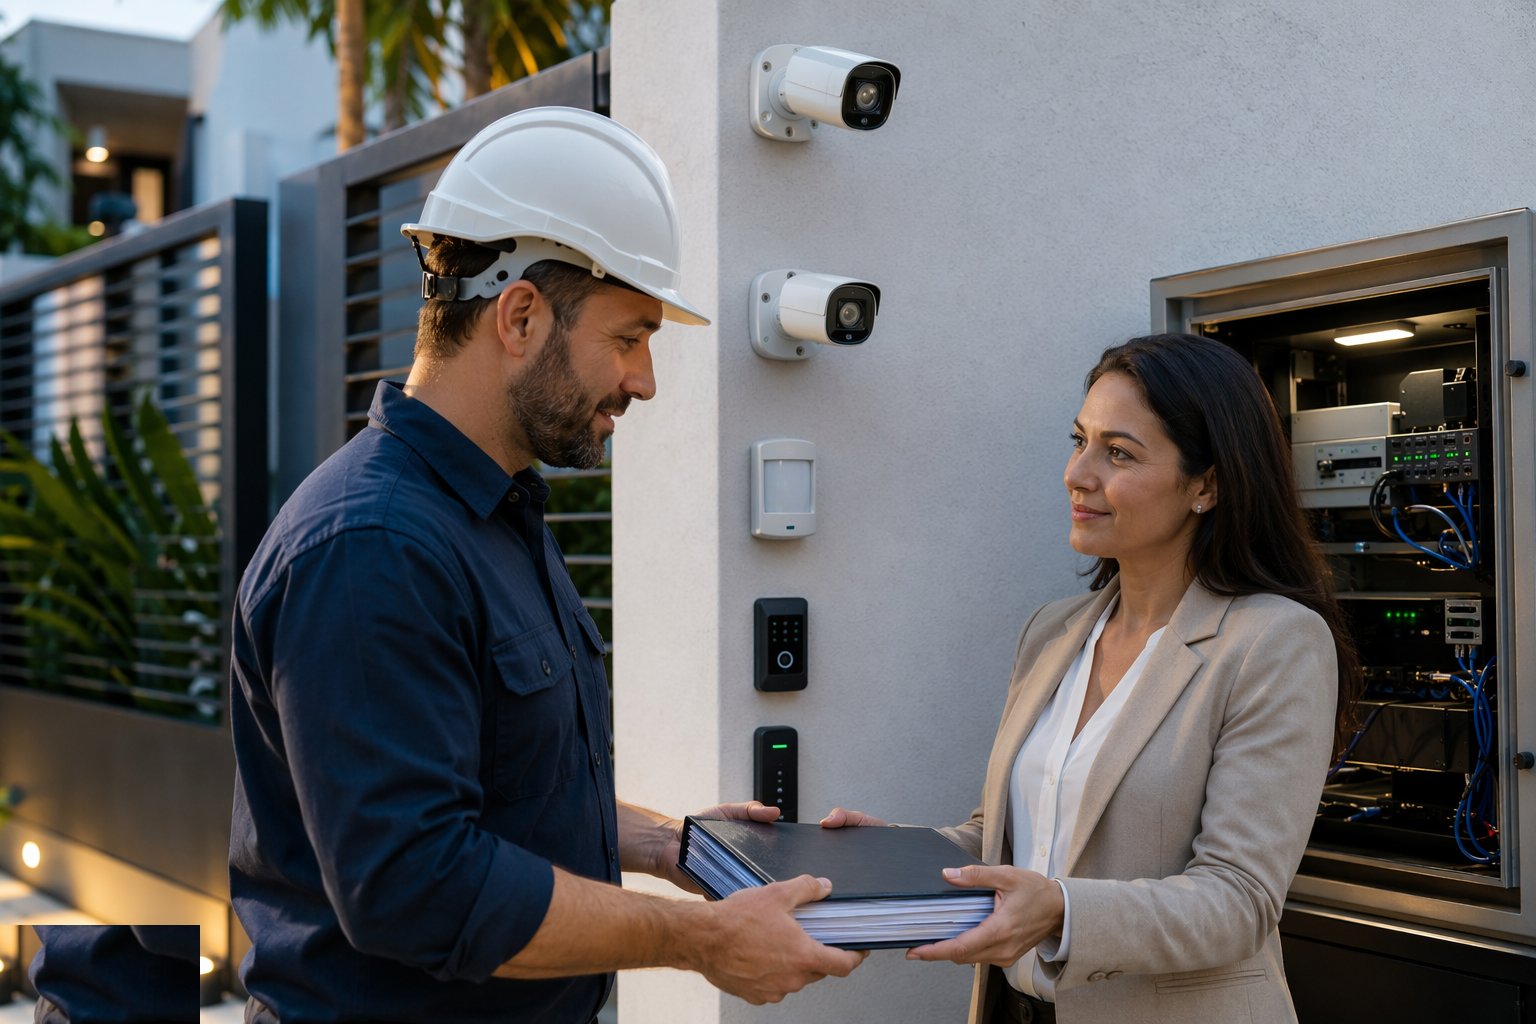
Security systems are the trade where the cable is cheap and the design is everything. A CCTV system that records a hoodie's hat is not security; a system designed from the risk - what needs seeing, at what resolution, in what light, retained for how long - is. The modern install is IP cameras on structured cabling to a network video recorder, intruder detection on its own panel with door contacts and PIRs, and access control with readers, strikes and the door's fire-strategy obligations. On a villa it is a recorder in the comms cabinet and four cameras; on a tower or office it is a head-end, a monitoring room and integrations with fire, lifts and BMS.
The construction reality follows the electrical trades: containment and cabling at first fix, devices and terminations at second fix, then the part most systems skip - commissioning the coverage. Every camera is aimed and verified against its purpose at the resolution the design assumed, every detector is walk-tested, and every door release is checked against the fire alarm interface. In the UAE, CCTV on commercial and residential buildings commonly falls under police or authority requirements (SIRA in Dubai) with approved equipment and retention periods; in the UK, data protection and signage duties sit on the operator from day one.
Compare the methods at a glance
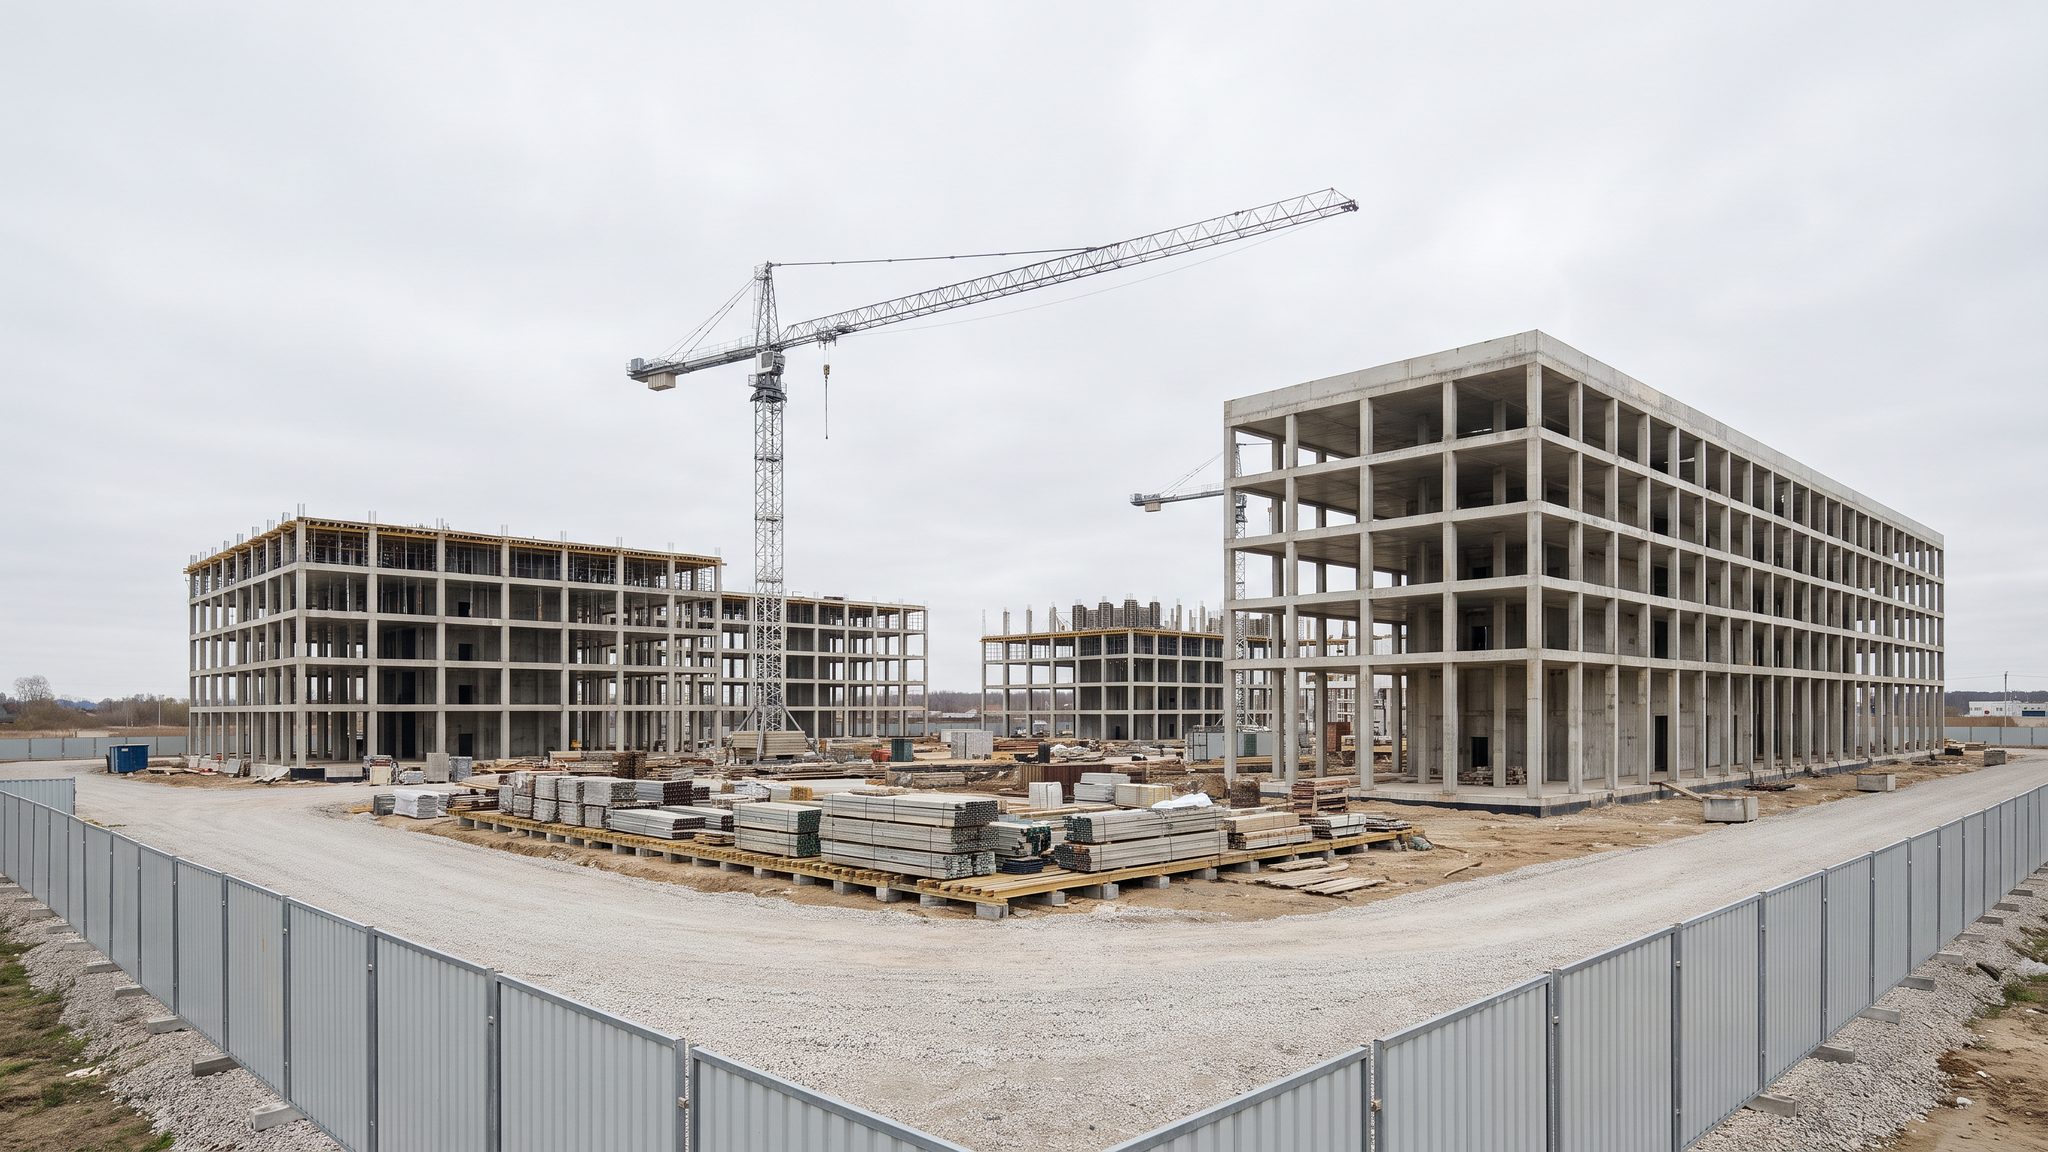
When and why is CCTV & Security Systems Installation used?
First fix runs with the electrical first fix because the routes are shared and the containment rules are the same, with mains/ELV separation observed. Devices fit at second fix after decoration. The system exists to deter, detect and provide evidence - and it is commissioned because an unverified camera is a decoration with a lens. The design follows the risk assessment: entrances and perimeters first, then assets, then coverage, with lighting and retention sized to make the recording usable rather than merely present.
Walkthrough storyboard
The process in pictures, step by step - Step 1 of 8 - slide through the snapshots.
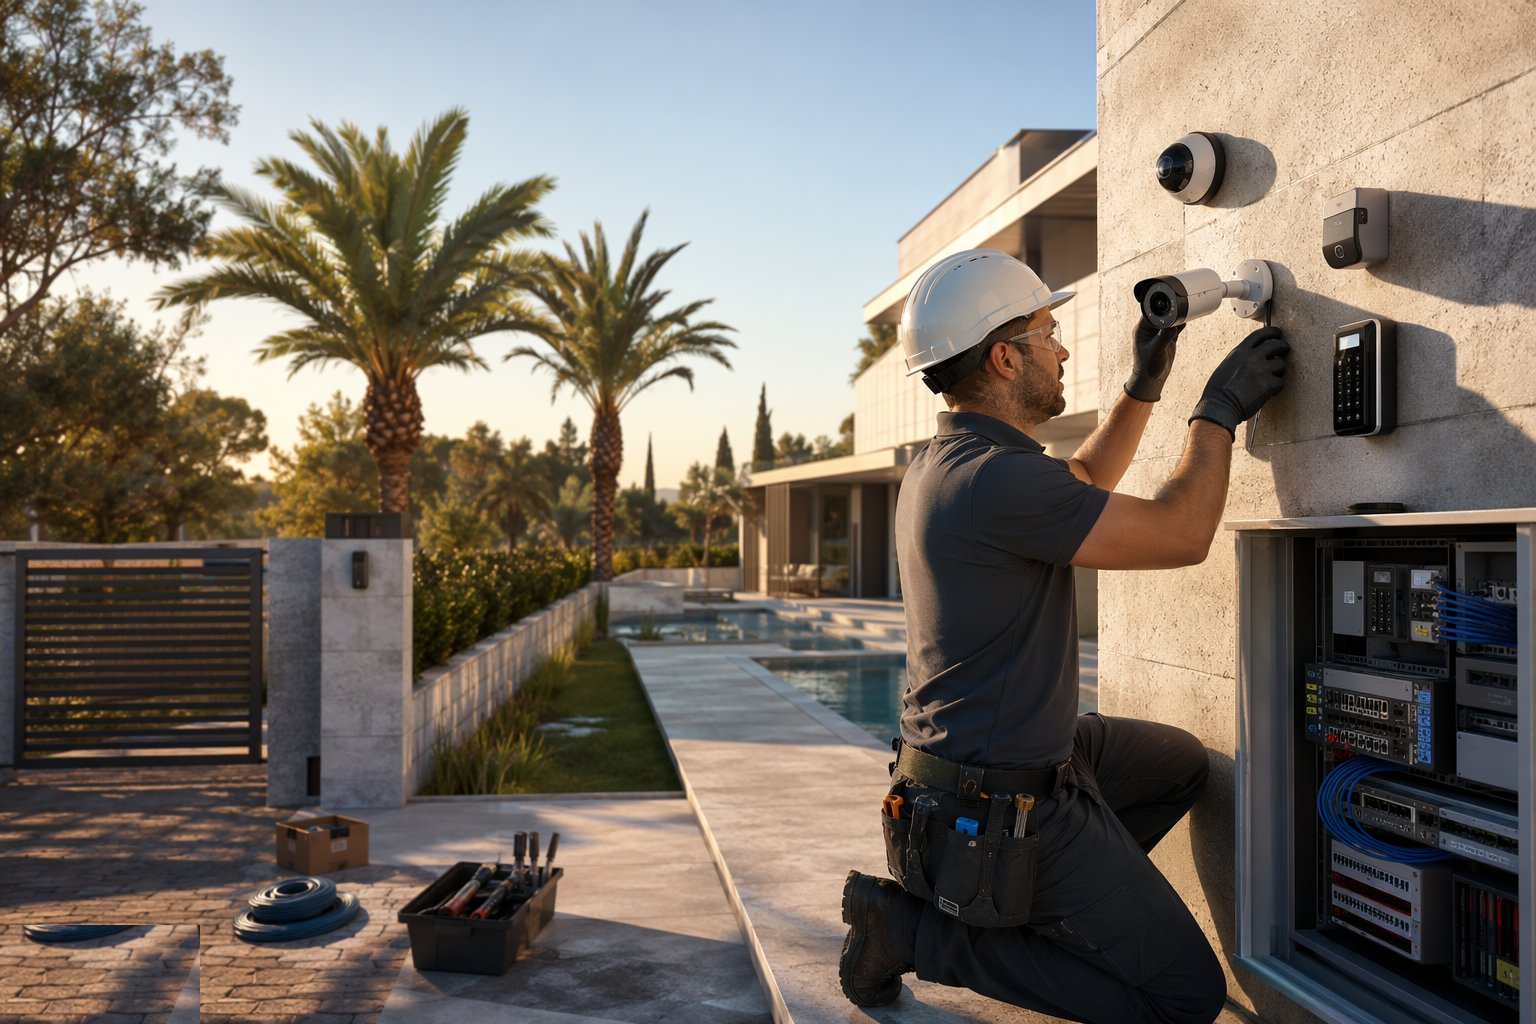
STEP 1
Risk assessment and coverage design
The design starts from what must be seen: entrances, perimeters, assets and escape routes, each with a target resolution (identify, recognise or observe),…
Types of CCTV & Security Systems Installation
Explore each method in depth - benefits, limitations, plant and quality control on its own page.
Homes & villas
IP camera kits to an NVR with remote viewing, doorbell and gate integration, intruder alarm with app notification, and gate automation where the plot allows. Discretion, neighbour privacy and decent night images matter more than camera count.
Explore this methodResidential towers
Entrance, lobby, lift and car park coverage with video intercom per apartment, access control on amenity and plant doors, and a concierge or remote monitoring head-end. Retention and authority compliance (SIRA in Dubai) set the recorder and storage sizing.
Explore this methodOffice towers
Turnstiles and access control integrated to the tenant demarcations, CCTV at entrances, loading bays and risers, intruder detection on the shell with tenant zones, and a security room with the fire and BMS interfaces documented.
Explore this methodPerimeter & gate systems
ANPR and gate automation on compounds and villa communities, perimeter detection where the risk justifies it, and intercom-to-gate integration. Power, network and vehicle safety loops are first-fix decisions - the gate is a machine with a person in its path.
Explore this methodBest suited for
- Villas and homes wanting verified, private, usable coverage
- Residential towers with intercom, amenity and car park security
- Offices with tenant access control and authority compliance
- Compounds and communities with gates, ANPR and perimeters
- Any building where "we have cameras" needs to mean "we can see"
CCTV & Security Systems Installation: step by step
- 1
Step 1: Risk assessment and coverage design
The design starts from what must be seen: entrances, perimeters, assets and escape routes, each with a target resolution (identify, recognise or observe), lighting condition and retention period. Camera positions, lens choices and recorder sizing come from this - and the authority requirements (SIRA, insurer or police) are folded in before a device is ordered.
- 2
Step 2: First fix - containment and cabling
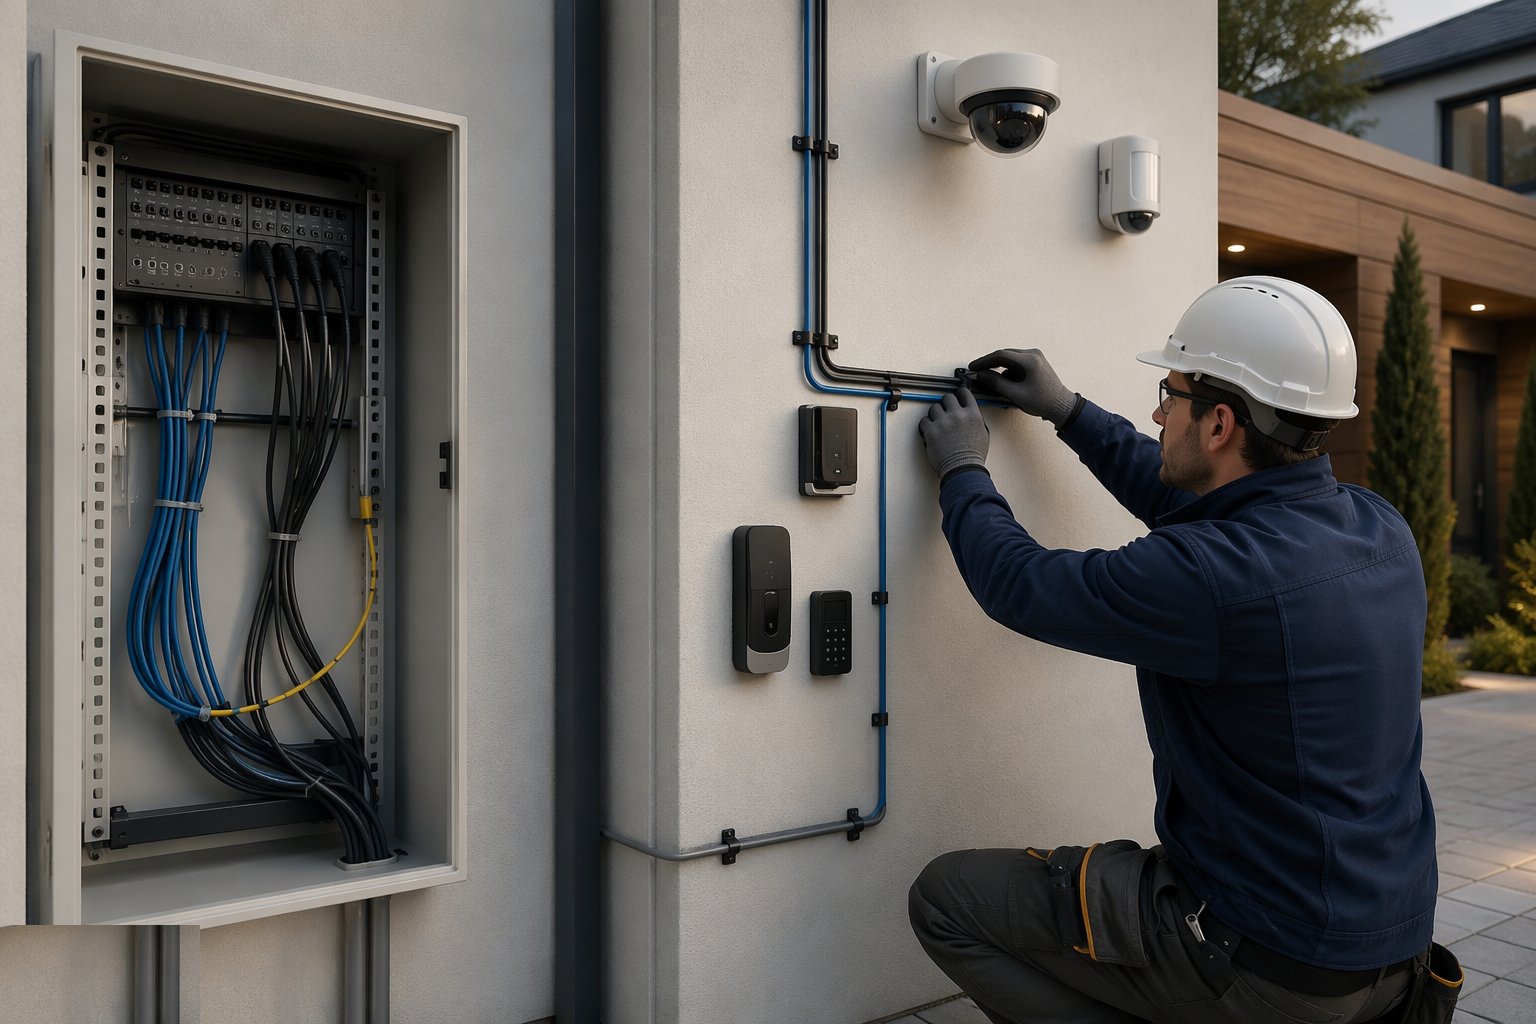
Containment and cable routes install with the electrical first fix, keeping ELV separation from mains and routes that protect the cable from the follow-on trades. Cameras get their mounting provisions and back boxes; doors get their door-loop and strike preparations while the frame is accessible; the comms cabinet position gets power, cooling thought and space.
- 3
Step 3: Head-end and network build
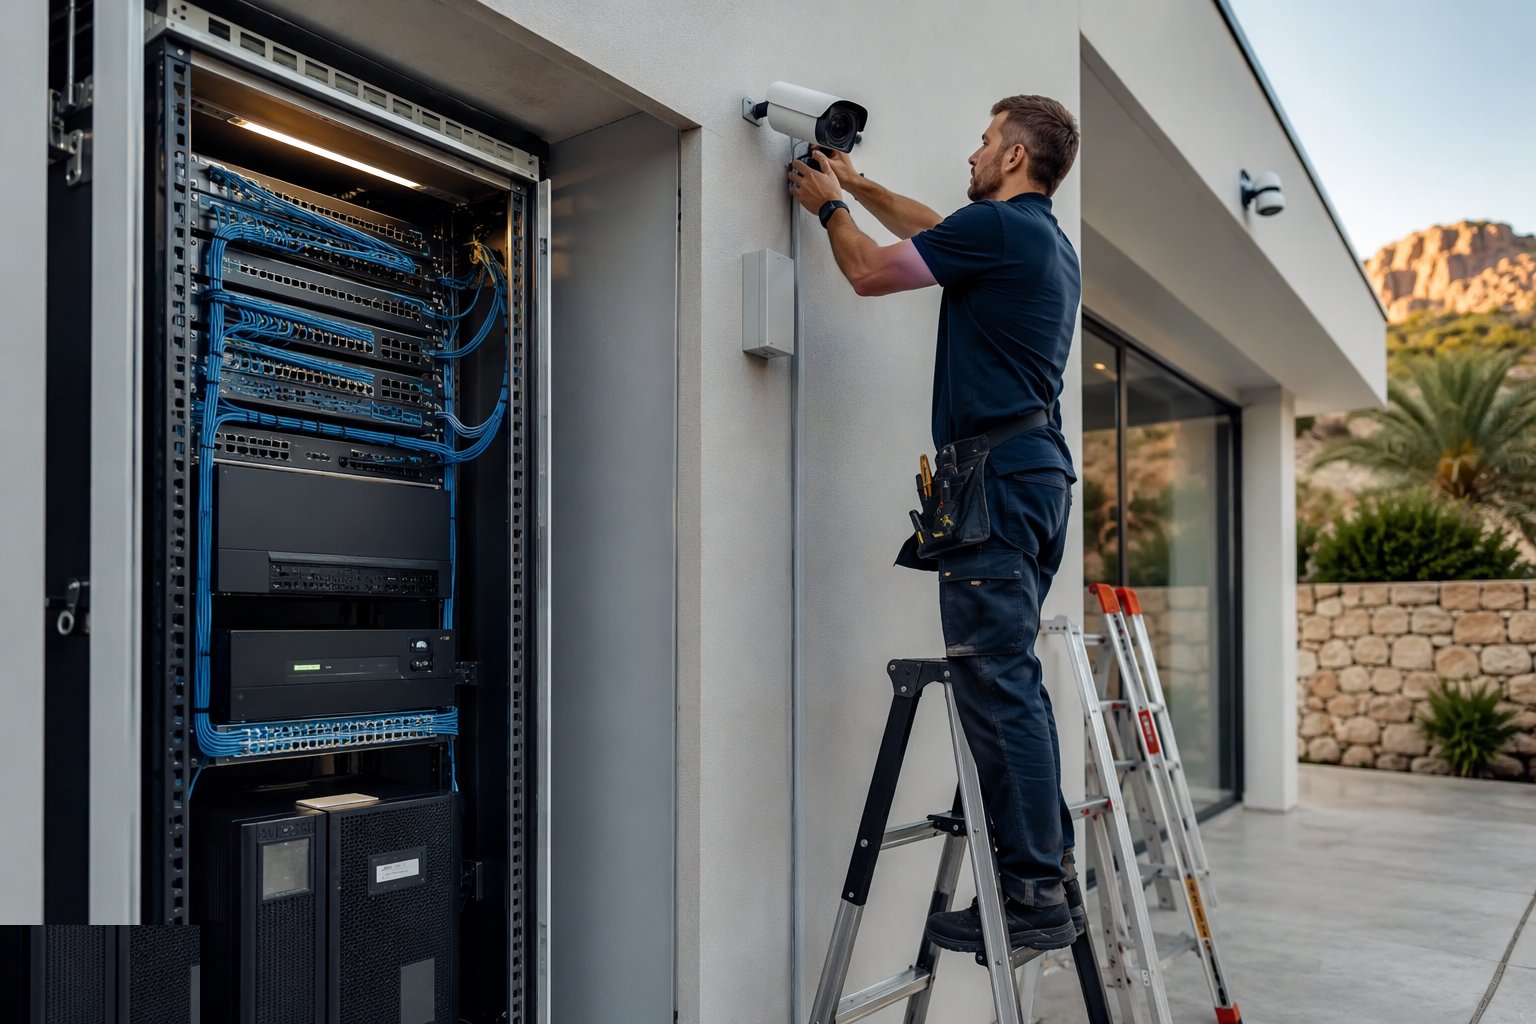
The NVR, switches (PoE sized for the camera load), storage and UPS build into the cabinet with the network addressed and documented. Remote viewing is configured with its security hardened - changed defaults, segmented network, the basics that stop the cameras becoming somebody else's website.
- 4
Step 4: Second fix - mount and terminate devices
Cameras mount on their brackets after decoration, aimed roughly and weather-sealed where external; detectors, contacts and readers fit at their designed heights and positions; door hardware - strikes, magnets, exit devices - installs with the fire interface wired. Everything terminates, labels and tests back to the head-end.
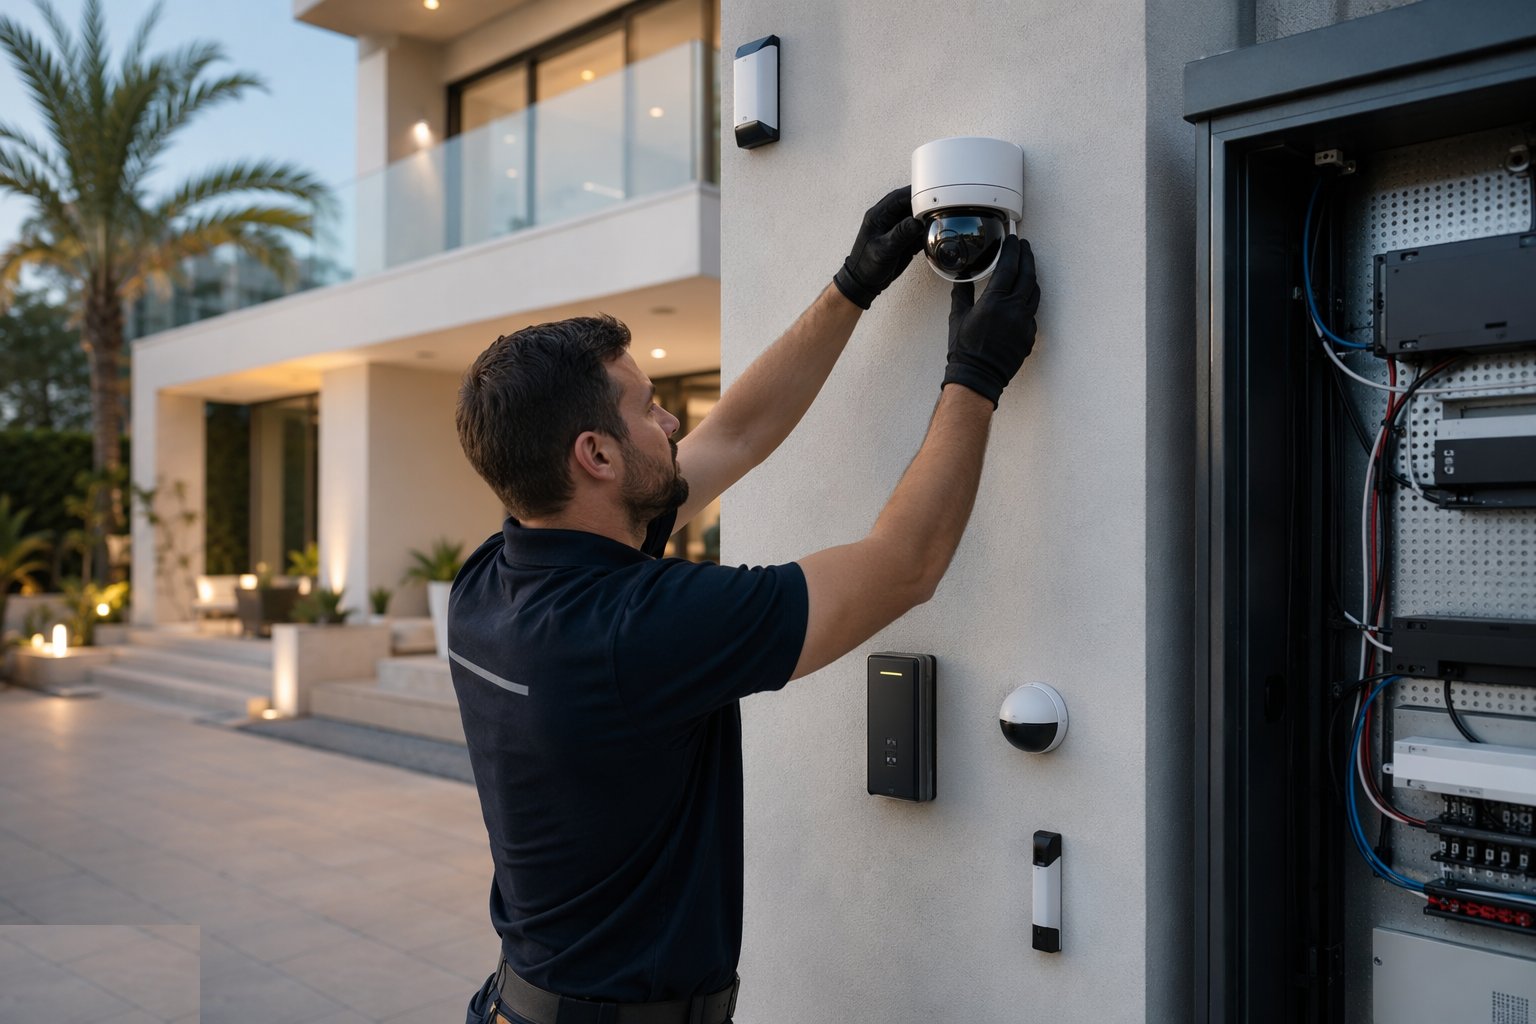
- 5
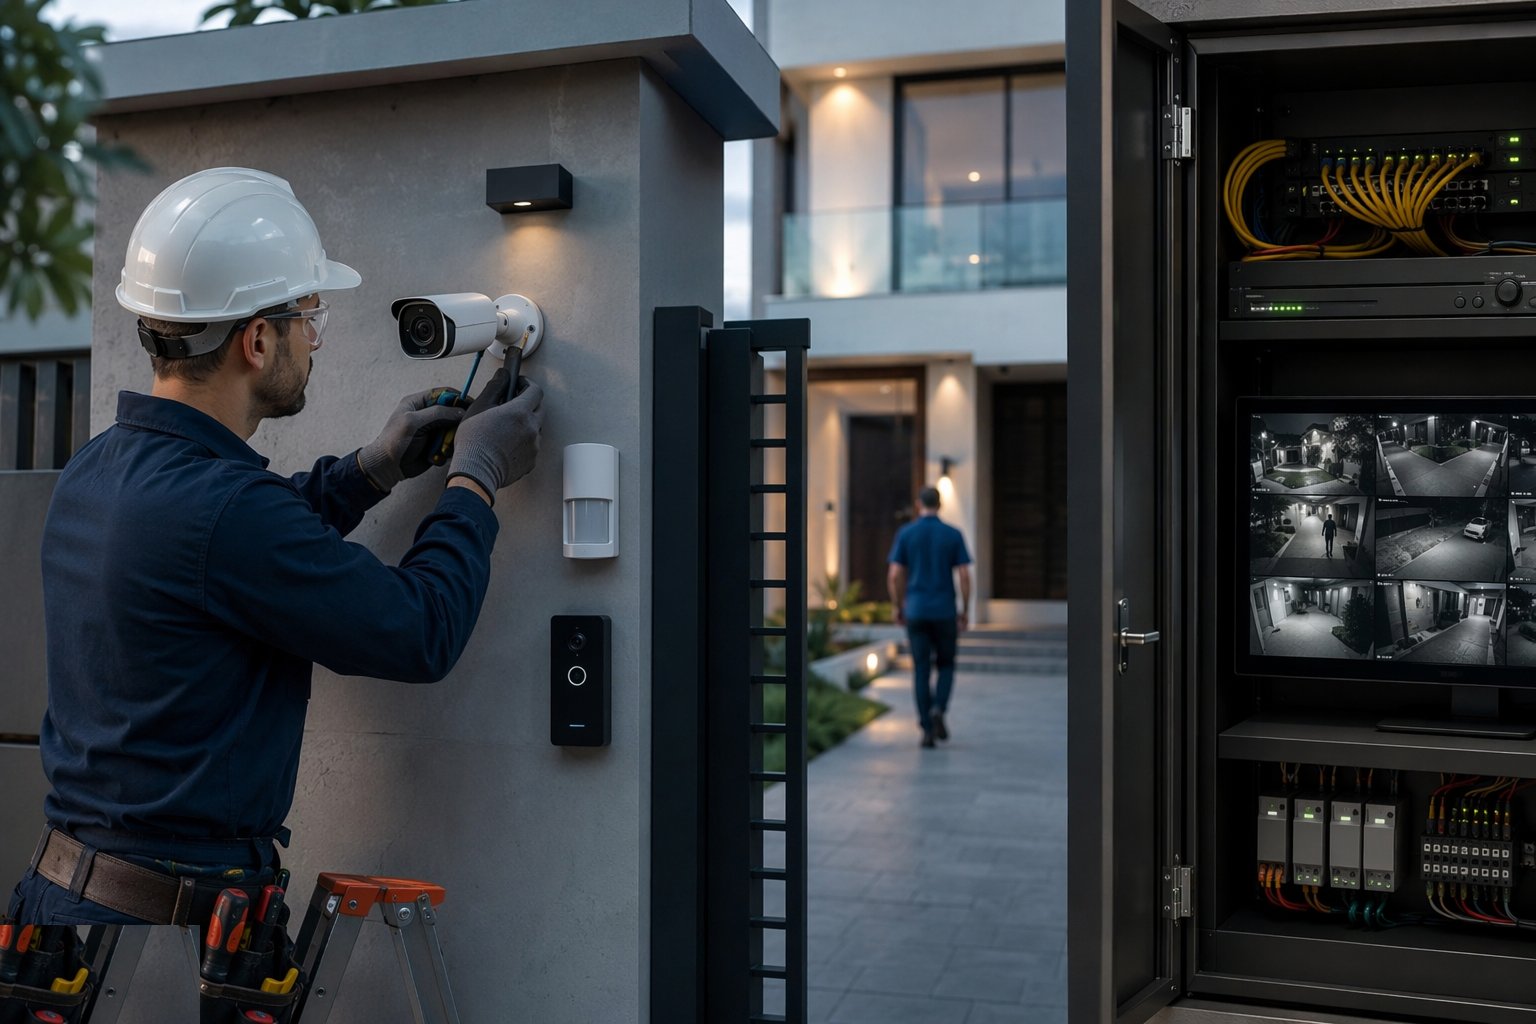
Step 5: Aim, focus and verify coverage
Every camera is aimed and focused against its purpose with the target walked through the scene: faces at entrances at identification resolution, perimeters at recognition, and low-light performance verified after dark, not assumed from a sunny afternoon. Blind spots and backlight problems are fixed by moving cameras now, not by noting them forever.
- 6
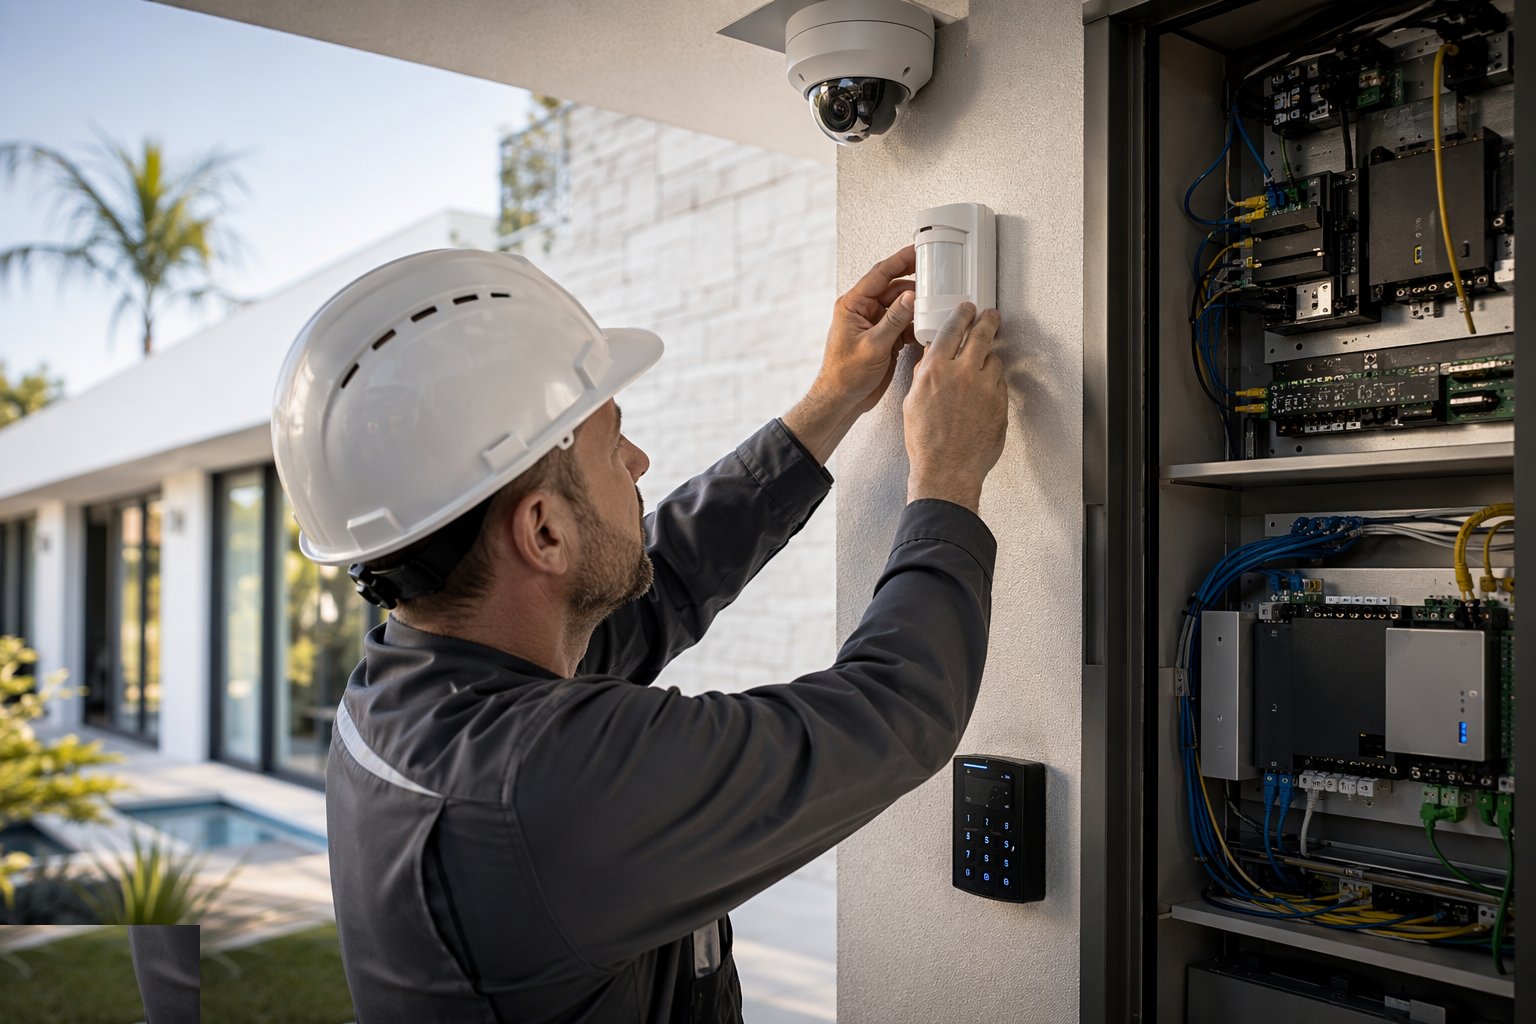
Step 6: Walk-test detection and door interfaces
PIRs and contacts walk-test zone by zone with the panel logging; access control is tested card by card and door by door, including the fire alarm drop-out - doors must release on alarm and fail safe as the fire strategy demands. Gate automation is force-tested with its safety edges and loops proven with a person in the path scenario.
- 7
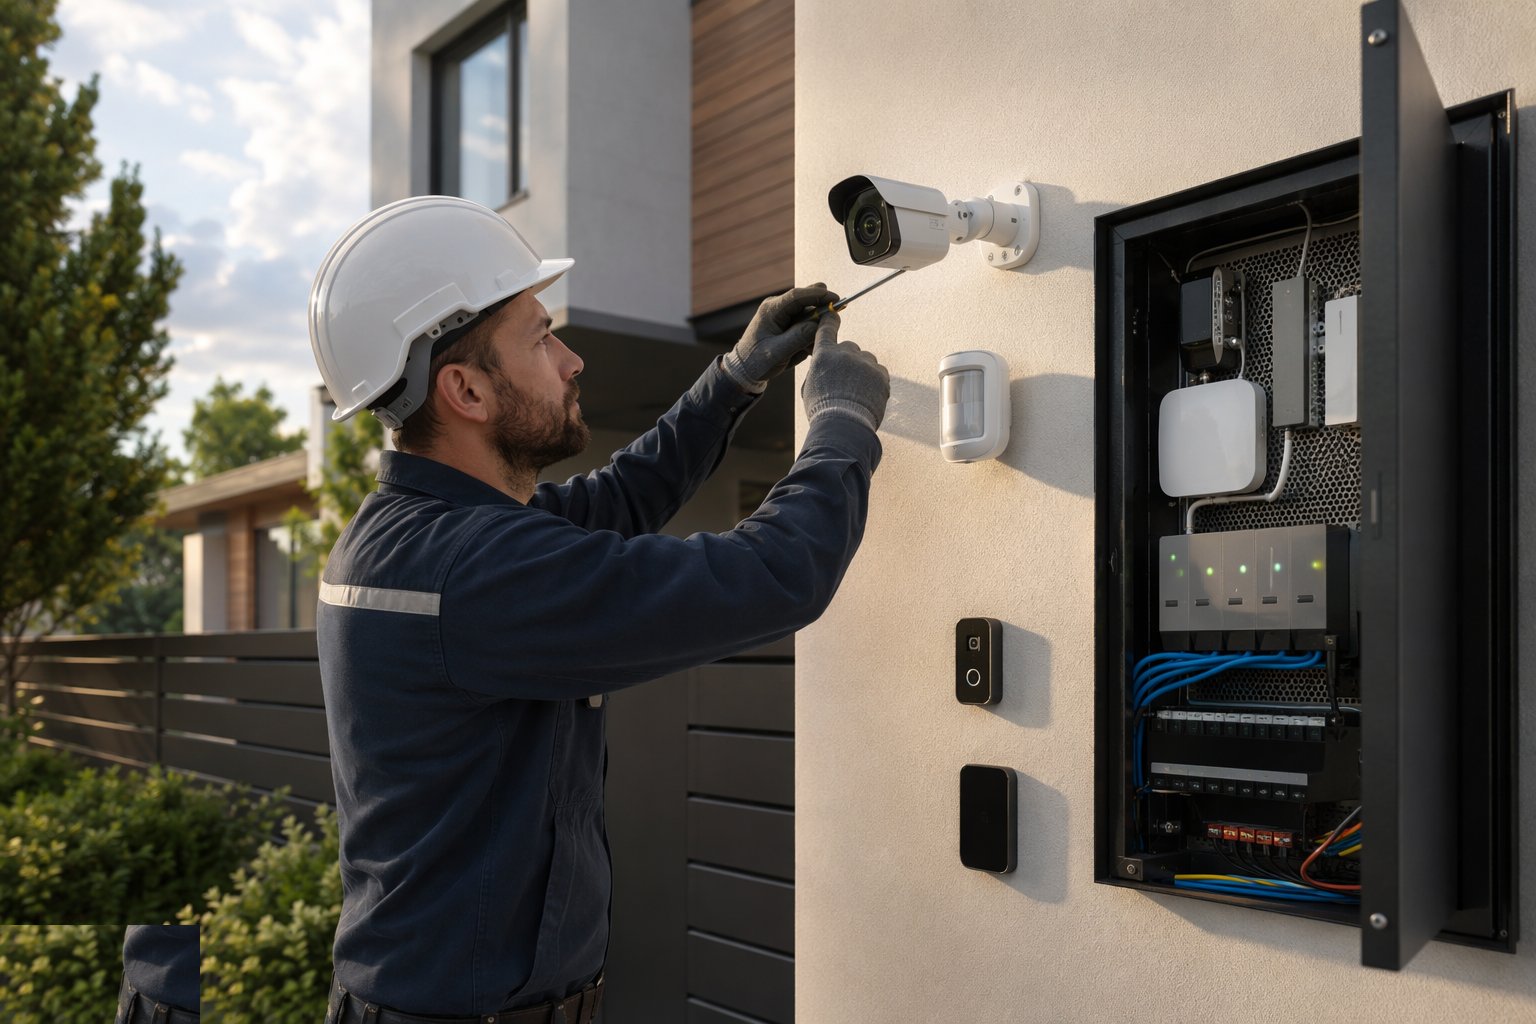
Step 7: Commission retention, alarms and remote monitoring
Retention is verified against the requirement - record and count the days, not the brochure - motion and event recording tuned so the storage is not drowned in trees moving, and alarm signalling to the app, ARC or monitoring room tested end to end. Users, codes and permissions are set with the client, documented, and the defaults buried.
- 8
Step 8: Handover - documentation, training and compliance
The pack carries the as-installed drawings, the device schedule, the coverage verification records, the authority or insurer compliance certificates, and the admin credentials handed over formally. The operator is trained on playback, evidence export and the privacy duties (signage, data protection) that sit on them from switch-on.
Plant & equipment
- Structured cabling and termination kit; cable certifier
- PoE switches, NVRs, storage and UPS at the head-end
- Camera mounting and aiming kit; ladders and access equipment
- Panel and detector programming tools
- Door hardware installation jigs and force gauges for gates
- Network tools for addressing, segmentation and hardening
- Label printers and documentation kit
Quality control & testing
- Coverage design signed against the risk assessment before install
- Cable test certificates for every run
- Camera aiming and resolution verification recorded per camera
- Walk-test logs for every detection zone
- Fire interface drop-out tested and witnessed
- Retention period verified by recording audit, not calculation alone
Safety watchpoints
- Working at height on camera and detector mounting
- Electrical isolation for head-end and door hardware work
- Gate automation: entrapment testing with strict exclusion during commissioning
- Data security of the system itself - hardened before connection
- COSHH minimal; manual handling of cabinets and UPS batteries managed
- Lone working controls on out-of-hours commissioning
Common defects to hunt
- Cameras that record hats: aimed high, resolution wrong for the distance
- Night blindness - IR reflections, backlight, no after-dark verification
- Storage that runs out in a week because motion masks were never tuned
- Doors that do not release on fire alarm - interface untested
- Default passwords and exposed remote viewing: the system as the vulnerability
- Zones that false-alarm nightly until the user stops setting the panel
How long does CCTV & Security Systems Installation take?
Typical duration: A villa: 1–2 days plus commissioning evening. A tower: weeks across floors, with a head-end and verification phase at the end that is not optional..
Related processes
- Sanitary Installation
- Windows & Doors Installation
- Flooring & Floor Finishes
- Private Swimming Pool Construction
- TRVs & Heating Controls
- Soft Landscaping & Gardens (Homes & Villas)
- Carpentry - First & Second Fix
- Brick Wall Construction
- Block Wall Construction
- Concrete Structural Walls
- Damp Proofing - DPC, DPM and Cavity Trays
- Firestopping and Passive Fire Protection
- Chasing & First-Fix Cutting for Services
- MEP - Plumbing (First & Second Fix)
- MEP - Electrical (First & Second Fix)
- Ventilation & Air Conditioning
- Below-Ground Drainage Installation
- CCTV & Security Systems Installation in Residential & Housing
- CCTV & Security Systems Installation in Commercial & Workplace
- CCTV & Security Systems Installation in Defence & Security
- Homes & villas - method
- Residential towers - method
- Office towers - method
- Perimeter & gate systems - method
- Building Trades & Methods sector guide