Flooring & Floor Finishes
Tiling, timber, vinyl, carpet and stone over the screed - the finish every foot and eye judges first.
Last updated 2026-09-05
Typical duration
A house: 1–2 weeks across all finishes and cure times. A tower floor: per-floor cycle following decoration. The moisture test adds weeks if you skip it - ask the programme how it knows.
What is Flooring & Floor Finishes?
The screed guide covers the substrate; this guide is what goes on top of it. Floor finishes are chosen per room and per build type - porcelain in the wet rooms and UAE living areas, engineered timber in UK lounges, vinyl in the kitchen and the office back-of-house, carpet in bedrooms and tower corridors - but the trade rules are the same across all of them: the substrate must be dry, sound, level and clean, the material must be acclimatised, and the setting-out decides whether the floor looks designed or apologetic. A floor is the one finish nobody can avoid touching, and its failures - lipping, drummy tiles, gapping boards, ripples in the vinyl - are felt before they are seen.
Moisture is the recurring villain. Timber and vinyl over a screed that reads damp will fail on a schedule, not a maybe, and "it felt dry" is not a measurement - the hygrometer or calcium carbide test decides. In the UAE add thermal movement on big porcelain fields and the reality of chilled buildings meeting hot logistics: materials acclimatise indoors, not in the car park.
Compare the methods at a glance
When and why is Flooring & Floor Finishes used?
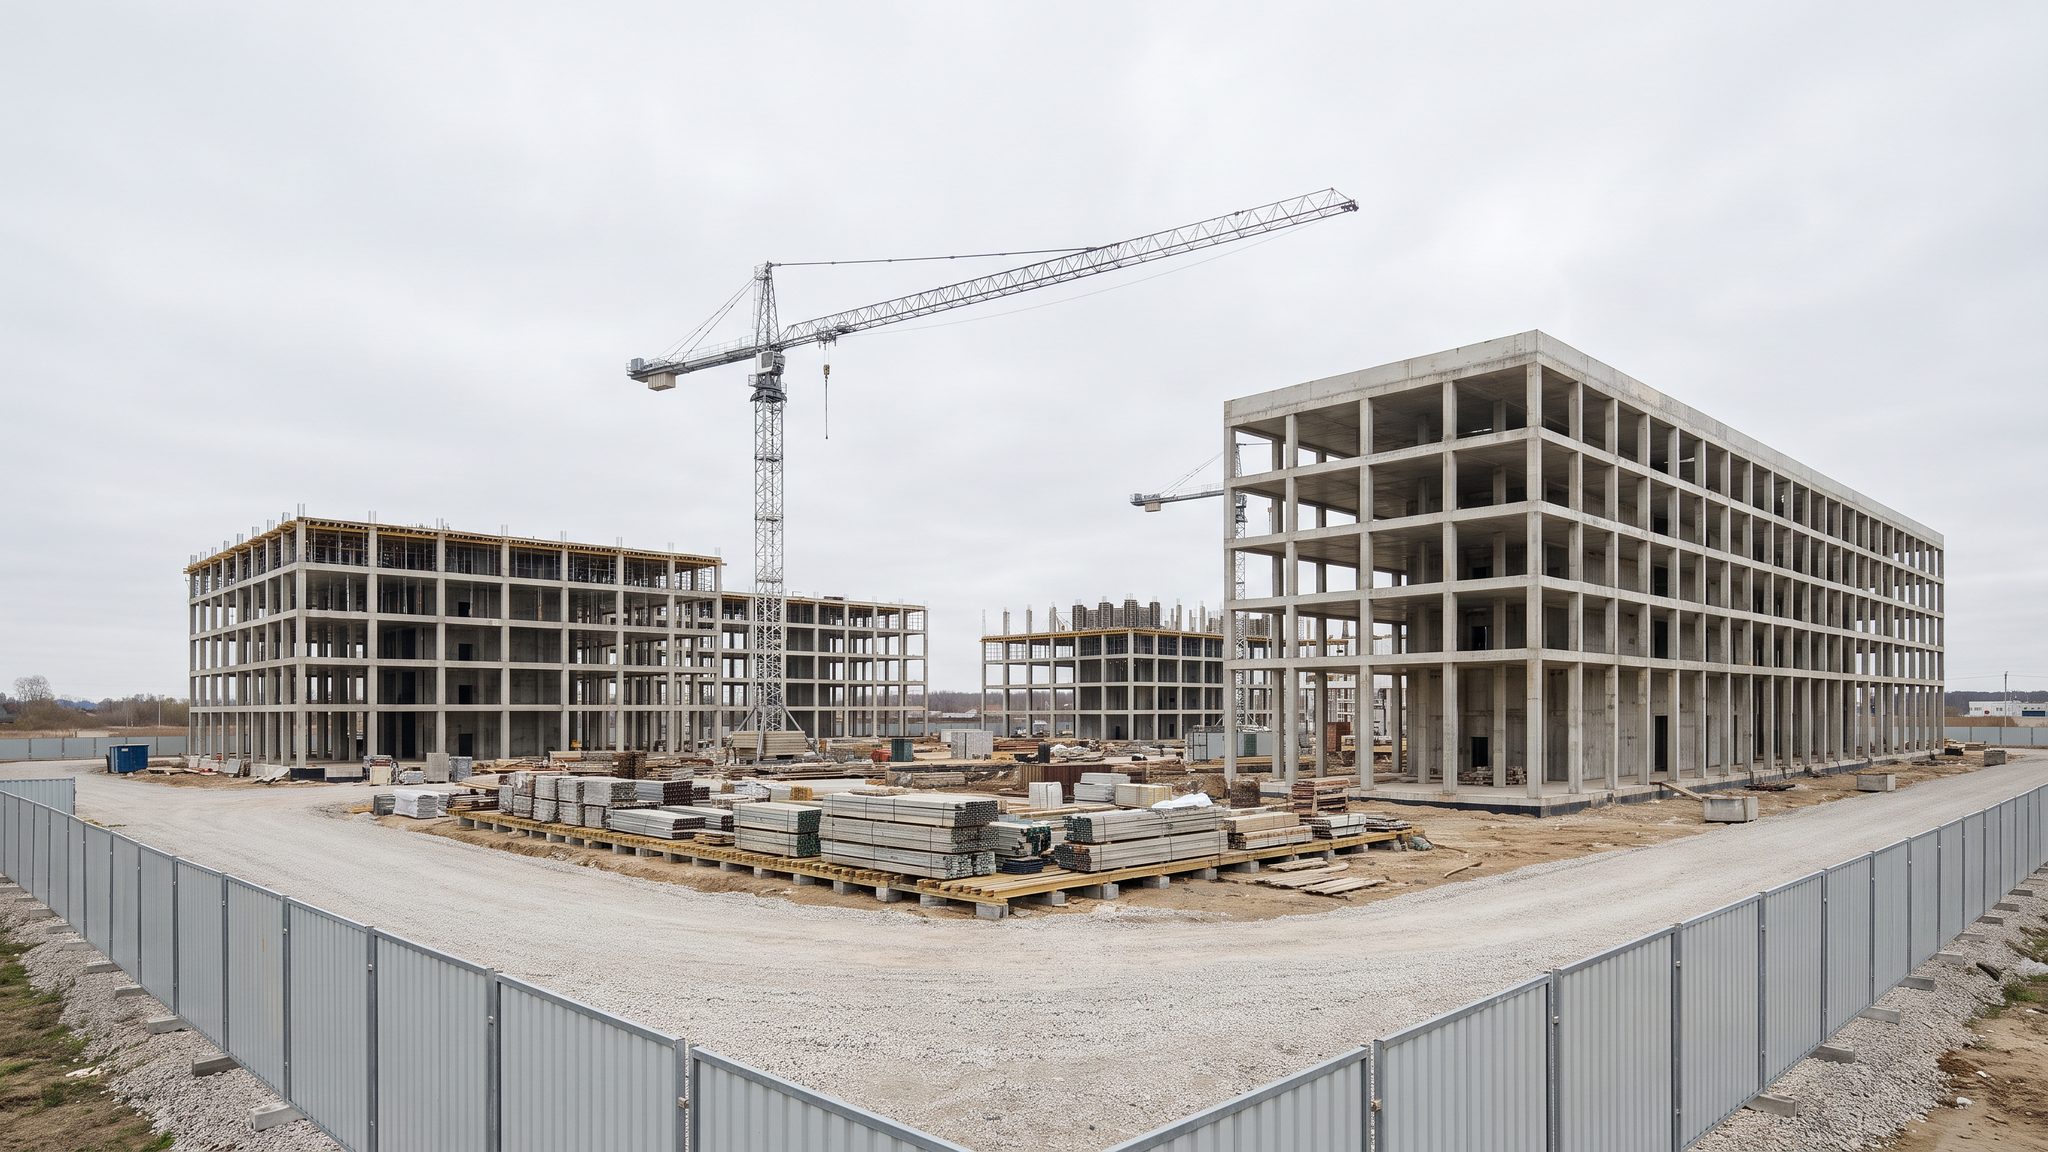
Floor finishes land late - after wet trades, after plaster has dried, after the screed has cured and been moisture-tested - because they are the finished surface that everything else damages. They exist to deliver the wear, acoustic, hygiene and aesthetic layer the room was designed around, and each system carries its own prep and tolerance: SR-level floors for vinyl, movement joints for tile fields, expansion perimeters for timber. The programme always wants them earlier; the moisture meter is the referee.
Walkthrough storyboard
The process in pictures, step by step - Step 1 of 8 - slide through the snapshots.
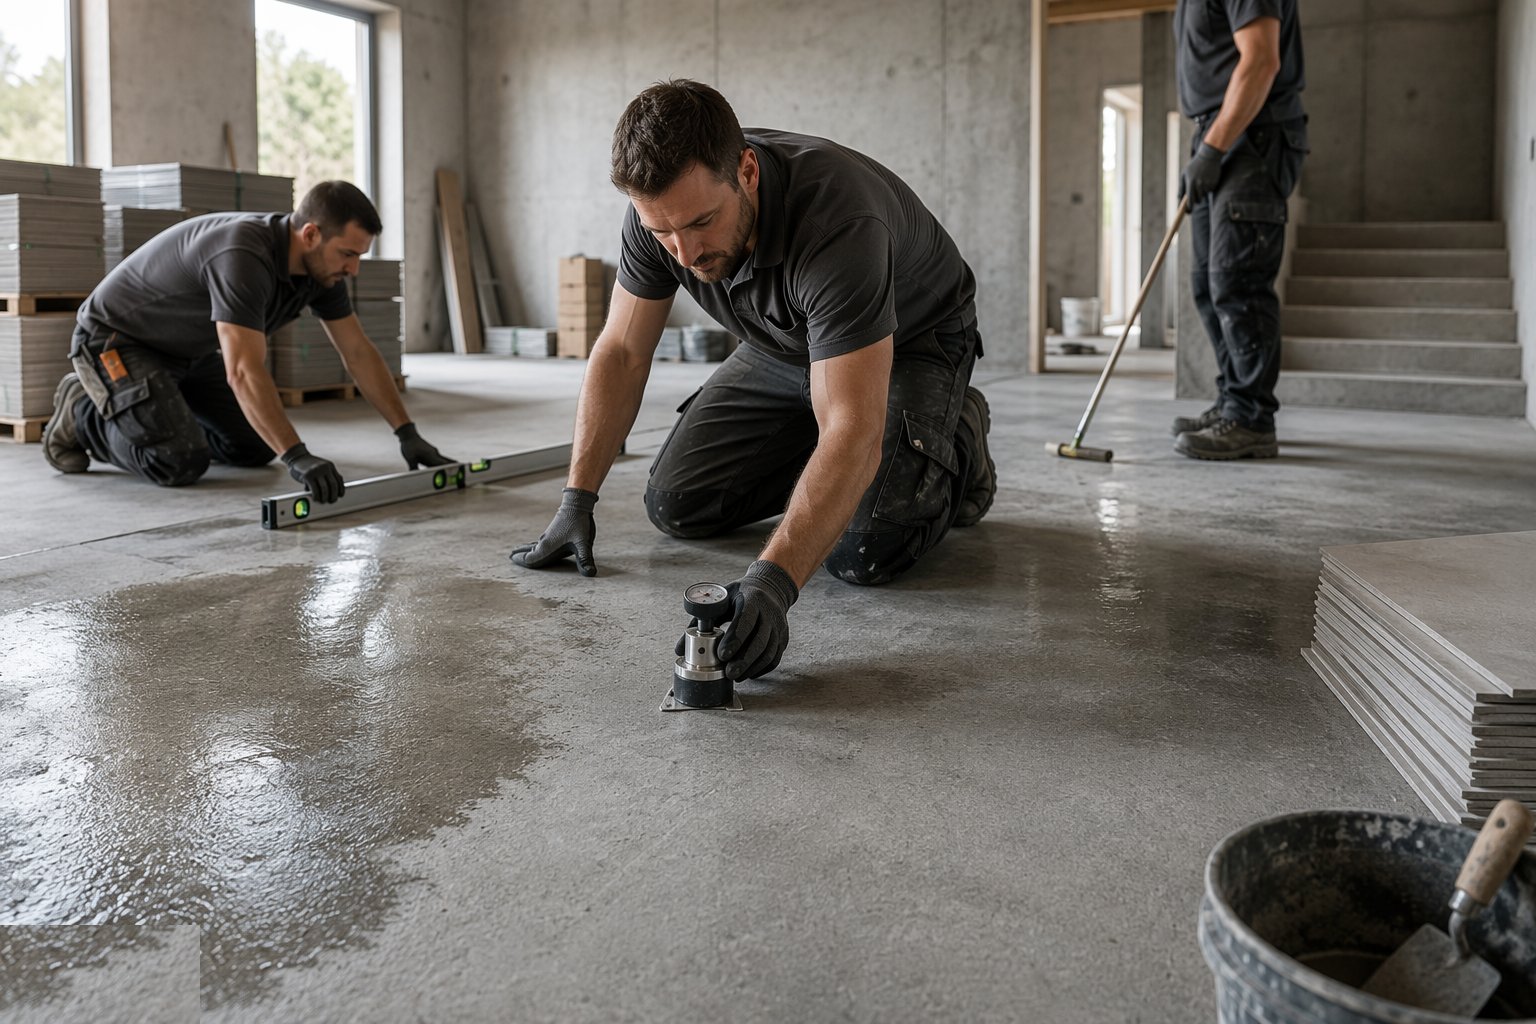
STEP 1
Test the substrate - moisture, level, soundness
The screed is moisture-tested (hygrometer or carbide) against the finish system's limit, level-checked against SR tolerances, and sounded for hollowness.
Types of Flooring & Floor Finishes
Explore each method in depth - benefits, limitations, plant and quality control on its own page.
Porcelain & ceramic tiling
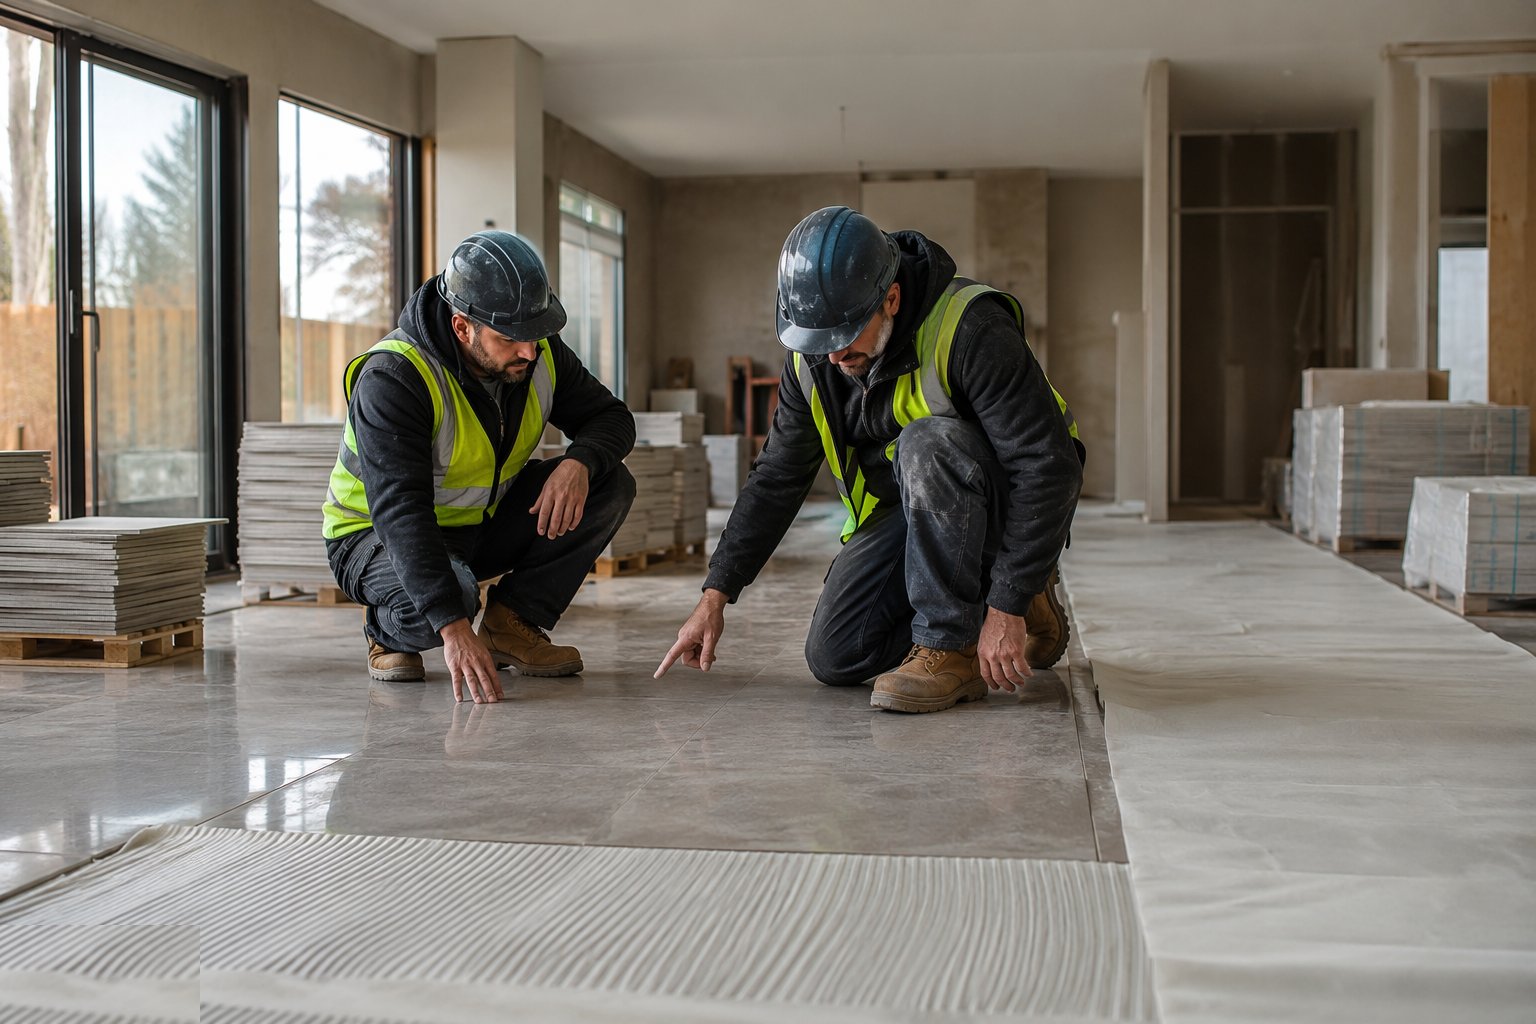
The default for UK wet rooms and most UAE floors: large-format porcelain on flexible adhesive over prepared screed, movement joints at perimeters and field intervals, and lippage controlled with levelling systems on big formats. Grout and silicone seal the system at edges and wet zones.
Explore this methodEngineered & solid timber
Floating engineered boards or bonded systems over a moisture-tested, levelled substrate, with perimeter expansion, acoustic underlays in flats, and acclimatisation in the room for days, not hours. Solid timber is the connoisseur's option with the tightest moisture rules of all.
Explore this methodVinyl, LVT & resilient floors
Sheet vinyl and luxury vinyl tile on a smoothing-compound skim - the finish shows every trowel mark below it - welded and coved in wet and hygiene areas. The office, kitchen and healthcare workhorse; subfloor flatness is the whole job.
Explore this methodCarpet & carpet tile
Broadloom on underlay in bedrooms and lounges; carpet tiles in offices and corridors for replaceability. Stretch, seam and edge work decide the look; in offices the tiles go down over the raised floor or the levelled slab with tackifier so the next churn is a lift-and-lay, not a refit.
Explore this methodBest suited for
- Wet rooms, kitchens and UAE living areas - porcelain and stone
- Bedrooms, lounges and corridors - timber and carpet by market taste
- Offices and back-of-house - carpet tile and resilient floors
- Hygiene and wet areas needing welded, coved finishes
- Any room where the substrate test, not the calendar, releases the finish
Flooring & Floor Finishes: step by step
- 1
Step 1: Test the substrate - moisture, level, soundness
The screed is moisture-tested (hygrometer or carbide) against the finish system's limit, level-checked against SR tolerances, and sounded for hollowness. Failures get their remedy - DPM systems, grinding, or more drying time - decided by data. This test, done honestly, prevents most of the defects in the list below.
- 2
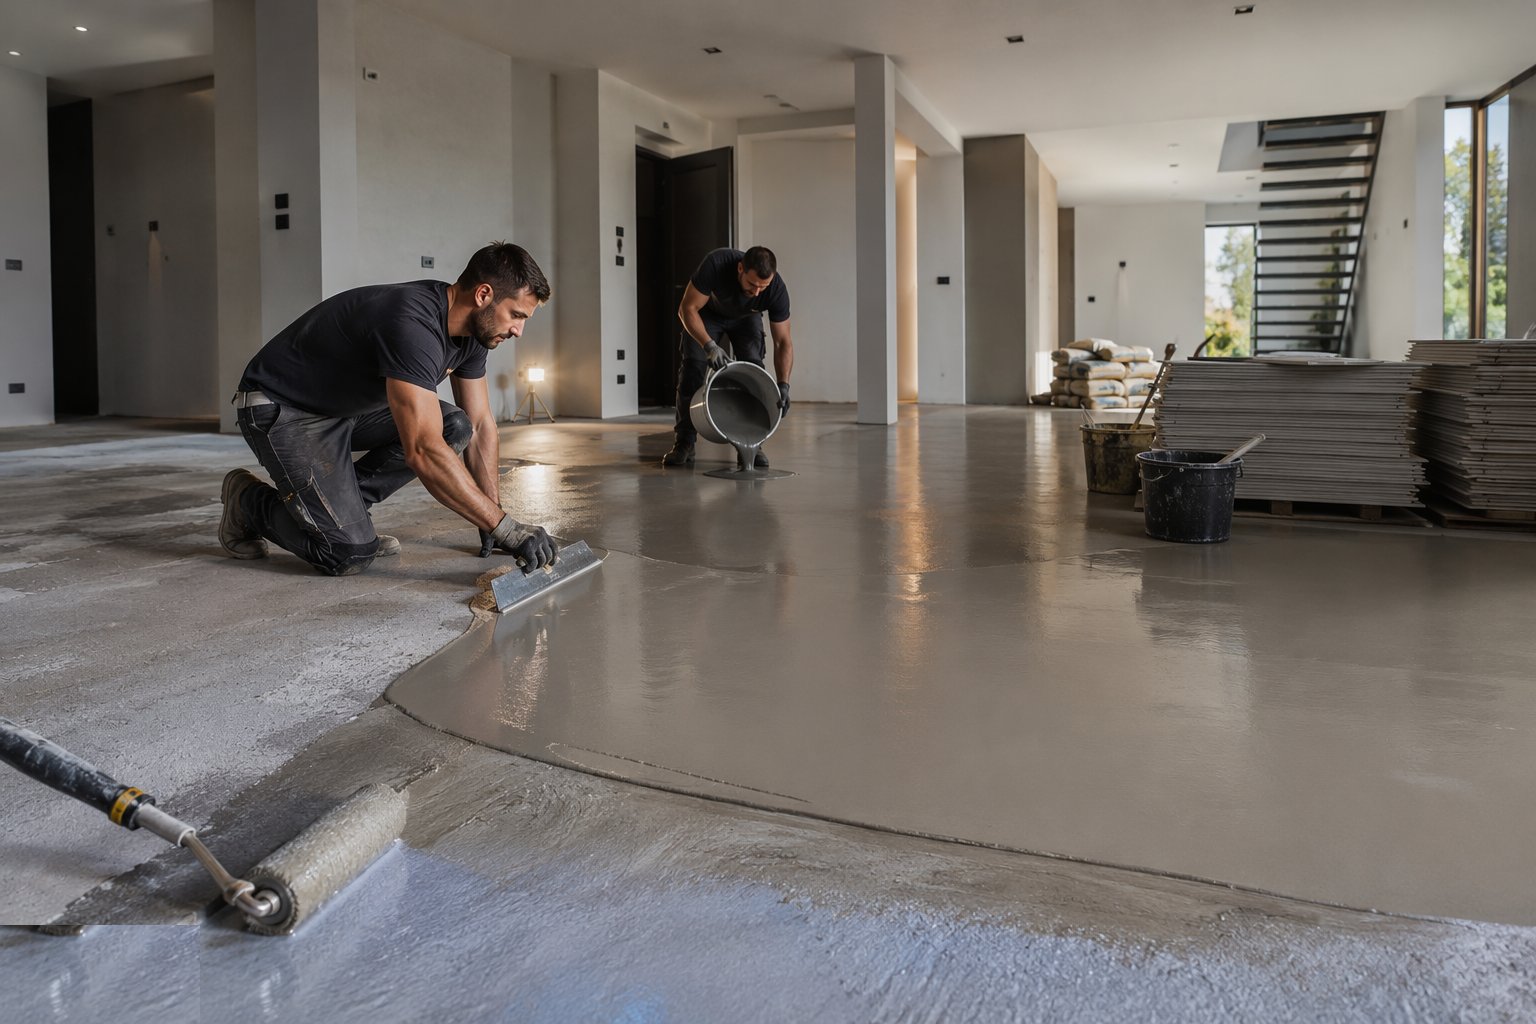
Step 2: Prepare and prime
The floor is ground, vacuumed and primed to the system; smoothing compounds are poured and trowelled where vinyl or thin finishes demand flatness; tile floors get their anti-fracture or decoupling membranes where movement threatens. Preparation is the majority of the hours on a good floor - the finish is the quick bit at the end.
- 3
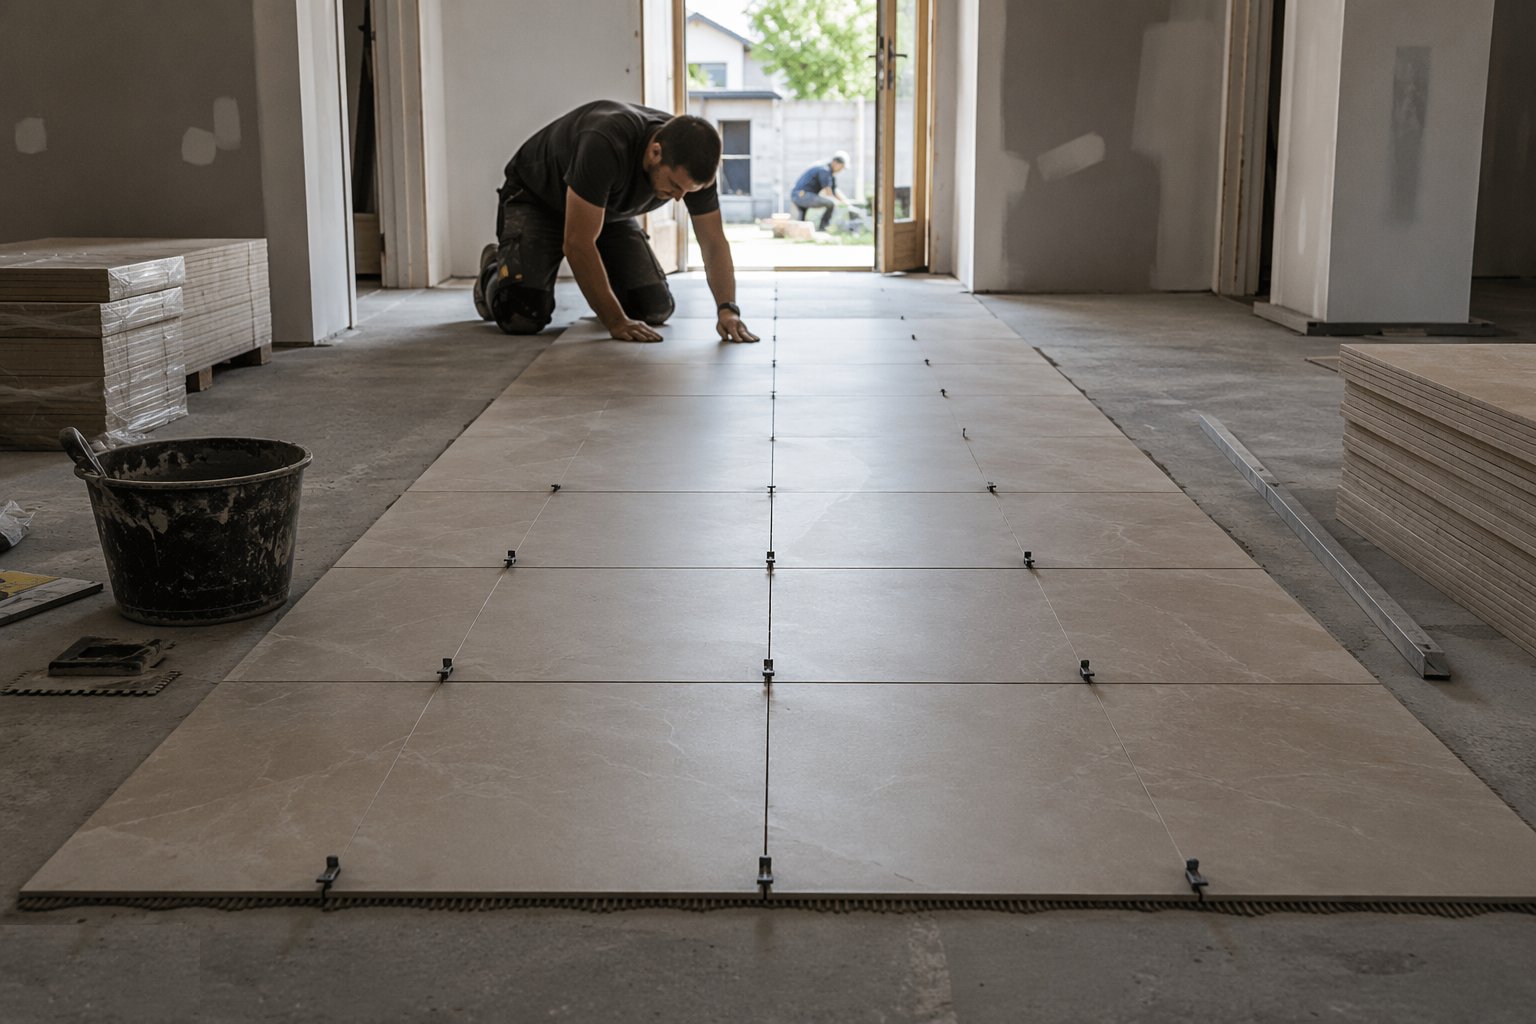
Step 3: Set out from the focal point
Tiling sets out so cuts are balanced and hidden - centre the hall, dry-lay the first rows, move the pattern so the doorway threshold is not a 20 mm sliver. Timber sets its run direction with the light and the joists; vinyl plans seams away from traffic and light rakes; carpet tiles plan their quarter-turn or monolithic pattern from the main sightline.
- 4
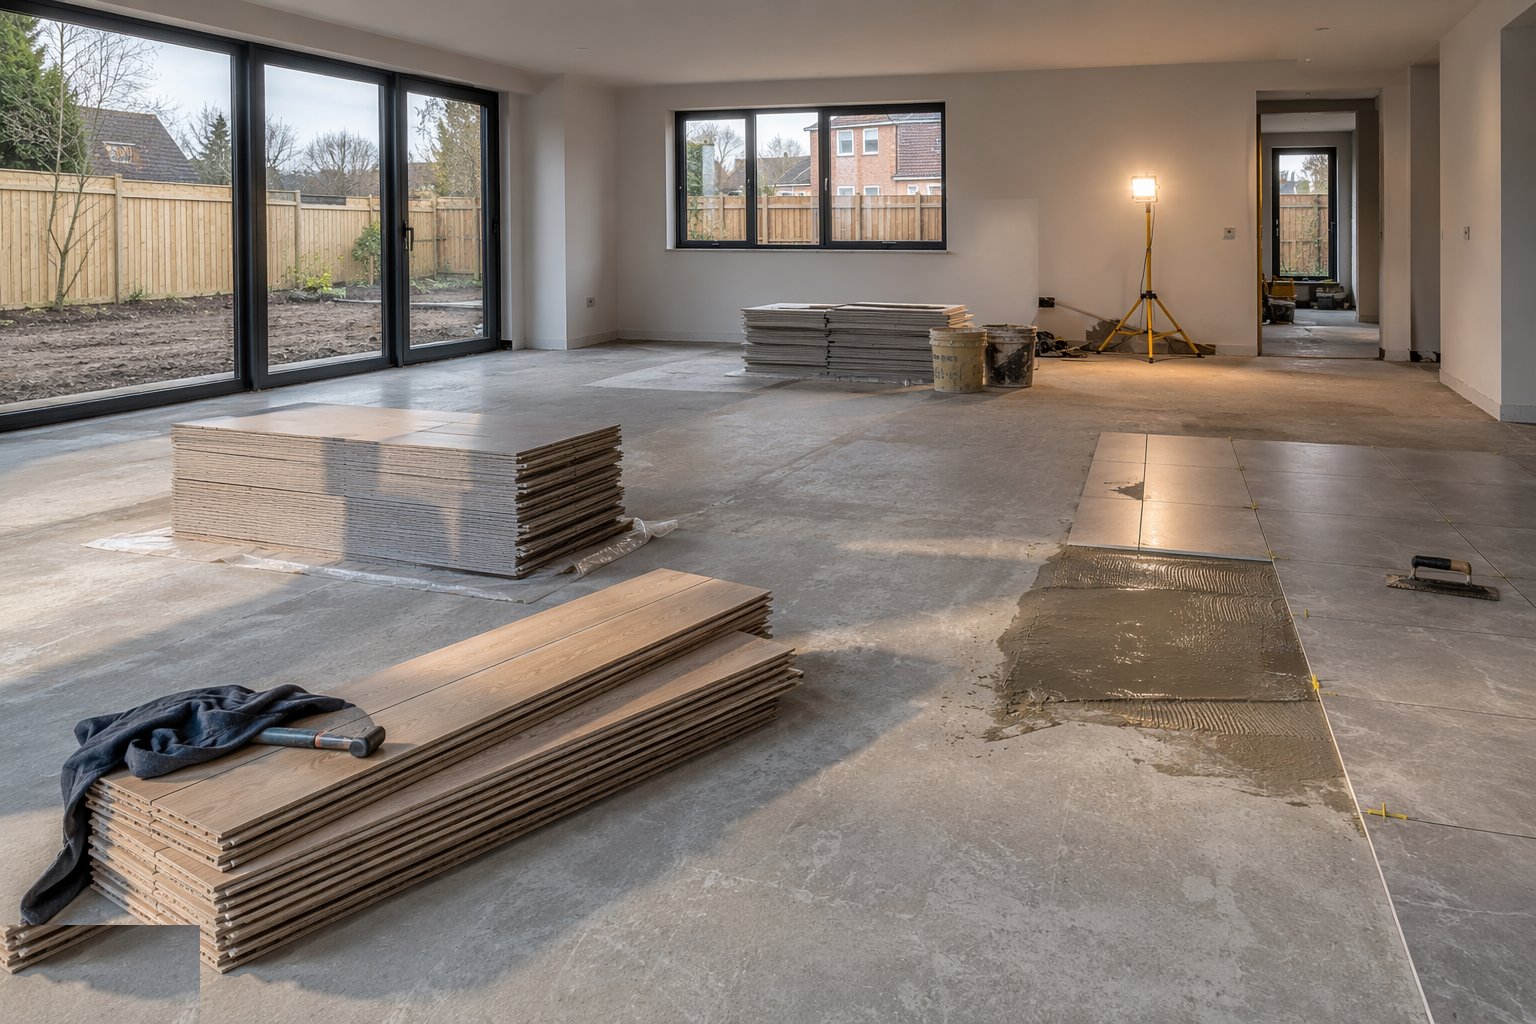
Step 4: Acclimatise and condition the materials
Timber and LVT stand in the room at its service conditions - 48 hours is a floor, not a ceiling - with the building's heating or cooling running. Adhesives, levelling compounds and grouts work within their temperature windows; a summer UAE delivery or a winter UK one both need the material at room temperature, not lorry temperature.
- 5
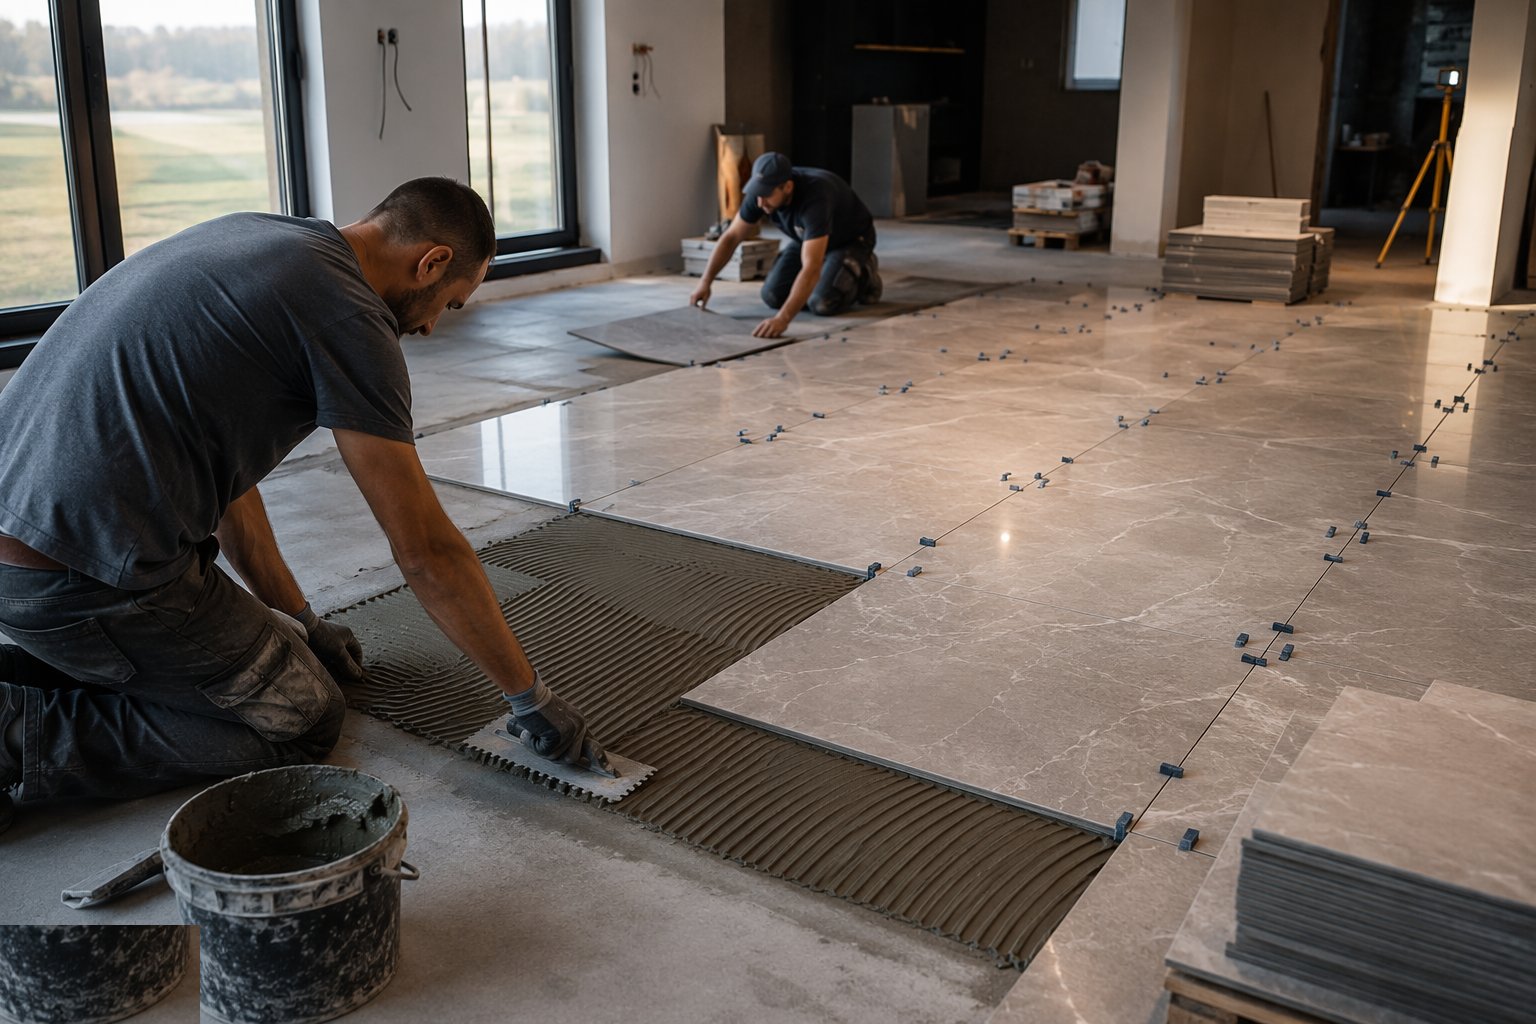
Step 5: Lay the finish to the system
Tiles lay on full-bed adhesive with back-buttering on large formats, joints consistent, levelling clips where specified, and movement joints honoured at perimeters and intervals. Timber lays with its expansion gaps and glue or click system per the maker. Vinyl welds hot and true; carpet stretches onto its gripper with the knee and the stretcher, seams sealed. Each system, its rules, no hybrids.
- 6
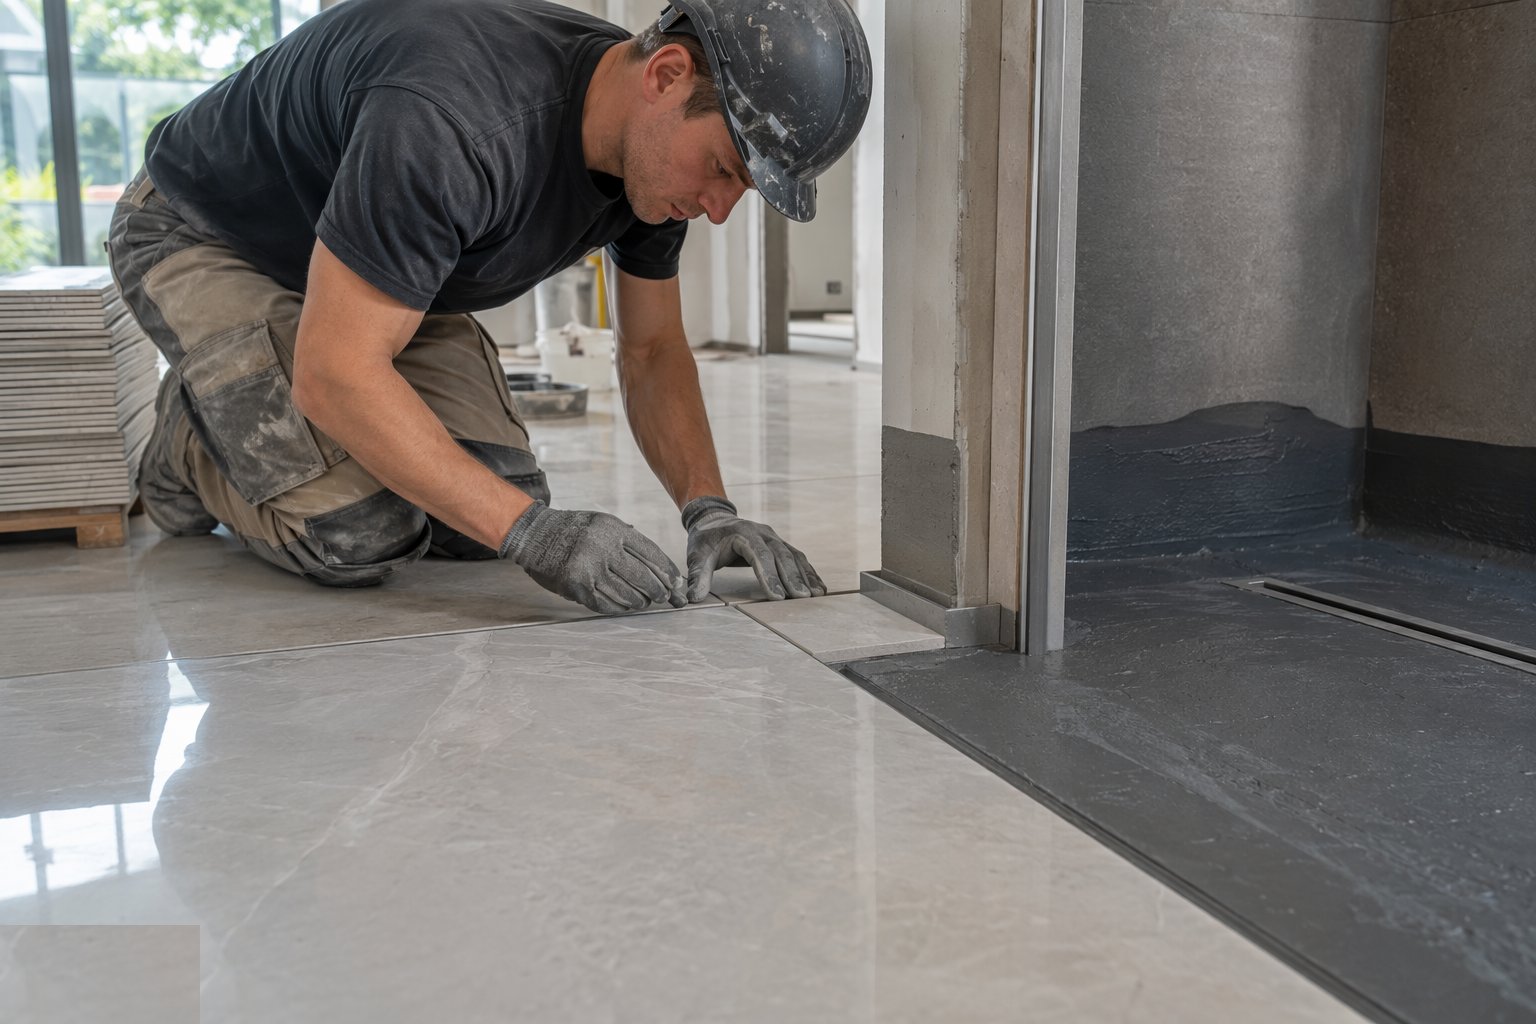
Step 6: Detail the edges, thresholds and junctions
Thresholds between finishes get their profiles set level and true; wet-room junctions seal with the sanitary system; skirtings and beading cover the expansion without pinning the floor. The junction between flooring trades is where snag lists breed - every edge is set, sealed and checked before protection goes down.
- 7
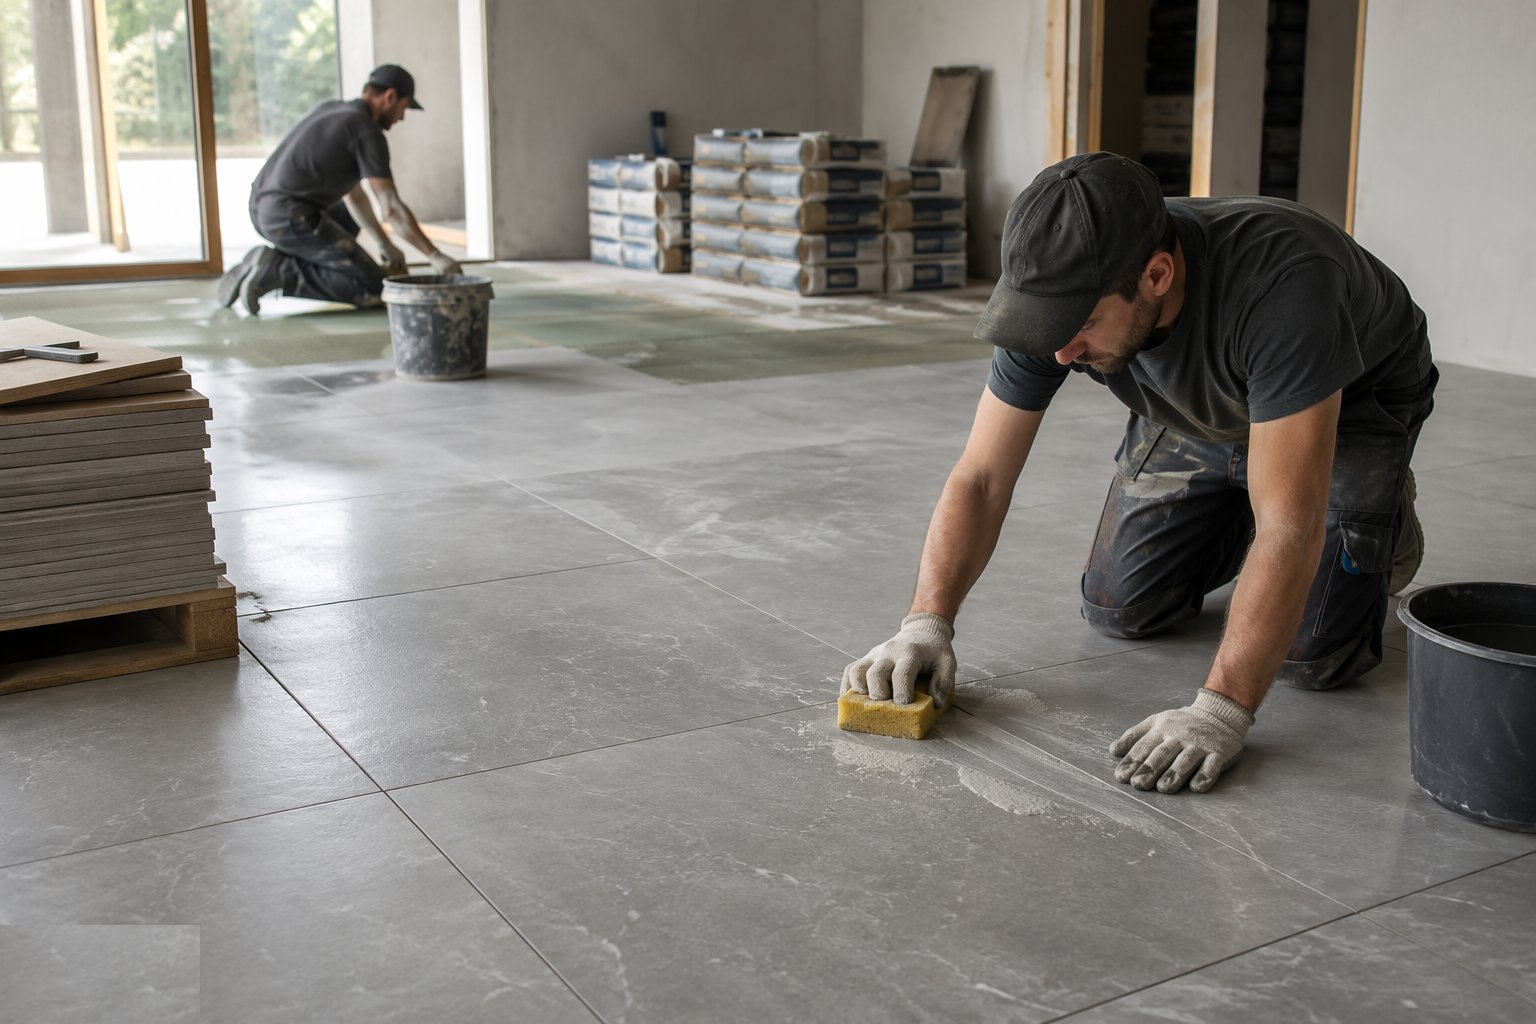
Step 7: Cure, grout and clean
Adhesives cure their full time before traffic or grouting; grout goes on clean, sponged to the joint, and silicone seals the perimeters and wet junctions after cure. Timber gets its final roll or its first coat where site-finished. The floor is then cleaned to handover standard - adhesive haze and grout bloom are the installer's problem, not the client's.
- 8
Step 8: Protect, snag and hand over
Protection goes down appropriate to the follow-on trades - breathable where curing continues, rigid where traffic is heavy - and the snag walks every room: lippage, drummy tiles (sound them), gapping, ripples, seam lines and threshold heights. Care instructions and spare materials (attic stock of tiles, boards and carpet tiles) hand over with the maintenance regime.
Plant & equipment
- Moisture meters, hygrometers and straightedges
- Floor grinders, vacuums and scabblers for prep
- Tile cutters, wet saws and levelling systems
- Notched trowels, rollers and mixing gear to the systems
- Vinyl welding kit and seam tools
- Carpet stretchers, seam irons and cutting tools
- Floor protection systems for the finished surface
Quality control & testing
- Moisture test results recorded per room against the system limit
- Substrate flatness measured to SR class where specified
- Setting-out agreed and photographed before laying
- Adhesive coverage and open times followed; spot lift checks on tiles
- Movement and expansion joints verified before covering
- Sounding checks for drummy tiles; seam and weld inspection on resilient floors
Safety watchpoints
- COSHH on adhesives, levelling compounds and solvents - ventilation
- Knee and manual-handling protection on a trade that lives on the floor
- Silica dust on grinding and tile cutting - extraction and RPE
- Hot work and burns on vinyl welding
- Trip management during setting-out and laying in live areas
- Waste control: offcuts, adhesives and wash-out disposed to the waste plan
Common defects to hunt
- Drummy, lifting tiles from spot-bedding or a screed that moved
- Timber cupping and gapping from a damp screed or no acclimatisation
- Vinyl ripples and telegraphed trowel marks from poor subfloor prep
- Lippage on large-format tiles without levelling control
- Cracked grout and tiles where movement joints were tiled over
- Carpet rucking and seam show from no power stretcher and bad seam placement
How long does Flooring & Floor Finishes take?
Typical duration: A house: 1–2 weeks across all finishes and cure times. A tower floor: per-floor cycle following decoration. The moisture test adds weeks if you skip it - ask the programme how it knows..
Related processes
- Ventilation & Air Conditioning
- Below-Ground Drainage Installation
- Sanitary Installation
- Windows & Doors Installation
- Private Swimming Pool Construction
- CCTV & Security Systems Installation
- TRVs & Heating Controls
- Soft Landscaping & Gardens (Homes & Villas)
- Carpentry - First & Second Fix
- Brick Wall Construction
- Block Wall Construction
- Concrete Structural Walls
- Damp Proofing - DPC, DPM and Cavity Trays
- Firestopping and Passive Fire Protection
- Chasing & First-Fix Cutting for Services
- MEP - Plumbing (First & Second Fix)
- MEP - Electrical (First & Second Fix)
- Flooring & Floor Finishes in Residential & Housing
- Flooring & Floor Finishes in Commercial & Workplace
- Flooring & Floor Finishes in Retail
- Porcelain & ceramic tiling - method
- Engineered & solid timber - method
- Vinyl, LVT & resilient floors - method
- Carpet & carpet tile - method
- Building Trades & Methods sector guide