Engineered & solid timber
A material that never stops responding to the moisture around it - so the whole trade is about controlling movement rather than preventing it.
Last updated 2026-09-05
What is Engineered & solid timber?
Timber flooring is the one finish that is still alive after it is laid. Wood takes moisture from the air and gives it back, and as it does so it swells and shrinks across the grain far more than along it. Every rule in the trade exists to manage that. Solid timber is a single piece of hardwood or softwood and moves the most; engineered board is a thin hardwood wear layer bonded over a plywood or cross-laid core, which restrains the movement of the top layer and makes the board far more stable across its width. That stability is why engineered board dominates modern projects, why it is the only sensible choice over underfloor heating, and why solid timber has retreated to projects where the moisture conditions can be genuinely controlled and where the ability to sand the floor many times over its life is worth the risk.
Moisture arrives from three directions and each is dealt with separately. It comes from below, out of a screed or slab that is still drying, which is why the substrate is tested before laying and why a moisture barrier is used where the reading or the construction demands it. It comes from the air in the room, which is why boards are delivered into the space they will be laid in and left to acclimatise until they reach equilibrium with it - and why acclimatising material in a cold store, a corridor or a car park achieves nothing at all, because the board simply equilibrates with the wrong environment. And it comes from the building services, because a floor laid into a space that is later heated hard, or air conditioned dry, will shrink and gap in a way that has nothing to do with workmanship. On most projects the honest answer is that the building has to be weathertight, the wet trades finished, and the heating and ventilation running at something like normal service conditions before timber is delivered, and the programme has to make room for that.
The other governing decision is how the floor is fixed down, because that determines what happens when it does move. A floating floor sits on a resilient underlay and is joined board to board rather than to the substrate, so the whole field moves as one raft and needs a continuous gap at every perimeter and abutment for it to move into. A bonded floor is glued across its full underside to the substrate, which restrains it, keeps it acoustically quieter and firmer underfoot, and is generally preferred over underfloor heating because it removes the insulating air layer. A secret-nailed or secret-screwed floor is fixed through the tongue into joists or battens, which is the traditional method and hides the fixings in the joint. Each of them has a different tolerance for substrate flatness, a different acoustic performance, a different sound underfoot, and a different perimeter detail. Whichever is chosen, the expansion gap around the edge is not optional and is not a rule of thumb to be trimmed - it is the space the floor needs. Cover it with skirting or a scotia, never fill it, and never let a heavy fitted item, a door frame or a kitchen unit pin the field in the middle. And because timber lands late in the programme, it inherits everyone else's tolerances and gets the full attention of everyone else's snagging.
How does Engineered & solid timber work, step by step?
- 1
Step 1: Check the building before checking the floor
Timber is not delivered to a building that is still drying out. The envelope has to be complete and weathertight, external doors and glazing installed, wet trades - plaster, screed, render and decoration - complete and dried, and the heating and ventilation commissioned and running so that the space is at something close to the temperature and humidity it will be lived in at. The specialist records the conditions in the room before delivery and again before laying. This is the step the programme argues about most and the one that decides most timber floor failures, because a floor laid into a wet building will shrink as the building dries and a floor laid into a cold building will swell when it is heated - and in both cases the boards did nothing wrong.
- 2
Step 2: Test the substrate and deal with what it tells you
The screed or slab is tested for moisture using the method the specification names, and the reading is compared against the limit the flooring manufacturer sets for that product and that fixing method. The result is recorded and the decision to proceed, to allow more drying time, or to install a surface-applied moisture barrier is taken with the designer and the manufacturer rather than on site. Flatness is checked with a straightedge against the tolerance for the chosen fixing method - a bonded floor demands the flattest base, a floating floor is a little more forgiving but not much, because unsupported hollows under a floating floor become creaks and eventually broken joints. Levelling compound, grinding or a batten and ply overlay corrects what is out. Soundness, cleanliness and freedom from curing compounds are checked at the same time.
- 3
Step 3: Acclimatise the material in the room it will live in
Boards are delivered into the actual rooms, laid flat and left there. Packs are opened or left sealed strictly according to what the manufacturer states, because the two instructions are genuinely different for different products and following the wrong one is worse than doing nothing. The time allowed is measured in days rather than hours and is longer for solid timber than for engineered board. During that period the room conditions are held steady and recorded. The point is not to hit a number for its own sake but to have the boards at equilibrium with the room they will spend their life in, so that whatever movement is going to happen has already happened before the floor is fixed down. Material stacked in a corridor, a garage or a site store is not acclimatising to anything useful.
- 4
Step 4: Choose and set out the fixing method
Floating, bonded or secret-nailed is a design decision confirmed on site once the substrate is known. Floating goes over a resilient underlay, which also carries the acoustic performance in flats and the vapour control where one is required, and it is the quickest to lay and the easiest to lift. Bonded uses a full-spread adhesive of the type the board manufacturer specifies, gives the firmest and quietest floor, and is the usual answer over underfloor heating. Secret-nailing or screwing suits boards over joists or battens. Direction is then set out: boards commonly run along the length of the room, towards the main light source, or across the joists where they are structurally contributing, and the first row is set with the expansion gap and packed straight regardless of what the wall is doing. Board lengths are staggered so end joints do not line up, and material is worked out of several packs at once so that colour and grain variation is distributed across the floor rather than pooling in one area.
- 5
Step 5: Lay the floor and keep the perimeter free
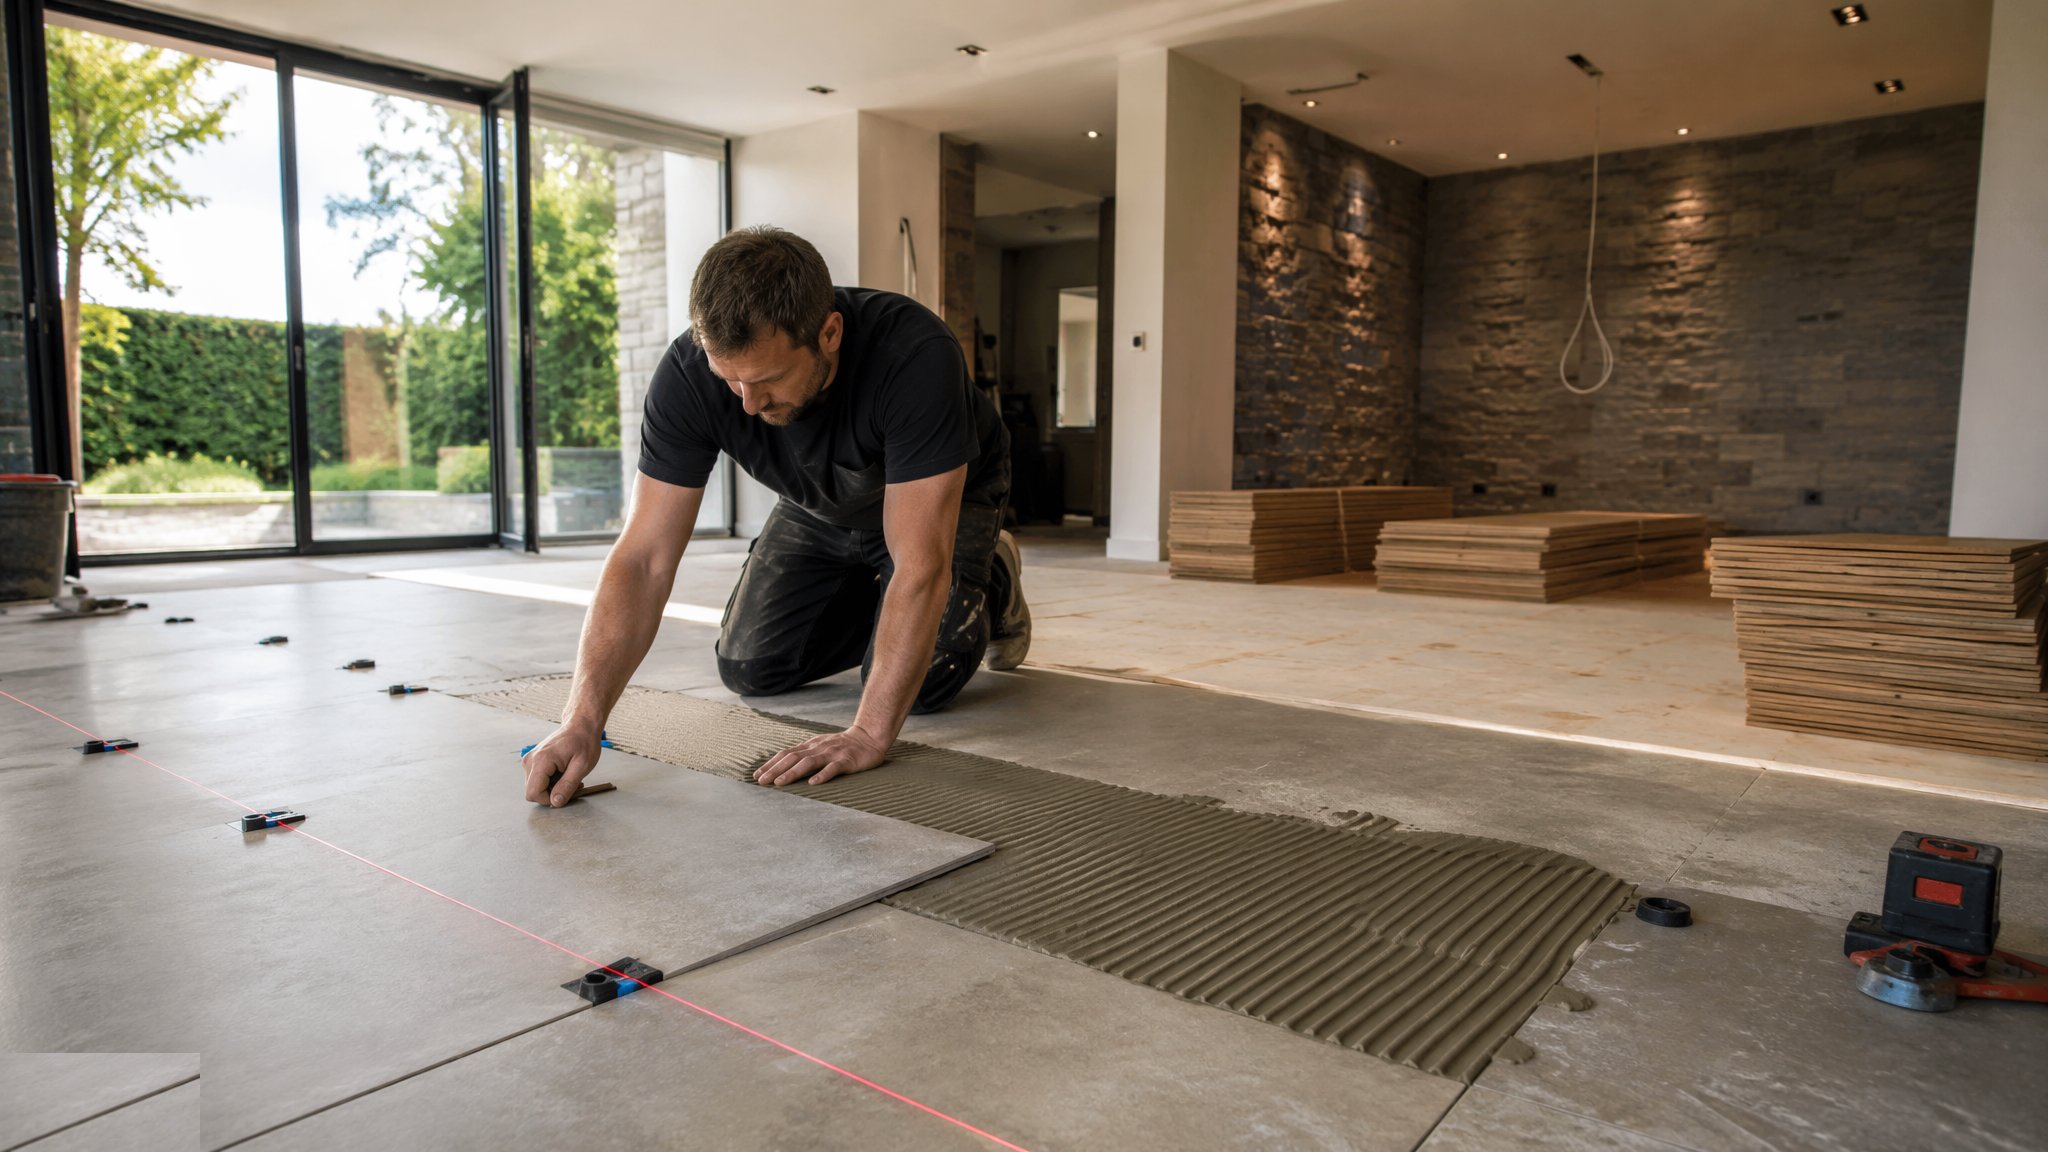
The floor is laid to the set-out, joints closed with a tapping block rather than a hammer on the board edge, and the gap held at every wall, threshold, column, pipe and abutment with spacers that stay in until the last board is down. Large fields and long runs are broken with intermediate expansion provision at doorways and at the spans the manufacturer sets, because one continuous raft across a whole floor plate has nowhere to go. Pipes are drilled oversize and finished with collars. Nothing that is fixed through the floor into the substrate is allowed to pin a floating field, and heavy fitted furniture is planned so that it does not either. On bonded work the adhesive is combed and the board placed and pressed into full contact, with the coverage checked by lifting a board occasionally.
- 6
Step 6: Work with underfloor heating rather than against it
Where the floor sits over underfloor heating, the sequence is set by the heating rather than the flooring. The system is commissioned and then run up and back down in stages on the manufacturer's regime to drive the residual moisture out of the screed, the screed is tested afterwards, and the system is brought to a stated temperature at the time of laying so that the boards are fixed at a representative condition rather than at either extreme. Engineered board is used rather than solid, the board thickness and any underlay are chosen for thermal conductivity rather than insulation, bonded fixing is generally preferred because it removes the insulating air gap, and the maximum surface temperature the floor may be run at afterwards is set by the flooring manufacturer and handed over to the occupier in writing. This is the detail that most often falls between the heating designer and the flooring supplier, and it needs one person to own it.
- 7
Step 7: Sand, finish and protect where the floor is site-finished
Most engineered board arrives pre-finished and is simply protected. Where a floor is site-finished - common with solid timber and with restored existing floors - it is sanded through progressively finer grits with dust-extracted machines, edged into corners, and vacuumed thoroughly between passes, because grit left on the floor is scratches in the finish. Filling and any staining follow, then the finish is applied in coats with the room conditions controlled and ventilation managed, and the floor is kept off until each coat has hardened on the manufacturer's regime. Once complete, protection goes down: a breathable layer against the timber so residual moisture is not trapped, and hard board where trades and materials will cross. The protection stays down, taped and repaired, until the room is genuinely finished, and the occupier is handed a maintenance regime along with a note of the humidity range the floor expects to live in.
What are the benefits of Engineered & solid timber?
- Warm and quiet underfoot compared with tile or resin, with a natural appearance that is still the most requested residential finish
- Engineered board is far more dimensionally stable than solid, and is the practical choice over underfloor heating
- Solid timber and thicker engineered wear layers can be sanded and refinished several times, giving a very long life
- Damaged boards can be cut out and replaced, and site-finished floors can be locally repaired and blended
- Floating installation over a resilient underlay carries useful impact sound performance in flats
- A renewable material with a favourable embodied carbon position against most hard finishes
What are the limitations of Engineered & solid timber?
- Moves with moisture and temperature for its whole life, so the room conditions have to be controlled after handover as well as before laying
- Demands drying time and acclimatisation that the programme rarely wants to give, and rushing either is a reliable defect
- Scratches, dents and marks from grit, castors, pet claws and furniture, and shows every one of them
- Poorly suited to bathrooms, wet rooms and anywhere subject to standing water or frequent wet cleaning
- Needs a genuinely flat substrate, particularly for bonded work, so preparation costs sit behind the headline rate
- Expansion gaps constrain the detailing - fitted furniture, thresholds and pinned fixings all have to be planned around them
What is Engineered & solid timber best suited for?
What plant does Engineered & solid timber need?
- Moisture measurement equipment for the substrate, plus thermohygrometers for recording room conditions
- Straightedges and laser levels for flatness survey and for setting out the first row
- Mitre and table saws, jamb saws for undercutting architraves, and jigsaws for scribes and pipe cuts
- Tapping blocks, pull bars, spacers and flooring cramps for closing joints
- Notched trowels and adhesive pumps or buckets for bonded work, and secret-nailing guns for nailed floors
- Dust-extracted belt, drum and edge sanders with graded abrasives, and finish application equipment where the floor is site-finished
How is Engineered & solid timber quality-checked?
- Building conditions recorded before delivery - envelope complete, wet trades dry, heating and ventilation running
- Substrate moisture result recorded and compared with the manufacturer's stated limit, with the decision to proceed documented
- Acclimatisation period and room conditions logged, with the pack-opening instruction followed as written
- Substrate flatness checked with a straightedge against the tolerance for the chosen fixing method
- Expansion gaps verified at every perimeter, threshold and penetration before skirtings and trims are fitted, and intermediate provision checked on large fields
- Underfloor heating commissioning and warm-up record obtained before laying, and the maximum surface temperature passed to the occupier at handover