Carpet & carpet tile
The softest finish in the building, laid over the hardest sequencing problem - it goes down last and everything else still has to get to it.
Last updated 2026-09-05
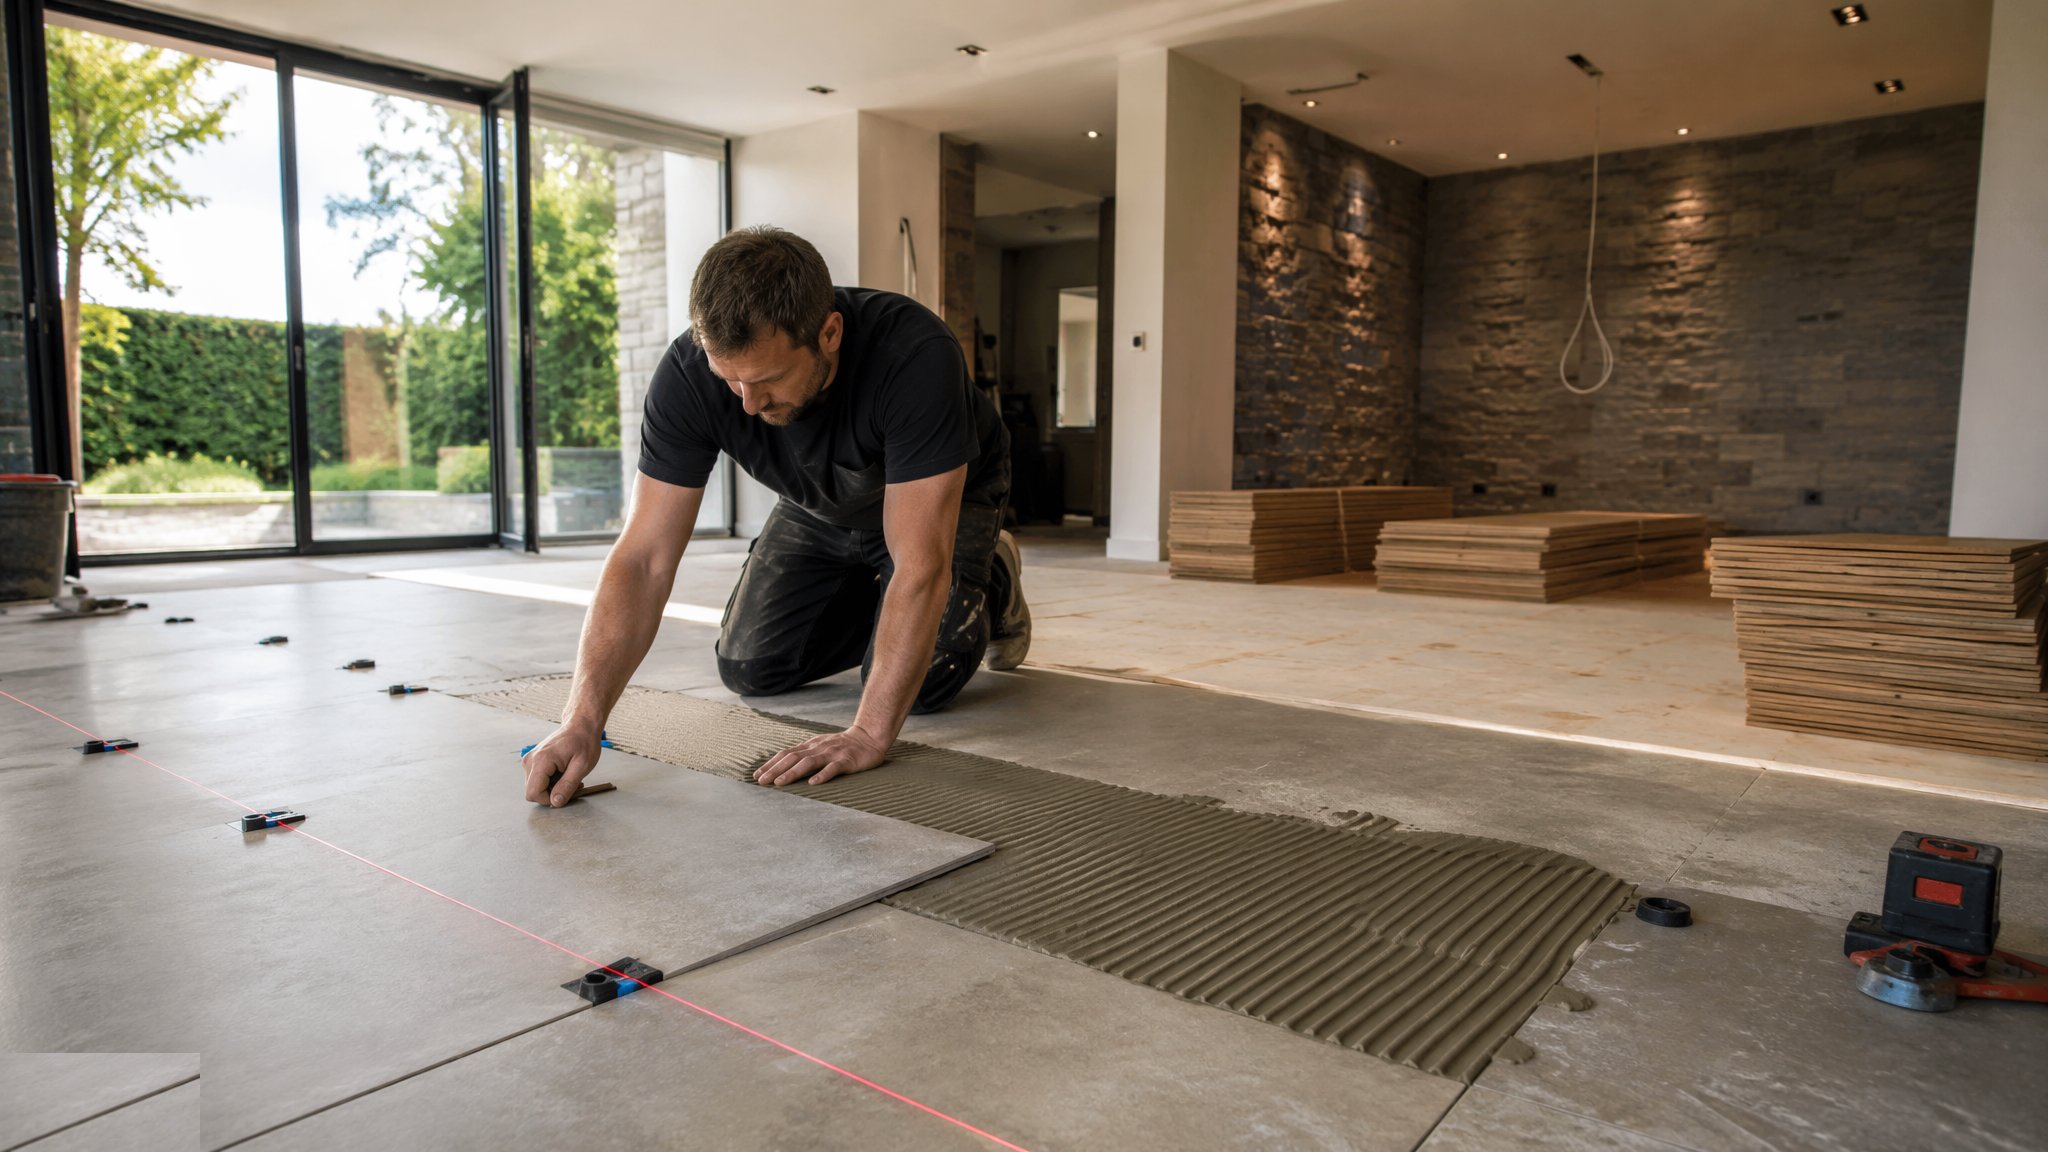
What is Carpet & carpet tile?
Carpet divides into two quite different trades that happen to share a material. Broadloom is wide-width carpet laid over a separate underlay and held under tension: gripper rods with their pins angled towards the wall are fixed round the perimeter, the underlay is laid and fixed within them, the carpet is cut in, stretched across the room with a power stretcher or knee kicker and hooked onto the gripper, and the surplus is trimmed and tucked into the gully between the gripper and the skirting. The tension is the point. A stretched carpet stays flat, wears evenly and does not ripple, and a carpet laid without proper stretch will develop waves within months of being walked on. The alternative for broadloom is direct sticking, where the carpet is bonded straight to the subfloor with adhesive - firmer underfoot, better under wheeled traffic and heavy castors, standard in corridors and public areas, but with none of the comfort and none of the acoustic benefit that an underlay provides.
Carpet tile is the commercial answer and it dominates offices for a reason that has nothing to do with appearance. An office floor is not a surface, it is a lid: floor boxes, underfloor power and data, access floor panels and the cabling under them all have to be reachable for the life of the building, and a tenant reconfigures a floor plate several times over a lease. A tile floor lifts. Tiles are usually laid on a tackifier - a permanently tacky coating that grips the tile enough to stop it wandering but releases it cleanly - so a floor box can be opened, an access panel lifted, a desk position moved, and the tiles put straight back. The next churn becomes a lift-and-lay rather than a refit, and a tile damaged by a spill or a chair castor is replaced from the attic stock rather than patched into a broadloom seam. Tiles also handle a complicated plan far more efficiently, with far less waste, and they can be laid in quarter-turn, monolithic, brick or random patterns that either disguise or emphasise the grid.
What both share is pile, and pile has direction. Carpet fibres lie one way, so the same product looks lighter walking towards it and darker walking away, and two pieces laid with their pile running in opposite directions will read as two different colours under any light. Broadloom is therefore cut and seamed with the pile running the same way throughout and with the seams planned away from the main traffic and the main sightlines. Carpet tiles carry directional arrows on the back and are laid to the pattern the design calls for - monolithic with every arrow the same way for a broadloom-like appearance, quarter-turn with alternating arrows to disguise the joints and even out wear, and the pattern has to be checked constantly because a single tile turned the wrong way is obvious from across the room. Setting out matters as much as it does for tiling: the grid is worked from the room's governing lines so that the cut tiles fall at the least visible edges, and on an access floor the carpet tile grid is deliberately offset from the panel grid so that a carpet joint never sits directly over a panel joint. And carpet, more than any other finish, is a sequencing problem. It goes down last, over everything everyone else got slightly wrong, and then every trade coming back to finish their snagging walks across it.
How does Carpet & carpet tile work, step by step?
- 1
Step 1: Take over the subfloor and confirm it is ready
The base is checked for soundness, cleanliness, flatness against the specified tolerance, and moisture where an adhesive or tackifier bond is involved, with the reading compared against the limit the manufacturer sets. Screeds are checked for laitance and dust, because tackifier and adhesive will not bond to a dusty surface and a tile floor that has not bonded will creep and open at the joints. Timber decks are checked for fixing and creaks and overlaid with a flooring board where the specification requires. On an access floor the panels are checked for level, for rock, for missing or damaged panels and for lipping at the panel edges, and the pedestals are checked as fixed, because every fault in an access floor comes straight through a 6 mm carpet tile. Any defect is reported before laying, because the carpet contractor will otherwise own it.
- 2
Step 2: Prepare, level and prime where needed
High spots are ground off, hollows are filled, and where the finish demands it a smoothing compound goes down over a primer to give a flat, hard, dust-free surface. Carpet is more tolerant of a slightly irregular base than vinyl - the pile and the underlay absorb a great deal - but it is far less tolerant than people assume, particularly for tile, where a deviation shows as a stepped or open joint. Movement joints in the base are identified and carried through. Where an existing floor covering is being removed, the residues are taken up mechanically and the presence of any hazardous material in older adhesives and beds is established by survey before that work starts. Doors are checked for clearance over the finished thickness at this stage, because trimming a fire door leaf after the carpet is down is a much worse conversation.
- 3
Step 3: Acclimatise the material and check the batches
Rolls and tile boxes are delivered into the space, opened, and left at the room temperature and humidity they will be laid at, because both broadloom and tile move dimensionally with temperature and material laid straight off a cold lorry will grow or shrink after it is down. Batch numbers are checked across the whole delivery and any part-batch is kept for the least visible area, because two batches of the same product side by side in the middle of a floor read as a shade change. Attic stock is set aside and stored where it will be found again - a boxed spare with a recorded batch number is what makes a tile floor repairable in five years, and it is the item most often lost at handover.
- 4
Step 4: Set out the grid or plan the seams
For tile, the grid is set out from the room's governing sightline - the main entrance, the corridor axis, the run of a glazed partition - so that cuts fall at the least visible perimeters and no sliver cut lands at a threshold, and on an access floor the grid is deliberately offset from the panel joints. Chalk lines establish two square control lines and the floor is laid out from their intersection. For broadloom, the seams are planned before a roll is cut: seams run in the direction of the main traffic rather than across it wherever possible, away from doorways and away from the raking light, and the pile direction is confirmed the same way across every piece. Pattern repeats are set out and matched at the seams, and the cutting plan is worked to keep waste down without ever compromising the pile direction.
- 5
Step 5: Fit broadloom on gripper, or direct stick it
For a stretched installation, gripper is fixed round the perimeter with the pins angled towards the wall, leaving a gully for the carpet edge, with the fixing method suited to the base. Underlay is laid within the gripper, butted and taped rather than overlapped, and fixed down. The carpet is roughly cut in with surplus at the walls, seamed where required with heat-bond tape or by sewing, then stretched across the room in the proper sequence with a power stretcher, hooked onto the gripper, trimmed and tucked. For direct sticking the adhesive named by the manufacturer is applied with the specified trowel and the carpet laid into it and rolled for full contact. Doorways get bar or trim, and level changes and junctions with hard finishes are detailed rather than left as a raw edge.
- 6
Step 6: Lay carpet tiles to the pattern and keep checking the arrows
Tackifier is applied by roller at the coverage the manufacturer states and left to develop its tack - it is intended to stay tacky, and tiles laid into it too early will slide. Tiles are laid from the control lines outwards, working the field before the cuts, butted tight without forcing the pile into the joint, and the arrows on the back are checked continuously against the specified pattern. Tiles are worked from several boxes at once so any shade variation is distributed. Cuts at the perimeter are scribed and made from the back with a straightedge and a sharp blade, and cuts around floor boxes, columns and door frames are made to fit rather than gapped. On an access floor, tiles over panels that will need lifting are noted so the maintenance route is understood, and where the design calls for it those tiles are laid loose within a bonded field.
- 7
Step 7: Detail the edges, then protect it from everyone else
Thresholds, door bars, nosings and junctions with hard finishes are fitted so the carpet terminates deliberately, and skirtings, floor boxes and outlet plates are refitted over the finished floor rather than the carpet being cut round them badly. The floor is then vacuumed and protected, and this is the step that decides whether the carpet survives to handover. Protection is taped at the joints so grit cannot get underneath, hard board goes where plant, stillages and access towers will travel, and access tower wheels and scaffold feet get spreader boards. On most projects several trades are still returning to close out their own snagging, so the protection stays down, gets inspected, and gets repaired. At handover the occupier is given the cleaning regime and the attic stock, and the location of the spares is written down.
What are the benefits of Carpet & carpet tile?
- Warm, soft and quiet, with genuine absorption of impact and airborne sound that no hard finish matches
- Carpet tiles lift, which keeps floor boxes, underfloor services and access floor panels reachable for the life of the building
- Damaged or stained tiles are replaced individually from attic stock in minutes, with no seam and no wet trade
- Tiles cut waste dramatically on complicated plans, and reconfiguring an office becomes a lift-and-lay rather than a refit
- Forgiving of minor subfloor irregularity compared with tile, vinyl and resin finishes
- Fast to install, with no curing time, so it fits into the tightest end of a fit-out programme
What are the limitations of Carpet & carpet tile?
- Wears, marks, stains and flattens in traffic lanes, and has a much shorter life than any hard finish
- Unsuitable for wet areas, food preparation and most clinical settings on hygiene and cleanability grounds
- Pile direction is unforgiving - one tile turned the wrong way, or two broadloom pieces seamed against the pile, reads as a colour change from across the room
- Broadloom laid without proper stretch ripples within months, and re-stretching means lifting furniture and part of the floor
- Shade variation between batches is real, so batch control and attic stock have to be managed from delivery to handover
- Damaged by castors, point loads and site traffic more easily than any other finish, and it is laid at the point in the programme when site traffic is heaviest
What is Carpet & carpet tile best suited for?
What plant does Carpet & carpet tile need?
- Straightedges, laser or optical level and chalk lines for subfloor survey and grid set-out
- Grinders and industrial vacuums for preparation, with mixing and application gear for smoothing compound where required
- Power stretchers, knee kickers, gripper, staple and fixing guns for stretched broadloom
- Heat-bond seaming irons and tape, or sewing equipment, for broadloom seams
- Tackifier and adhesive rollers, trowels and weighted floor rollers for direct-stick and tile work
- Carpet trimmers, edge cutters, straightedges and blades with a controlled disposal regime, and templates for cutting around floor boxes and columns
How is Carpet & carpet tile quality-checked?
- Subfloor handover record covering flatness, soundness, cleanliness and any moisture result, with access floor panels checked for level, rock and lipping
- Batch numbers checked across the delivery and recorded, with part-batches directed to the least visible areas
- Set-out approved before laying, with the tile grid offset from access floor panel joints and no sliver cuts at thresholds
- Pile direction and laying pattern checked continuously against the specification, and inspected under a raking light on completion
- Broadloom stretch, seam quality and gripper and underlay fixing inspected before trims are fitted; tackifier or adhesive coverage checked on tile work
- Attic stock quantity, batch and storage location recorded and handed over, with the cleaning regime issued to the occupier