Vinyl, LVT & resilient floors
Thin, flexible and completely honest - every defect in the subfloor telegraphs through and shows in the finished surface.
Last updated 2026-09-05
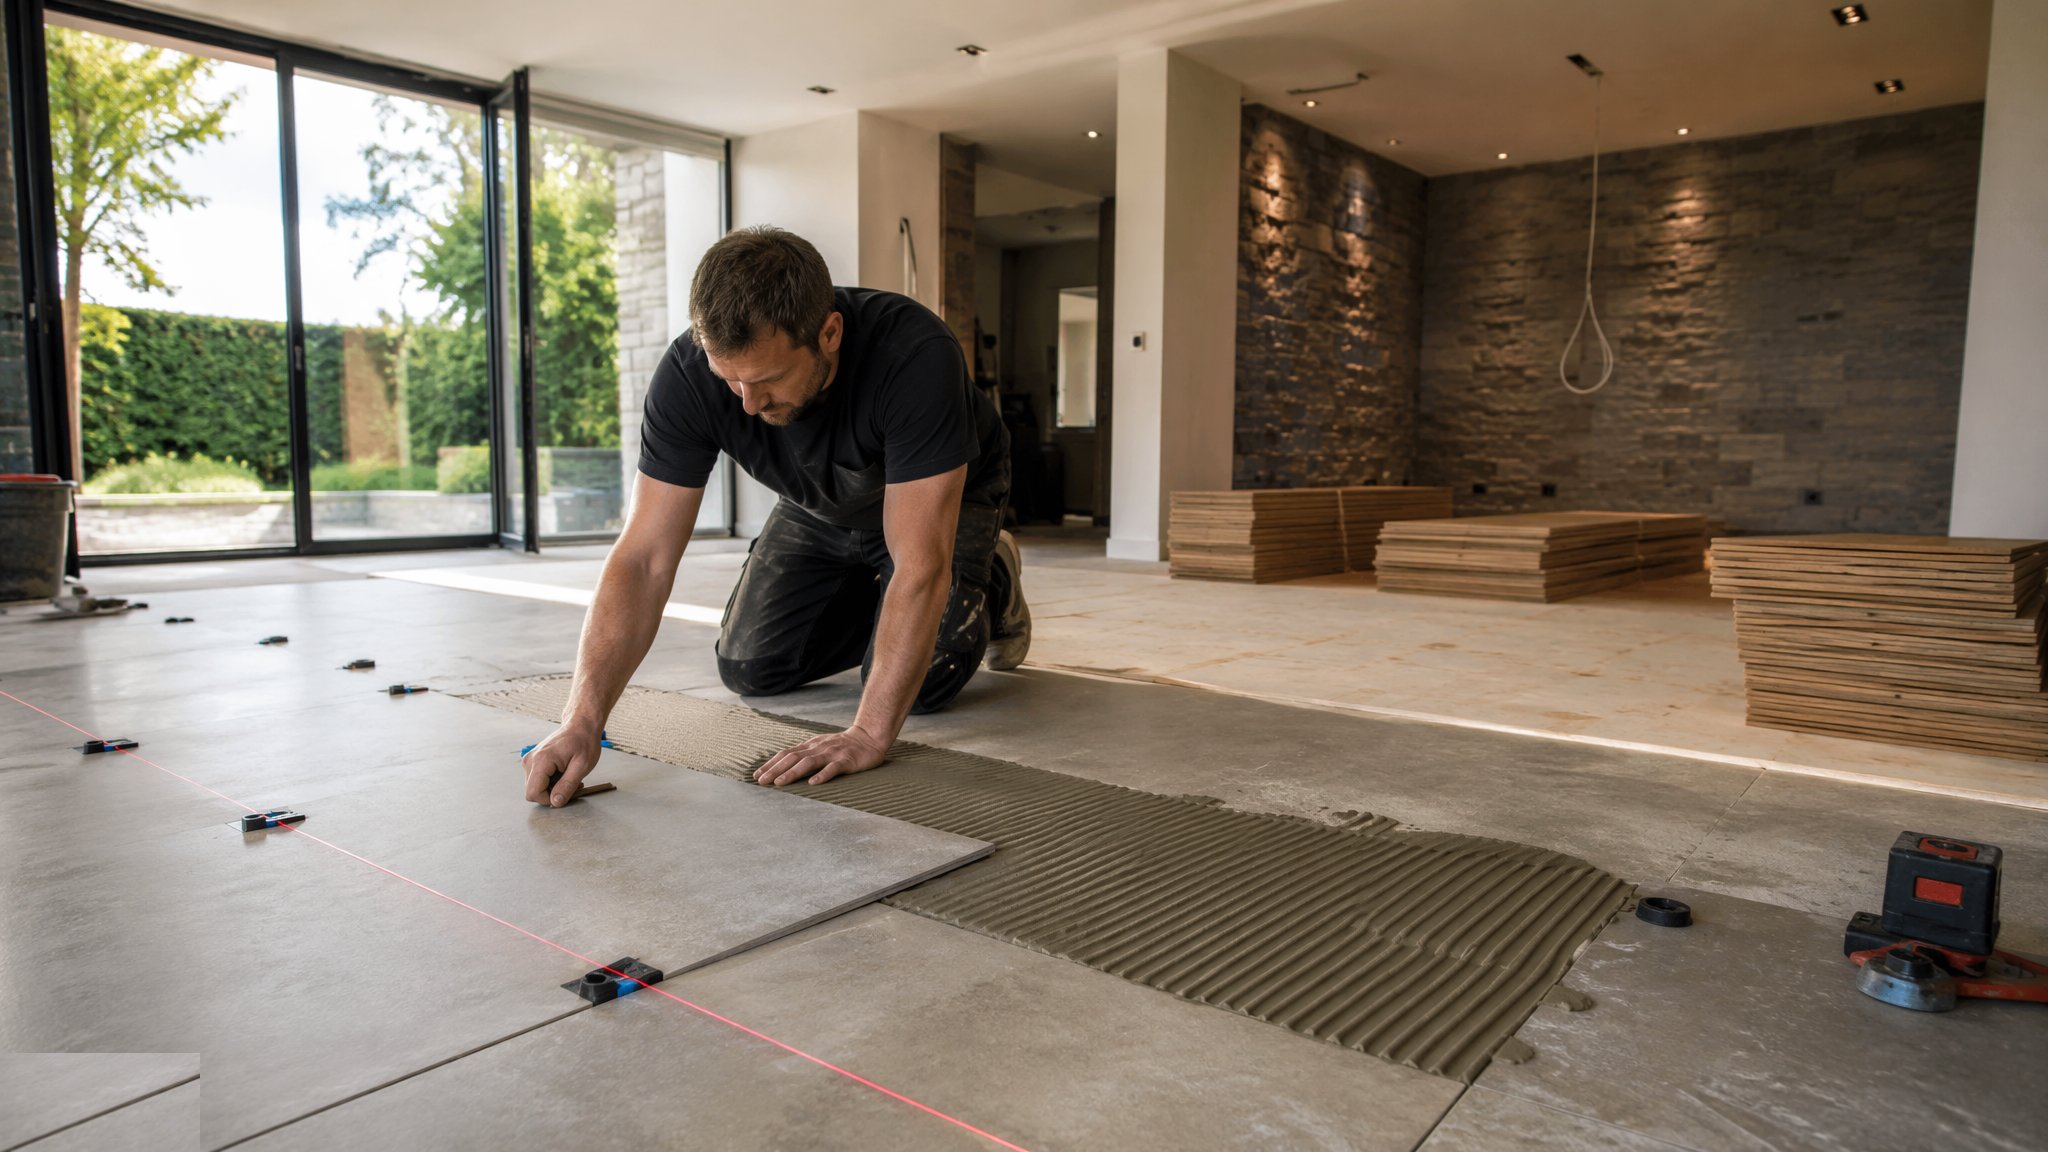
What is Vinyl, LVT & resilient floors?
Resilient flooring covers sheet vinyl, luxury vinyl tile and plank, linoleum, rubber and the other thin flexible sheet and tile products, and they all share one characteristic that governs the entire trade: they are thin. A resilient floor is measured in a few millimetres, it is bonded across its full underside, and it has no stiffness of its own. It does not span, it does not bridge, and it does not hide. Whatever shape the subfloor is in, the finished floor takes that shape. A trowel ridge in a levelling compound, a screw head standing proud, a grain of grit left under the adhesive, the edge of a patch, the joint between two sheets of boarding - every one of those shows through as a visible line or bump in a floor that is meant to read as a flat, seamless plane. Nothing else in the finishing trades punishes poor preparation this directly, and nothing else is as regularly blamed on the flooring contractor when the fault was set into the base months earlier.
That is why the preparation is the trade and the laying is the quick bit at the end. The subfloor is tested for moisture and flatness, mechanically prepared to remove contamination and laitance, primed, and then covered with a smoothing compound that is poured, spread and left to find its own level, sometimes in more than one application and sometimes with a fine finishing skim on top. Where a timber base is involved it is overlaid with a flooring-grade board so the finish is not laid over the movement and the joints of the deck. Where the base reads damp, a surface-applied moisture barrier is used before the smoothing compound. The result has to be flat, hard, dust-free and dry, because the adhesive bond and the appearance both depend on it. Only then is the material laid, and on most projects the smoothing operation is longer, dirtier and more disruptive than the covering it is preparing for.
The split within resilient flooring is between sheet and modular. Sheet material is rolled out in the widest pieces the room will take, the seams are cut and then heat-welded with a matching rod so the surface becomes genuinely continuous, and at the walls it is coved up as a curved skirting with the same sheet material, capped at the top. That is what makes a welded and coved floor the standard in operating theatres, laboratories, treatment rooms, kitchens, wet rooms and anywhere else the floor has to be washed down and cannot be allowed to leak into the construction or trap dirt in a corner. Modular tile and plank, mostly luxury vinyl, is laid piece by piece, gives a far wider range of appearance including convincing timber and stone effects, is quicker to lay in complicated plan shapes, and lets a damaged piece be replaced. What it cannot do is be watertight, because a floor made of joints is a floor with joints. Choosing between them is a matter of what the room does, not what it looks like. And, as with every finishing trade, resilient flooring goes down last, which means it inherits every tolerance the preceding trades left behind and is then walked over by everyone returning to close out their own snagging.
How does Vinyl, LVT & resilient floors work, step by step?
- 1
Step 1: Survey the subfloor and record what is wrong with it
The base is inspected, sounded and measured before anything is priced as ready. Flatness is checked with a straightedge in several directions against the tolerance the specification sets, and the deviations are marked on the floor rather than remembered. Moisture is tested by the method the specification names and the result is recorded and compared with the limit the adhesive and covering manufacturers state - the reading decides whether a surface moisture barrier is needed, and that decision is taken with the designer and the manufacturer. Contamination is identified: curing compounds, paint, plaster, adhesive residues from a previous covering, oil in a plant room. Existing coverings and their adhesives are investigated before removal, because older bonded floor finishes and their bitumen or adhesive beds can contain hazardous material and that has to be established, by survey, before anyone puts a scabbler through them.
- 2
Step 2: Mechanically prepare and prime
Preparation is mechanical, not chemical. Laitance and contamination are removed by grinding, shot blasting or scarifying with dust-extracted equipment, high spots are ground off, hollow and unsound areas are cut out and made good, and the whole floor is vacuumed. Movement joints in the base are identified and carried through rather than covered. Timber decks are checked for fixing, refixed where they creak or move, and overlaid with a flooring-grade board laid in the pattern and with the fixing centres the board manufacturer specifies. Where the survey calls for it, a surface-applied moisture barrier is installed as a system - the barrier, its primer and the smoothing compound over it are used as one manufacturer's combination, not mixed between suppliers. Primer is then applied at the coverage stated, because primer controls suction and stops the smoothing compound flash-drying or pinholing.
- 3
Step 3: Apply the smoothing compound and get it right
Smoothing compound is mixed to the manufacturer's water ratio in gauged quantities and poured in a continuous operation across the area, spread to depth with a pin rake and worked with a spiked roller to release entrained air. Too much water gives a weak, dusty surface that will not hold an adhesive bond; too little gives a compound that will not flow and leaves ridges. Bays are worked wet edge to wet edge so that joins do not show, and the depth is kept within the range the product allows, with deeper areas built up in stages. Once cured, the surface is checked again with a straightedge and by touch, and any trowel marks, ridges, roller lines or debris are ground back and, where necessary, skimmed with a fine finishing compound. This is the last opportunity to correct anything, because after this the floor covering will simply reproduce whatever is there.
- 4
Step 4: Acclimatise the material and set out the seams
Sheet and tile are delivered into the space they will be laid in, unrolled or unpacked, and left to relax at the room temperature they will be laid at - vinyl is dimensionally responsive to temperature and material laid cold will move afterwards. Sheet is set out so that seams fall away from the main traffic routes, away from doorways and, where possible, away from the direction a strong light rakes across the floor, because a raking light finds a seam that the eye would otherwise miss. Tile and plank are set out from the room's governing sightline so cuts are balanced and no sliver lands at a threshold, with the laying pattern and any directional or feature layout confirmed against the design. Batch numbers are checked and material is worked from several packs at once so that any shade variation is distributed rather than concentrated.
- 5
Step 5: Bond the covering down
The adhesive named by the covering manufacturer for that product, that subfloor and that use is applied with the notched trowel or roller specified, and the covering is laid into it in the condition the manufacturer states. Sheet is rolled out, scribed to the walls, and the seams are cut. The floor is then rolled with a weighted roller to drive out air, guarantee transfer of adhesive to the back of the material and get full contact - a resilient floor that has not been rolled will lift at the edges and blister in the middle. Tile and plank are laid tight to the set-out lines, pressed in and rolled the same way. Cuts around door frames, pipes and thresholds are scribed rather than gapped and filled, because a badly cut edge in a thin flexible material is impossible to disguise afterwards.
- 6
Step 6: Weld the seams and cove where the room demands it
In wet, clinical and hygienic areas the seams in sheet material are grooved out to a controlled depth with a router or hand groover, cleaned, and hot-air welded with a matching weld rod, which is then trimmed in two passes - a first cut with a spatula knife and sled while it is still warm, and a final cut flush once cool. A weld trimmed flush in one pass while hot shrinks below the surface and leaves a groove. At the walls the sheet is coved up the wall over a cove former, with the internal and external corners hand-formed, welded and capped at the top with a capping strip or seal. Penetrations, drains and gullies are clamped or welded in as the detail requires. The result is a continuous impervious surface that turns up at every edge, which is the whole point of specifying sheet in a room that gets washed down.
- 7
Step 7: Protect it and hand over a maintenance regime
The floor is left for the adhesive to develop strength before it is trafficked or wet cleaned, on the manufacturer's regime, and any initial clean and first dressing is carried out as the manufacturer requires. Protection then goes down: a breathable covering against the vinyl, taped at joints so grit cannot migrate underneath, with hard board where plant, access equipment or material storage will cross. Point loads from access towers and stillages get spreader boards, because a thin resilient floor over a smoothing compound indents under a concentrated load and the indentation is permanent. Protection is inspected and repaired rather than laid once, and it stays down until the room is finished. At handover the occupier is given the cleaning regime, because the wrong cleaning chemical or a steam cleaner will strip a finish that took a shift to lay.
What are the benefits of Vinyl, LVT & resilient floors?
- Continuous welded sheet with coved edges gives an impervious, cleanable floor with no joints for dirt or water to enter
- Comfortable and quiet underfoot compared with tile or resin, with useful impact sound performance in acoustic grades
- Thin build-up, so it suits refurbishment where thresholds and existing levels cannot be raised
- Fast to lay once the preparation is complete, and modular tile and plank allow damaged pieces to be replaced individually
- Very wide range of appearance, including convincing timber and stone effects, at a fraction of the weight and cost of the real material
- Slip-resistant, conductive and other performance grades are available within the same construction detail
What are the limitations of Vinyl, LVT & resilient floors?
- Completely unforgiving of the subfloor - every ridge, grain of grit, screw head and patch edge telegraphs through
- The preparation is the majority of the cost and the programme, and it is the part most often underestimated in the tender
- Indents permanently under point loads from castors, stillages, access towers and heavy furniture feet
- Cuts, tears and cigarette burns are difficult to repair invisibly in sheet material, and shade-matching a replacement years later rarely works
- Welding and coving is a skilled operation - poorly trimmed welds and hand-formed corners are the classic failure in hygienic areas
- Sensitive to residual moisture in the base, and a covering laid over a damp slab will blister, debond or discolour
What is Vinyl, LVT & resilient floors best suited for?
What plant does Vinyl, LVT & resilient floors need?
- Grinders, shot blasters and scarifiers with dust extraction, plus industrial vacuums
- Moisture measurement equipment and straightedges for subfloor survey
- Forced-action mixers, gauging buckets, pin rakes, smoothers and spiked rollers for smoothing compound
- Notched trowels and adhesive rollers, weighted floor rollers and hand rollers for seams and edges
- Hot-air welding guns with speed nozzles, groovers and routers, spatula knives and trimming sleds
- Cove formers, capping strips, scribing tools and trimming knives with a disciplined blade disposal regime
How is Vinyl, LVT & resilient floors quality-checked?
- Subfloor survey record covering flatness, soundness, contamination and the moisture result against the stated limit
- Preparation and priming inspected and signed off before smoothing compound, and the moisture barrier system recorded where one is used
- Smoothing compound checked after cure with a straightedge and by hand for ridges, roller lines and debris, with defects ground back before laying
- Material batch numbers checked and acclimatisation conditions and period recorded
- Adhesive type, trowel notch and rolling confirmed against the manufacturer's requirements, with edges and seams checked for full bond
- Welds and coving inspected in hygienic areas - weld trimmed flush, corners formed and sealed, capping continuous and penetrations detailed