Homes & villas - conventional bathrooms
One room at a time, built up from carcass pipework to finished ware - where every millimetre of first fix is judged by whether the vanity unit fits.
Last updated 2026-09-05
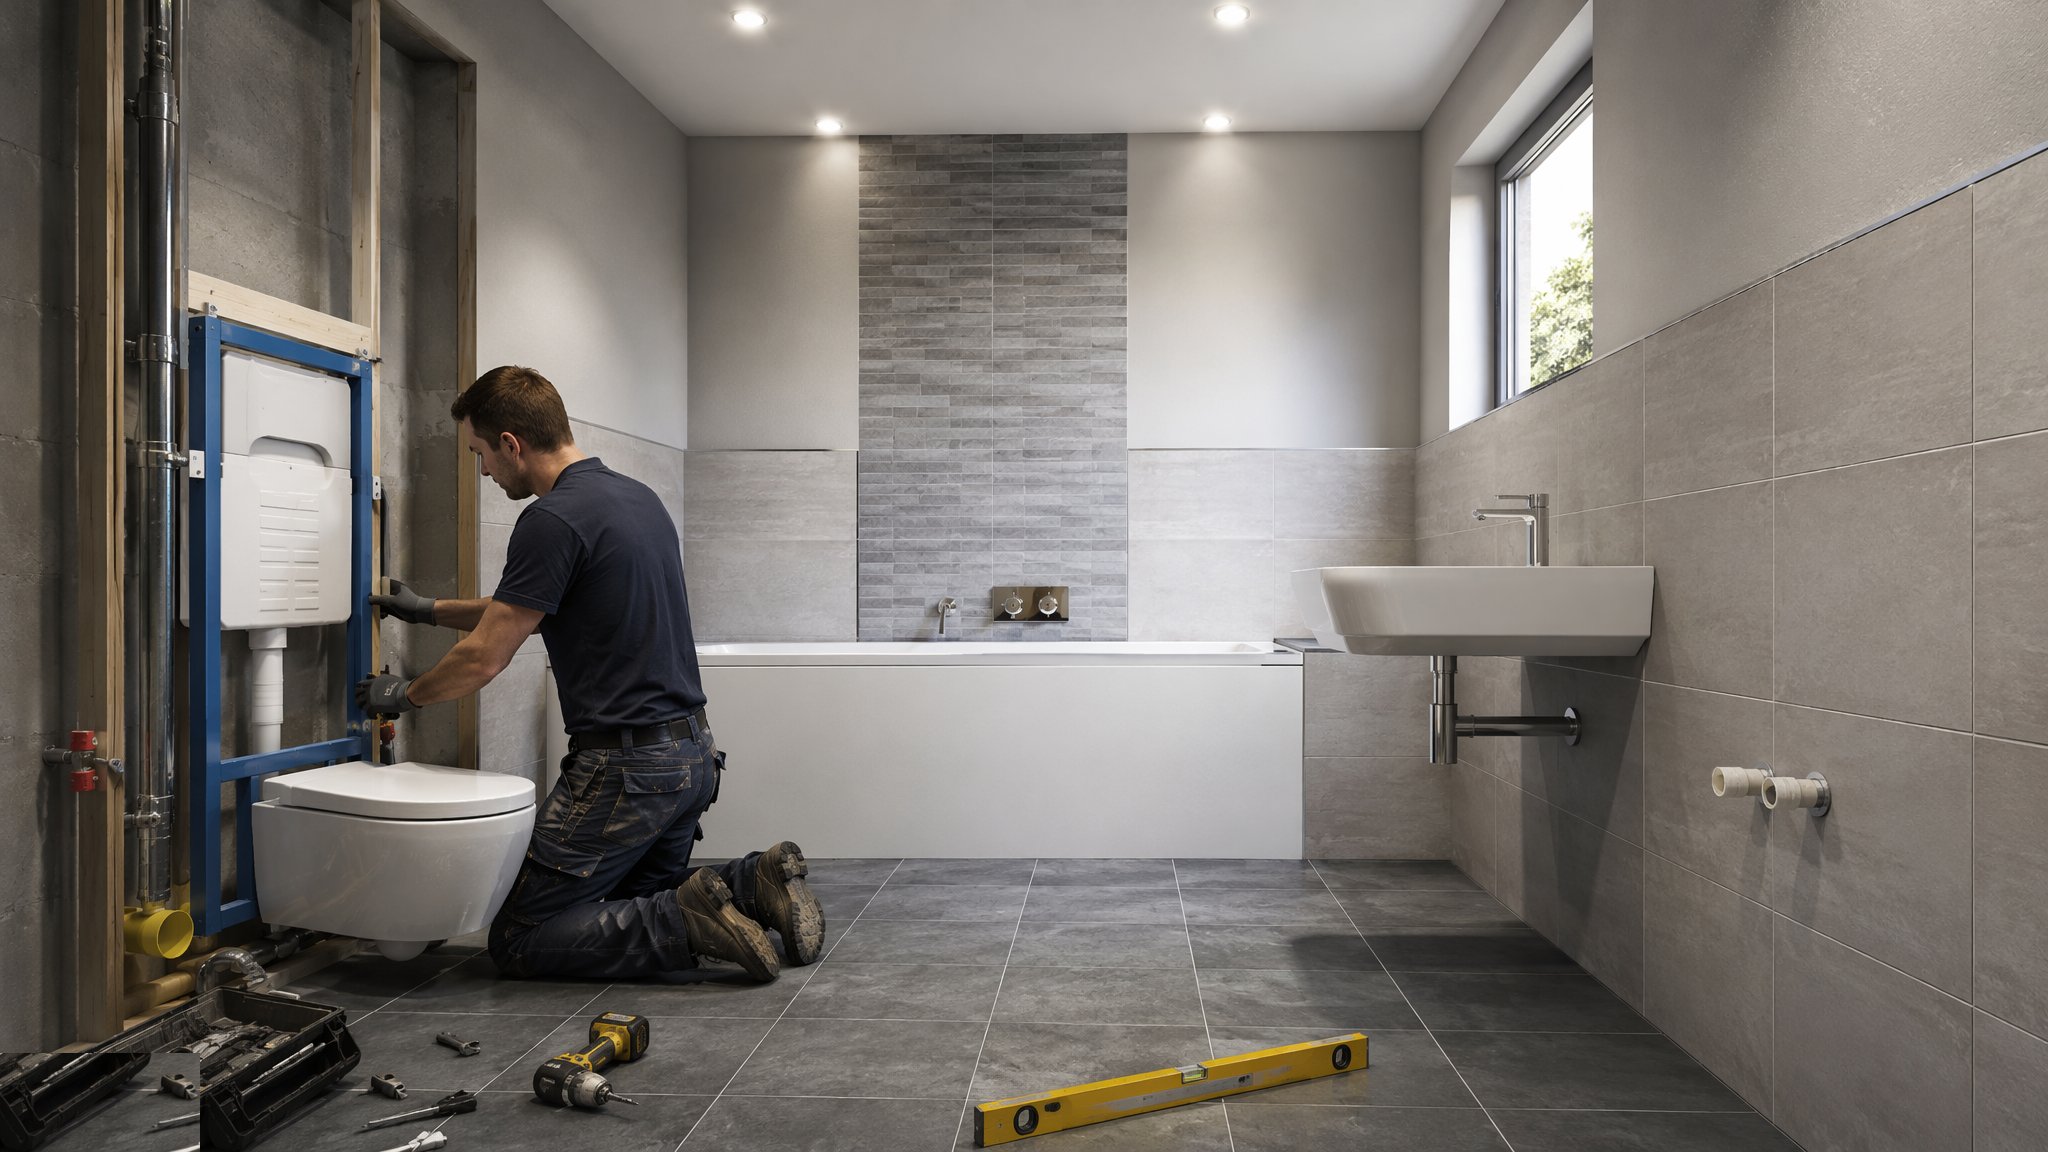
What is Homes & villas - conventional bathrooms?
A conventional house or villa bathroom is built in two visits separated by months. First fix runs the carcass pipework while the structure is open: hot and cold supplies, the soil stack and the branch wastes, all routed through floor zones and stud walls and left as capped tails at the positions the sanitary layout gives. Second fix comes back after plaster, screed and tiling and hangs the finished goods on those tails - the WC, the basin and vanity, the bath, the shower valve and the trays. Nothing about the second fix is forgiving. Supplies are commonly 15 mm to a basin and a WC with 22 mm feeding a bath, basin and shower wastes are commonly 40 mm and a WC connects through 100 mm, and once those are buried the room has to be built around where they actually are rather than where the drawing said they would be.
The trade is really a discipline of setting out. Tile modules, not pipe centres, decide what the finished room looks like, so the tiler and the plumber have to agree the datum before either of them starts. A wall-hung basin whose waste sits 20 mm off the tile joint is a defect that nobody can fix without breaking the wall, and a WC outlet set out from the blockwork rather than from the finished tile face ends up with the pan sitting proud of the boxing. On most projects the setting out is done once, on a marked-up elevation, with the actual ware in front of the person doing it - because manufacturers do not agree with each other about waste heights, and the schedule is not the same thing as the box in the store.
What separates a good villa bathroom from an average one is the access that was designed into it. Concealed cisterns, shower valve bodies, isolating valves, waste traps under baths and the bath trap itself all sit behind finished surfaces, and every one of them is a thing that will one day need reaching. On most projects that means an access panel or a removable tile section over the flush plate and the valves, a lift-out bath panel rather than a tiled-in bath, and isolators on every appliance so that one dripping tap does not drain the whole house. Timber floors add movement to the problem: the deflection that a joisted floor allows will crack rigid finishes and open sealant joints unless the floor was stiffened and decoupled first. The specification decides how that is dealt with, but the consequence of ignoring it always shows in the same places - the bath-to-tile joint and the corner of the shower tray.
How does Homes & villas - conventional bathrooms work, step by step?
- 1
Step 1: Fix the layout against the real ware
Before any pipe is cut, the sanitary schedule is set against the room. Every item is checked for its actual dimensions - pan projection and outlet position, basin waste height, bath length and the handing of its waste end, tray size and drain position, shower valve inlet centres - and marked on a full elevation of each wall. Doors and their swings, radiator or towel rail positions, the vanity unit width and the tile module are all laid over the same drawing. On most projects this exercise finds at least one clash before it becomes concrete, and it is far cheaper to move a line on paper than a soil branch in a floor.
- 2
Step 2: Run the carcass supplies and wastes
First fix runs the pipework while floors and stud walls are still open. Supplies are commonly in plastic push-fit or press-fit for speed and in copper where the specification wants it, clipped at regular centres so nothing can move or knock. Wastes fall towards the stack, sized and graded by the services engineer, with joints kept accessible where they can be and sleeved where they pass through structure. Notching and drilling of joists follows what the structural designer allows rather than what is convenient, and services crossing zones are recorded so that a later screw does not find them. The whole first fix is set out from the finished floor and finished wall lines, not from the bare structure.
- 3
Step 3: Pressure test and photograph before covering
Nothing is buried until the pipework has been tested and the result written down. Supplies are tested to whatever the specification sets and held while every joint is walked and looked at; wastes are filled or air-tested and the traps checked. Then the whole wall and floor is photographed with a tape or scale rule in shot, so that six months later somebody can find the pipe without a hammer. That photographic record is the cheapest quality document on a house and it is the one most often skipped.
- 4
Step 4: Set frames, trays and baths before the wall closes
Concealed cistern frames, shower trays, wet-room formers and baths are the items that decide the finished geometry, and they all have to be right before anything covers them. Frames are fixed plumb and square, braced back to structure, and set to the finished floor level rather than the screed. Trays and baths are bedded solid so they cannot flex under a person - a bath that moves will break every seal around it - and their wastes are connected and run before the panel goes on. The flush plate and valve positions are set now, because moving them afterwards means new tiles.
- 5
Step 5: Coordinate boxing, ducts and access
Boxing to conceal stacks and valves is built to the tile module and sized so that access panels land on a full tile or a deliberate joint rather than in the middle of a cut. Every concealed valve, isolator, cistern and trap is given a route to it - a hinged panel, a magnetic tile section, a removable bath panel - and that route is agreed with the designer rather than invented by the joiner. On most projects the argument here is about aesthetics against maintainability, and the rooms that age well are the ones where maintainability won.
- 6
Step 6: Tile, then set the ware
Tiling is set out from the focal walls so that cuts fall where they are least seen, with full tiles at the visible edges and cuts run into corners and behind the ware. Penetrations through the tiling for valves, wastes and fixings are drilled once, cleanly, and sealed as the tiling system requires. Only when the tiling and grout are ready does the finished ware go on: pans connected with proper connectors rather than improvised offsets, basins and vanities fixed level into real fixings, taps and wastes made up with the correct washers, and screens and rails anchored into structure or proper cavity fixings rather than into unsupported board.
- 7
Step 7: Fill, flush and prove every appliance
Every item is put into service and watched. Cisterns fill and flush without weeping at the pan connection, wastes run and drain with the trap holding its seal, mixers deliver hot and cold on the correct sides, and overflows are proved by actually overflowing them into a bucket. Isolators are checked to see that they isolate what they are labelled as isolating. Leaks are found now, in a room that is still empty, or later through a ceiling that is not.
- 8
Step 8: Seal, protect and hand over
Sanitary sealant goes in last, after testing, so that no leak is sealed inside a joint. Junctions between ware and tiling are tooled continuous, with the bath filled with water before the bath-to-tile joint is sealed so that the joint is formed at its widest. The room is then cleaned, protected and closed to other trades, and handed over with the commissioning notes, the guarantees and the key or tool that actually opens the access panel.
What are the benefits of Homes & villas - conventional bathrooms?
- Highly flexible - a one-off room can be adapted around the structure it lands in, which suits refurbishment and irregular villa plans
- Uses ordinary trade skills and materials available anywhere, with no long-lead factory order to protect
- Ware and finishes can be selected late, so a client change of mind costs a delivery rather than a redesign
- Every element stays individually replaceable, so a single item can be renewed years later without disturbing the rest
- Faults are visible and reachable during the build, and a leak found at first-fix test is a ten-minute repair
- Suits phased work, where one bathroom is completed and used while another is still open
What are the limitations of Homes & villas - conventional bathrooms?
- Quality depends entirely on workmanship in the room, so the standard varies bathroom to bathroom and trade to trade
- Every dimension is site-measured, and a first-fix tail set out from the wrong face is a defect nobody can hide
- Wet trades in the room mean drying time, and the sequence is easily broken by one late delivery
- Timber floors move, and movement cracks rigid tiling and opens sealant joints unless the floor was stiffened first
- Concealed items are only as maintainable as the access somebody remembered to design in
- Slow and labour-intensive compared with repeated or factory-built rooms, and it does not get faster with volume
What is Homes & villas - conventional bathrooms best suited for?
What plant does Homes & villas - conventional bathrooms need?
- Laser level, datum lines and a long spirit level for setting frames, trays and tile datums
- Press-fit or push-fit jointing tools for supplies, and pipe cutters and reamers
- Diamond core drills and holesaws for porcelain, stone and tile penetrations
- Test kit - expandable plugs, hoses and a pressure gauge for proving supplies and wastes
- Suction lifters and screen-handling gear for trays, glass and heavy ware
- Sealant guns, tooling profiles and protection boarding for finished surfaces
How is Homes & villas - conventional bathrooms quality-checked?
- Sanitary schedule checked against the actual ware dimensions and marked on wall elevations before first fix
- First-fix pipework pressure tested and witnessed, with the result recorded before anything is covered
- Every wall and floor photographed with a scale rule in shot before closing up
- Frames, trays and baths checked plumb, level and solidly bedded, and set from the finished floor level
- Access confirmed to every concealed cistern, valve, isolator and trap before boxing is closed
- Every appliance filled, flushed and run, with overflows proved and traps checked, before any sealant is applied
More sanitary installation methods
Next method
Towers - repeated bathrooms & pods