Offices - WC cores & accessible WCs
Toilet cores built for a hundred users a day - where durability, cleaning and getting at the valve beat everything else.
Last updated 2026-09-05
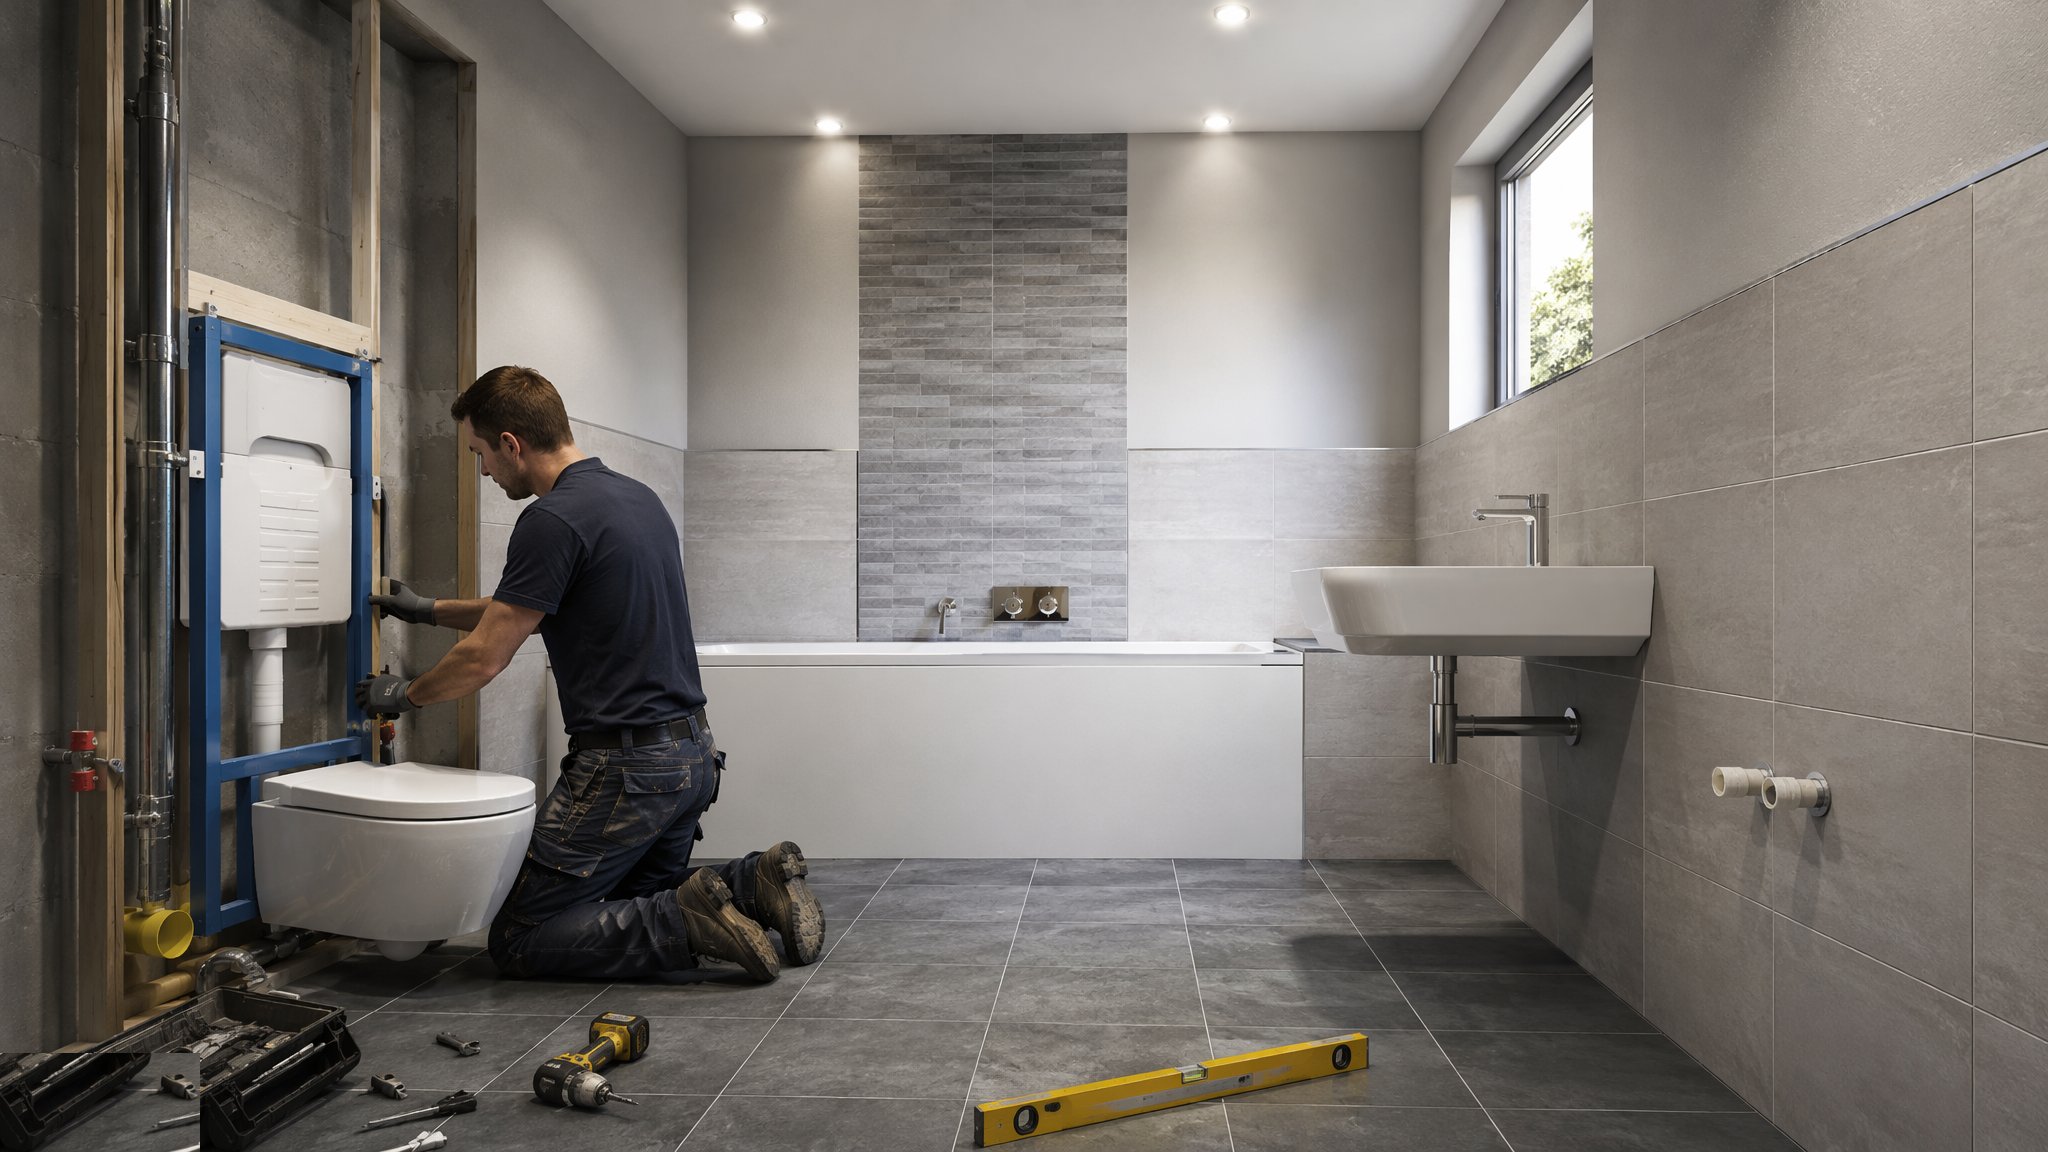
What is Offices - WC cores & accessible WCs?
An office toilet core is a different problem from a bathroom. It is used heavily, cleaned daily, maintained by people who did not build it, and judged on how it looks after five years rather than on handover day. It is also stacked: the cores sit one above another on every floor, fed by a common riser, so the same layout and the same connections repeat vertically and any error in the riser setting out repeats with them. The ware is commercial - wall-hung pans on concealed frames, vanity troughs or under-counter basins, sensor or lever taps, and cisterns hidden behind panels - and it is chosen for how it survives use rather than for how it photographs.
The organising element is the duct. Behind the pans runs a service duct carrying the supplies, the waste branches, the concealed cisterns and the frames, and the face of that duct is the panelling that the room actually sees. Integrated plumbing system panelling gives a flush, cleanable wall with removable access sections in front of every cistern, valve and isolator, and it is the difference between a maintainable core and one where a stuck flush valve means cutting out tiling. The panels are set out to a module so that the joints, the flush plates, the pans and the cubicle divisions all line through - and that setting out has to be agreed with the cubicle supplier, the tiler and the services engineer together, because each of them has a module of their own and they do not naturally coincide.
The accessible WC is a design requirement rather than a fit-out choice, and it is set by the designer at planning stage. It is a larger room with a clear transfer space beside the pan, a specific arrangement of grab rails, a basin reachable from the pan, an outward-opening or sliding door, an alarm with a pull cord and reset, and fittings selected for their operability rather than their appearance. Every one of those elements sits in a dimensional relationship with the others, so a rail moved to miss a duct or a basin shifted to suit a waste can defeat the whole room. On most projects the accessible WC layout is dimensioned on the drawings and the contractor builds to those dimensions rather than fitting the items where they happen to suit - and where a genuine clash exists, it goes back to the designer.
How does Offices - WC cores & accessible WCs work, step by step?
- 1
Step 1: Coordinate the core layout and the modules
The core is set out as a whole before anything is ordered. The cubicle module, the panelling module, the tile module and the pan spacing are laid over each other and reconciled, so that cubicle divisions land on panel joints, flush plates sit centred on their pans, and access sections fall where they can actually be opened with a cubicle door in place. Clear widths, door swings and the accessible room dimensions are checked against the designer drawings. This coordination is done once, on paper, with the cubicle supplier and the services engineer in the room, because everything downstream is built to it.
- 2
Step 2: Build and set out the risers and ducts
The riser is set out from the building control network so that it lands in the same place on every floor. Within the core, the duct behind the pans is framed to carry the concealed cisterns and frames, with the supplies, waste branches and isolating valves arranged so that each one can later be reached through a panel rather than through a wall. Fire-stopping at every floor penetration and the acoustic separation between the core and adjacent occupied space are detailed as part of the duct rather than added afterwards. Space in the duct is the thing that always runs out, and it runs out because a later trade took it.
- 3
Step 3: Fix the frames, cisterns and carrier system
Concealed frames carry the whole load of a wall-hung pan and its user, so they are fixed back to structure - not to the panelling and not to unsupported board - plumb, square and set to the finished floor level. Pan heights are set at this stage and to the dimension the designer has given, and in the accessible room that dimension is part of a coordinated set rather than a preference. Cisterns, flush valves and their isolators go in with their service access already established. Once the panelling is on, none of this moves.
- 4
Step 4: Run and test the services behind the panels
Supplies and wastes are completed within the duct, clipped and supported so nothing knocks or drums, with isolators on every appliance and on each branch so that a single fault does not close the core. Everything is pressure tested and run before the panelling closes, and the whole duct is photographed with a scale rule so that a maintenance team years later can find a valve without exploratory demolition. Ventilation, drainage and any water treatment or metering serving the core are commissioned as a system with the services engineer rather than item by item.
- 5
Step 5: Install the panelling and access provision
The panelling goes on to the agreed module, flat and true, with removable sections in front of every cistern, valve and isolator. Fixings are concealed or tamper-resistant depending on what the specification asks for, and each access section is opened and closed as it is fitted to prove it works with the cubicle, the pan and the accessories in place. An access panel that cannot be opened because a rail was fitted across it is a common and entirely predictable defect. Junctions between panelling, floor and cubicle are detailed to be cleanable rather than to be interesting.
- 6
Step 6: Fit the ware, taps and accessories
Pans are hung on their frames and connected, vanity troughs or basins are set level on carriers or brackets fixed into structure, and taps are fitted and set up. Sensor taps need their power or battery provision, their control access and their commissioning; lever taps need the operating force the specification calls for. Soap, paper, dryers, mirrors, shelves and bins go on to the coordinated layout, fixed into real fixings, and are checked for reach and for whether they foul a door, a cubicle or an access panel. In the accessible WC the rails, alarm pull cord, basin and controls are set to the dimensioned drawing and checked against it as a set.
- 7
Step 7: Commission, clean-test and hand over the core
The whole core is put into service together: every pan flushed repeatedly, every tap run and its flow and temperature control confirmed with the services engineer, every waste proved, the alarm operated and reset from where a person would actually reach it, and the ventilation checked. The core is then handed over with a cleaning and maintenance walk-through - the facilities team is shown which panels open, where the isolators are, and what tool they need - because a core whose maintainers cannot get into it will be broken open within a year.
What are the benefits of Offices - WC cores & accessible WCs?
- Duct and panelling construction gives full access to every cistern, valve and isolator without breaking finishes
- Repeated core layouts stack floor to floor, so setting out, procurement and testing are done once and repeated
- Commercial ware and fittings are built for heavy use and are replaceable from stock years later
- Flush panelled surfaces and detailed floor junctions are far quicker to clean and stay looking better for longer
- Isolation on every appliance and branch means a single fault closes a cubicle, not the core
- Wall-hung ware on frames leaves a clear floor, which speeds cleaning and reduces damage at the pan base
What are the limitations of Offices - WC cores & accessible WCs?
- Duct space is finite and is always the first thing another service tries to take
- Three or four different modules - cubicle, panelling, tile and pan spacing - must be reconciled or the room never lines through
- Frames and carriers must be fixed to structure, which constrains where partitions can go
- Accessible WC dimensions are a design requirement, so a services clash cannot be solved by moving a fitting
- Heavy use exposes every weak fixing and every poor junction quickly, so specification shortcuts show within months
- Sensor fittings add power, batteries and commissioning to a room that would otherwise need none
What is Offices - WC cores & accessible WCs best suited for?
What plant does Offices - WC cores & accessible WCs need?
- Laser level and building control transfer for riser and core setting out floor to floor
- Frame and carrier fixing equipment with anchors suited to the structure behind
- Press-fit or press-jointing tools for supplies within the duct, and waste jointing equipment
- Panel cutting and edge-finishing equipment for the panelling system
- Pressure test kit, flow measurement equipment and commissioning instruments
- Tamper-resistant fixing tools and the access keys handed over with the core
How is Offices - WC cores & accessible WCs quality-checked?
- Cubicle, panelling, tile and pan modules reconciled on a coordinated setting-out drawing before ordering
- Frames and carriers checked fixed back to structure, plumb and square, and set to finished floor level
- Duct services pressure tested, run and photographed with a scale rule before the panelling closes
- Every access panel opened and closed with the cubicles, ware and accessories in place
- Accessible WC dimensions, rail positions and alarm operation checked against the designer drawing as a set
- Fire-stopping and acoustic sealing at riser and duct penetrations inspected and recorded floor by floor