Wet rooms & level-access showers
A floor that drains and a wall that holds water - where the waterproofing goes in blind and the workmanship decides whether it fails.
Last updated 2026-09-05
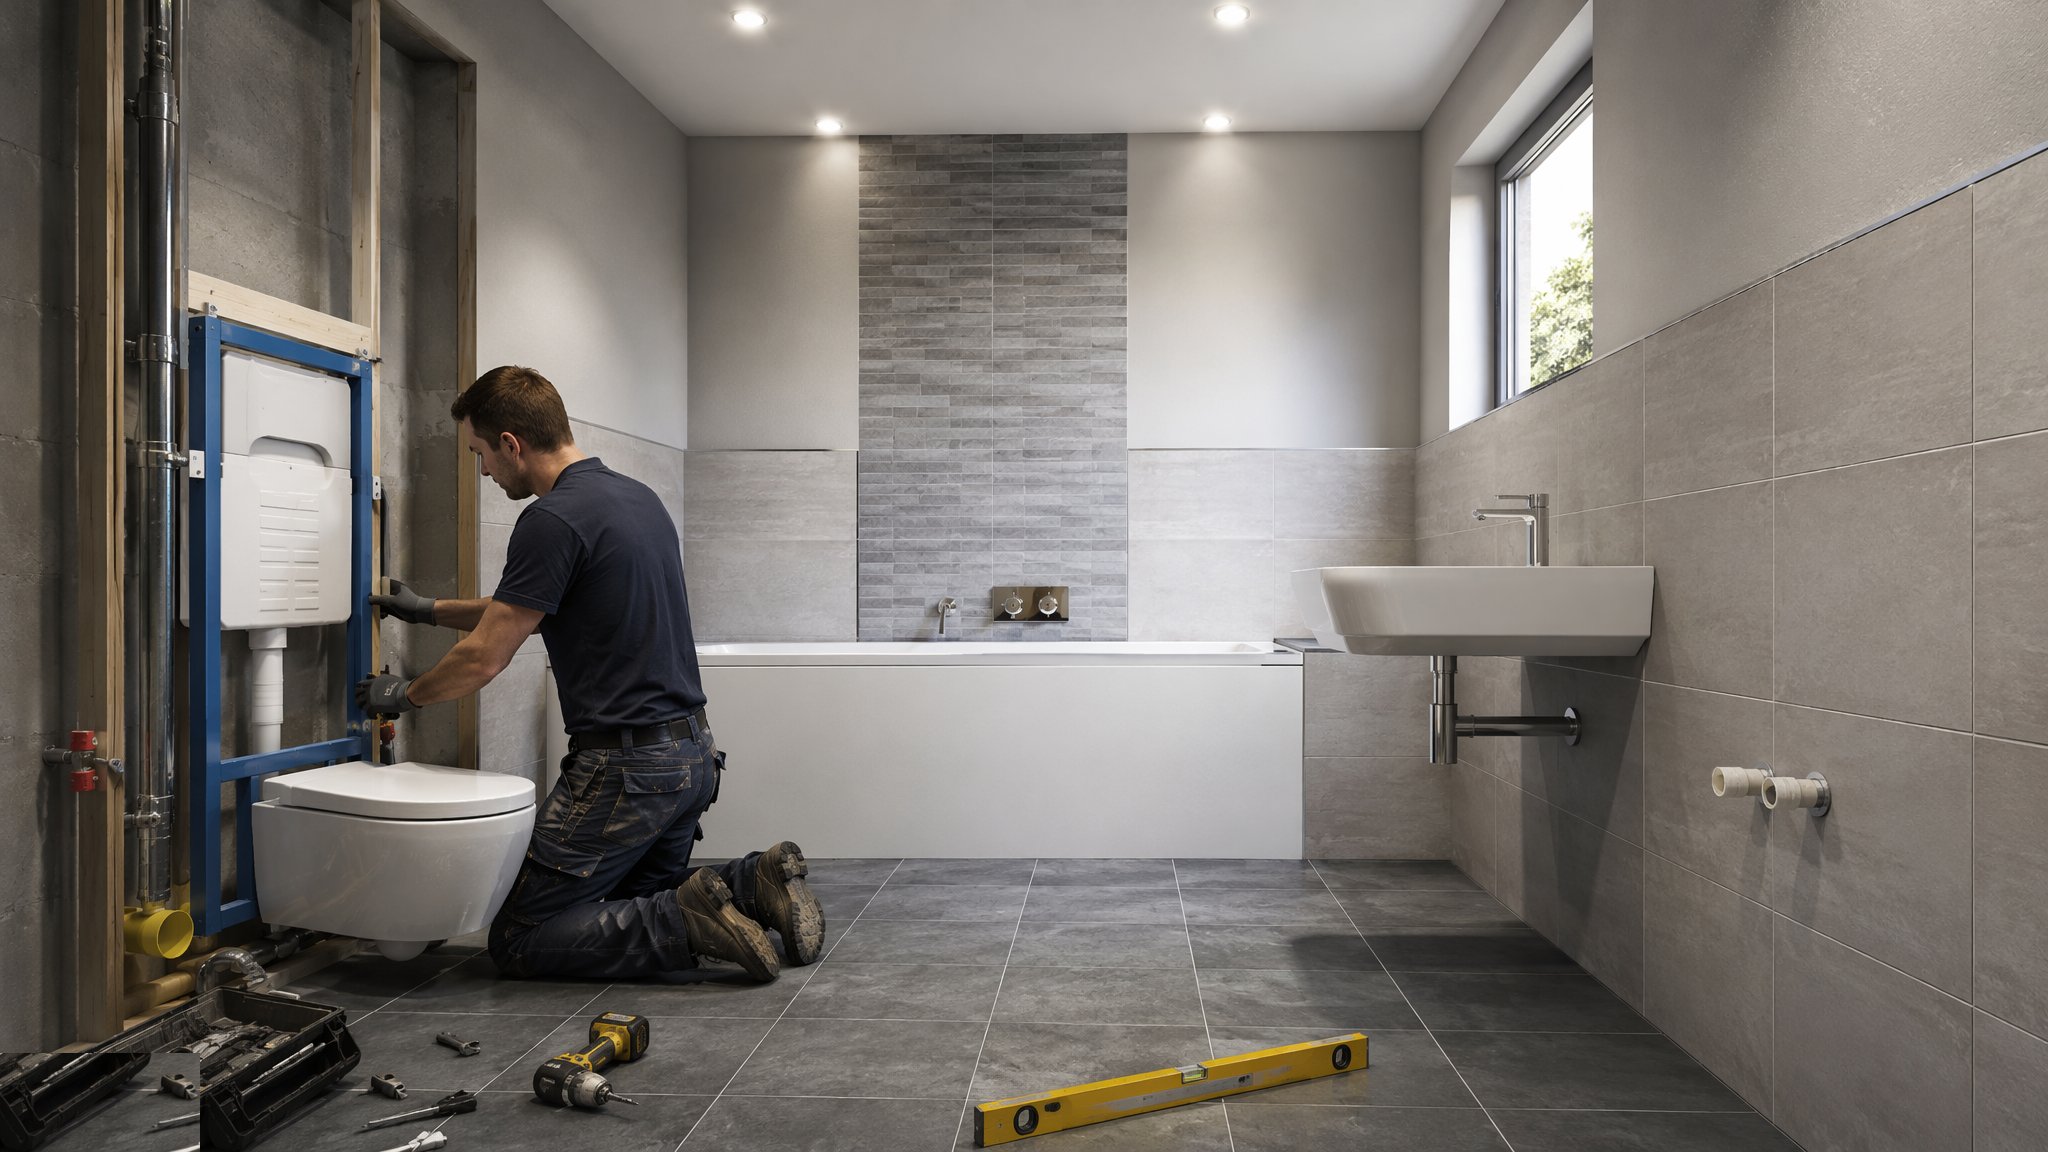
What is Wet rooms & level-access showers?
A wet room has no tray and no step. The floor of the room is the shower floor, laid to falls towards a linear channel or a centre gully, and the water is contained by a continuous waterproof layer applied to the floor and up the walls before any tile is laid. That layer - the tanking - is the whole defence. Once tiling covers it, nobody can see it, test it or repair it without taking the room apart, so every decision about it is made and executed before it disappears. Tiling and grout are not waterproof; they are a wearing surface over the thing that is. Getting people to accept that is half the battle on site.
Two zones matter. The floor zone is tanked across its whole area and turned up the walls to a height the designer sets, and the wall zone within and around the showering area is tanked to a height above the outlet. Between them are the details that decide the outcome: the internal and external corners, the junction between the floor and the wall, the perimeter where the tanking meets the door threshold, and every penetration for the waste, the shower valve, the rail fixings and the screen. Those junctions are formed with the system's own tapes, collars and corner pieces, bonded into the membrane rather than dabbed over it. On most projects the failure, when it comes, is at a corner or a penetration and not in the middle of a wall - membranes rarely fail across a flat area.
The falls are the other half of the problem, and they collide directly with the level access the room exists to provide. Water has to run to the drain, which means the floor has to slope; level access means no step at the door and a floor that a wheelchair or a walking frame can cross. Reconciling those is a design exercise, not a site one. The designer decides the drain type and position, the extent and direction of the falls, and how the floor structure accommodates them - by recessing or ramping the slab, by using a preformed sloped former, or by building the falls in the screed. A linear channel set against one wall lets the floor fall in a single direction and is the usual answer where a wide level threshold is wanted; a centre gully needs falls from four directions and more skill to build. Whatever is chosen, the floor construction has to be decided before the structure is built, because a wet room designed after the slab is cast is a wet room with a step in it.
How does Wet rooms & level-access showers work, step by step?
- 1
Step 1: Design the floor build-up and the drainage together
The room is designed before it is built. The designer and the services engineer settle the drain type and position, the direction and extent of the falls, the finished floor level relative to the room outside, and how the floor structure accommodates all of it - a recess in the slab, a ramped screed, a preformed sloped former, or a timber floor cut and reinforced to take a drain body. The waterproofing system is selected as a system, with its own tapes, corners and collars, and the tanked zones for floor and walls are drawn rather than left to judgement. Anything decided after the structure is cast is a compromise.
- 2
Step 2: Prepare a sound, stable substrate
Waterproofing bonds to what is under it, so the substrate is made sound before anything else. Concrete and screed are checked for soundness, cleanliness and dryness and made good. Timber floors are stiffened and overlaid with a suitable board, because deflection cracks membranes and finishes alike. Board walls in the wet zone are replaced with a board suited to wet areas, fixed at the centres the board requires with joints supported. Dust, laitance, curing residue and paint are all removed. A membrane applied over a poor substrate fails at the substrate and takes the blame itself.
- 3
Step 3: Form the falls to the drain
The falls are built to the design - to a linear channel at a wall or a threshold, or to a centre gully with the floor falling from all sides. The drain body is set first, at its finished level, secured so that it cannot move, and its flange prepared to receive the membrane. The screed or former is then built to it and checked with a level and a straightedge across the whole floor, not just near the drain, because a flat spot or a back-fall anywhere leaves standing water and the tiles will show it. The gradient itself comes from the designer, and site enthusiasm neither adds nor removes it.
- 4
Step 4: Apply the tanking as a continuous system
The membrane is applied to the floor and up the walls across the tanked zones, in the number of coats or the sheet arrangement the system sets, with each stage allowed to do what it needs before the next. Corners, floor-to-wall junctions and movement joints get the system's own reinforcing tape and preformed pieces, bonded in rather than laid on top. Penetrations for the waste, the valve, the rail and the screen fixings are made once, in the right place, and sealed with the collars the system provides. The drain flange is bonded into the membrane so that the two are continuous - that connection is the single most common leak path in a wet room and the one most often rushed.
- 5
Step 5: Detail the threshold and the level access
The threshold is where the two requirements of the room meet. Level access means no upstand at the door, so the containment has to come from the falls and from a tanked perimeter that turns up behind the surrounding construction rather than from a step. The membrane is carried out past the door line and closed against the adjoining floor construction to the designer detail, and the finished floor level inside and outside is checked so that nothing trips. Where a screen or half-height panel is used, its fixings penetrate the tanking and are sealed as penetrations, not driven through and forgotten.
- 6
Step 6: Test the waterproofing before a single tile
The room is tested while the membrane is still visible. The drain is temporarily plugged and the floor flooded, or the test the system specifies is carried out, and the water is held and watched - with the ceiling and the rooms below inspected as well as the wet room itself. Any repair is made to the membrane and re-tested. This is the last moment at which a fault is cheap: after this, every defect costs the tiling, the ware and the ceiling below. On most projects the test is witnessed and photographed, because it is the evidence that matters if the room ever leaks.
- 7
Step 7: Tile over the tanking without damaging it
Tiling goes on with adhesive and grout compatible with the membrane, using tiles and a format the falls can accommodate - large rigid formats do not follow a fall towards a centre gully, and mosaic or smaller formats are commonly used in the falling area for that reason and for slip resistance underfoot. Nothing is fixed through the tanking that was not already sealed, and no trade is allowed to drill the floor afterwards. Movement joints in the substrate are carried through the finish. Tile edges around the drain are cut to sit level with the grating so that water leaves rather than pools at the edge.
- 8
Step 8: Seal, commission and prove the drainage in use
Sanitary sealant closes the junctions between finishes after tiling and grouting, tooled continuous. The room is then run in service: the shower on for a sustained period with the floor watched for standing water, the trap checked for its seal, the grating lifted to prove the access for cleaning, and the surrounding floor and the ceiling below inspected again. The maintenance access to the trap is demonstrated at handover, because a wet room drain that cannot be cleaned will be blocked within a year and will then be tested by somebody else.
What are the benefits of Wet rooms & level-access showers?
- No step and no tray, so the room is accessible to wheelchairs, walking frames and anyone unsteady on their feet
- The entire floor drains, so an overflow or a splash goes to the drain rather than into the building
- Visually open and easy to clean, with no tray upstand and fewer corners to collect dirt
- Makes better use of small rooms, since the showering area does not need a fixed enclosure
- Adapts a bathroom for changing needs over time without rebuilding the room
- A properly tanked room protects the structure far better than a tiled room relying on grout
What are the limitations of Wet rooms & level-access showers?
- The waterproofing is invisible after tiling, so a workmanship defect is undetectable until it leaks
- Falls and level access pull against each other, and reconciling them is a design decision made before the slab is built
- The floor build-up must be planned early - retrofitting a recess or a drain into an existing floor is major work
- Failures concentrate at corners, junctions, thresholds and penetrations rather than in flat areas
- Steam and spray reach the whole room, so ventilation, finishes and adjacent joinery all have to cope
- Repair means removing the tiling, so a fault found after handover is expensive by definition
What is Wet rooms & level-access showers best suited for?
What plant does Wet rooms & level-access showers need?
- Levels, straightedges and a long spirit level for setting the drain and checking the falls across the whole floor
- Screeding and forming equipment, or preformed sloped formers and their cutting tools
- The waterproofing system's own application kit - rollers, trowels, tapes, corner pieces and collars
- Diamond core drills and holesaws for controlled penetrations, used before tanking rather than after
- Temporary drain plugs, hoses and a means of holding and releasing a flood test safely
- Tiling equipment suited to the format, with mixers, levelling systems and grouting tools
How is Wet rooms & level-access showers quality-checked?
- Floor build-up, drain type and position, and the extent of the tanked zones confirmed against the designer drawing before work starts
- Substrate checked sound, clean, dry and stiff enough, with timber floors overlaid and wet-area board used in the wet zone
- Falls checked with a straightedge across the whole floor for flat spots and back-falls before tanking
- Every corner, junction and penetration formed with the system's own tapes and collars, and the drain flange bonded into the membrane
- Flood or system test carried out, witnessed and photographed before any tiling, with the ceiling below inspected
- Drainage run in service after completion, with standing water checked, trap seal confirmed and grating access demonstrated