Overflow / deck-level pools
Water held flush with the deck and spilling continuously into a perimeter channel - the hotel look, and the version that punishes poor levelling.
Last updated 2026-09-05
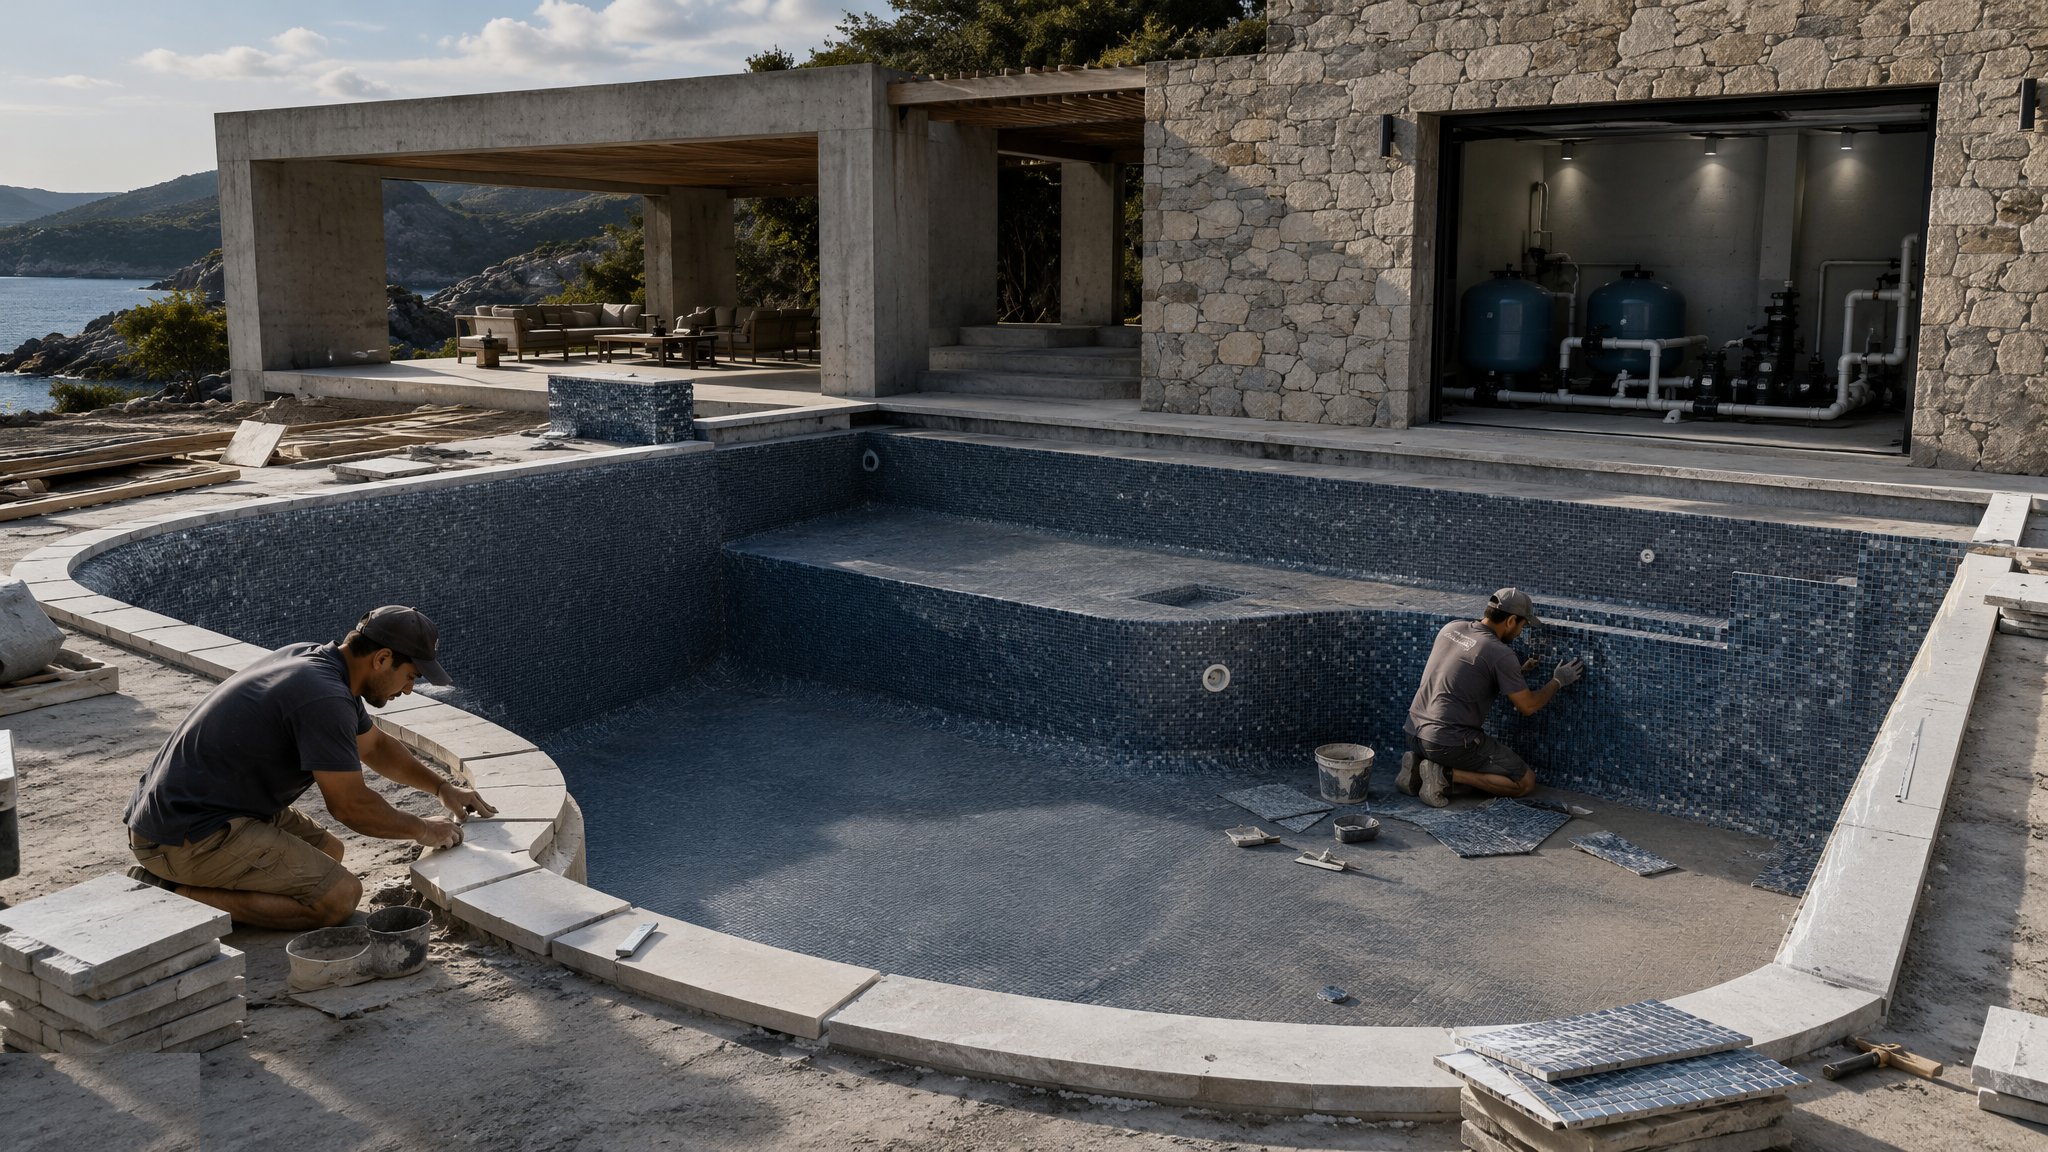
What is Overflow / deck-level pools?
An overflow or deck-level pool holds its water surface level with the surrounding deck, so the water runs off the edge all the way round into a channel formed just behind or beneath the coping. That channel drains to a balance tank, usually buried nearby, and the pump draws from the tank rather than from the pool itself. Filtered water returns through inlets in the floor or the walls, and the whole circuit runs continuously so that the pool is always spilling. The visual effect is what people are buying: no rim, no tide mark, and a sheet of water that reads as level with the terrace. It is also a better skimming arrangement in principle, because the surface is being taken off the entire perimeter rather than through a handful of boxes.
The balance tank is what makes it work, and it is the part the layout has to find room for. When bathers get in, the water they displace goes over the edge and into the tank; when they get out, the tank feeds it back. The tank also takes the make-up water and absorbs the level swing from evaporation and backwash. Its size is a design matter for the pool specialist, based on the pool surface area, the expected bather load and the plant arrangement, and it is not something to be guessed at on site. Around it sits more plant and more pipework than a skimmer pool needs, which is why the plant room for an overflow pool is a bigger room in a more awkward place, and why access into it needs thinking about before the terrace is laid over the top.
The precision is the real cost. Because the water is spilling over the whole perimeter, any deviation in the level of the channel lip shows up immediately as water running over one side and not the other. The tolerance the finish demands is tighter than ordinary landscaping work is used to, and it applies to the shell, the screed, the channel and the coping units together, not just to the last of them. Add the grating over the channel, which has to sit flush and stay flush, and the tolerance stack is unforgiving. On most projects the difference between a good overflow pool and a disappointing one is entirely down to whether the levels were surveyed properly at every stage or checked once at the end.
How does Overflow / deck-level pools work, step by step?
- 1
Step 1: Design the hydraulics and the balance tank as one thing
The pool specialist designs the overflow circuit as a system: the channel and its outlets, the pipework to the balance tank, the tank itself, the pump draw and the return arrangement. The tank has to hold the displacement volume, the operating swing and the make-up allowance without either running dry or flooding, and its position, depth and access are settled at the same time. The designer decides all of it. On most projects the tank ends up buried near the pool with a chamber over it, and its lid and access route have to survive the terrace being built on top.
- 2
Step 2: Excavate for the pool, the channel, the tank and the plant
An overflow pool digs a bigger hole than a skimmer pool because the channel, the tank and the extra pipework all need room. Groundwater is the same design issue and a larger one here, because there are now two buoyant empty structures in the ground, the tank as well as the shell. The designer establishes the water level and sets whatever hold-down, drainage or ballast measures are needed. Temporary works, dewatering and the effect on adjacent structures are handled as one sequence rather than pool first and tank later.
- 3
Step 3: Build the shell and form the perimeter channel
The shell is built by the chosen method with the channel formed as part of it, along with the wall and floor returns, the lights and the vacuum points. The channel is the piece that carries the tolerance, so its formwork or profile is set from a survey rather than from the top of the shell. Outlets from the channel are spaced so that water leaves it evenly all the way round; the designer sets how many and where. Nothing about the channel is easy to adjust once the shell has hardened, which is why it takes the survey time it does.
- 4
Step 4: Build the balance tank and run the pipework
The tank is built and waterproofed to the same standard as the pool, because it is a water-retaining structure with the same consequences if it leaks, and it is usually less accessible. Overflow lines from the channel, the draw to the pump, the return lines and the make-up feed are all installed, supported and protected. All of it is pressure tested and held before backfill, and the tank itself is water tested. The as-built route of every buried line is recorded, because on an overflow pool there is a lot of it and it all sits under finished terrace.
- 5
Step 5: Waterproof and prove both structures hold water
The shell and the tank are tanked or rendered as the specification requires, then both are filled, marked and watched before any finishes go on. Evaporation is allowed for by comparison against a separate marked vessel. Only when both tests are accepted does the finishing sequence begin. Testing the pool and not the tank is a common shortcut and a poor one, because a leaking balance tank shows up as a pool that mysteriously needs topping up and takes weeks to trace.
- 6
Step 6: Screed, tile and set the channel lip dead level
Screeds bring the shell to profile and the tiling starts, but the governing item is the channel lip and the coping units that form it. They are set to a level surveyed round the perimeter and re-checked as the work proceeds, not signed off at the end. Grating is fitted so that it sits flush and is supported along its length. Tile setting out runs from the lip because that is the line the eye follows. Where the level drifts, the water will find it, and the only remedy is taking the coping up again.
- 7
Step 7: Fit out the plant room
The plant room for an overflow pool holds more than a skimmer pool needs - the pump drawing from the tank, the filter, the level control and make-up arrangement, the valves, the electrical panel, any heating, and the dosing and monitoring equipment. It needs working space, ventilation, drainage, power and a route to change a filter vessel years from now. The pool specialist designs, installs and commissions the treatment plant and sets up the monitoring; the dosing equipment is theirs to prove and demonstrate.
- 8
Step 8: Commission the overflow, then hand over
Commissioning is where an overflow pool either works or does not. The pool is filled to spilling, flow is balanced so that the water leaves evenly all the way round, the tank level control and make-up are set and proved through a full cycle including backwash, and the whole circuit is run under load. Any unevenness in the spill is traced to level or to flow before the scaffolding leaves. The specialist sets and demonstrates the treatment regime, and handover covers the operating and maintenance information, the as-built layout of tank and pipework, the commissioning records and a walk round the plant room.
What are the benefits of Overflow / deck-level pools?
- The flush water surface people want, with no rim and no tile band above the water line
- Skimming happens around the whole perimeter rather than at a few points, so surface debris clears more evenly
- No tide mark to scrub, because the water line and the deck are the same line
- The balance tank absorbs bather displacement, so the pool surface stays visually constant in use
- Suits large or irregularly shaped pools where skimmer positions would leave dead water
- Level control and make-up can be automated through the tank, reducing hands-on topping up
What are the limitations of Overflow / deck-level pools?
- Demands a level tolerance around the perimeter that ordinary landscaping workmanship will not achieve
- Needs a balance tank, which costs money, takes buried space and is another water-retaining structure to build and test
- Bigger plant room, more pipework and more valves, so higher capital cost and a longer commissioning list
- Water is spilling continuously, so the plant runs harder and the running cost is higher
- The channel and its grating need regular cleaning and can be awkward to reach
- More buried items under finished terrace, so a fault found later is expensive to reach
What is Overflow / deck-level pools best suited for?
What plant does Overflow / deck-level pools need?
- Excavator and dumper for the pool, the channel line, the balance tank and the plant room
- Dewatering equipment and temporary works support to the designer's requirements
- Shell plant to suit the chosen method, plus formwork or profiles for the perimeter channel
- Precise levelling equipment - rotating laser or level and staff - used repeatedly around the perimeter
- Pipework and pressure testing equipment, with gauges and records
- Screeding and tiling tools, and lifting gear for coping and grating units
- Plant room equipment - pump, filter, level control, valves, panel, heating and the dosing and monitoring package
How is Overflow / deck-level pools quality-checked?
- Balance tank sizing, position and access agreed with the pool specialist before excavation starts
- Groundwater and buoyancy measures for both the shell and the tank confirmed by the designer
- Perimeter channel level surveyed at shell stage, at screed stage and again at coping stage
- All buried pipework pressure tested and held, and the result recorded before backfill
- Water-tightness tests accepted on both the pool shell and the balance tank before finishes start
- Coping and grating set flush and supported, with the level re-checked after fixing
- Spill checked to be even around the full perimeter during commissioning, with flow adjusted until it is
- Tank level control and make-up proved through a full operating cycle including backwash
- As-built layout of tank and buried pipework issued at handover with the commissioning records