Skimmer pools
Water sitting below the coping, drawn off the surface through skimmer units - the simplest arrangement and the one most private pools use.
Last updated 2026-09-05
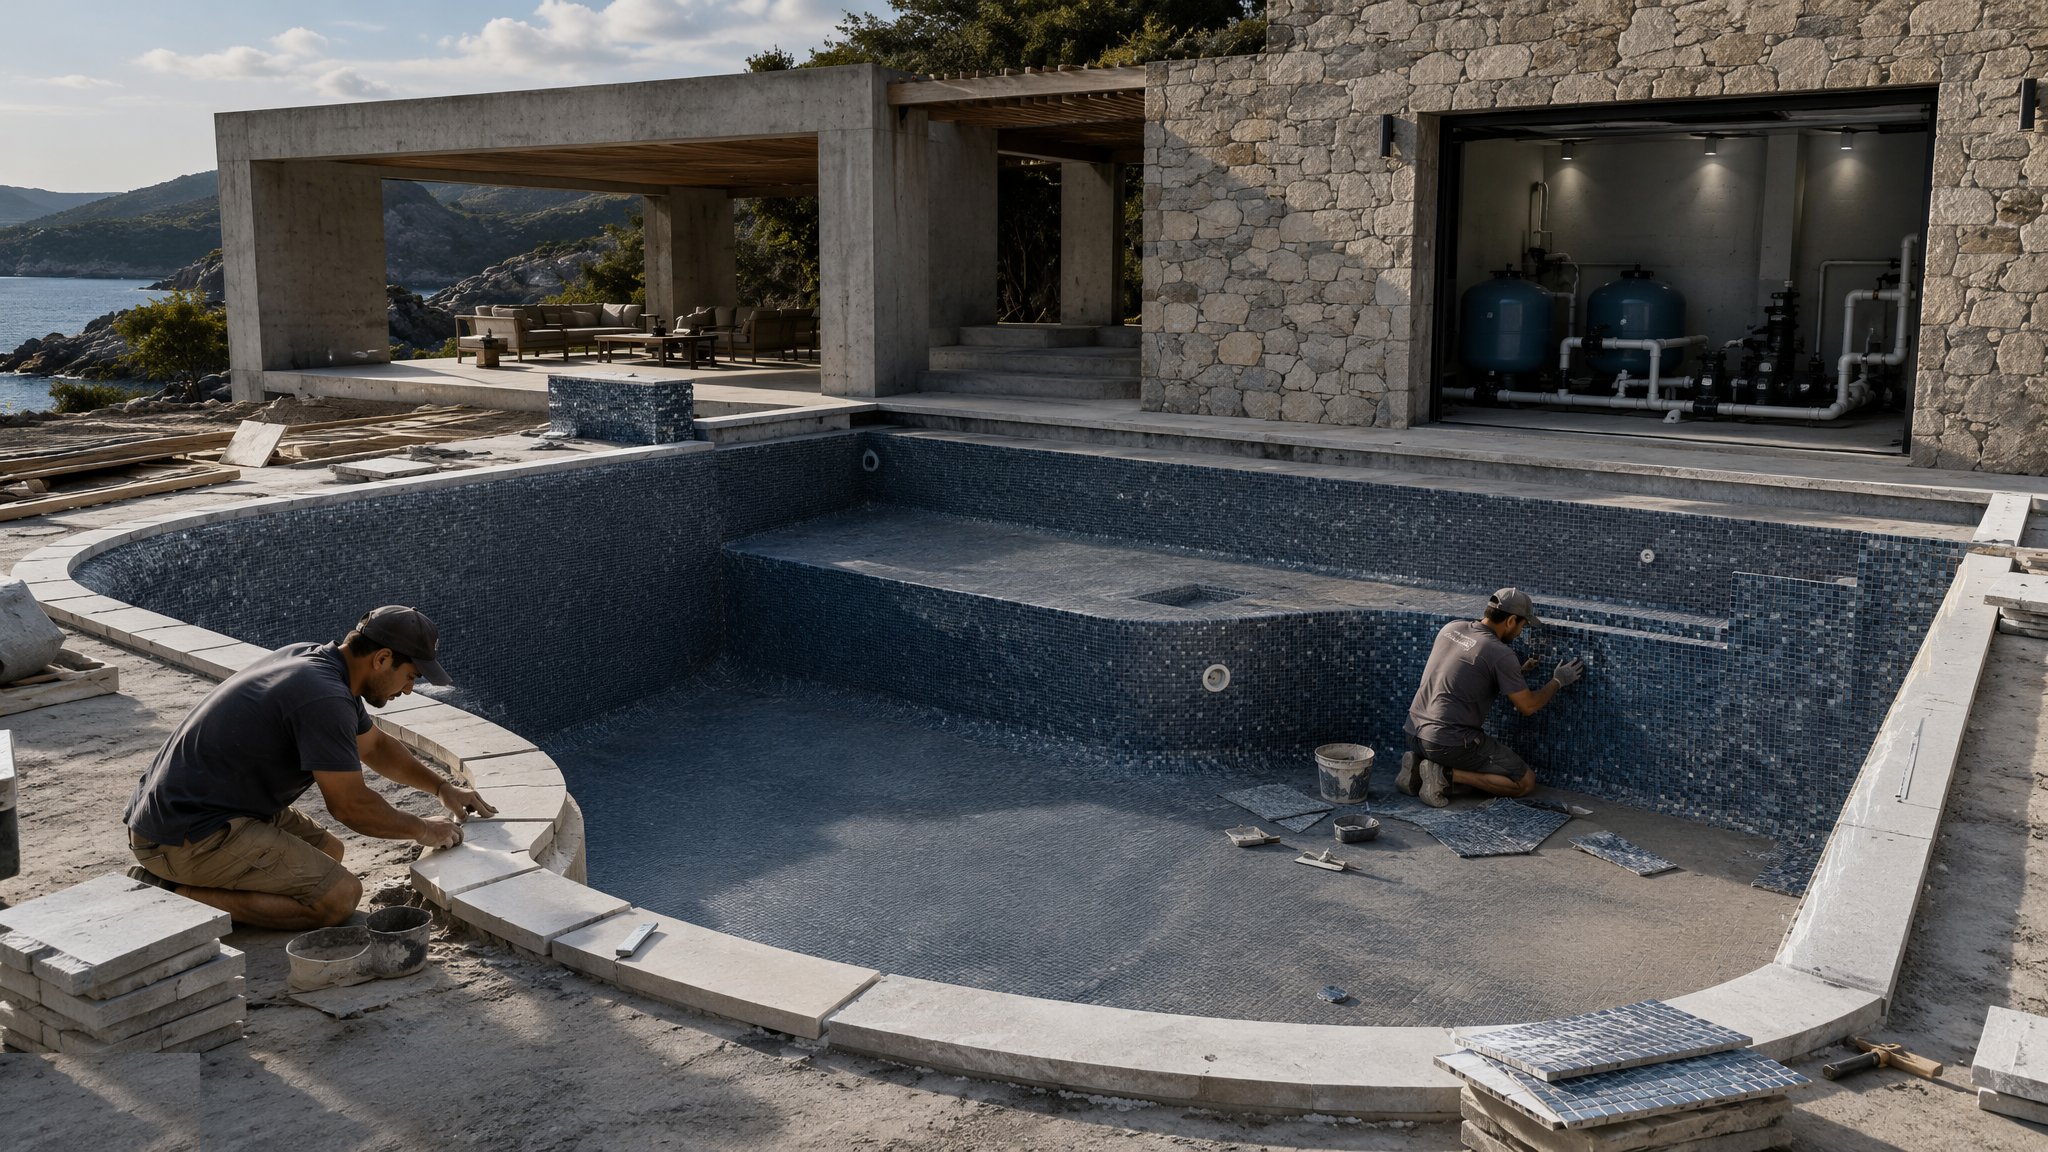
What is Skimmer pools?
A skimmer pool holds its water level a short distance below the top of the coping, commonly somewhere in the region of 100 to 150 mm down, and takes the dirty surface layer off through skimmer units built into the wall at that level. Each skimmer is a box with a floating weir flap, a basket to catch leaves and hair, and a connection back to the plant room. As the pump runs it pulls water through the weir, so the top film of the pool - which is where the leaves, the sun oils and the dust sit - is the water that gets taken away and filtered. Water is also drawn from outlets in the floor of the shell, and returns to the pool through inlets set in the walls. On most projects that combination of surface draw and floor draw is what keeps the body of water turning over rather than sitting still in the corners.
The arrangement is the default for private pools because it is the least demanding thing to build. There is no perimeter channel to form, no balance tank to find room for, and no requirement to hold the coping dead level all the way round, because the water surface is not being asked to line up with anything. The visible detail is a coping edge with a band of tile or render above the water line, and that band moves as the level moves. Skimmer units, floor outlets and returns are all built into the shell before it is finished, so their positions are fixed early and the pipework runs are buried under the deck. The pool specialist and the designer set out where those items go and how many there are; the arrangement follows the shape and size of the pool, the prevailing wind direction and where the plant room sits.
The trade-off is visual and practical rather than technical. The pool reads as a tank of water with a rim above it rather than as a sheet of water flush with the terrace, and the tile band above the water line collects a tide mark that has to be cleaned. Against that, the level is allowed to wander a little with evaporation, rain and bathers getting in and out, and a skimmer pool tolerates that without anything going wrong. It also has less to go wrong overall - fewer buried items, less pipework, a smaller plant room and a shorter commissioning list. On a domestic project where budget, buildability and maintenance matter more than the flush-edge look, it is usually the right answer, and it is the arrangement most pool builders and most service engineers know best.
How does Skimmer pools work, step by step?
- 1
Step 1: Set the water line and design around it
Everything in a skimmer pool is referenced to the working water level, so that level is fixed first. The designer sets it below the coping by enough for the skimmer weirs to work through the range the pool will actually see, then the coping level, the deck falls, the tile band and the skimmer throat positions are all set from it. Deck falls run away from the pool so that surface water off the terrace does not wash into it. Getting this wrong is expensive later: a water line set too high floods the skimmer throats when the pool is full after rain, and one set too low leaves the weirs sucking air.
- 2
Step 2: Excavate, and deal with the ground and the water in it
An empty pool shell is a large buoyant box sitting in the ground, and groundwater is the design issue that decides more about a pool than the finishes do. The ground investigation and the designer establish the water level, the soil and whether the shell needs to be held down, drained around or both. Excavation is battered or supported as the temporary works design requires, the formation is trimmed and proved, and any dewatering runs for as long as the works need it. Surrounding structures, boundary walls and buried services all get checked for what the excavation does to them.
- 3
Step 3: Build the shell with the wet-side items cast in
The shell goes up by whichever method the project has chosen - sprayed concrete over a reinforcement cage, cast in situ reinforced concrete, or a blockwork or panel system. Whatever the method, the skimmer bodies, floor outlets, wall returns, lights and any suction or vacuum points are fixed in position and cast or built in before the shell is closed. These are the items nobody can move afterwards. Their setting out is checked against the water line and against the finished tile or render thickness, because a skimmer throat that ends up a few millimetres out reads as a permanently wrong water level for the life of the pool.
- 4
Step 4: Run and test the buried pipework
Skimmer lines, floor outlet lines and return lines run from the shell to the plant room, and almost all of that pipework ends up under a deck or a structure that cannot be lifted without wrecking the finishes. It is supported, bedded and protected as it is laid, and then pressure tested and held under test before anything is backfilled over it. That test is a hold point on most projects. Backfilling over untested pipework is the single most common way a new pool ends up being dug up in its first season.
- 5
Step 5: Waterproof, then prove the shell holds water
The shell is tanked or rendered with the waterproofing system the specification calls for, and then the pool is filled, the level marked and watched. The water-tightness test comes before the finishes, not after, because the whole point is to find a leak while it is still cheap to reach. Allowance is made for evaporation, and on most projects a separate marked vessel of water sitting beside the pool gives the comparison. Only when the test is accepted does tiling or lining start.
- 6
Step 6: Finish the wet side and the coping
Screeds are laid to bring the shell to the profile the finish needs, then the tile, mosaic or render finish goes on. Setting out is done from the water line and the coping outwards, because the tile courses at the water line are the ones every visitor looks at. Skimmer faceplates, return eyeballs, light housings and the coping are all worked into the tile setting out rather than being cut around afterwards. Falls in the pool floor run to the low point where the floor outlets sit.
- 7
Step 7: Fit out the plant room
The plant room holds the pump, the filter, the pipework and valves, the electrical panel, any heating, and the dosing and monitoring equipment. It needs space to work in, ventilation, drainage, a power supply and access to get a filter vessel in and out in ten years time. On most private projects it is under a terrace or in a garden building, and the space allowed for it is the thing the layout squeezes first and regrets later. The pool specialist designs the plant to suit the pool and commissions it; the dosing and monitoring equipment is theirs to set up and prove.
- 8
Step 8: Commission, balance and hand over
Commissioning fills the pool, runs the plant, balances flow across the skimmers and returns so that the whole surface is being drawn evenly, checks the filter and its backwash arrangement, and puts the automatic controls into service. The specialist sets and demonstrates the water treatment regime and records the settings. Handover covers the operating and maintenance information, the as-built pipework layout, the commissioning records and a walk round the plant room with whoever will be looking after it. A pool handed over without that walk round is a pool that will be run badly.
What are the benefits of Skimmer pools?
- The simplest and cheapest of the common arrangements to build, with the fewest buried items
- No perimeter channel and no balance tank, so the plant room and the space around the pool stay smaller
- Tolerant of the water level moving with evaporation, rain and bathers, which suits a pool used intermittently
- Coping and deck do not have to be held to the tight levels a flush edge demands
- Well understood by builders and service engineers, so maintenance and spares are straightforward
- Fewer components in the water circuit means a shorter commissioning list and fewer things to fail
What are the limitations of Skimmer pools?
- The water sits below the coping, so the flush sheet-of-water look is not available
- The tile band above the water line collects a tide mark that needs regular cleaning
- Surface skimming is localised to the skimmer positions, so wind direction and pool shape can leave dead corners
- Skimmer throats are sensitive to the water level - too high or too low and the weirs stop working properly
- Baskets need emptying by hand, which is a routine the owner has to actually do
- Skimmer bodies are cast into the shell, so a mistake in their position is effectively permanent
What is Skimmer pools best suited for?
What plant does Skimmer pools need?
- Excavator and dumper for the dig, with support or battering to the temporary works design
- Dewatering pumps, sumps or wellpoints where groundwater is present
- Shell plant appropriate to the method chosen - spray rig and compressor, or concrete pump, or blockwork gear
- Pipework tools with pressure testing equipment and gauges
- Levels, laser and setting-out gear referenced to the fixed water line
- Tiling and screeding tools, and lifting gear for coping units
- Plant room equipment - pump, filter, valves, control panel, heating and the dosing and monitoring package
How is Skimmer pools quality-checked?
- Formation proved and groundwater and buoyancy measures agreed with the designer before the shell is built
- Skimmer, outlet, return and light positions surveyed against the fixed water line before the shell is closed
- Buried pipework pressure tested and held, and the result signed off before any backfill goes over it
- Water-tightness test on the filled shell accepted before finishes start, with evaporation allowed for
- Tile and coping setting out checked against the water line, with cuts planned rather than discovered
- Deck falls checked to run away from the pool, not into it
- Plant commissioned by the specialist with flow balanced across skimmers and returns and the records issued
- Operating and maintenance information, as-built pipework layout and a plant room handover walk round completed
More private swimming pool construction methods
Next method
Overflow / deck-level pools