Geosynthetic-reinforced trackbed
Geogrids and geotextiles that separate and reinforce, so a thinner layer does the work of a thick one.
Last updated 2026-09-05
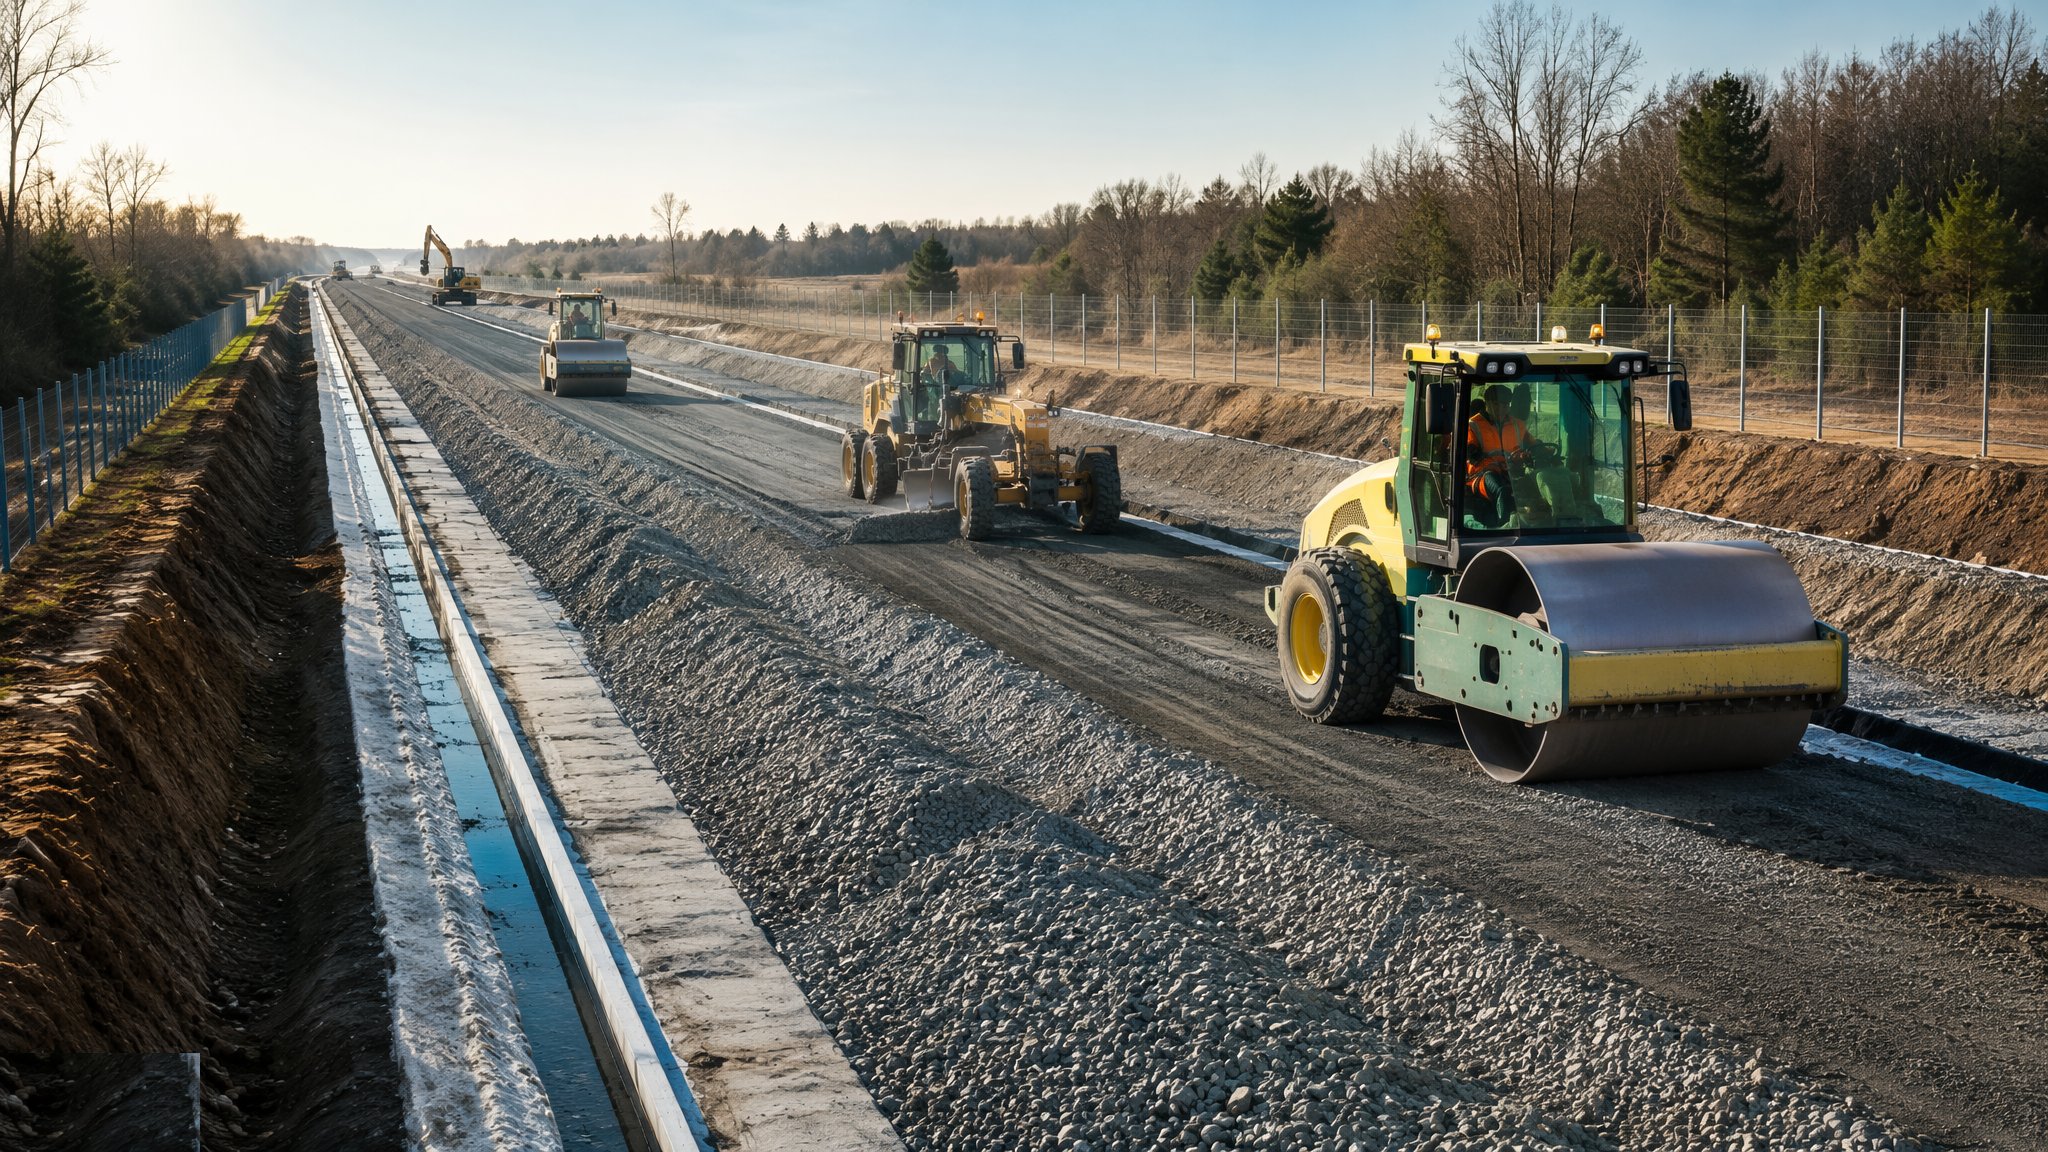
What is Geosynthetic-reinforced trackbed?
A geosynthetic-reinforced trackbed uses manufactured sheet and grid materials to make a granular layer perform better than its thickness alone would allow. Two quite different functions are involved and they are often confused. A geotextile separates: laid between a fine subgrade and a coarse granular layer, it stops the two intermixing, so the stone does not sink into the soil and the soil does not migrate up into the stone. A geogrid reinforces: its apertures are sized so that granular particles push into them and lock, and the resulting interlocked block resists the sideways spreading that would otherwise let the layer rut. Many trackbeds use both, sometimes as a single composite product.
The reason the technique matters on the railway is geometrical rather than structural. Vertical room under the track is the scarcest commodity in renewal work. Raising the rail means checking clearances under every overbridge and at every platform, and lowering the formation means excavating and removing more material in a possession that is already too short. A reinforced trackbed offers a way out, because a reinforced granular layer can deliver the performance the designer needs at a reduced thickness compared with an unreinforced one. Where the site cannot give up another 200 mm of depth, that difference decides the scheme.
The gains are real but conditional. Interlock only happens if the granular material and the grid aperture suit each other, so the choice of stone and the choice of grid are one decision, not two. The geosynthetic has to be laid flat, lapped correctly and not damaged by tracking plant or by a bucket tooth, because a torn or folded sheet does nothing. Installation quality therefore governs the outcome more than in almost any other trackbed technique, and the specification usually sets out how the material is unrolled, overlapped, joined and protected. The designer decides where reinforcement earns its place and where a simple thicker layer would be cheaper and more robust. On most projects the honest answer is that geosynthetics are worth their cost where depth is constrained, where the subgrade is soft and variable, or where separation is the real problem and reinforcement is a bonus.
How does Geosynthetic-reinforced trackbed work, step by step?
- 1
Step 1: Establish what problem the geosynthetic is solving
The first question is which function is wanted. If fine subgrade material is working its way up into the ballast and fouling it, separation is the problem and a filtering geotextile addresses it. If the layer is rutting and spreading under load, reinforcement is the problem and a geogrid addresses it. If both are happening, and on old formations they usually are, a combination or a composite is specified. Getting this wrong produces a trackbed with an expensive product in it that does not do the job the ground actually needs.
- 2
Step 2: Match the grid, the geotextile and the stone together
A geogrid works by letting granular particles penetrate its apertures and lock in place. That only happens when the aperture size and the particle size suit one another, so the grid and the fill are selected as a pair. A separation geotextile is chosen against the fines it has to hold back and the water it has to let through, since a fabric that filters too tightly blocks and a fabric that filters too loosely lets the soil through. The designer makes these selections against the ground investigation and the specification, and substitutions on site are not a like-for-like matter.
- 3
Step 3: Prepare a formation the material can be laid on
Geosynthetics are laid on a trimmed, even surface. Ruts, stones standing proud, timber, old sleeper ends and anything sharp are removed, because the material is at its most vulnerable before it is covered. The formation is graded to a fall so that water runs off rather than sits at the interface. Soft spots are dealt with first, since a geosynthetic bridges minor variations but does not repair a genuinely inadequate subgrade.
- 4
Step 4: Roll out, lap and secure
Rolls are laid out in the direction the specification sets, kept flat and free of creases, and overlapped or joined by the stated method. Laps are usually wider on softer ground because deformation pulls at the joints. The material is pinned or weighted so that wind does not lift it and so that the first load of stone does not drag it out of position. Edges are turned up or terminated as the design requires. A sheet that has been dragged, folded or torn is repaired or replaced rather than covered over, because nobody will ever see it again once the stone is on.
- 5
Step 5: Place the first layer without driving on the material
The first lift of granular fill is end-tipped and pushed forward over the geosynthetic so that plant always runs on stone and never directly on the sheet or grid. That first layer is thick enough to carry the machine without rutting through to the material below. Turning and braking on a thin first lift is what damages geosynthetics most often, so plant movements are planned rather than left to the driver. The layer is then spread evenly and compacted.
- 6
Step 6: Build up in layers and let the interlock develop
Subsequent layers are placed and compacted in the ordinary way. Compaction is what forces particles into the grid apertures and creates the interlock the design relies on, so it is not a step to be rushed at the end of a possession. Densities are checked layer by layer. Where a composite or multiple grid layers are specified, each is laid at the level the design shows, since the position of the reinforcement within the layer is part of the design rather than a matter of convenience.
- 7
Step 7: Build drainage and finish the trackbed
Drainage runs, cess drains and outfalls are installed as part of the same operation. A separation layer stops fines migrating but it does not remove water, and a reinforced trackbed sitting in standing water fails for the same reason an unreinforced one does. Sub-ballast, ballast and track are then reinstated, and the section is brought to a condition fit for traffic within the possession. Survey control runs from setting out through to the as-built record.
- 8
Step 8: Record what was installed and where
The as-built record states the product, the levels it was laid at, the lap details and where each run started and stopped. This matters more than usual, because a future engineer excavating the same trackbed needs to know that reinforcement is present before a bucket goes through it. Photographs taken before covering are the cheapest form of evidence available, and on most projects they become the record that settles later questions.
What are the benefits of Geosynthetic-reinforced trackbed?
- Allows a reduced granular thickness compared with an unreinforced layer, which is decisive where depth is constrained
- Separation stops fines migrating up into the ballast, extending the life of the trackbed
- Reduces the excavation and disposal volume in a possession, so more track can be treated per shift
- Copes well with soft and variable subgrades that would otherwise need heavy over-excavation
- Installed with ordinary earthworks plant, with no specialist rig required
- Lower import and export volumes mean fewer vehicle movements and less embodied carbon per metre of track
What are the limitations of Geosynthetic-reinforced trackbed?
- Performance depends entirely on installation quality, and damage is invisible once the stone is on
- Grid aperture and particle size have to suit one another, so the fill cannot be substituted freely
- Adds a material cost that is only justified where depth, subgrade or separation genuinely demand it
- Does not remove water, so drainage still governs the life of the trackbed
- Future excavation of the same trackbed is complicated by buried geosynthetic layers
- Cannot rescue a subgrade that is simply too weak, where over-excavation or a different technique is needed
What is Geosynthetic-reinforced trackbed best suited for?
What plant does Geosynthetic-reinforced trackbed need?
- Excavators with grading buckets for trimming the formation and handling rolls
- Dumpers end-tipping onto the laid material, with a dozer pushing the first lift forward
- Dozers and graders for spreading and trimming subsequent layers
- Vibrating rollers matched to the layer thickness, with hand compactors at edges and around drainage
- Pins, staples and weights for holding rolls in position before covering
- Survey instruments and layer testing equipment for level, cross-fall and compaction control
How is Geosynthetic-reinforced trackbed quality-checked?
- Product identity and specification checked on delivery against what the designer selected
- Formation trimmed and cleared of anything sharp before any material is unrolled
- Laps, joints and orientation inspected and recorded before the first lift covers them
- Plant kept off the bare geosynthetic, with the first lift thickness set to protect it
- Compaction verified layer by layer, since interlock develops through compaction
- Photographic and dimensional as-built record of every run installed, for future excavation safety