Top-down construction
Cast the ground floor first, then dig the basement underneath it.
Last updated 2026-08-22
What is Top-down construction?
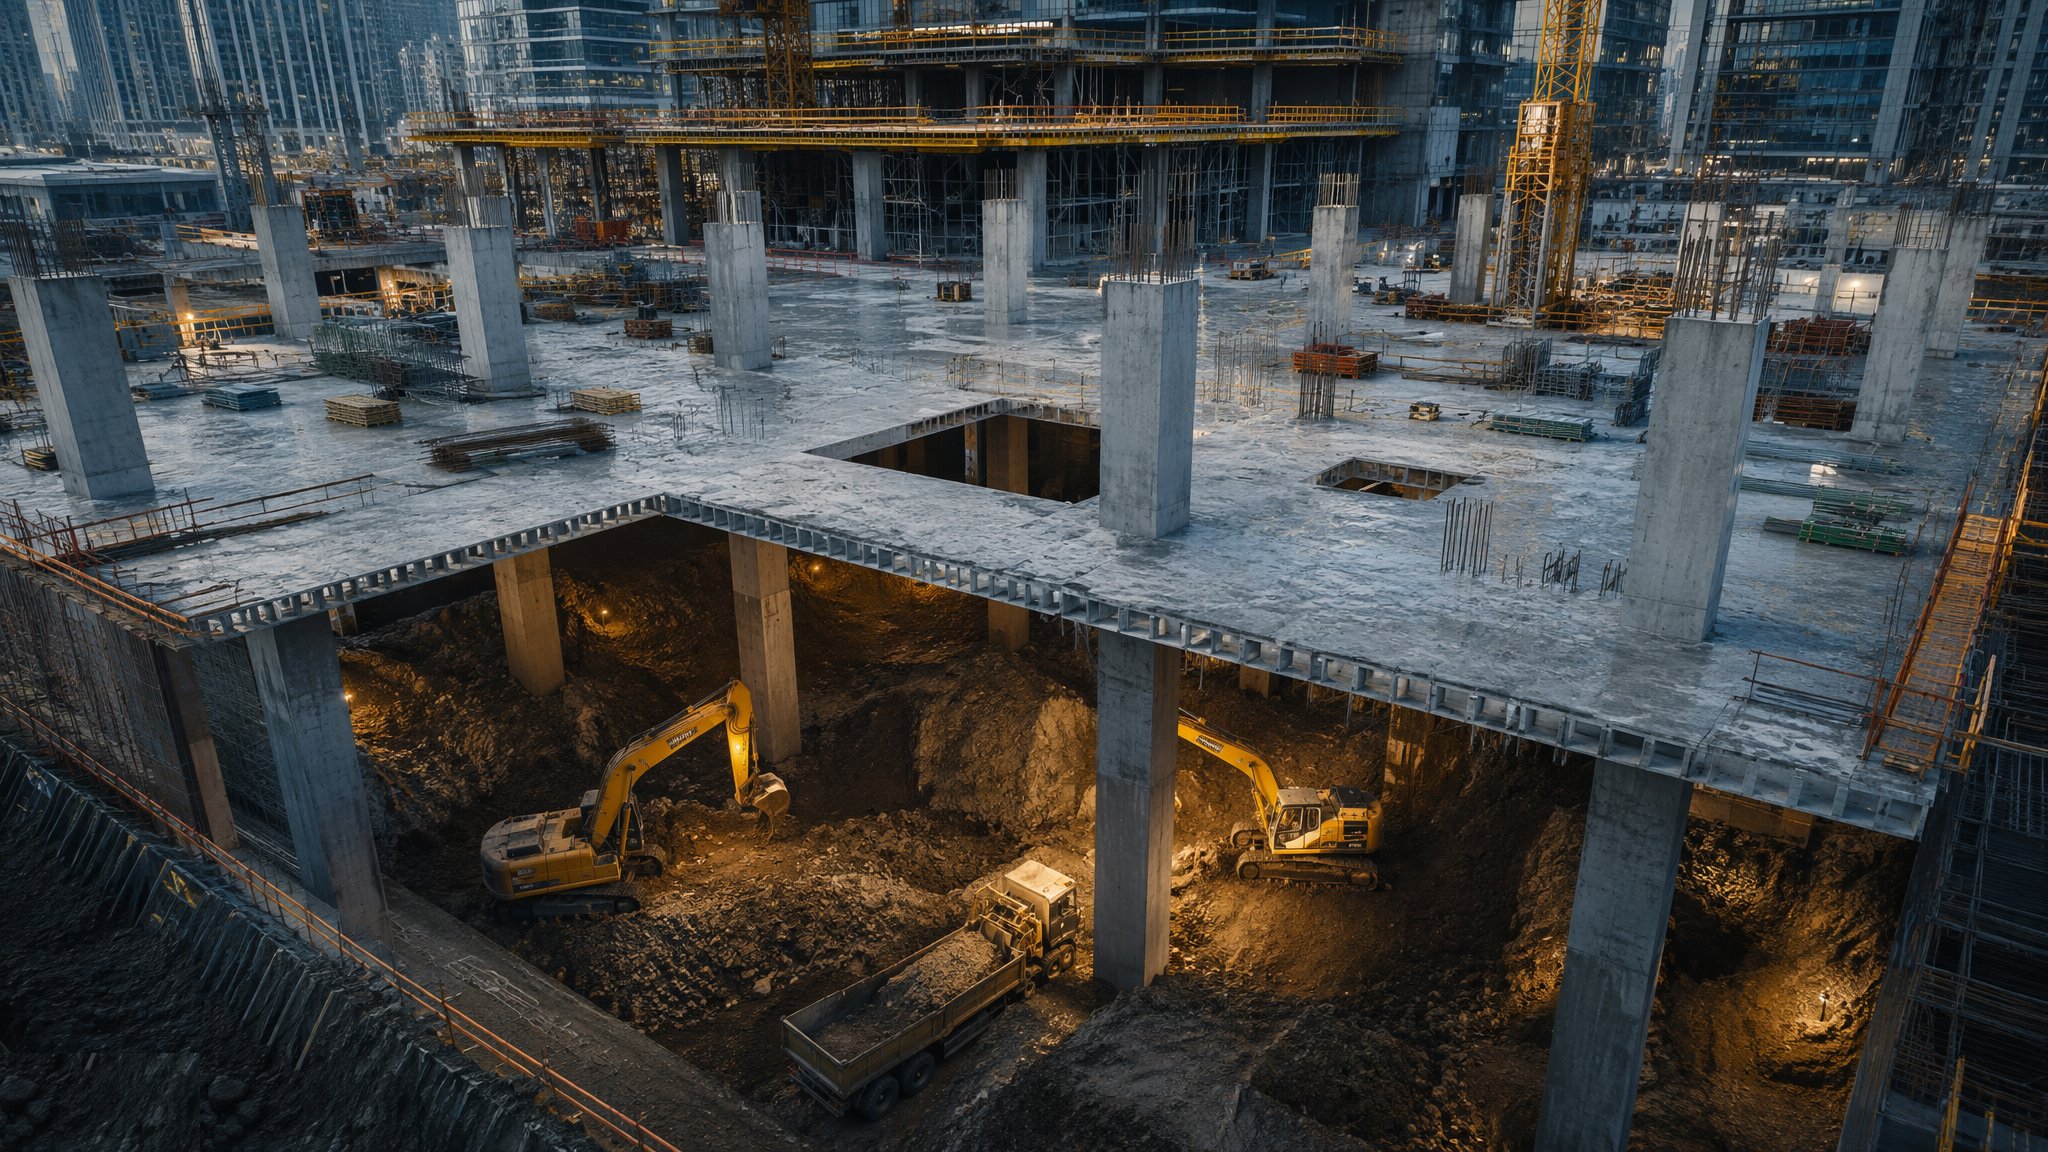
Top-down construction inverts the basement sequence. The perimeter retaining wall and a grid of plunge columns - steel columns staked into deep bored piles - are installed from ground level first. The ground floor slab is then cast at surface level, with openings left for excavation, and it becomes the top prop of the retaining wall. Excavation proceeds underneath the slab through the openings, and each basement level slab is cast in turn as the dig descends - every slab propping the wall as it goes. At the end, the lowest base slab closes the box.
The method buys three things nothing else does at scale. First, stiffness: the permanent slabs prop the wall from day one, so ground movements beside sensitive neighbours - live railways, listed buildings, deep services - are a fraction of a bottom-up dig's. Second, programme: the superstructure can start above the ground floor slab while the basement digs below it, compressing months out of a city-centre job. Third, safety of sequence: no forest of temporary steel props and no open unpropped faces - the permanent structure is the temporary works.
The cost is complexity everywhere. Plunge columns must be installed to severe verticality tolerances at full pile depth, because they are the building's columns forever. Excavation happens in the dark under a slab, by conveyor or crane through openings, at a fraction of open-dig productivity. Waterproofing joints between slabs cast at different times are engineered details with waterbars and injection hoses, not afterthoughts. Top-down earns its premium on constrained, sensitive, programme-critical city sites - anywhere else, dig the hole first.
Process storyboard
Step 1 of 6 - slide through the snapshots.
STEP 1
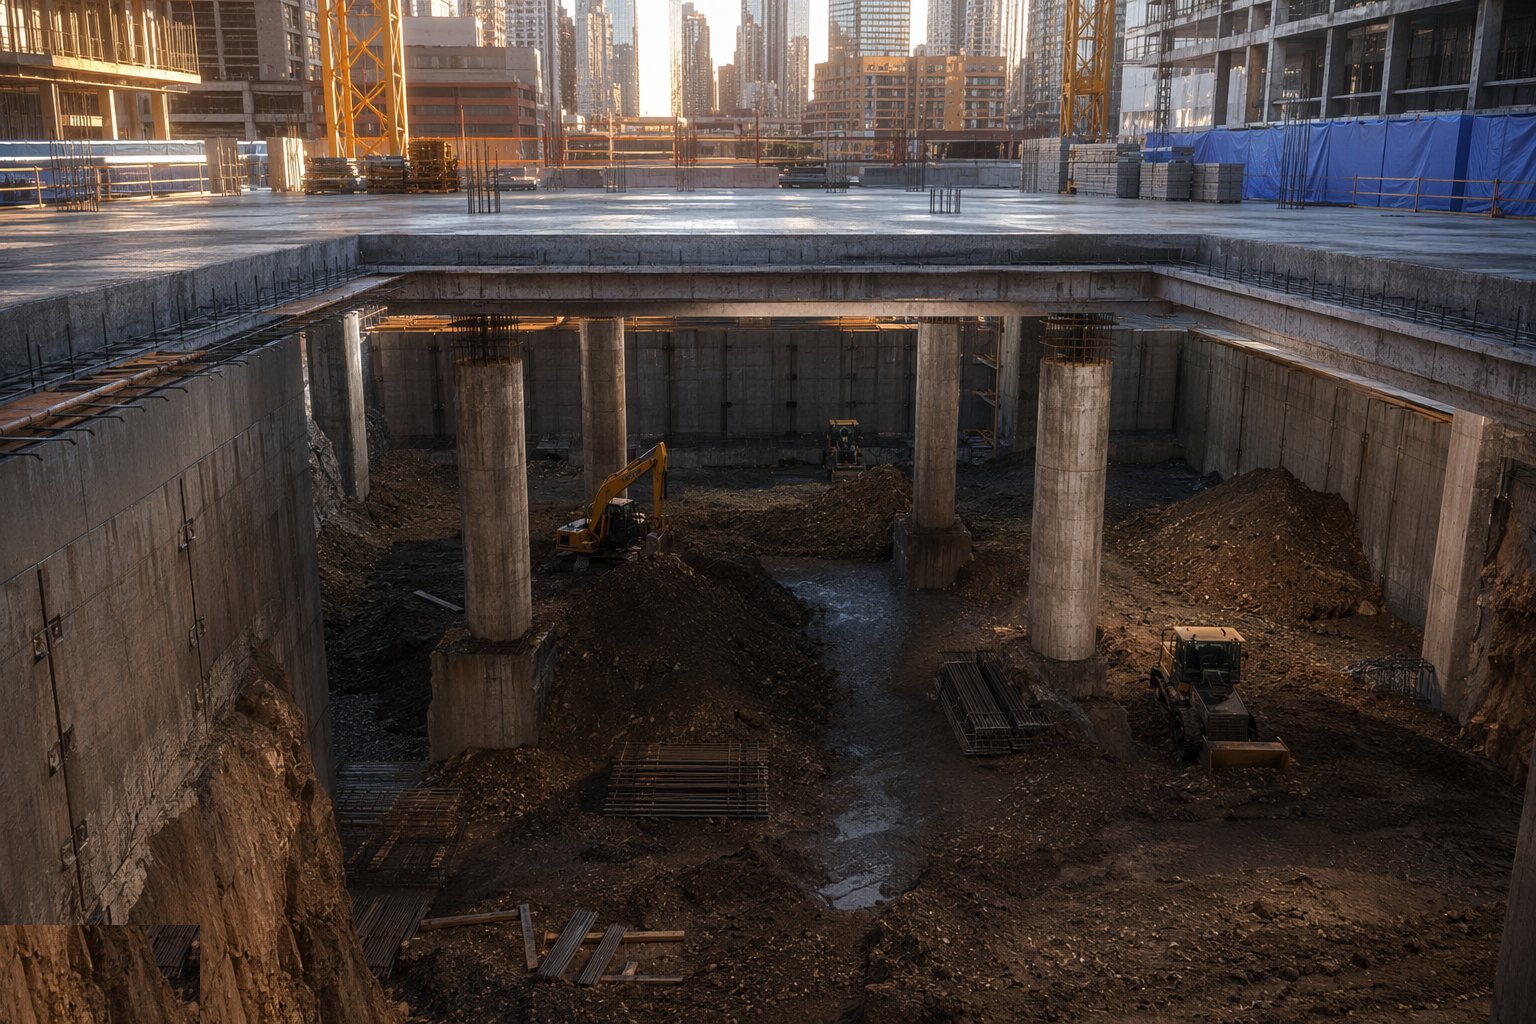
Install the retaining wall and plunge columns
The perimeter wall - secant, contiguous or diaphragm - is built from the surface with permanent-wall tolerances.
How does Top-down construction work, step by step?
- 1
Step 1: Install the retaining wall and plunge columns
The perimeter wall - secant, contiguous or diaphragm - is built from the surface with permanent-wall tolerances. Deep bored piles are constructed at the column grid, and steel plunge columns are lowered and set into the fresh concrete to a verticality tolerance of the order of 1 in 400 or better, verified by instrumentation down the bore - these columns carry the building until the base slab, and remain in it after.
- 2
Step 2: Cast the ground floor slab with its openings
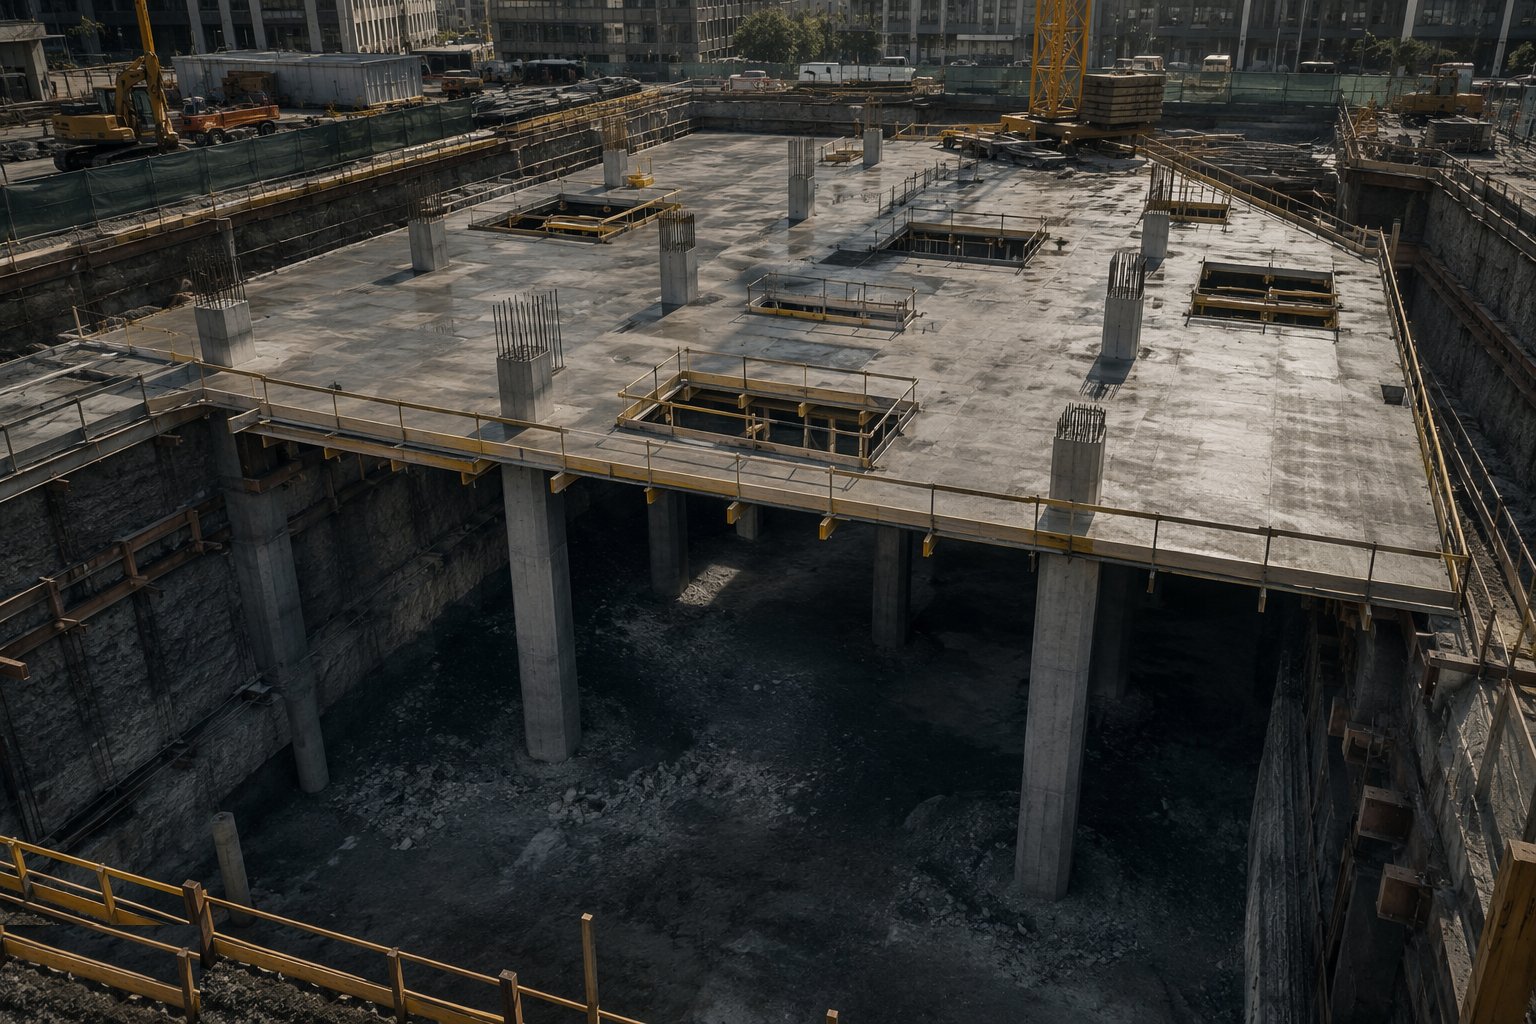
The ground floor slab is poured at surface level, connected to the wall and bearing on the plunge columns, with the excavation openings and muck-away arrangements cast in. Once cured, it is the wall's first prop and the site's working roof.
- 3
Step 3: Excavate underneath through the openings
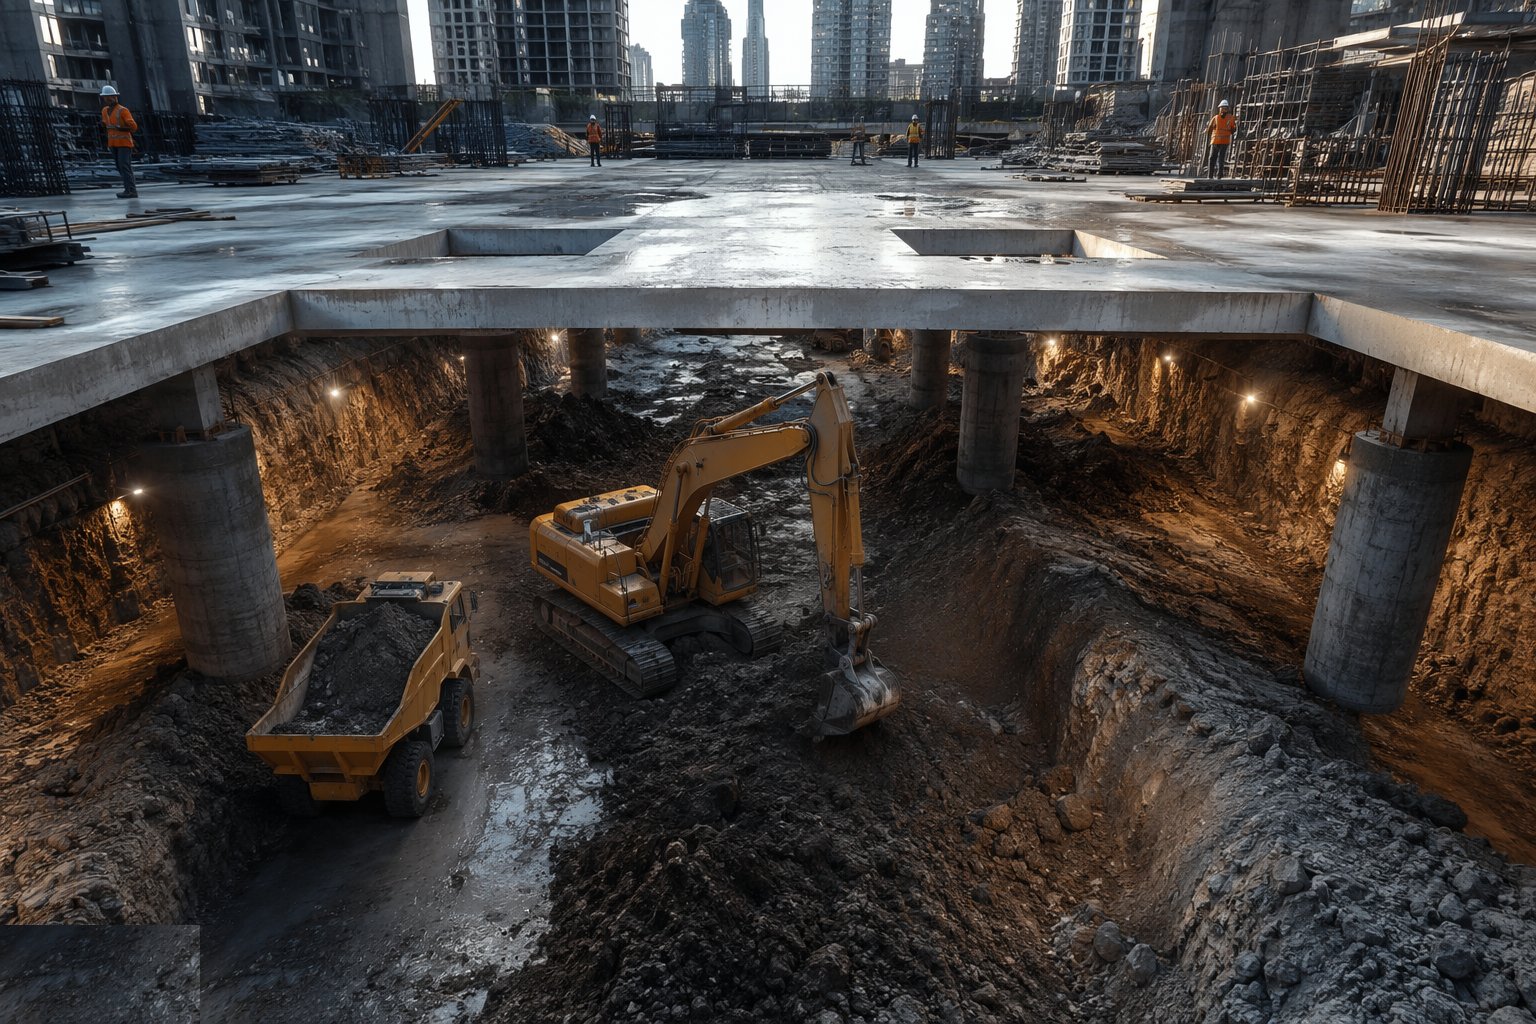
The dig proceeds in the dark below the slab: long-reach machines, conveyors or crane skips through the openings remove spoil to the surface. Ventilation, lighting and pumping are installed from day one. Movement monitoring on the wall and neighbours runs continuously - the justification for the whole method is written in those readings.
- 4
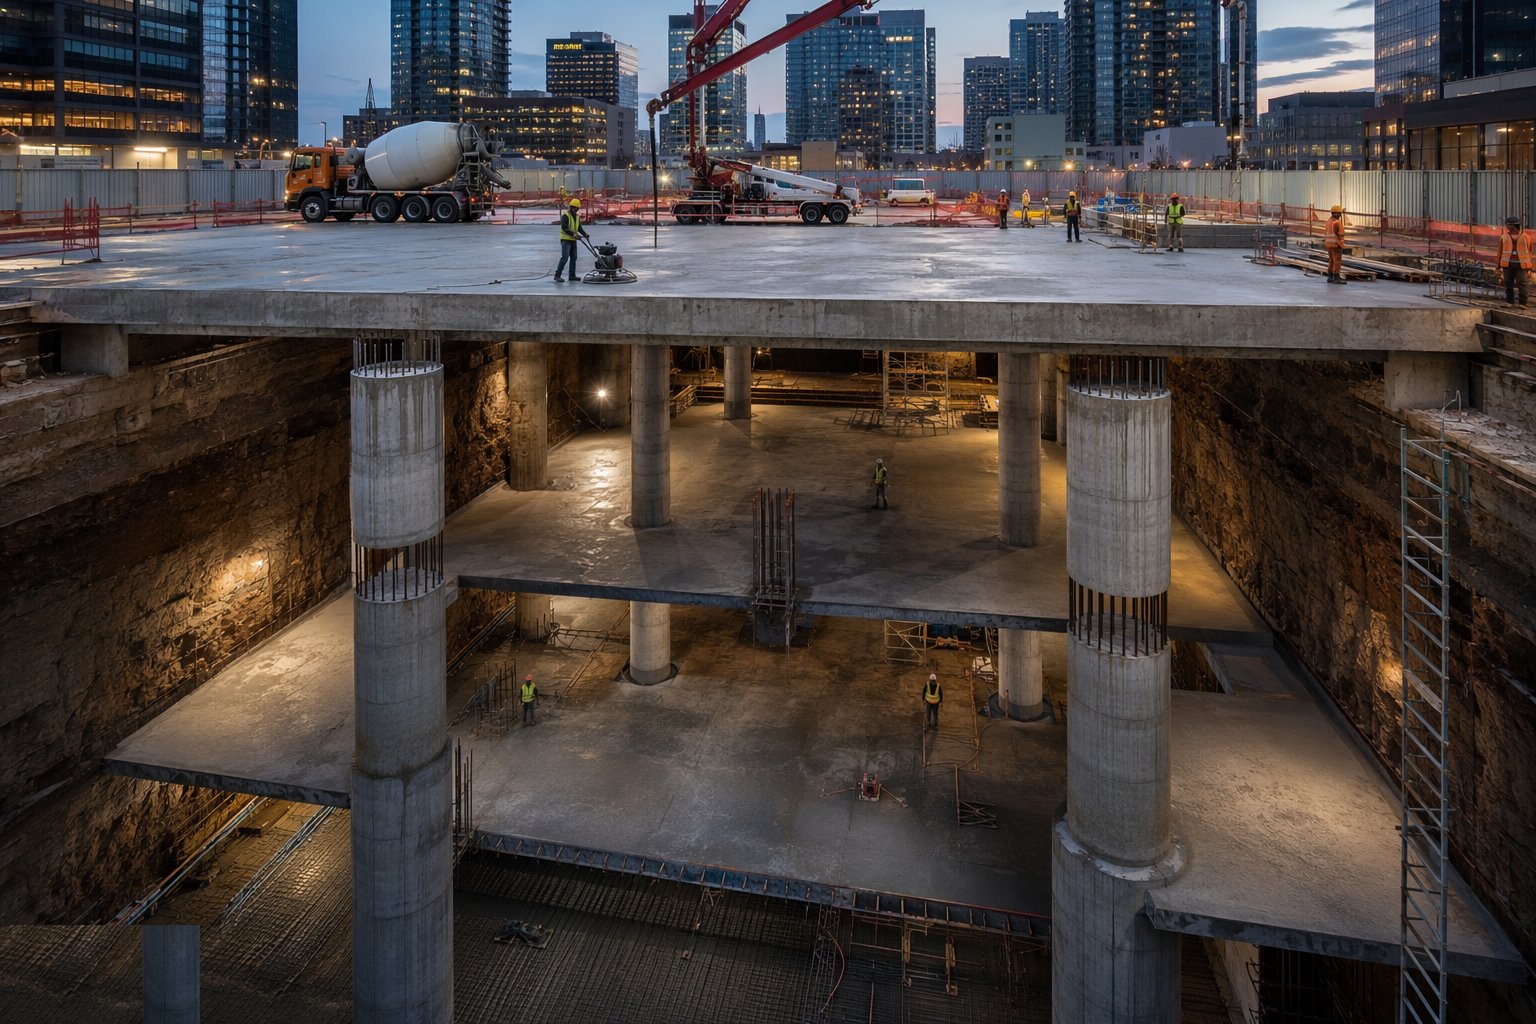
Step 4: Cast each basement slab in sequence
At each level, the formation is prepared, waterproofing and reinforcement fixed, and the slab cast with its own openings aligned below the ones above - connecting to the wall with designed joints, waterbars and couplers. The new slab becomes the next prop; the dig then descends beneath it. Waterproofing at every cold joint is detailed for injection as well as barrier.
- 5
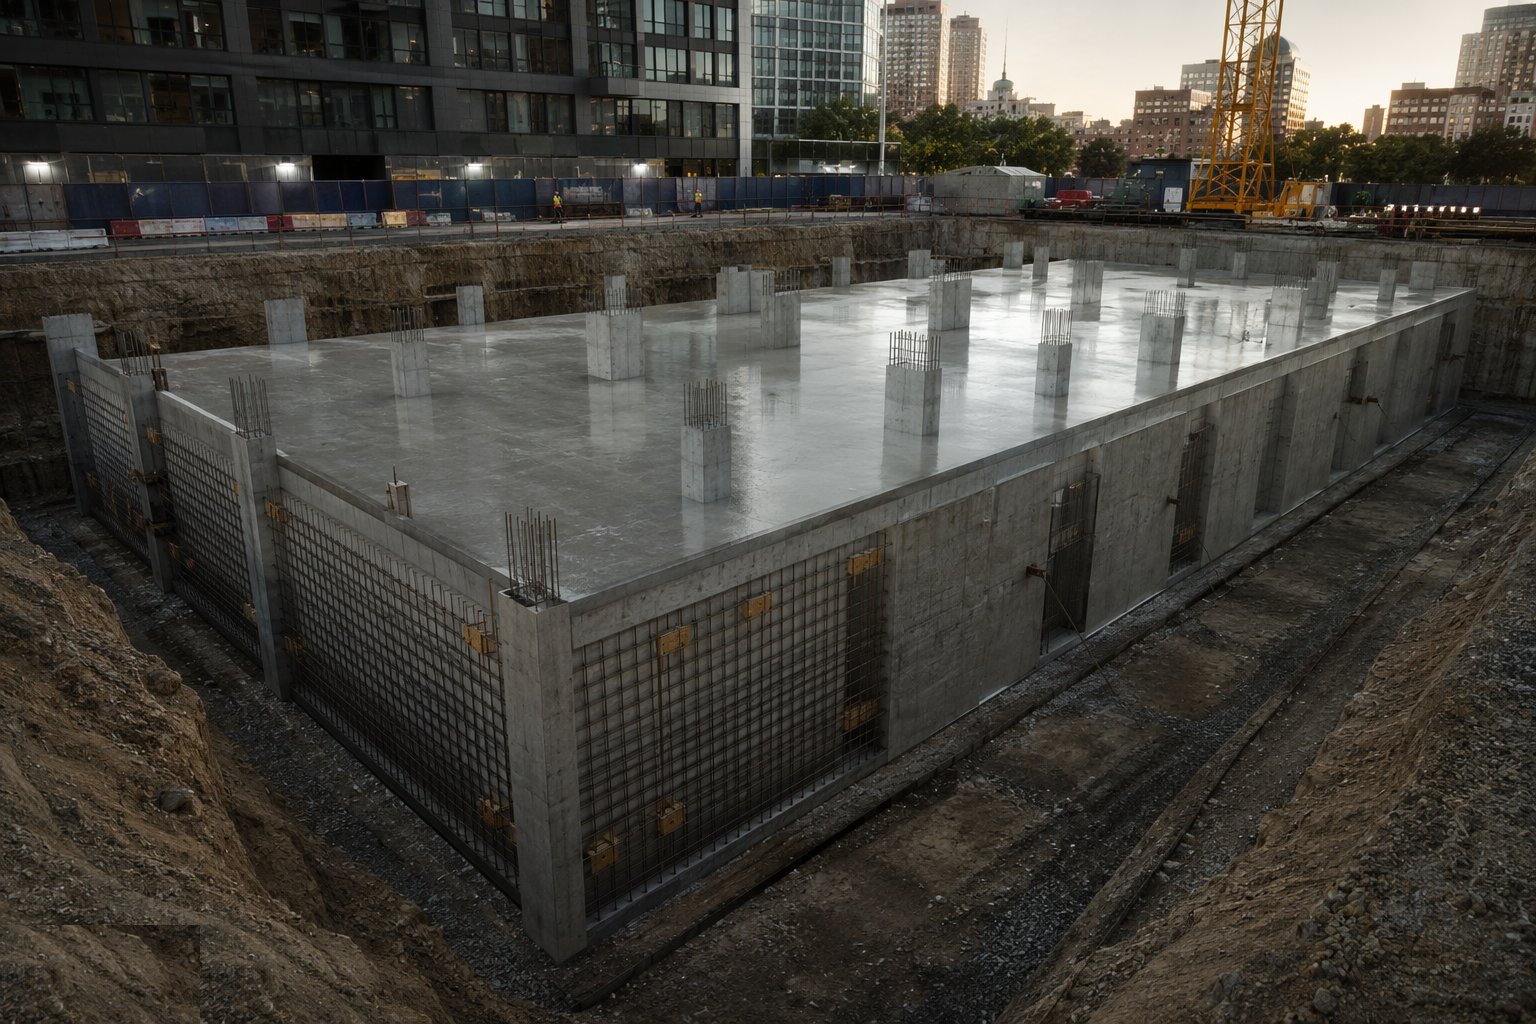
Step 5: Close the base slab and complete the box
At formation, the base slab is cast with its full waterproofing build-up, tying wall and columns into the final structure. The flotation check governs the whole sequence: uplift on the incomplete box is resisted by the piles and the weight built so far, and dewatering is reduced only as the design allows.
- 6
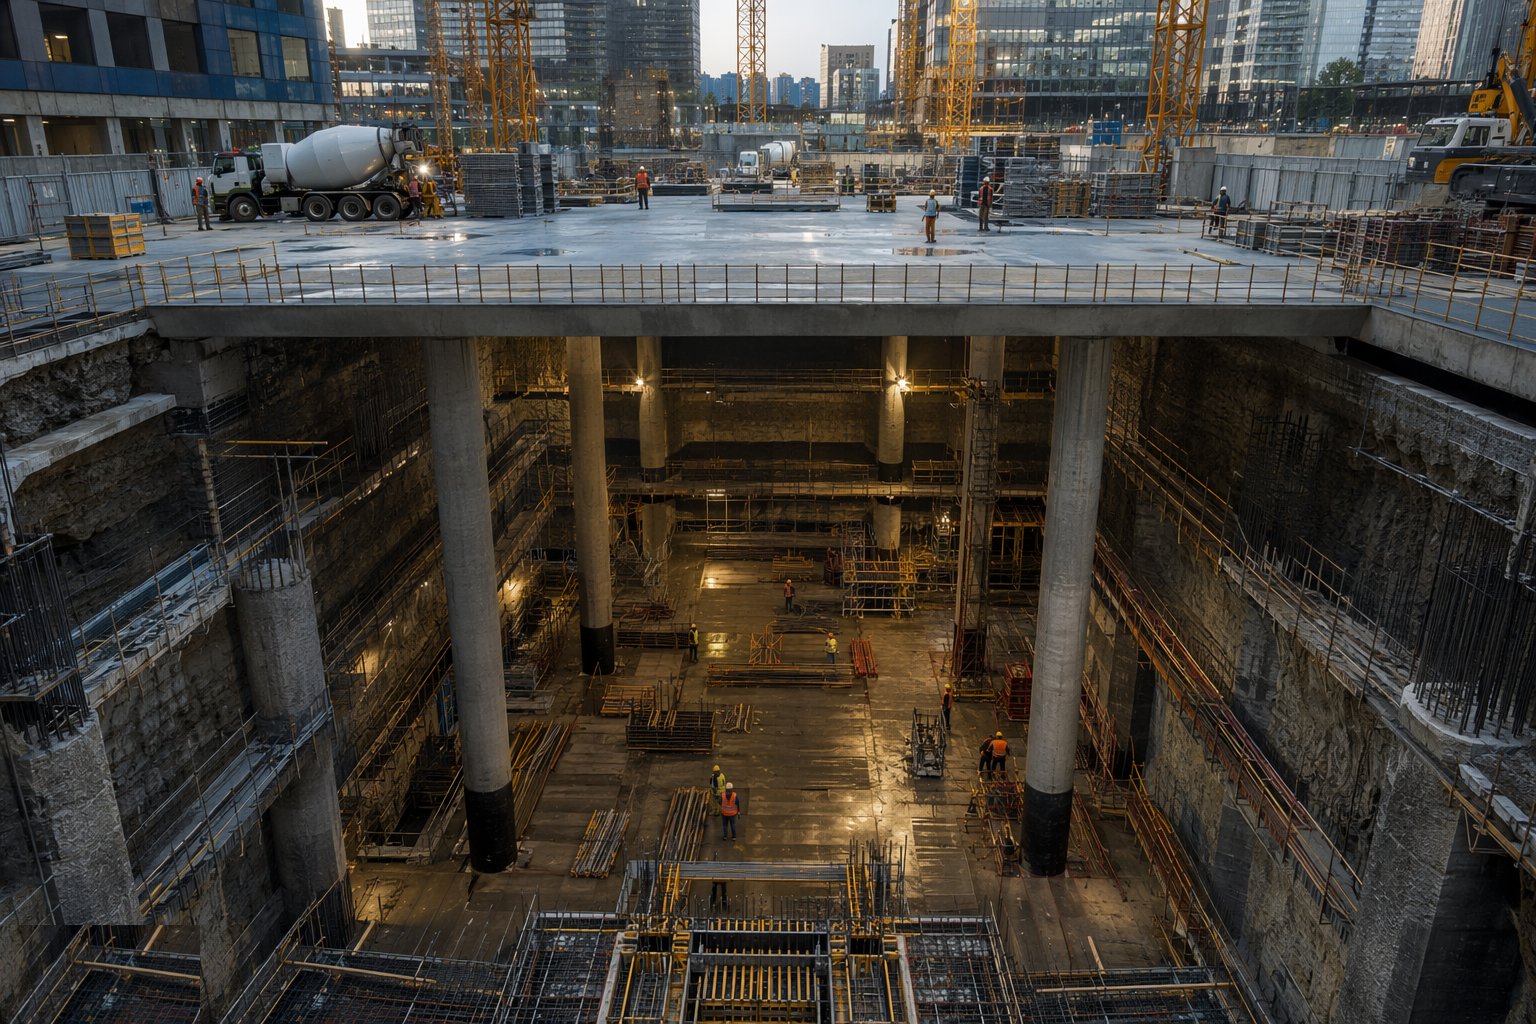
Step 6: Fit out from the bottom up and close the records
With the box complete, openings are infilled, the structure is surveyed as-built, and the monitoring is stood down on stable readings. The QA file - plunge column verticality records, slab pour records, waterproofing joint details, the full monitoring history - documents a structure whose construction sequence is permanently cast into it.
What are the benefits of Top-down construction?
- Minimum ground movement - permanent slabs prop from day one; the choice beside sensitive assets
- Programme compression - superstructure and basement proceed simultaneously
- No temporary propping forest - the permanent structure is the temporary works
- Safe dig sequence - no large unpropped open faces
- Ground floor slab provides immediate weather protection and working space
What are the limitations of Top-down construction?
- High cost and high complexity - justified only by constraint, sensitivity or programme
- Excavation under a slab is slow, dark and plant-limited
- Plunge column tolerances are unforgiving - a leaning column is the building's problem forever
- Waterproofing cold joints between staged slabs are engineered risk points
- Design is sequence-dependent - the structure must work at every intermediate stage
What is Top-down construction best suited for?
What plant does Top-down construction need?
- Heavy piling rigs for the wall and plunge-column piles, with down-bore verticality instrumentation
- Long-reach excavators, conveyors and crane skips for under-slab digging
- Ventilation, lighting and pumping for below-slab working
- Concrete pumps and placing equipment reaching through openings
- Waterproofing and injection equipment for staged joints
- Comprehensive movement monitoring instrumentation
How is Top-down construction quality-checked?
- Plunge column verticality records per column - the signature document of the method
- Wall installation records and verticality surveys as for piled walls
- Pre-pour inspections per slab: reinforcement, couplers, waterbars, cast-ins
- Waterproofing joint records with injection hose locations logged and protected
- Movement monitoring against triggers, reviewed at every dig stage
- Flotation and staging checks signed before each dewatering reduction