Rainscreen cladding
Panels on rails over a drained cavity - the face you see, and the fire barriers you do not.
Last updated 2026-08-25
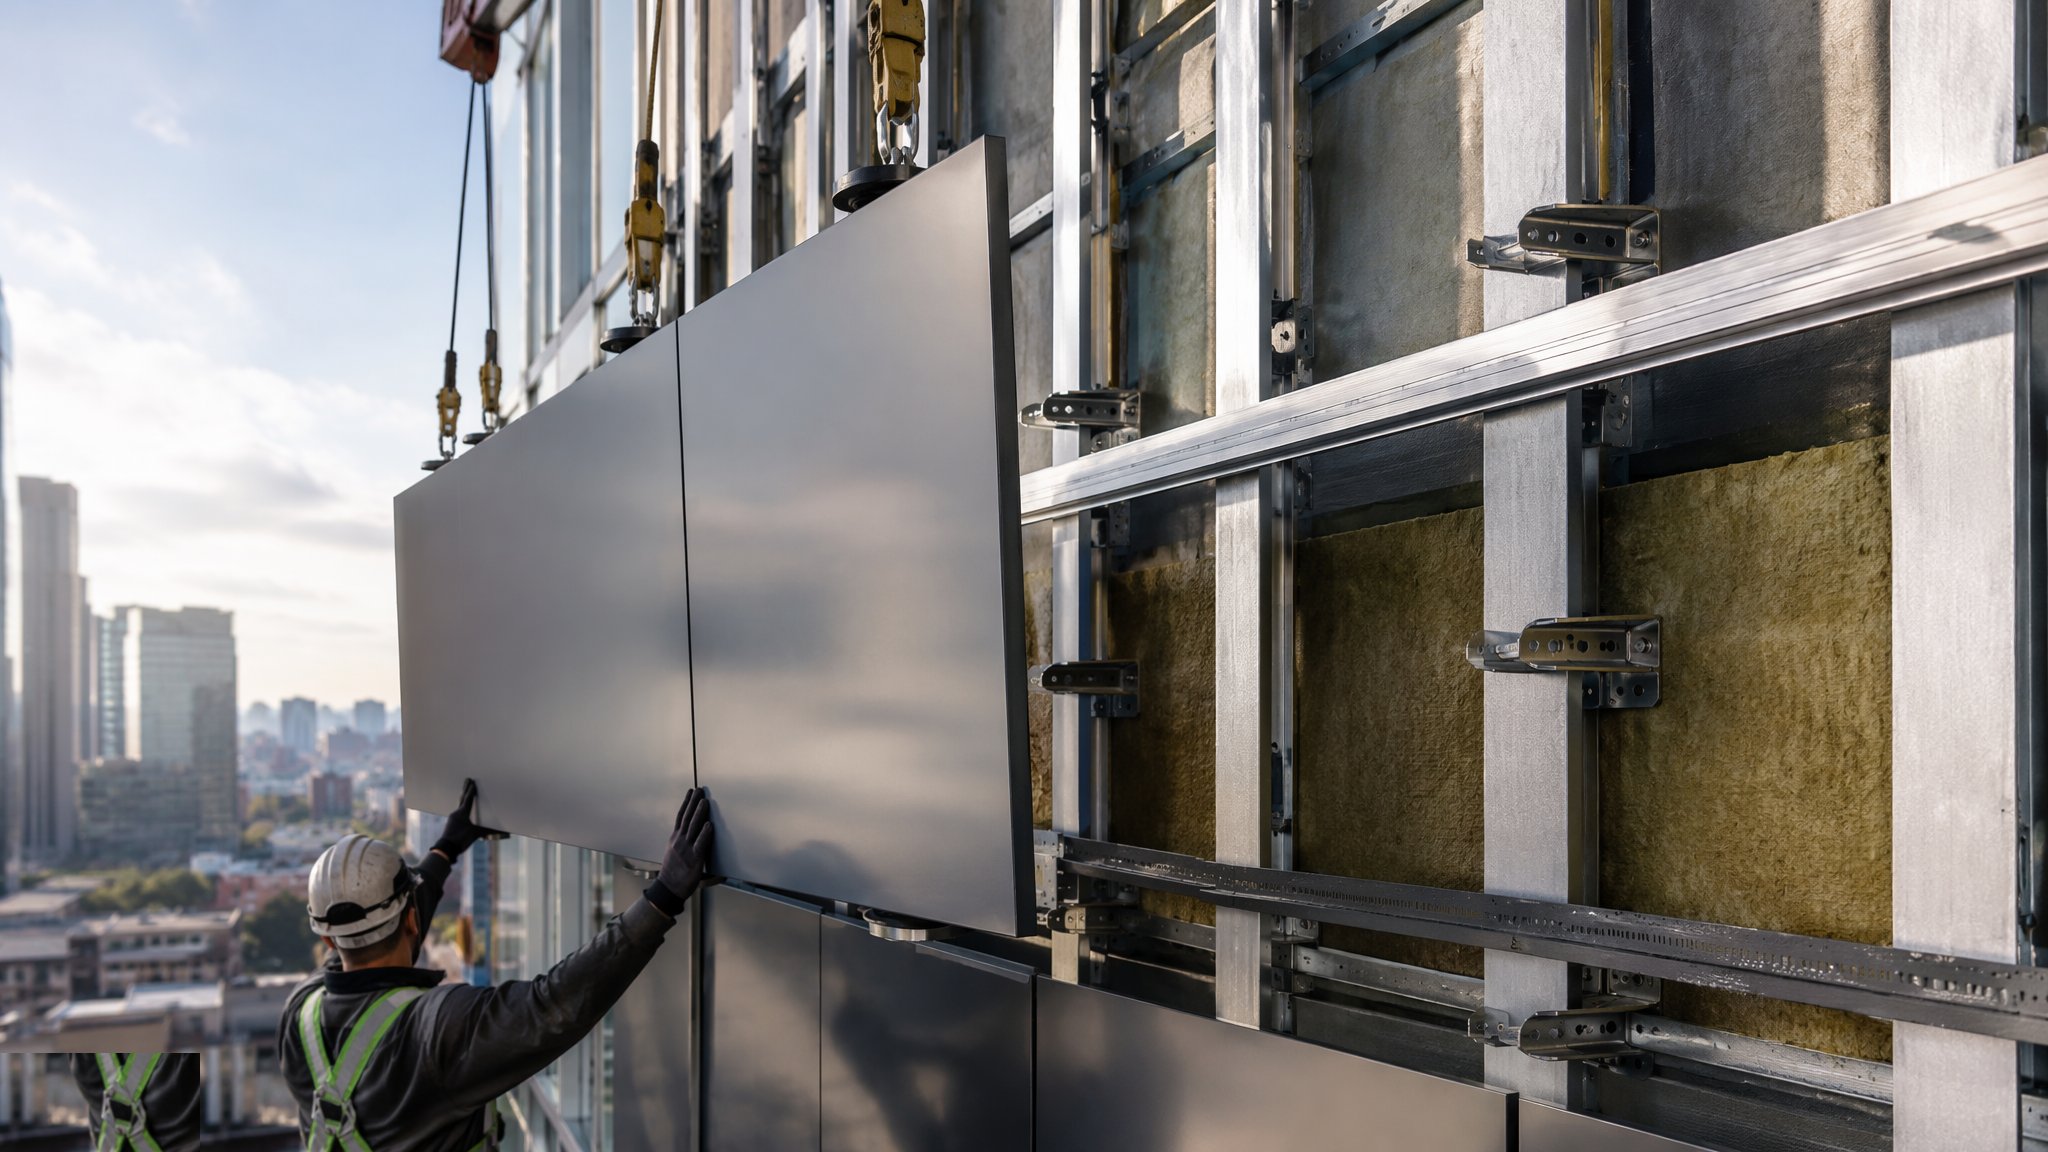
What is Rainscreen cladding?
Rainscreen cladding is the honest façade: it admits that wind-driven rain will get past the outer face, and instead of pretending otherwise, it drains and ventilates the cavity behind. Panels - terracotta, fibre cement, high-pressure laminate, metal or stone - hang on a rail-and-bracket support system fixed back to the structure, standing off a build-up of insulation and breather membrane on the substrate. The ventilated cavity equalises wind pressure and drains whatever crosses the open joints, so the actual weather seal is the protected inner layer and the panels are a durable, replaceable screen. The principle is centuries old; the engineered systems, fixing calculations and fire classification regime are thoroughly modern.
The quality lives behind the panels, in the layer that gets closed up and never seen again. Brackets and rails absorb the frame's as-built tolerances through adjustment, with thermal isolator pads cutting cold bridging. Insulation is fixed tight with fire-rated fixings at the calculated pattern. And cavity fire barriers are mechanically fixed at every compartment floor line, party wall line and around openings - intumescent-faced barriers that ventilate the cavity in normal times and close it in fire. Since the regulatory overhaul of façade fire safety, every material's reaction-to-fire classification, every barrier's position and every fixing is documented evidence - photographed before the panels close, compiled into the golden thread for higher-risk buildings. The panels are architecture; the hidden layer is compliance and life safety.
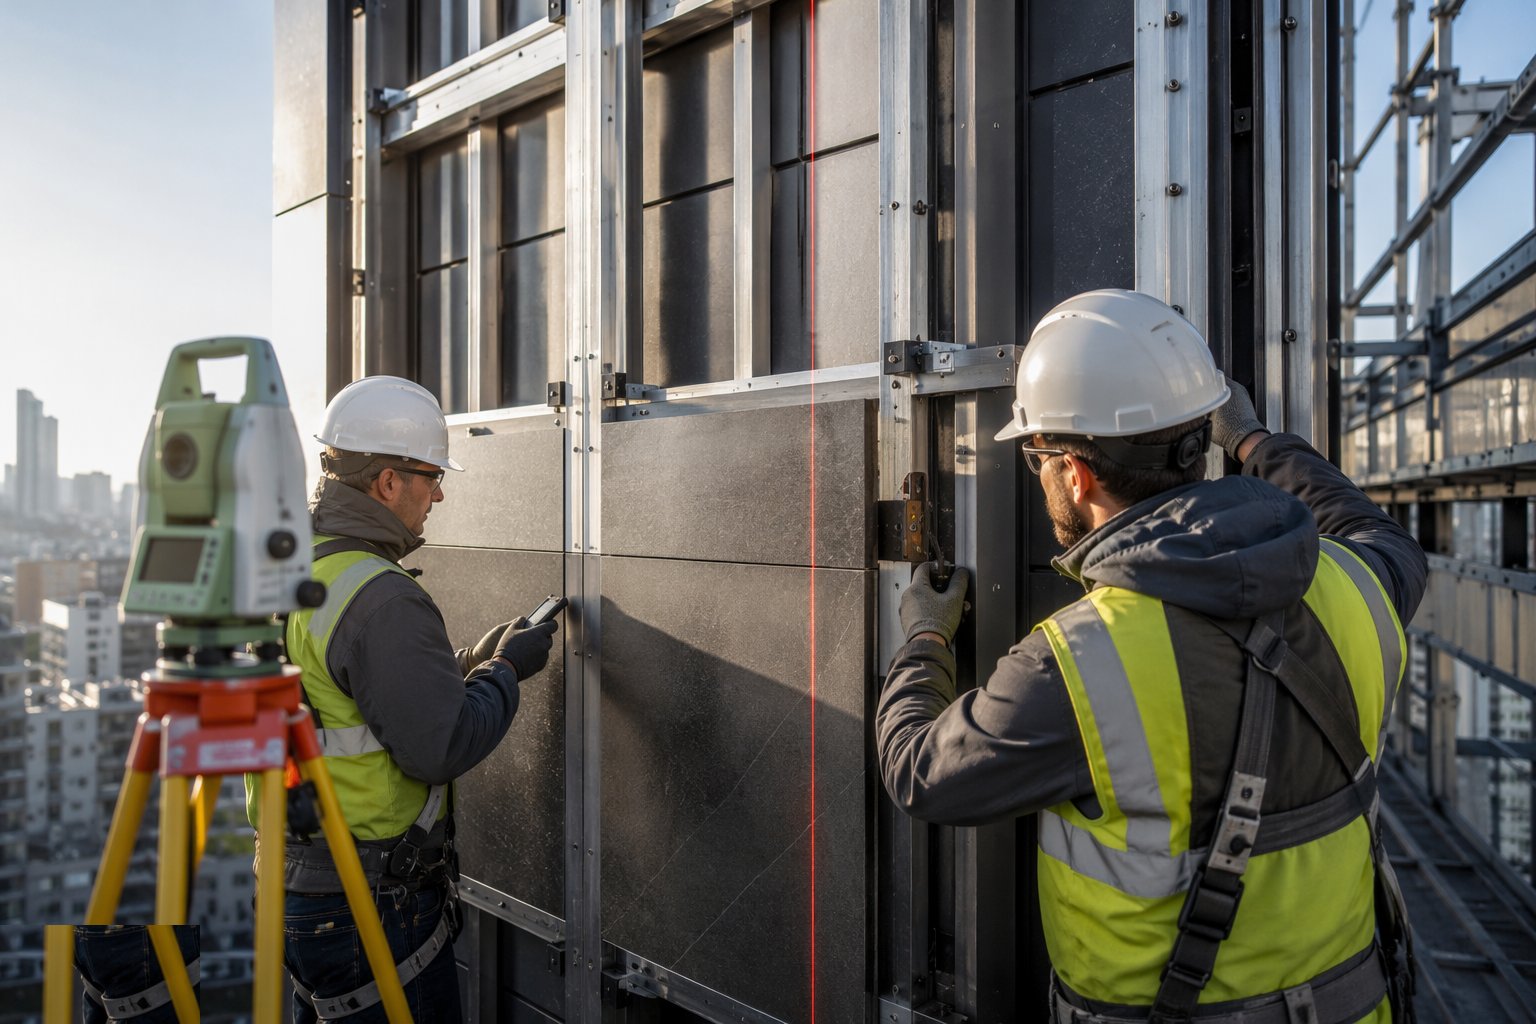
Setting out is a survey discipline. The bracket grid is established from fixed datums after surveying the slab edges or substrate for their true line - the façade must swallow the structure's deviations in its adjustment range, and the worst-case bracket tells you whether the system fits. Panels are hung to datum lines, aligned and torqued to the schedule, with movement allowed by slotted and floating fixings as the design intends. Drift across an elevation is the signature of a crew measuring panel to panel instead of line to datum, and by the time it shows, a hundred panels are hung. Tested, certified systems installed by trained crews with torque records and barrier inspections - that is rainscreen done right; the alternative is a very expensive lesson written in aluminium composite.
Process storyboard
Step 1 of 6 - slide through the snapshots.
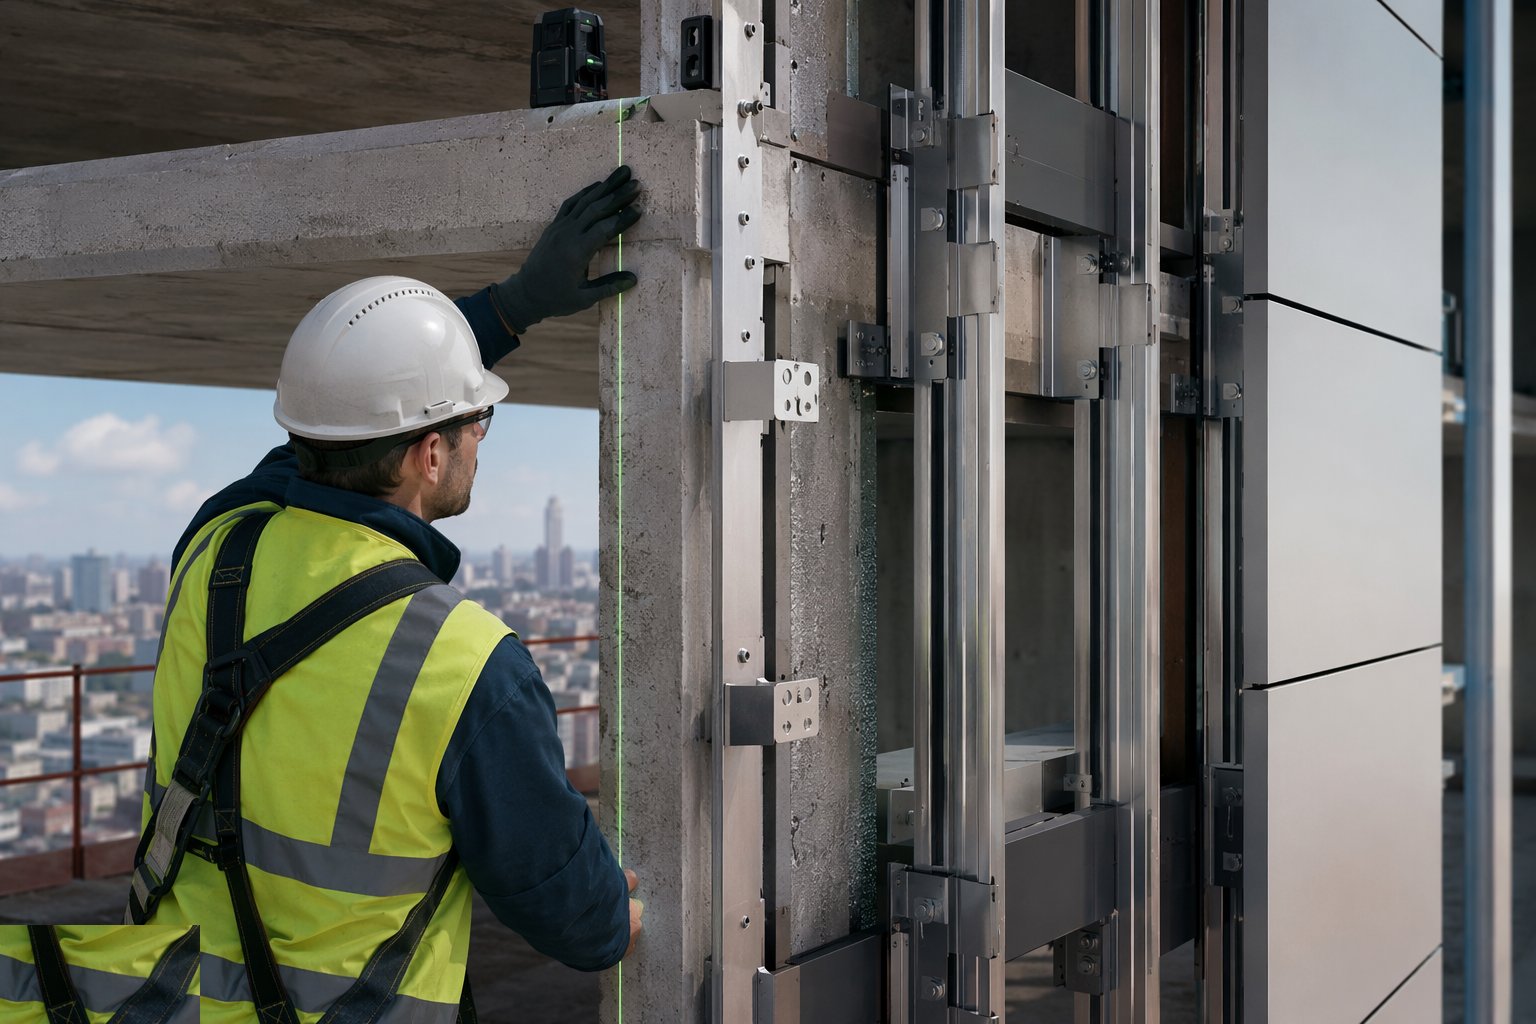
STEP 1
Survey the structure and prove the fixings
Slab edges and substrate are surveyed for line, level and plumb, and the bracket grid is set out from fixed datums with the system's adjustment range checked…
How does Rainscreen cladding work, step by step?
- 1
Step 1: Survey the structure and prove the fixings
Slab edges and substrate are surveyed for line, level and plumb, and the bracket grid is set out from fixed datums with the system's adjustment range checked against the worst deviation. Fixings are pull-tested into the actual substrate - concrete, steelwork or blockwork - to verify the design capacities, because the entire façade hangs on these anchors. Edge distances and embedments follow the approval documents exactly.
- 2
Step 2: Install brackets and rails true to datum
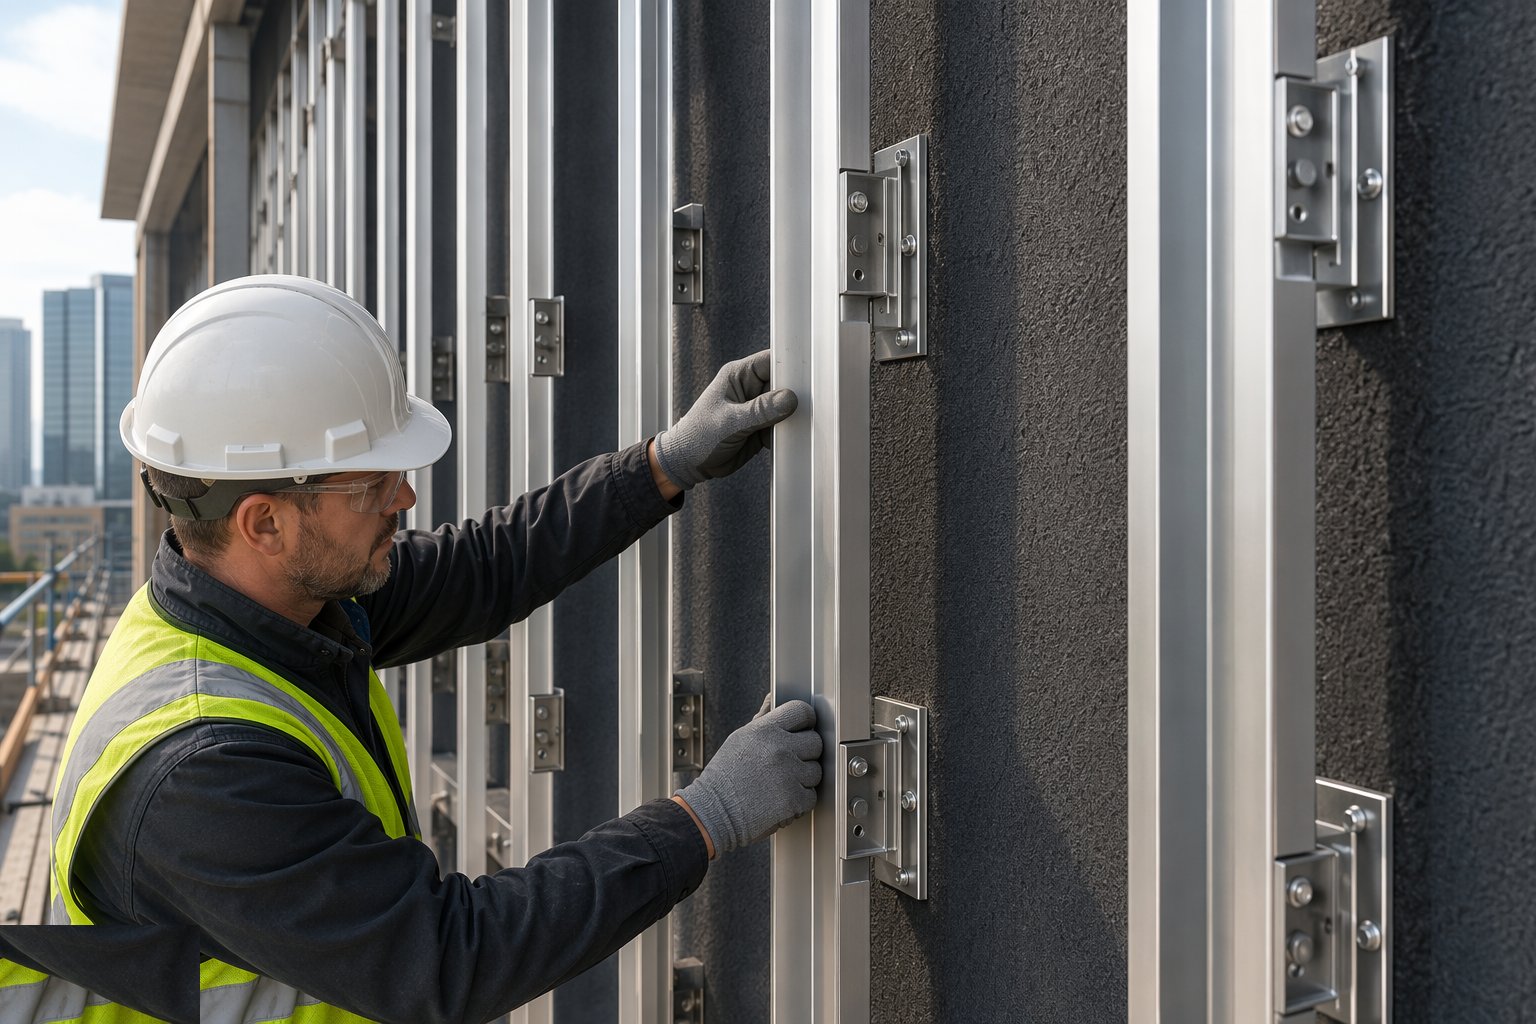
Helping-hand brackets are fixed at the surveyed positions with thermal isolator pads where specified, torqued to the schedule. Vertical or horizontal rails are levelled and aligned off the datums with slotted connections for movement as designed - fixed and floating points arranged so thermal movement has somewhere to go. Torque records are kept per elevation; this skeleton carries everything and is inspected before boarding.
- 3
Step 3: Fix insulation and the membrane layer
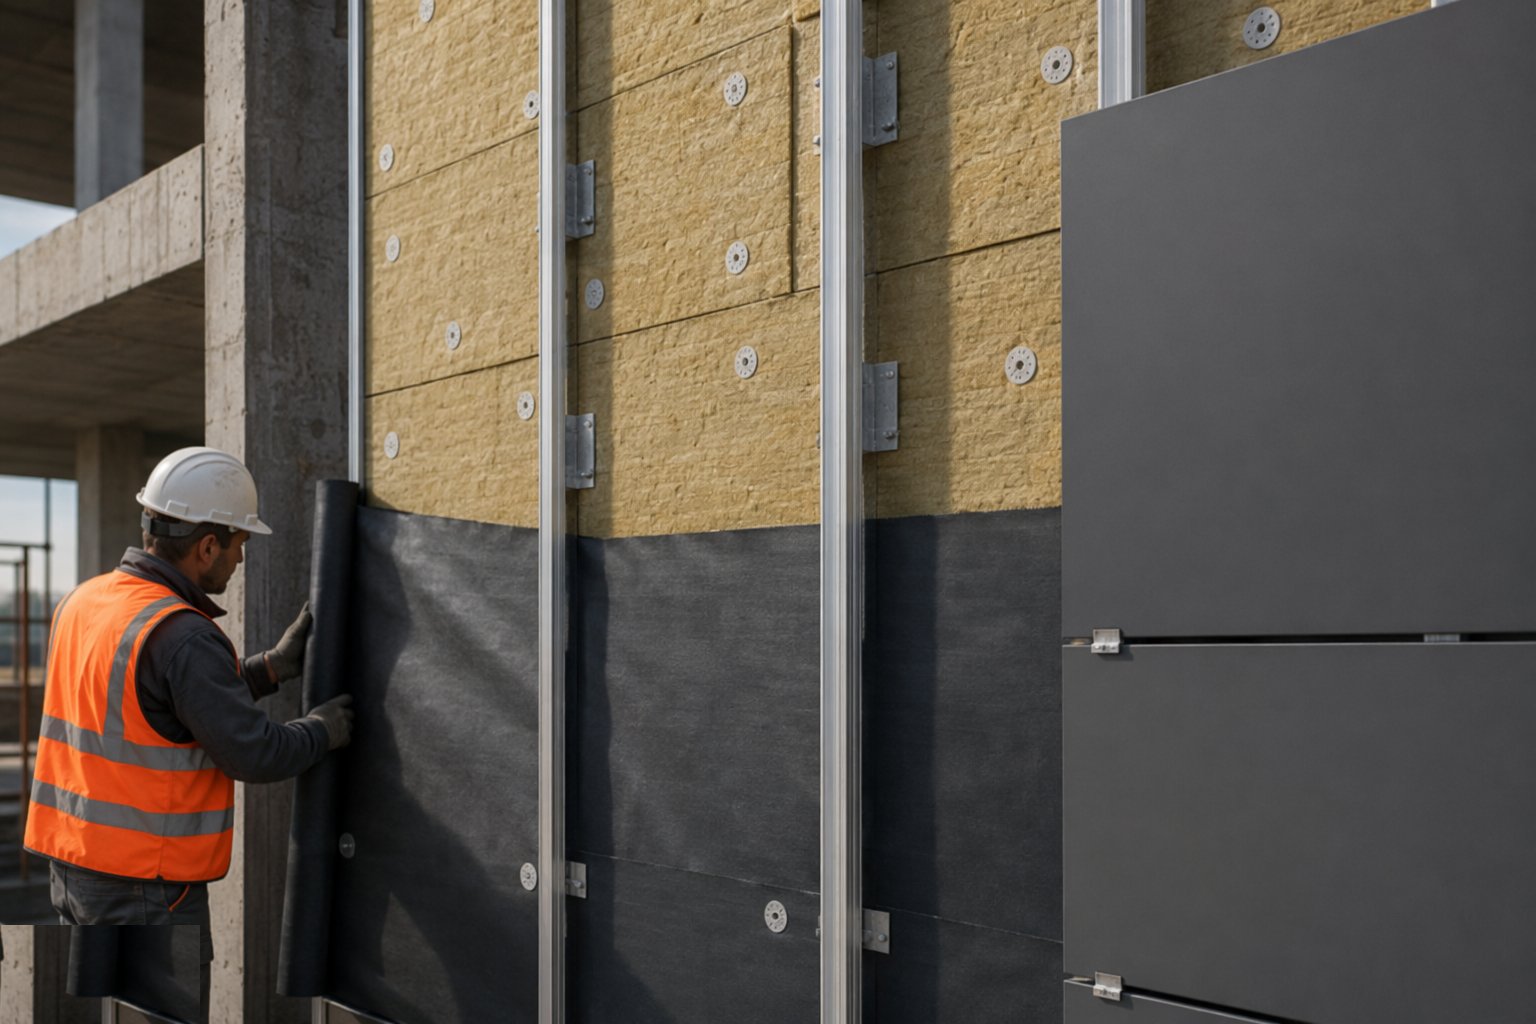
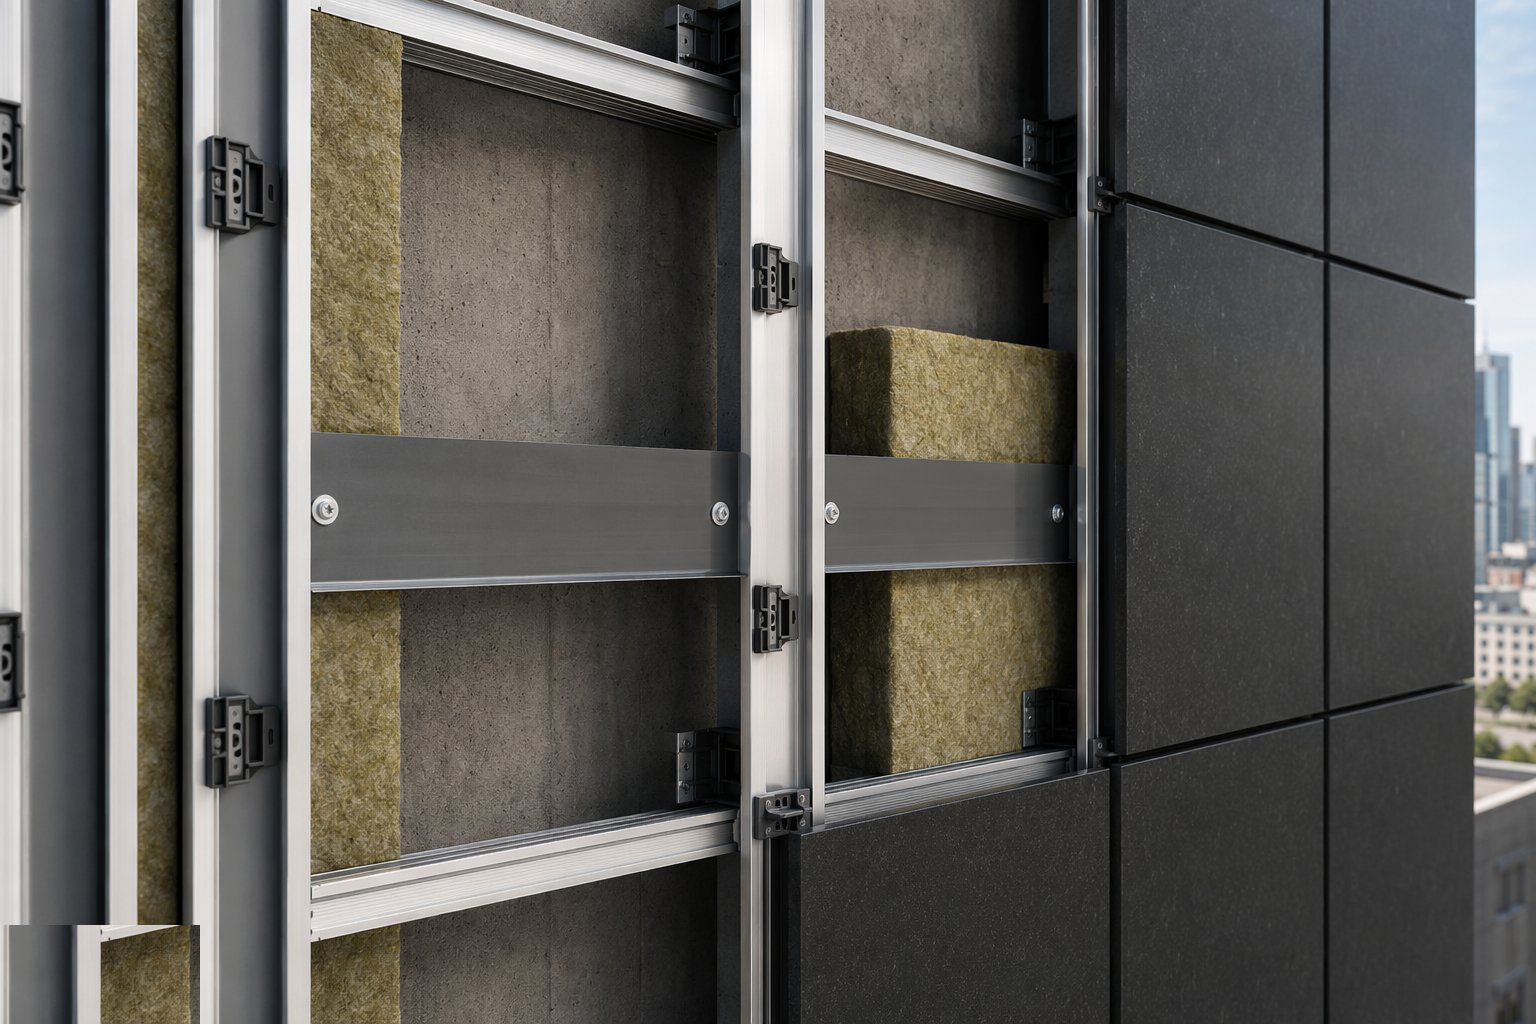
Insulation boards are fixed tight to the substrate with the calculated pattern of fire-rated fixings, joints staggered and gaps filled, brackets penetrating cleanly with collars or sealed details. Breather membrane or sheathing closes the build-up with laps taped and sealed. The inner weather line is now complete - and it, not the panels, is the airtight and watertight barrier of the building.
- 4
Step 4: Install the cavity fire barriers
Cavity barriers are mechanically fixed at every compartment floor and wall line and around all openings, compressed and jointed exactly per the tested details, with intumescent faces oriented as specified. Every barrier is photographed with its location recorded before panels close the cavity - this photographic record is statutory evidence on higher-risk buildings, and it is the only inspection the barrier will ever get.
- 5
Step 5: Hang the panels to line and schedule
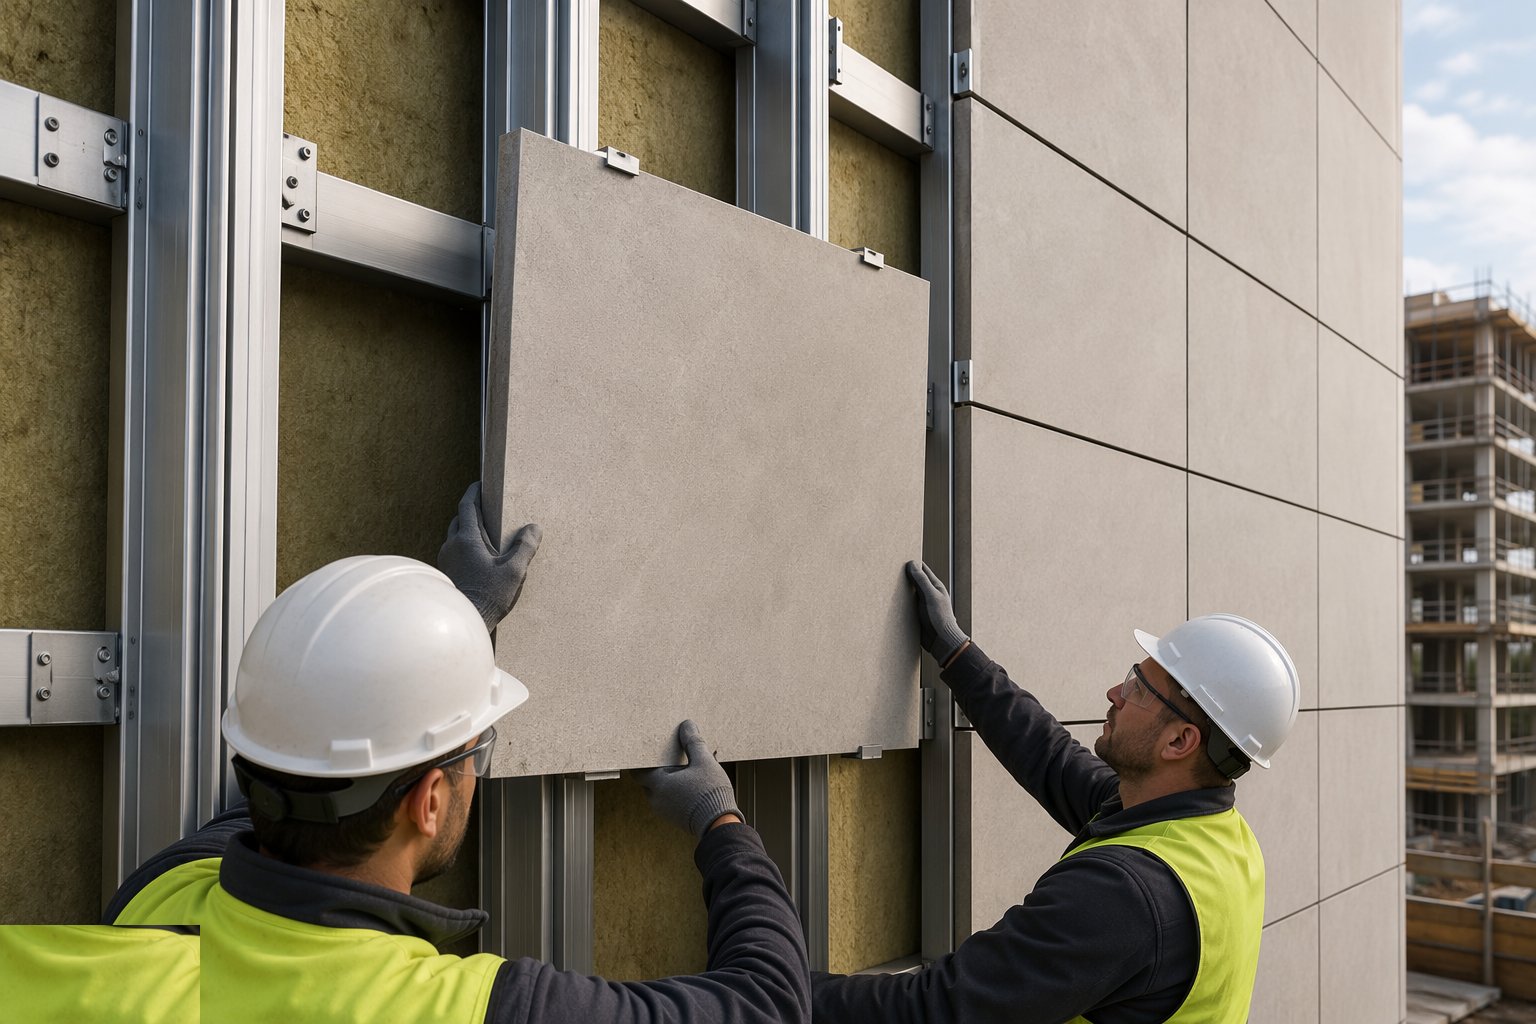
Panels are hooked, clipped or riveted to the rails in the planned sequence, aligned to datum lines - never panel to panel - with joints gauged and fixings torqued per the schedule. Cut panels are made off-site or with controlled site methods, edges sealed where the system requires. Reveals, copings and corner details follow the system drawings, and ventilation openings at the base and head are formed and kept clear.
- 6
Step 6: Inspect, test and certify the façade
Elevations are surveyed for line, plane and joint consistency; fixing torque audits sample the schedule; cavity barrier photographs are compiled by location. Interfaces with windows, roofs and adjacent systems are sealed and hose-tested where specified. The façade QA pack - classifications, calculations, fixing and torque records, barrier photographs, test results - is assembled for the warranty file and, on higher-risk buildings, the statutory golden thread.
What are the benefits of Rainscreen cladding?
- Drained, pressure-equalised cavity - weather defence that does not rely on perfect panel joints
- Huge architectural range - terracotta, metal, fibre cement, stone, laminate in one support logic
- Panels are demountable and replaceable - damage and future changes are local events
- Continuous external insulation with minimal cold bridging through isolated brackets
- Lightweight compared with masonry - suits framed buildings and overcladding
- Tested systems with certified fire classifications and fixing calculations
What are the limitations of Rainscreen cladding?
- The critical layer is concealed - barriers, membranes and fixings depend on inspection discipline and photographs
- Fire classification regime is unforgiving - substitutions and value engineering carry legal risk
- Support system absorbs only so much tolerance - a badly out-of-true frame costs brackets and time
- Open-jointed systems need the inner layer detailed as the real weather barrier, and it shows if it is not
- Higher first cost than render or brick on simple elevations
- Panel supply chains and lead times can dominate the programme
What is Rainscreen cladding best suited for?
What plant does Rainscreen cladding need?
- Scaffolds, mast climbers, cradles or MEWPs per elevation access
- Craneage or telehandlers for panel packs; vacuum lifters for large panels
- Torque-controlled drivers and pull-test equipment
- Rail and bracket cutting and drilling stations
- Survey lasers, datum lines and setting-out kit
- Photography and QA logging for barriers and concealed layers
How is Rainscreen cladding quality-checked?
- Substrate survey and bracket grid set-out recorded against fixed datums
- Fixing pull tests and torque records per elevation
- Insulation fixing pattern and membrane laps inspected before closure
- Cavity fire barriers photographed and logged at every compartment line before panels close
- Panel line, plane, joints and fixing torque audited per elevation
- Material reaction-to-fire classifications verified against the approved design - no substitutions without sign-off