Cut roofs and traditional carpentry
Rafters, purlins and a sharp pencil - the roof you build when the lorry cannot deliver one.
Last updated 2026-09-05
What is Cut roofs and traditional carpentry?
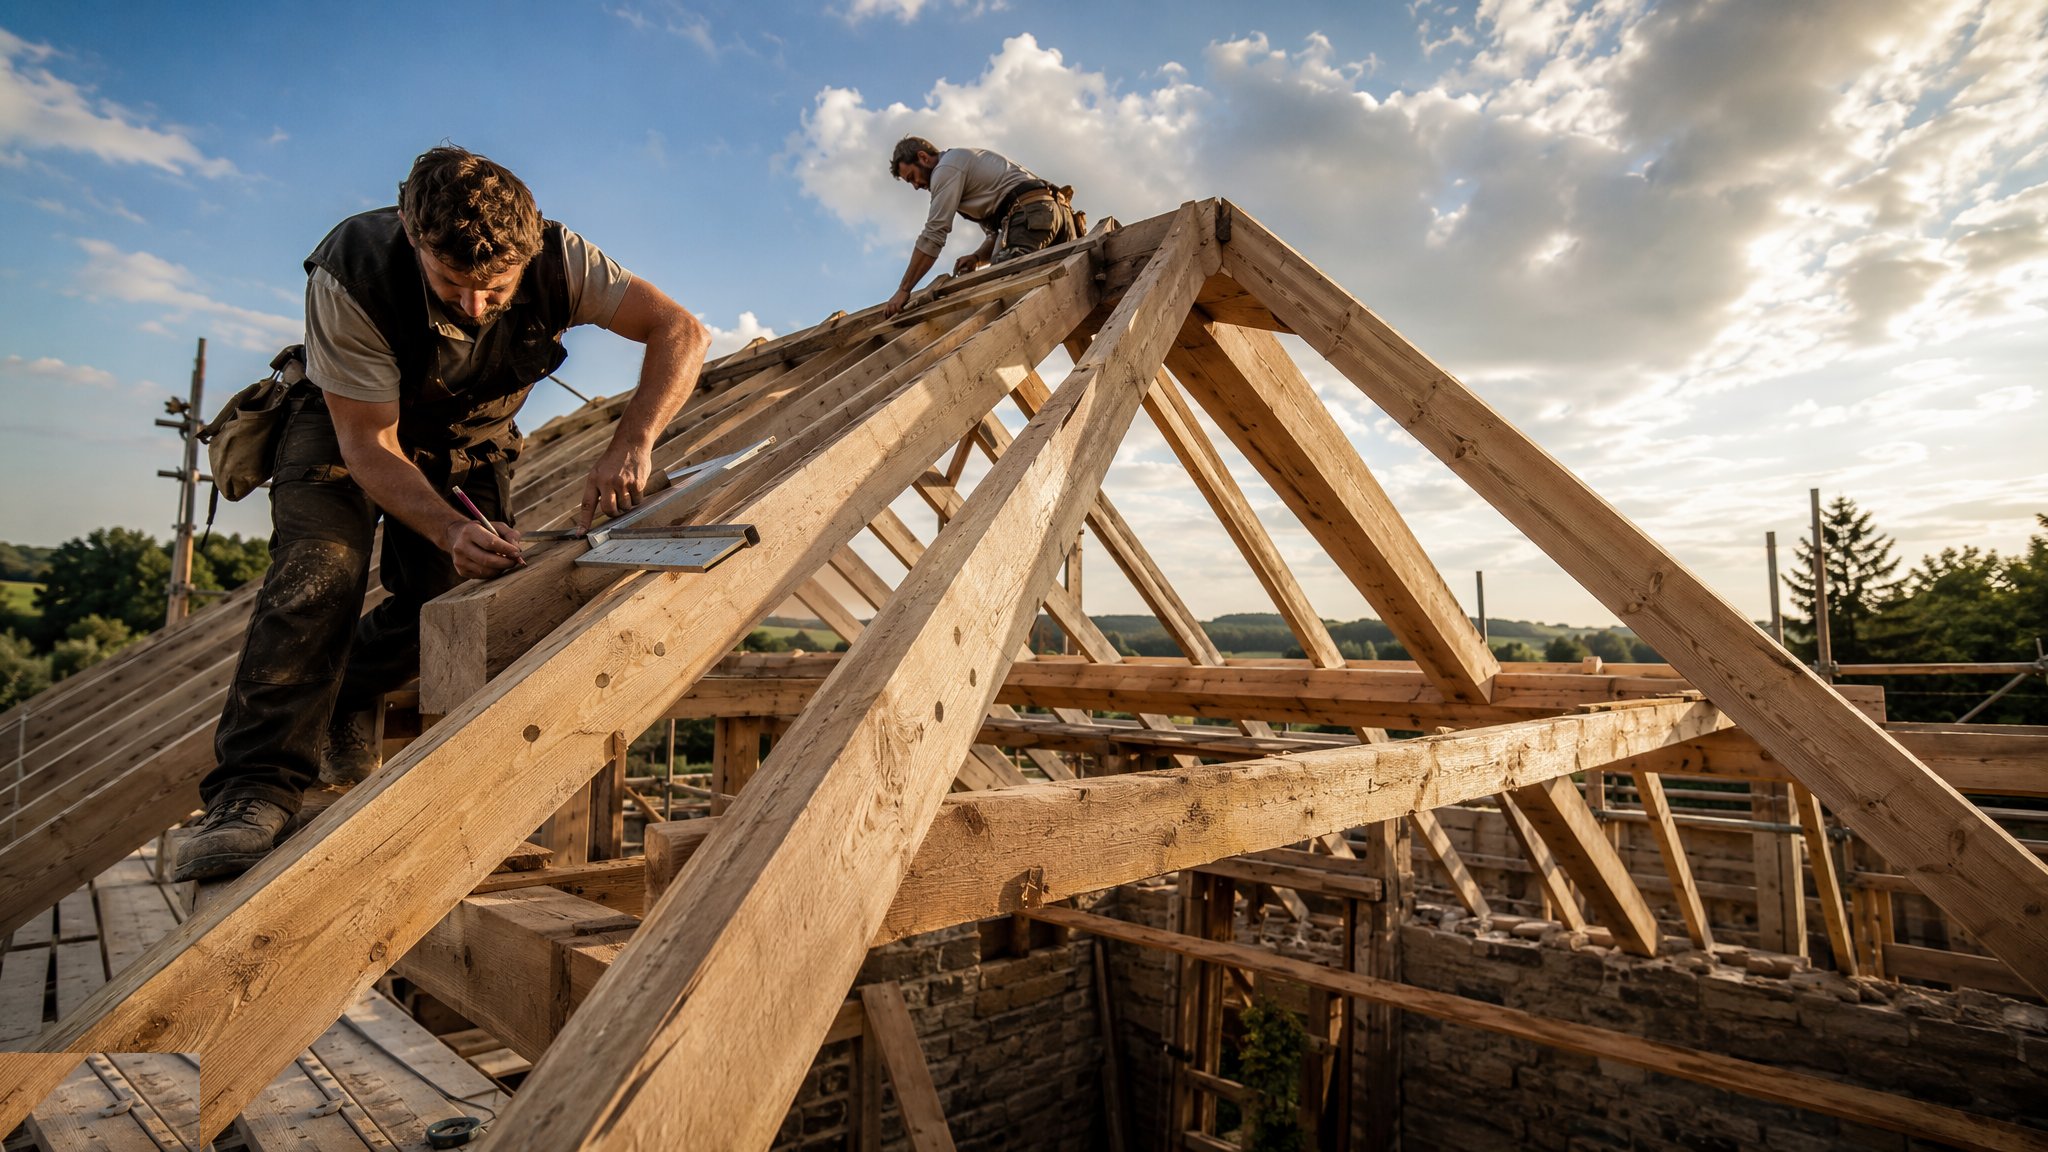
The cut roof is carpentry as structural engineering: common rafters, ceiling joists, ridges, purlins, collars and struts, each piece measured, cut and fixed on site into a frame that carries the covering and holds the walls apart. It is the roof of loft conversions, heritage work, complex plans and one-off houses - anywhere the geometry is too irregular, too late, or too valuable to hand to a truss plant. Done by a skilled carpenter, a cut roof is a beautiful, adaptable structure with a clear, usable loft. Done by an optimist with a circular saw, it spreads the walls and sags within a decade.
The engineering is in the joints and the load path. The rafter's birdsmouth must bear fully on the wall plate - a shallow, skimped notch concentrates load and splits. The ridge board aligns the rafters but carries little; the real work is done by the ceiling joists tying the rafter feet against spread, and by purlins propped off load-bearing walls or struts at designed points to shorten the rafter span. Every prop lands its load on something that can carry it - a strut that ends mid-span on a ceiling joist has invented a load path the joist never agreed to. On cut roofs the carpenter is reading the same structural logic an engineer would draw, and the good ones think in load paths habitually.
Regulation has not exempted tradition from arithmetic. Rafter sizes, purlin sections and strut positions come from span tables or a design calculation against the tile load, snow load and wind, and the rafter centres and fixing schedules are specified, not remembered. Ventilation and underlay discipline match the trussed roof - eaves vents, drained underlay, a ventilated batten space - and insulation at rafter level for a warm loft adds its own vapour-control layer and a maintained ventilation path above the insulation. The cut roof rewards skill and punishes guesswork, on a programme roughly three times slower than trusses, which is exactly why it survives where skill and flexibility are what the building actually needs.
Process storyboard
Step 1 of 6 - slide through the snapshots.
STEP 1
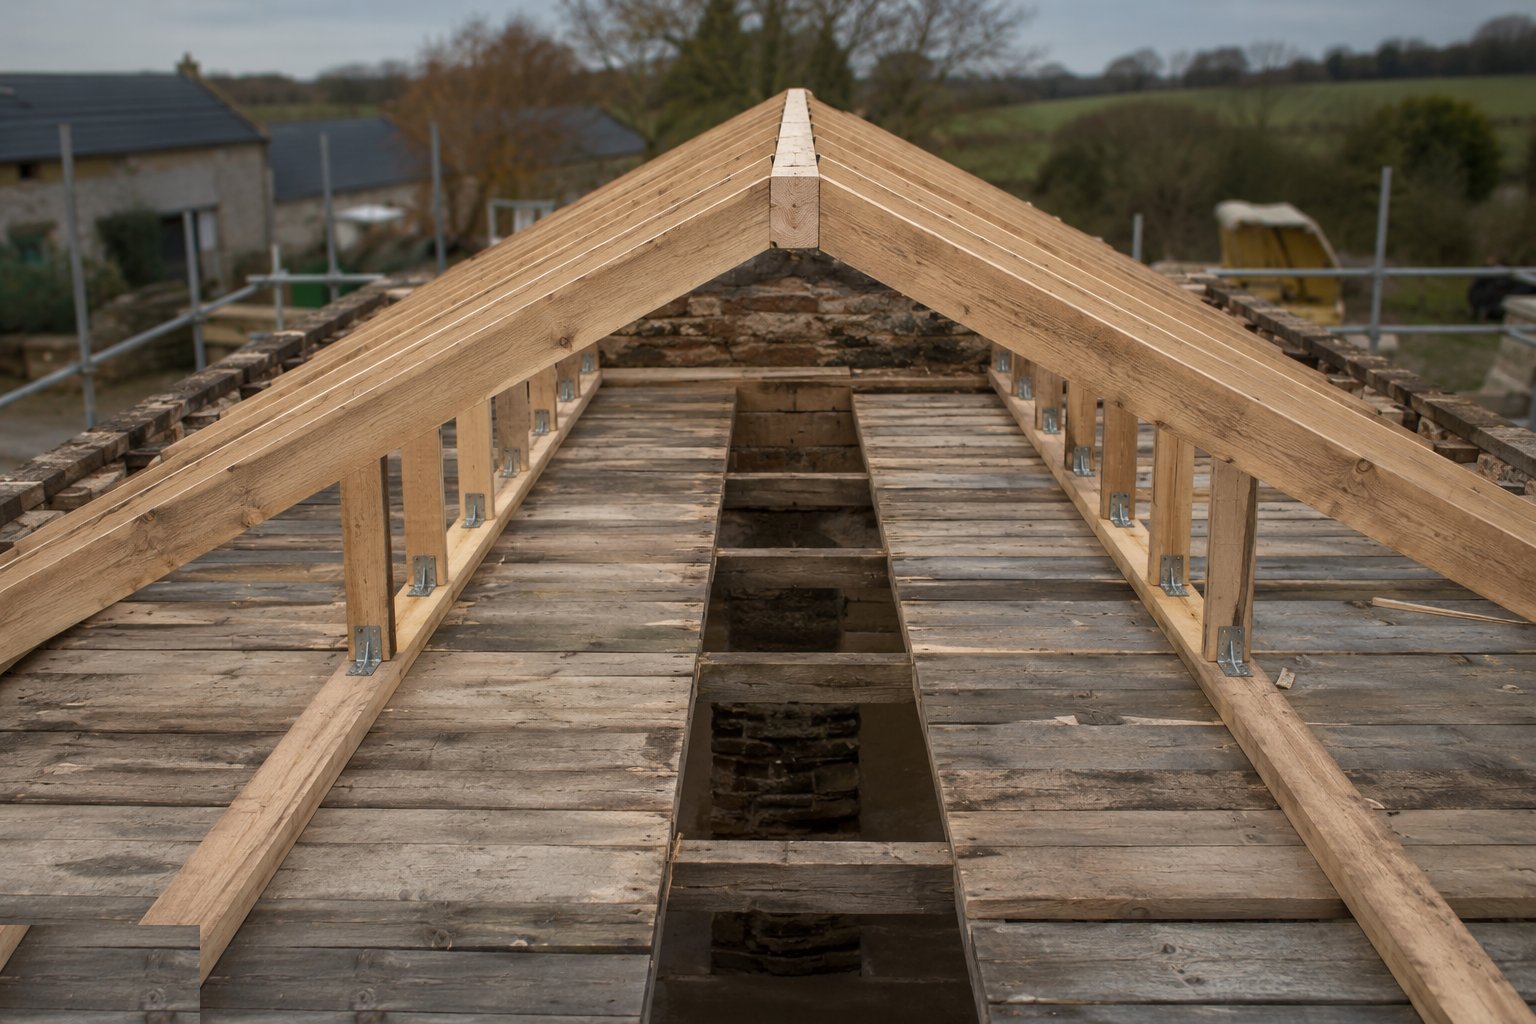
Set out the plates and the ridge
Wall plates are bedded level, aligned and strapped down, and the roof geometry is set out full-size - ridge height and line, rafter centres, overhangs.
How does Cut roofs and traditional carpentry work, step by step?
- 1
Step 1: Set out the plates and the ridge
Wall plates are bedded level, aligned and strapped down, and the roof geometry is set out full-size - ridge height and line, rafter centres, overhangs. A pattern rafter is cut and offered up at both ends and mid-span to prove the geometry before a single piece is duplicated: on a cut roof, the first rafter is a drawing you can hold.
- 2
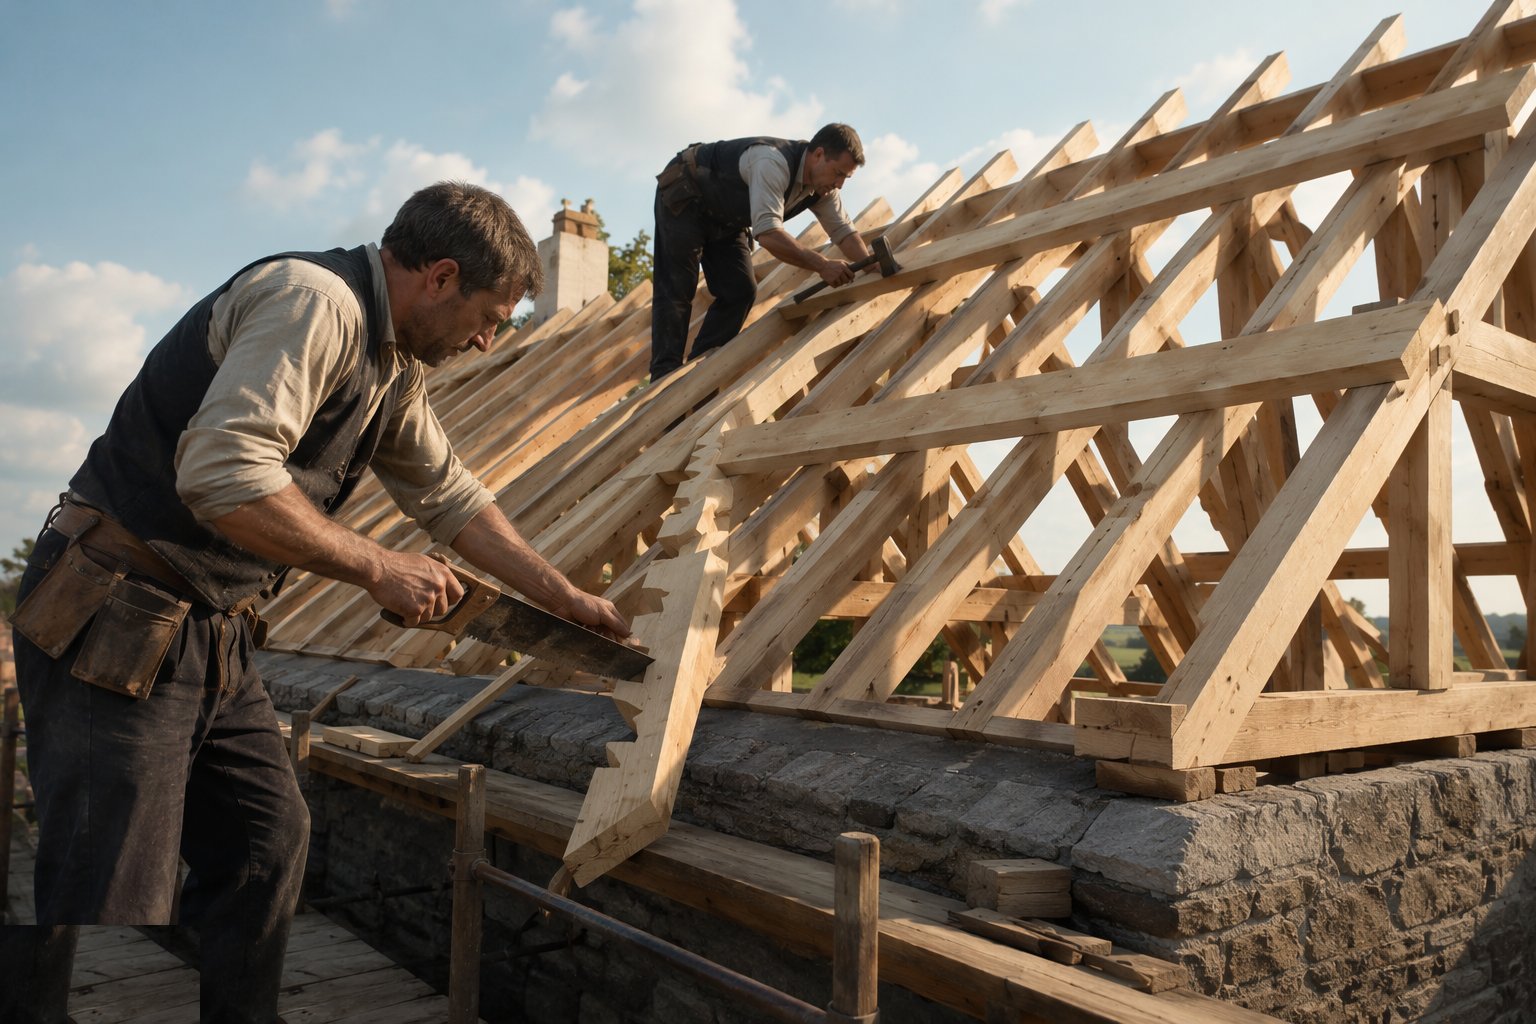
Step 2: Cut and fix the common rafters
Rafters are cut from the pattern - birdsmouths bearing fully on the plate, plumb cuts true at the ridge - and fixed in pairs up the ridge board at the designed centres. Each pair is plumbed and held, and the ceiling joists go on as the rafters rise, tying the feet against spread. Nothing is left to memory: sizes, centres and fixings follow the span tables or the engineer's design.
- 3
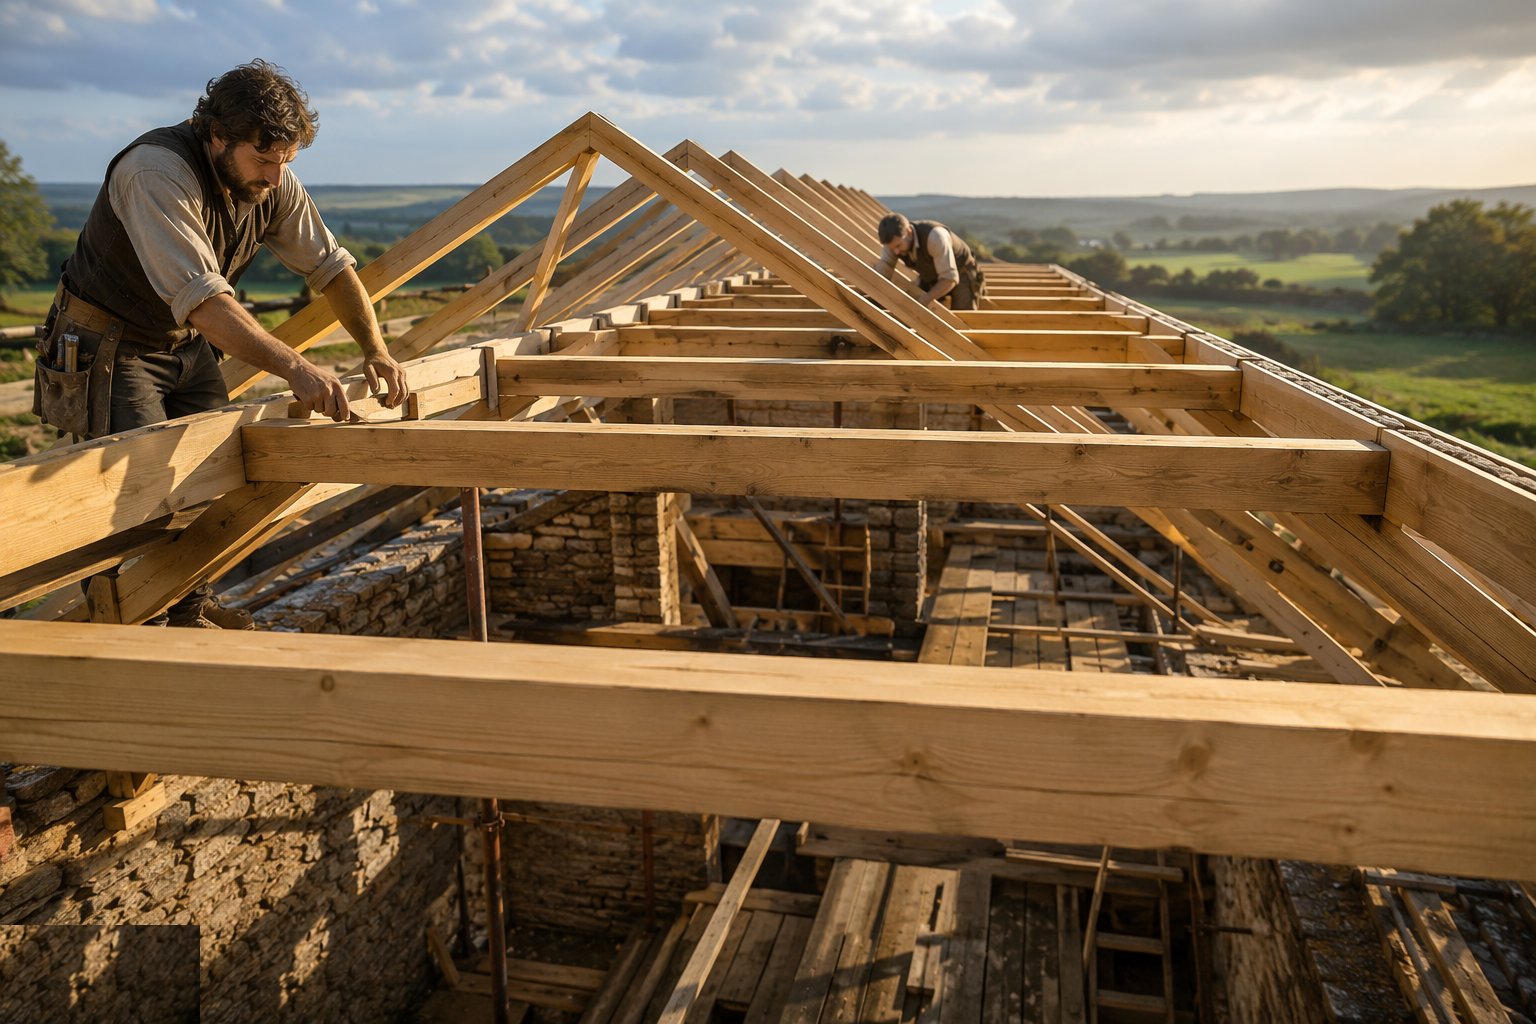
Step 3: Install purlins, struts and collars
Purlins are landed on their supports - gable or party walls, posts or struts bearing onto load-bearing structure - and every strut is checked for where its load actually goes: a prop must land on a wall or beam, not on a ceiling joist mid-span. Collars and hangers complete the triangulation per the design. This is the structural skeleton, and it is inspected before any covering hides it.
- 4
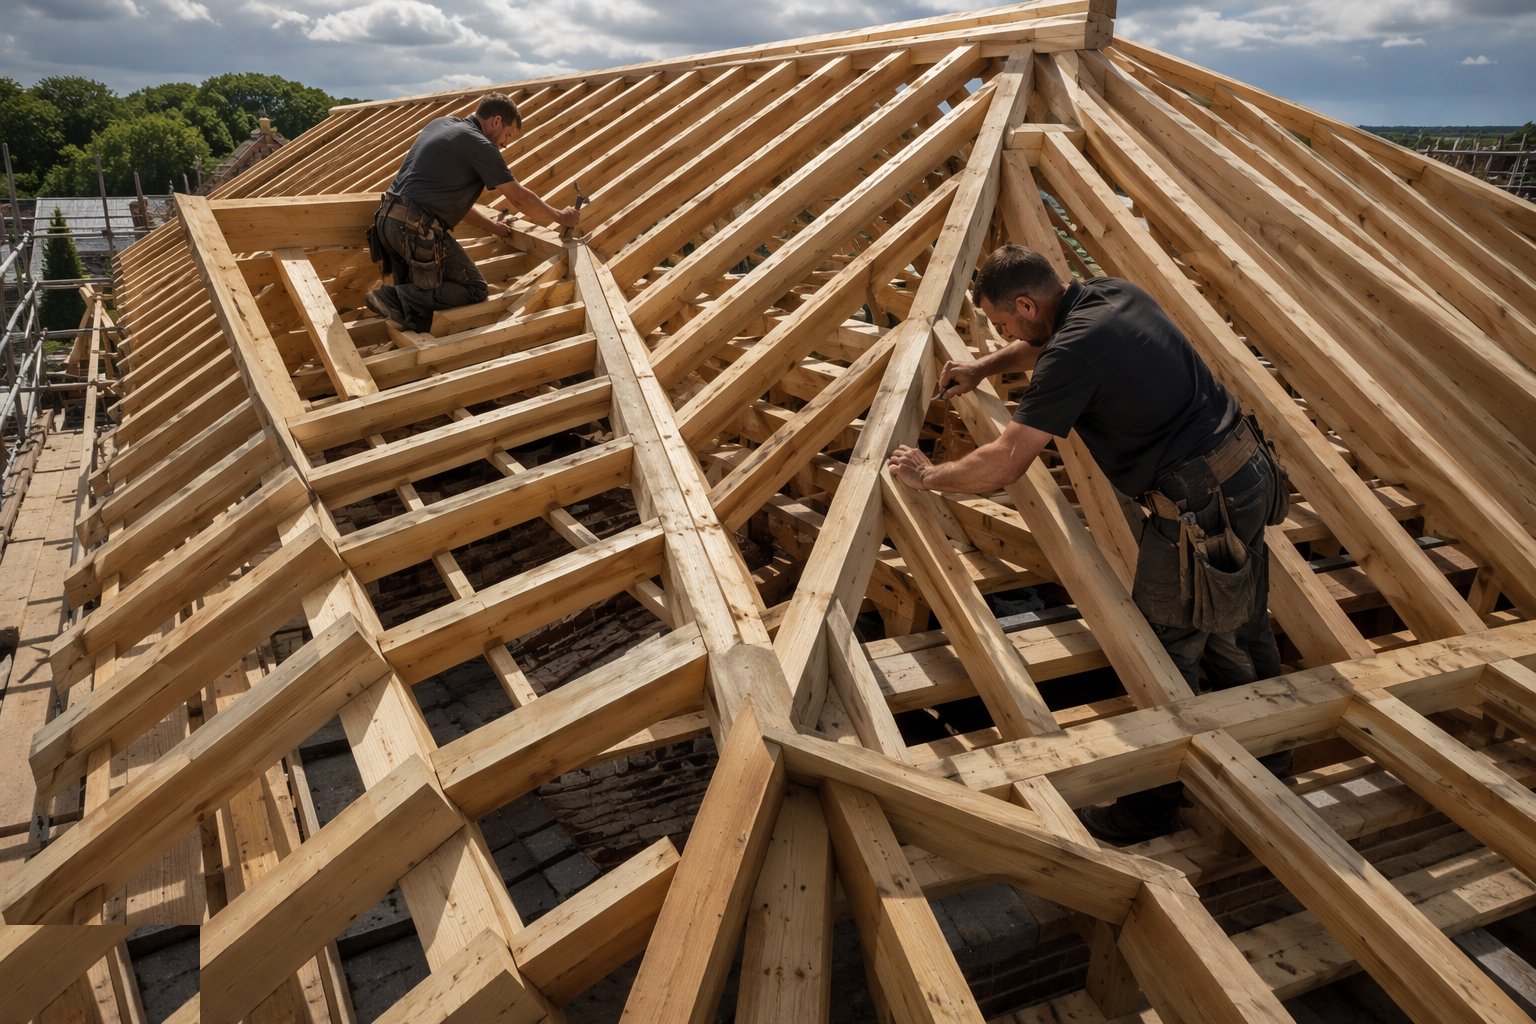
Step 4: Form hips, valleys and openings
Hip and valley rafters are cut and fixed with their jack rafters diminishing to the corners - the genuinely skilled geometry of the trade. Dormers, roof windows and chimney openings are trimmed with doubled members carrying the displaced load. Valleys are boarded or trayed for the underlay, and every trimming detail is checked against the load path it replaces.
- 5
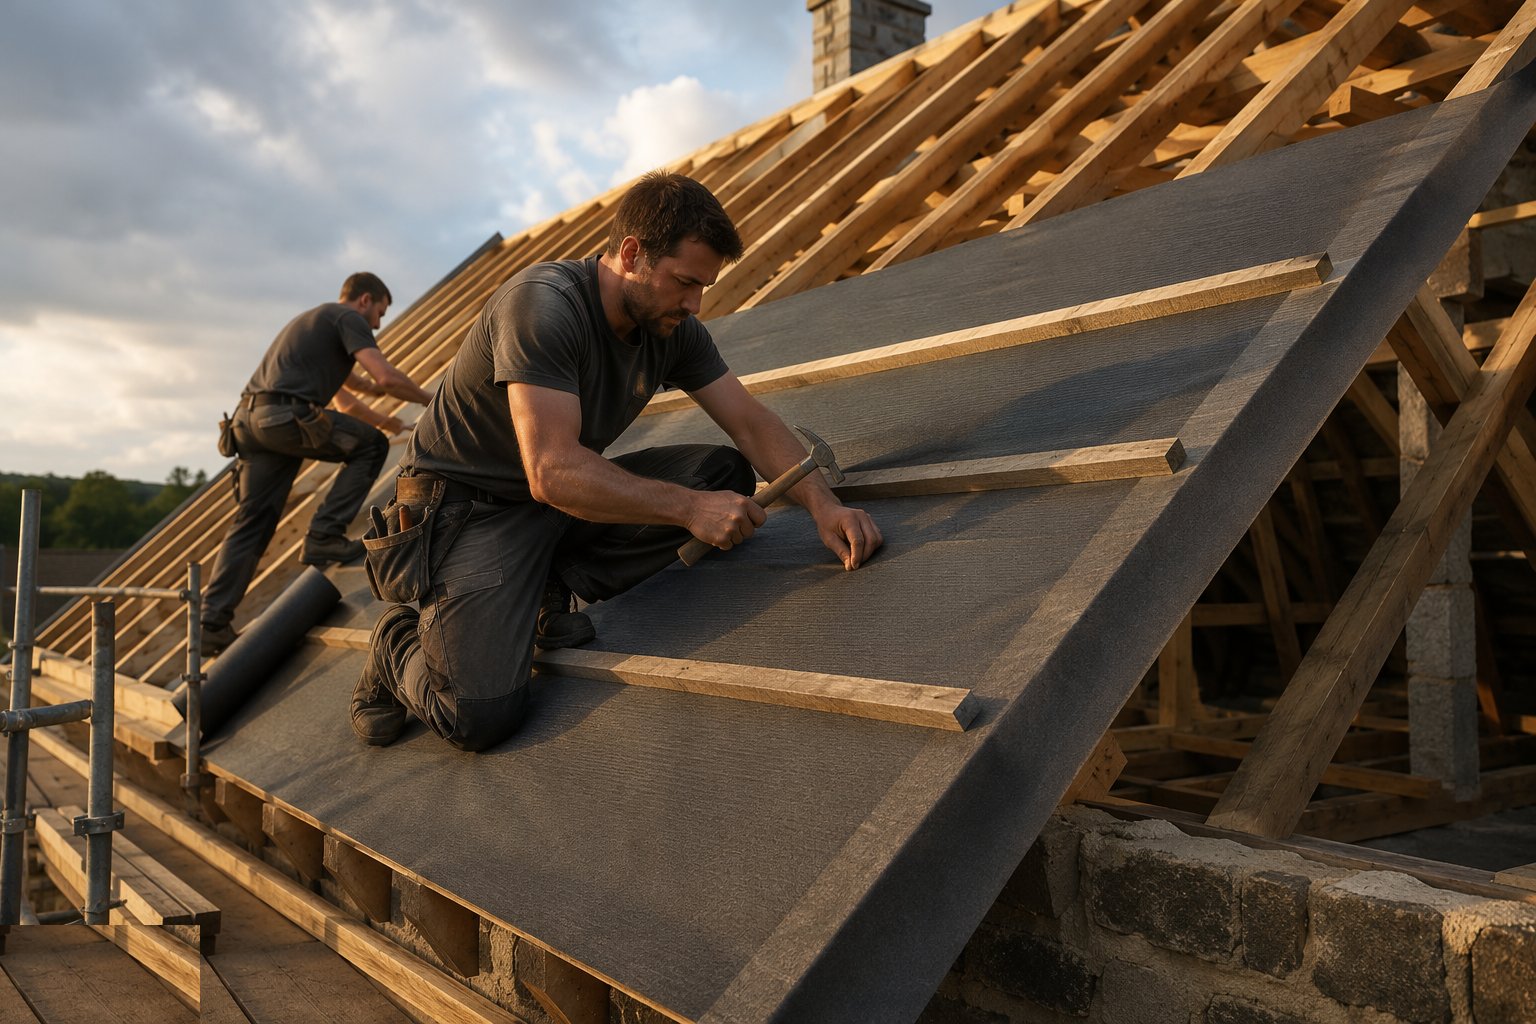
Step 5: Underlay, ventilate and batten
The underlay is laid from the eaves up with designed laps, drained over an eaves support tray into the gutter, with eaves and ridge ventilation forming the designed airflow path. Warm-roof insulation between and over rafters gets its vapour control layer taped on the warm side and the ventilated space maintained above. Battens are gauged to the covering and nailed to every rafter.
- 6
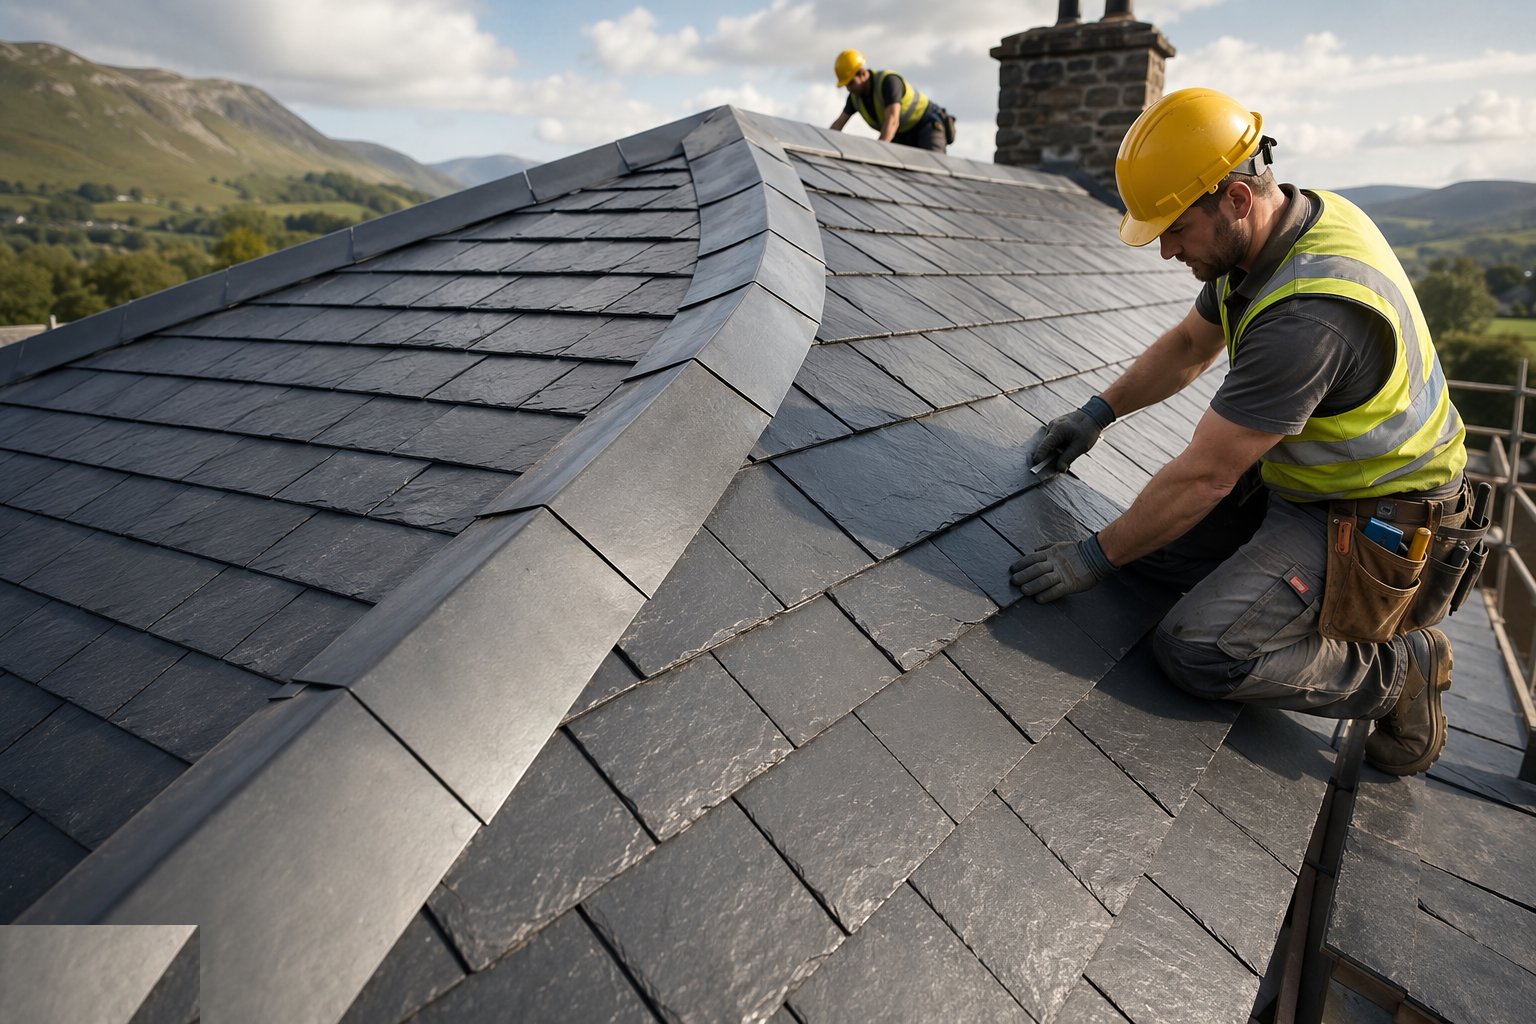
Step 6: Cover, flash and finish
Tiles, slates or shingles are laid with the designed headlap and the wind-driven fixing schedule, valleys and abutments closed in lead or proprietary systems dressed into the courses. Verges, ridges and eaves are finished and mechanically fixed where exposure demands. The completed roof is walked for laps, fixings and leadwork, and the loft is checked for light leaks - daylight through the structure is water through the structure.
What are the benefits of Cut roofs and traditional carpentry?
- Total geometric freedom - any pitch, hip, valley, dormer or irregular plan
- Clear, usable loft space without a lattice of truss webs
- Adaptable over time - openings and alterations are carpentry, not voided warranties
- The only honest answer for heritage and conservation work
- No manufacturing lead time or design freeze - the roof follows the building as found
- Materials are standard timber sections, available anywhere
What are the limitations of Cut roofs and traditional carpentry?
- Slow and skill-hungry - roughly three times the labour of a trussed roof
- Structural logic lives in the carpenter's head - weak joints and bad load paths fail quietly
- Needs designed purlin supports - intermediate load-bearing walls or engineered members
- Material waste is higher and cutting quality varies with the operative
- Large spans hit timber section limits and need steel flitch beams or purlins
- Harder to QA - every joint is a one-off, not a factory-pressed plate
What is Cut roofs and traditional carpentry best suited for?
What plant does Cut roofs and traditional carpentry need?
- Carpentry kit - saws, nail guns, chisels, framing squares and gauges
- Scaffold with loading bays and safe roof access
- Telehandler or crane for purlins and heavy sections
- Roof ladders, crawling boards and edge protection
- Levels, lasers and lines for plates, ridge and plumb
- Lead-working tools or proprietary flashing systems
How is Cut roofs and traditional carpentry quality-checked?
- Pattern rafter offered up and approved before batch cutting
- Birdsmouth bearing, ridge alignment and rafter plumb checked during erection
- Purlin supports and strut bearing points verified against the load path - inspected hold point
- Ceiling joist ties and wall plate fixings checked against the design
- Underlay laps, eaves drainage and ventilation paths verified before battening
- Final walk for laps, fixings, flashings and daylight leaks before scaffold strike