Pitched roofs with trussed rafters
Forty engineered triangles, delivered on a lorry - braced together or braced for failure.
Last updated 2026-09-05
What is Pitched roofs with trussed rafters?
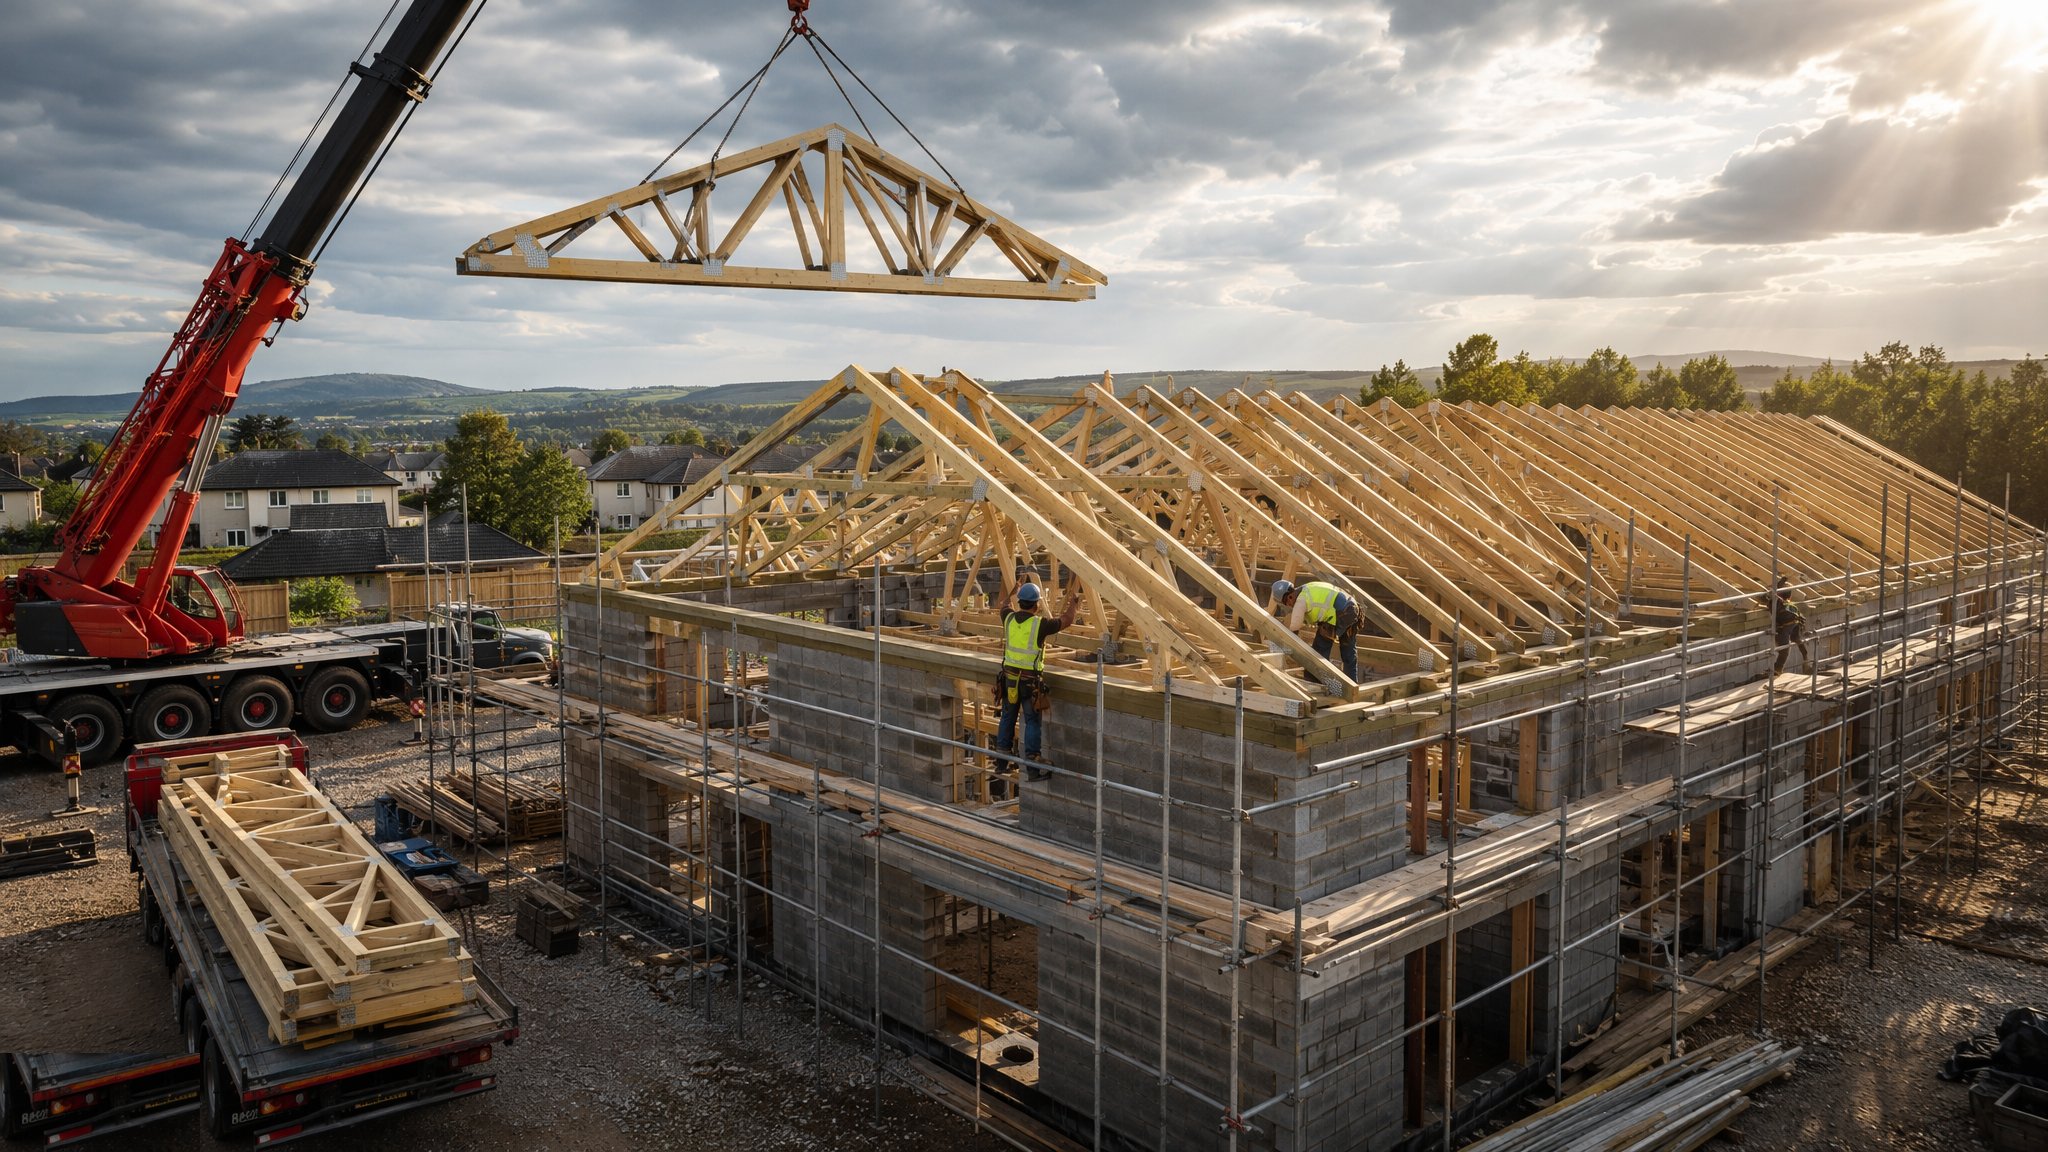
The trussed rafter roof is factory engineering on the housebuilder's critical path. Each truss is a triangulated lattice of graded softwood joined by pressed steel nail plates, designed by the manufacturer's software to span wall to wall with no internal support. Delivered as a sequenced pack, they are lifted onto the wall plates at 400–600 mm centres, and a house roof structure goes up in a day or two where traditional carpentry took a fortnight. Battens over a breathable underlay then carry the tiles or slates, and the covering follows the same engineered logic: headlaps, gauges and a fixing schedule calculated against the site's wind exposure.
The system's genius and its trap are the same: every truss is a designed component, and the roof is only a structure when the trusses are braced together into a system. The manufacturer's bracing layout - longitudinal binders, diagonal bracing, chevron bracing to the webs - is structural engineering, not tidiness, and it must be installed exactly as drawn before the roof is loaded or tiled. A truss with a member cut on site for a flue or a loft ladder is a truss with its design voided, and the industry's roof-collapse case files are full of exactly that. The rule on site is absolute: nobody cuts, notches or drills a trussed rafter without the designer's written detail.
Above the structure, the moisture logic runs its own discipline. Modern roofs use vapour-open breathable underlays, but the ventilation design still matters - eaves ventilation, ridge ventilation, and an underlay drained properly into the gutter on its support tray so condensate and wind-driven rain exit at the eaves rather than ponding over the fascia. Tile fixing is calculated, not habitual: the wind-uplift assessment for the site's exposure zone dictates which tiles are nailed, which are clipped, and how the verges, ridges and eaves courses are secured. The first winter storm audits every one of those decisions, and it marks strictly.
Process storyboard
Step 1 of 6 - slide through the snapshots.
STEP 1
Check the wall plates and lift the trusses
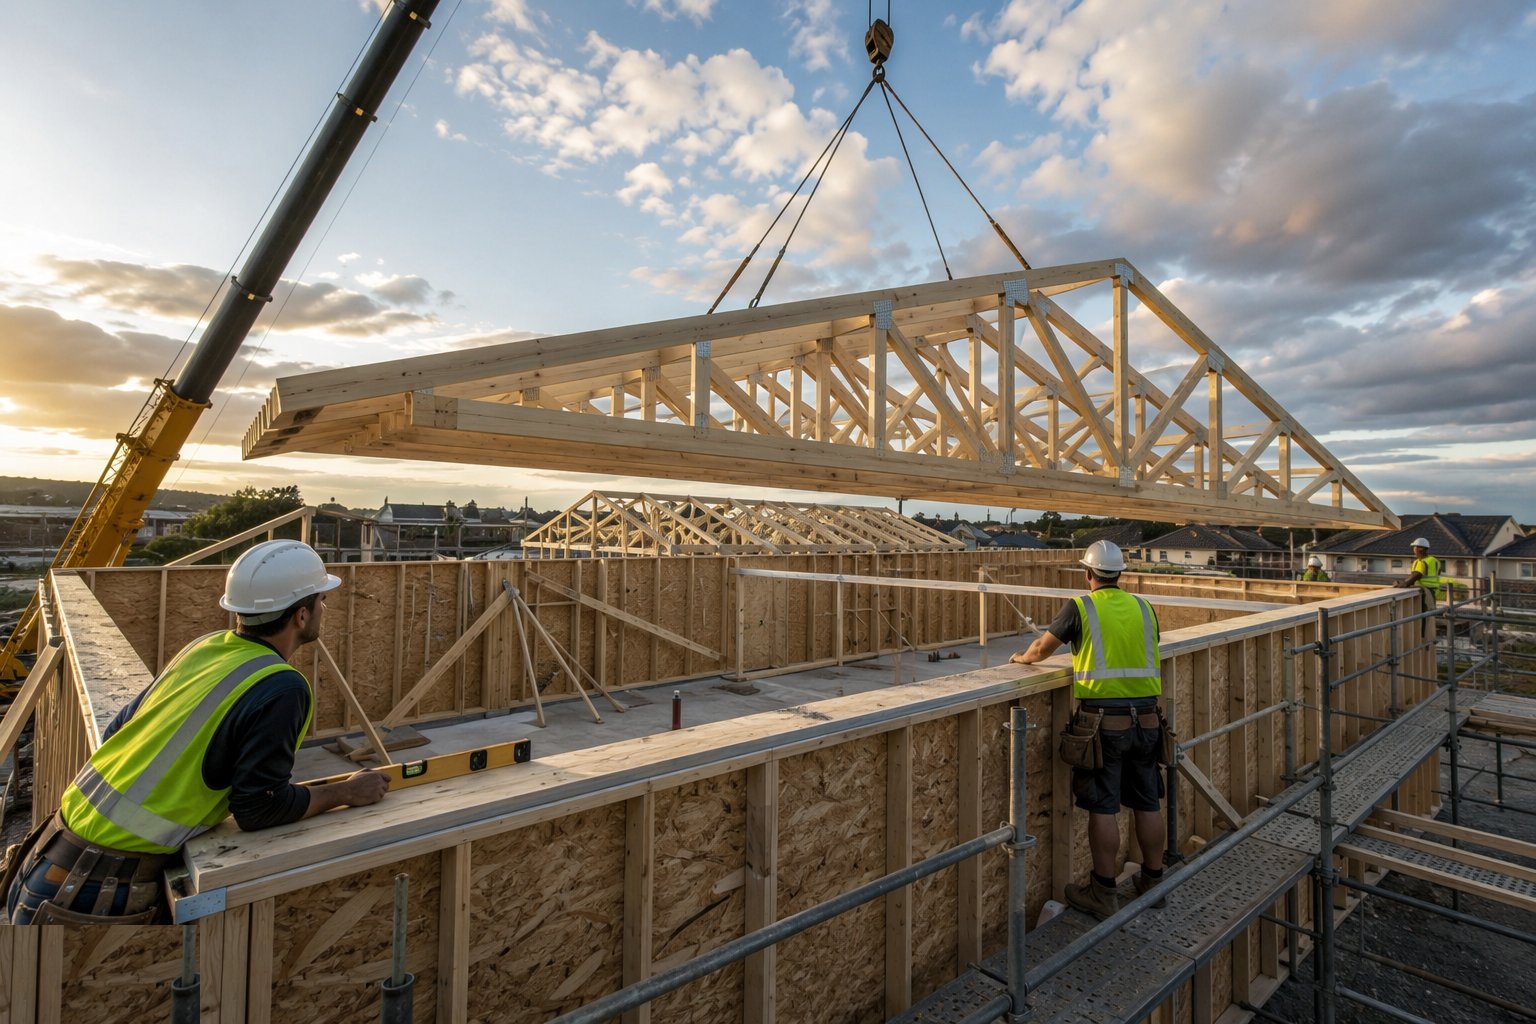
Wall plates are verified level, aligned, bedded and strapped down - the trusses inherit their line from the plates.
How does Pitched roofs with trussed rafters work, step by step?
- 1
Step 1: Check the wall plates and lift the trusses
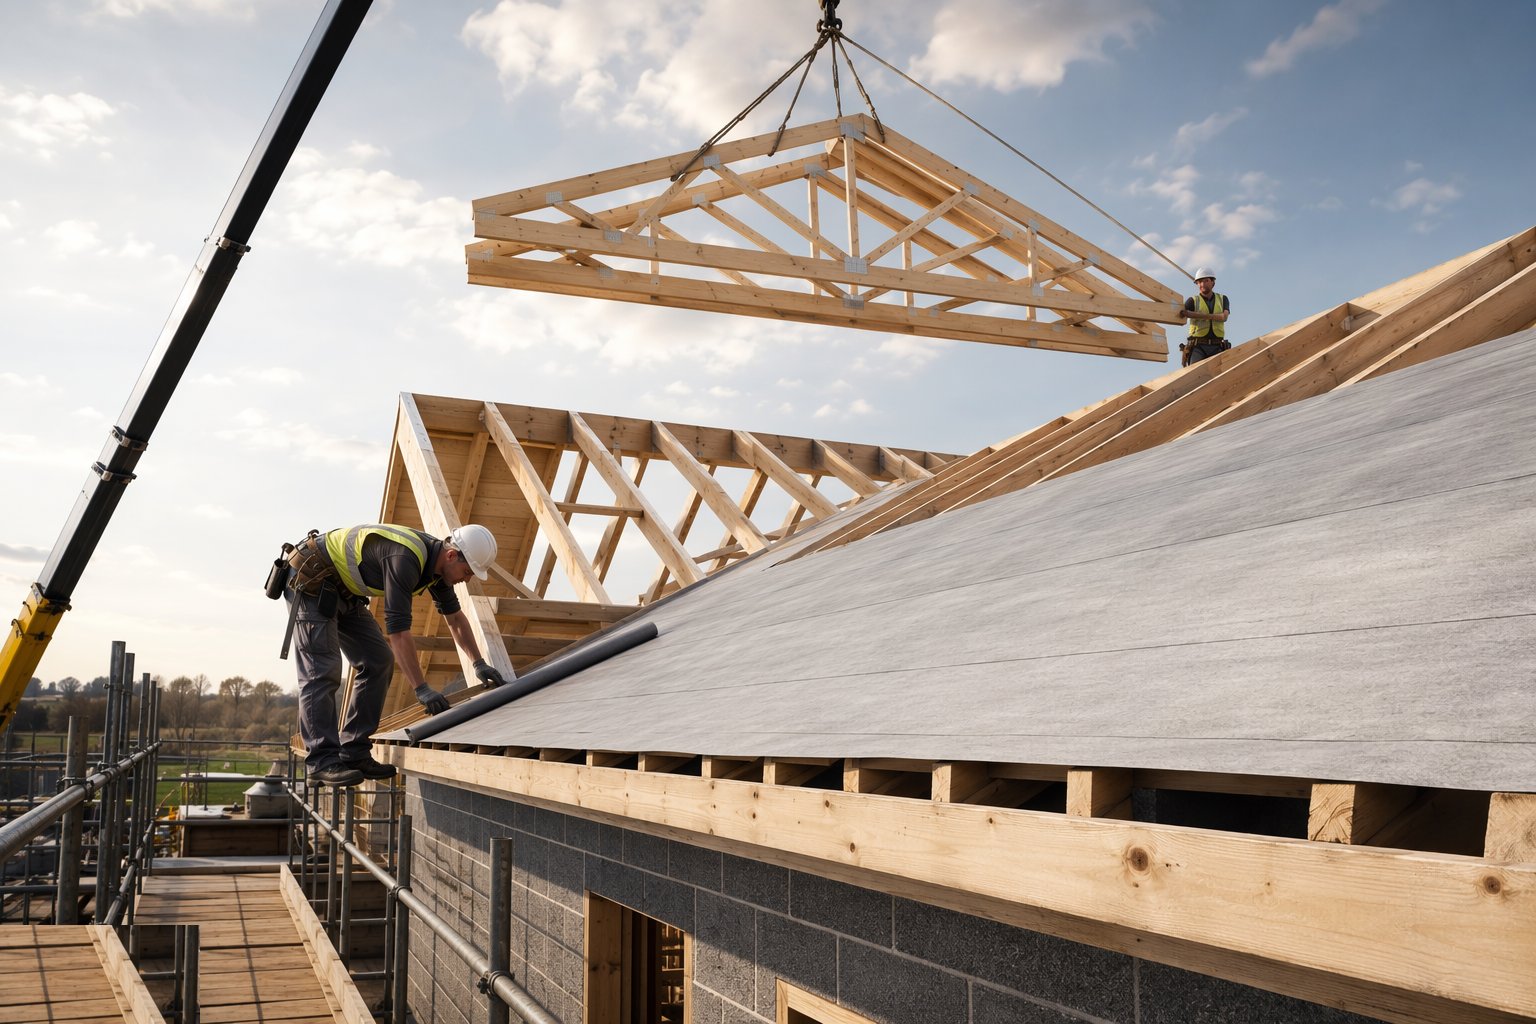
Wall plates are verified level, aligned, bedded and strapped down - the trusses inherit their line from the plates. The truss pack is checked against the delivery schedule, and trusses are lifted in the erection sequence with proper lifting points, never dragged or tipped off the lorry: nail plates tolerate compression and shear in service, not site abuse. The gable and party-wall trusses with their specific bracing requirements are identified first.
- 2
Step 2: Set, space and temporarily brace
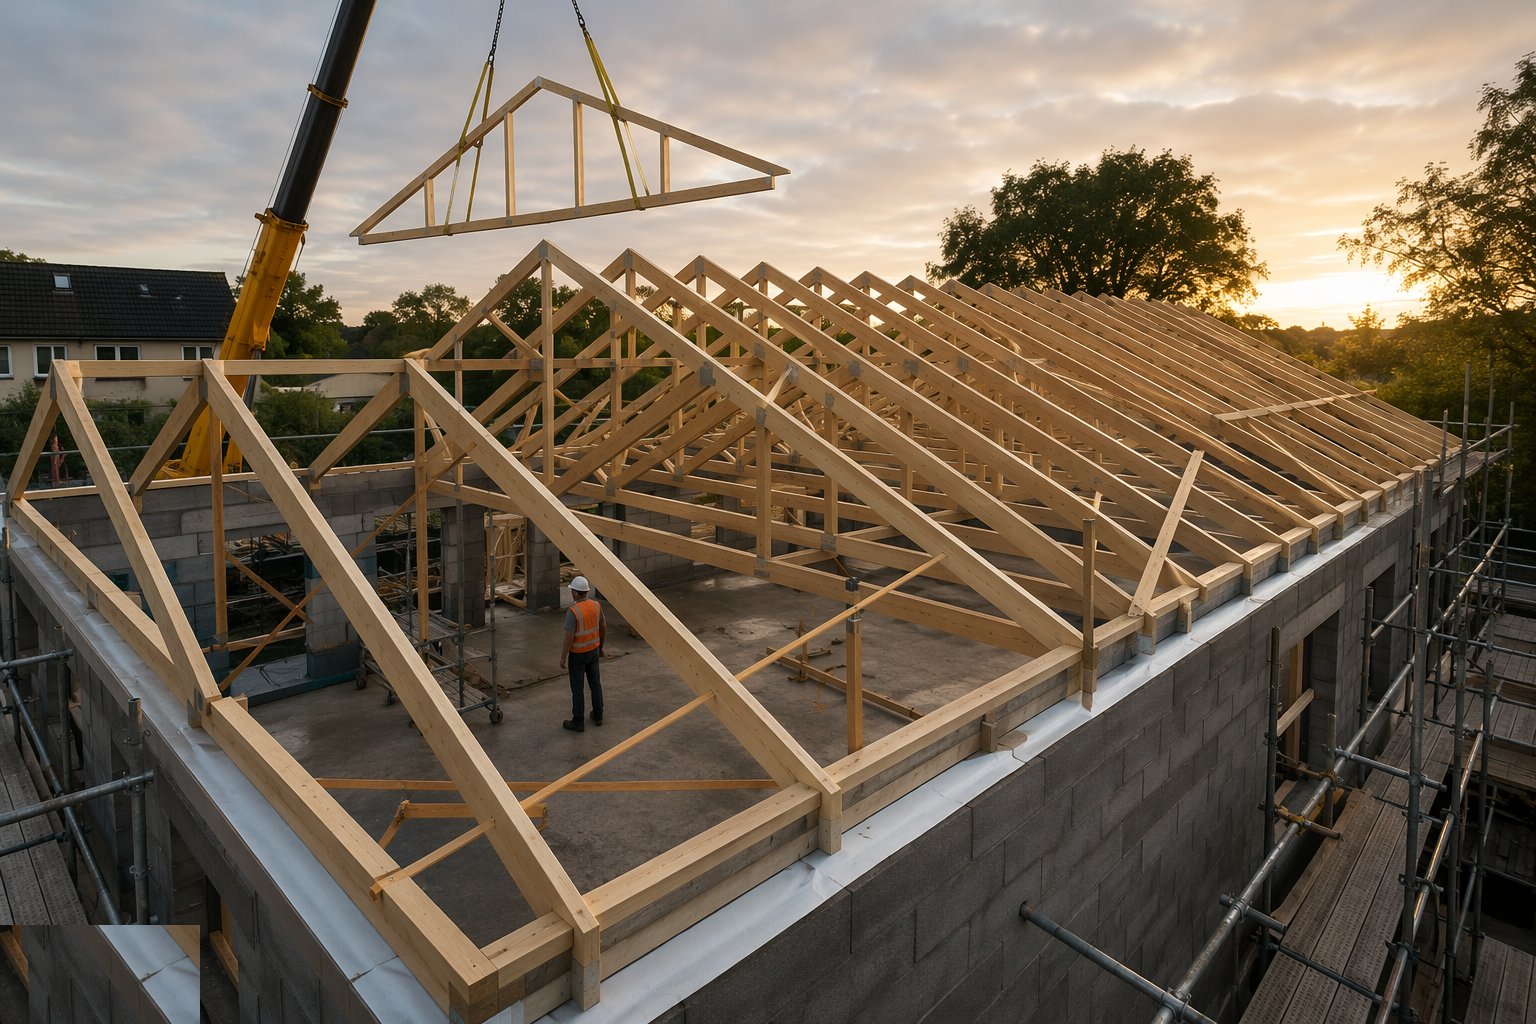
Trusses are set to the designed centres on the plate marks, plumbed and held with temporary bracing as each lands. Spacing, plumb and the alignment of the ceiling ties are checked continuously - a roof set out ragged at the fifth truss is a misery to batten and tile at the fortieth. Nothing is loaded and nobody works under an unbraced run.
- 3
Step 3: Install the permanent bracing exactly as drawn
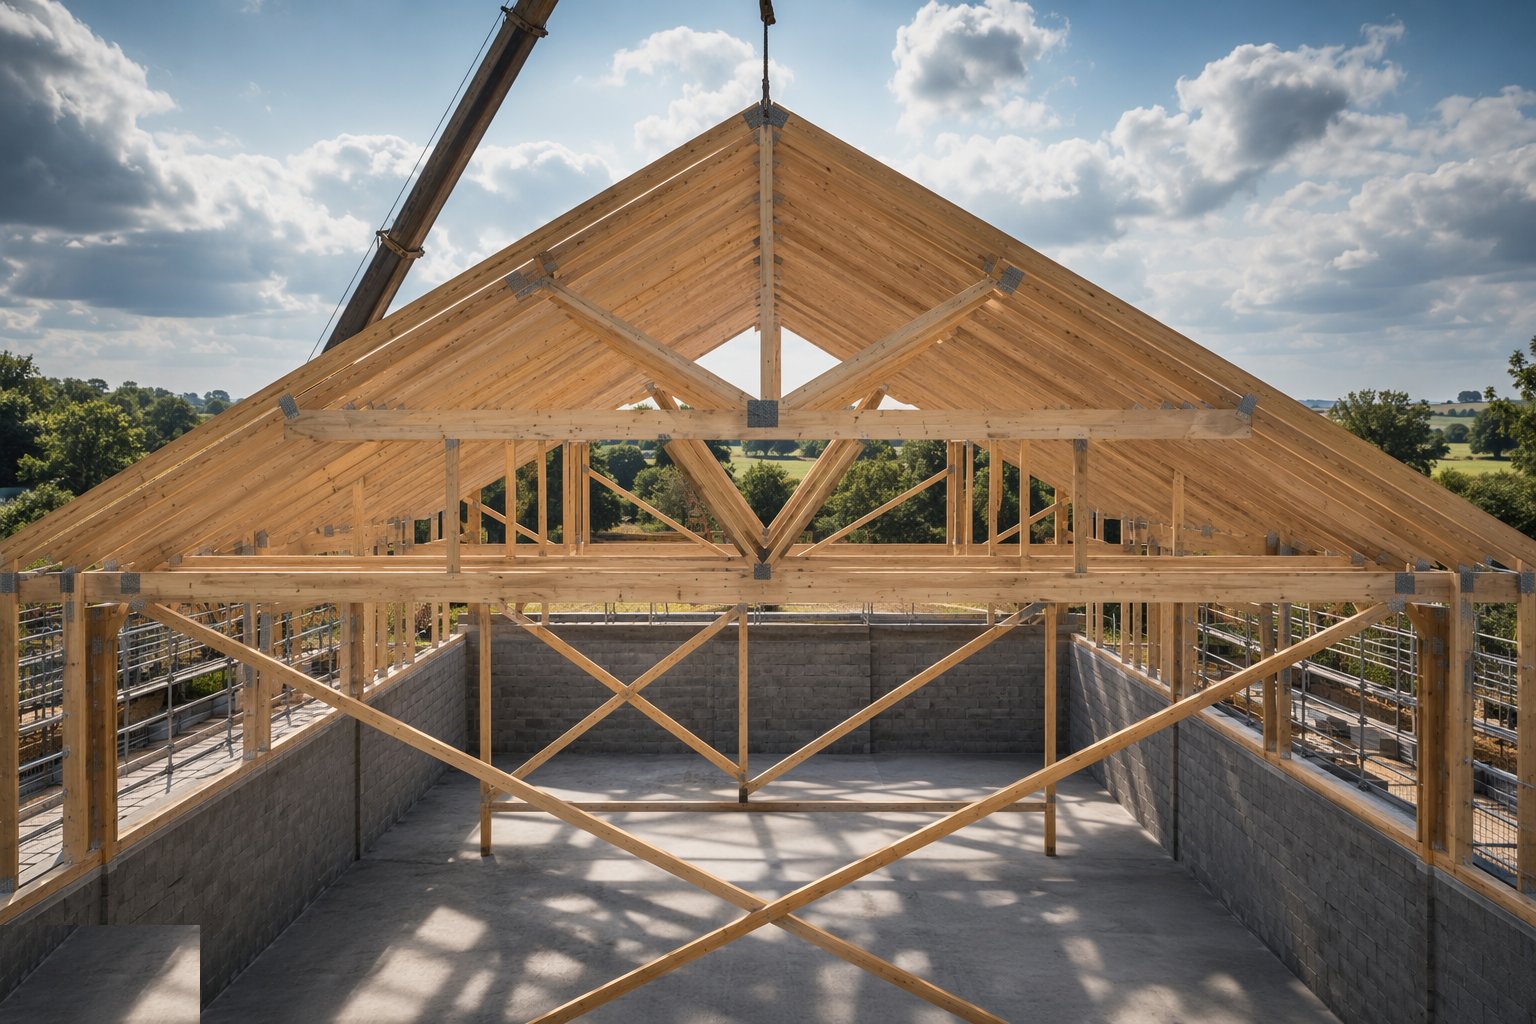
Longitudinal binders, diagonal bracing and chevron bracing go in precisely to the truss designer's layout - timber sizes, positions, lap lengths and fixings as specified, nailed to every truss they cross. Restraint to gable walls, party-wall straps and holding-down fixings complete the system. This stage is an inspected hold point: the bracing is what turns forty separate triangles into one roof.
- 4
Step 4: Lay the underlay and set the eaves
The breathable underlay is laid from the eaves up with the specified laps, draped slightly between rafters, and carried over the eaves on a rigid support tray that drains it into the gutter - an underlay that bellies behind the fascia ponds water straight into the eaves. Laps are detailed at valleys, hips and abutments, and the underlay is patched with matching material wherever it tears.
- 5
Step 5: Gauge and fix the battens
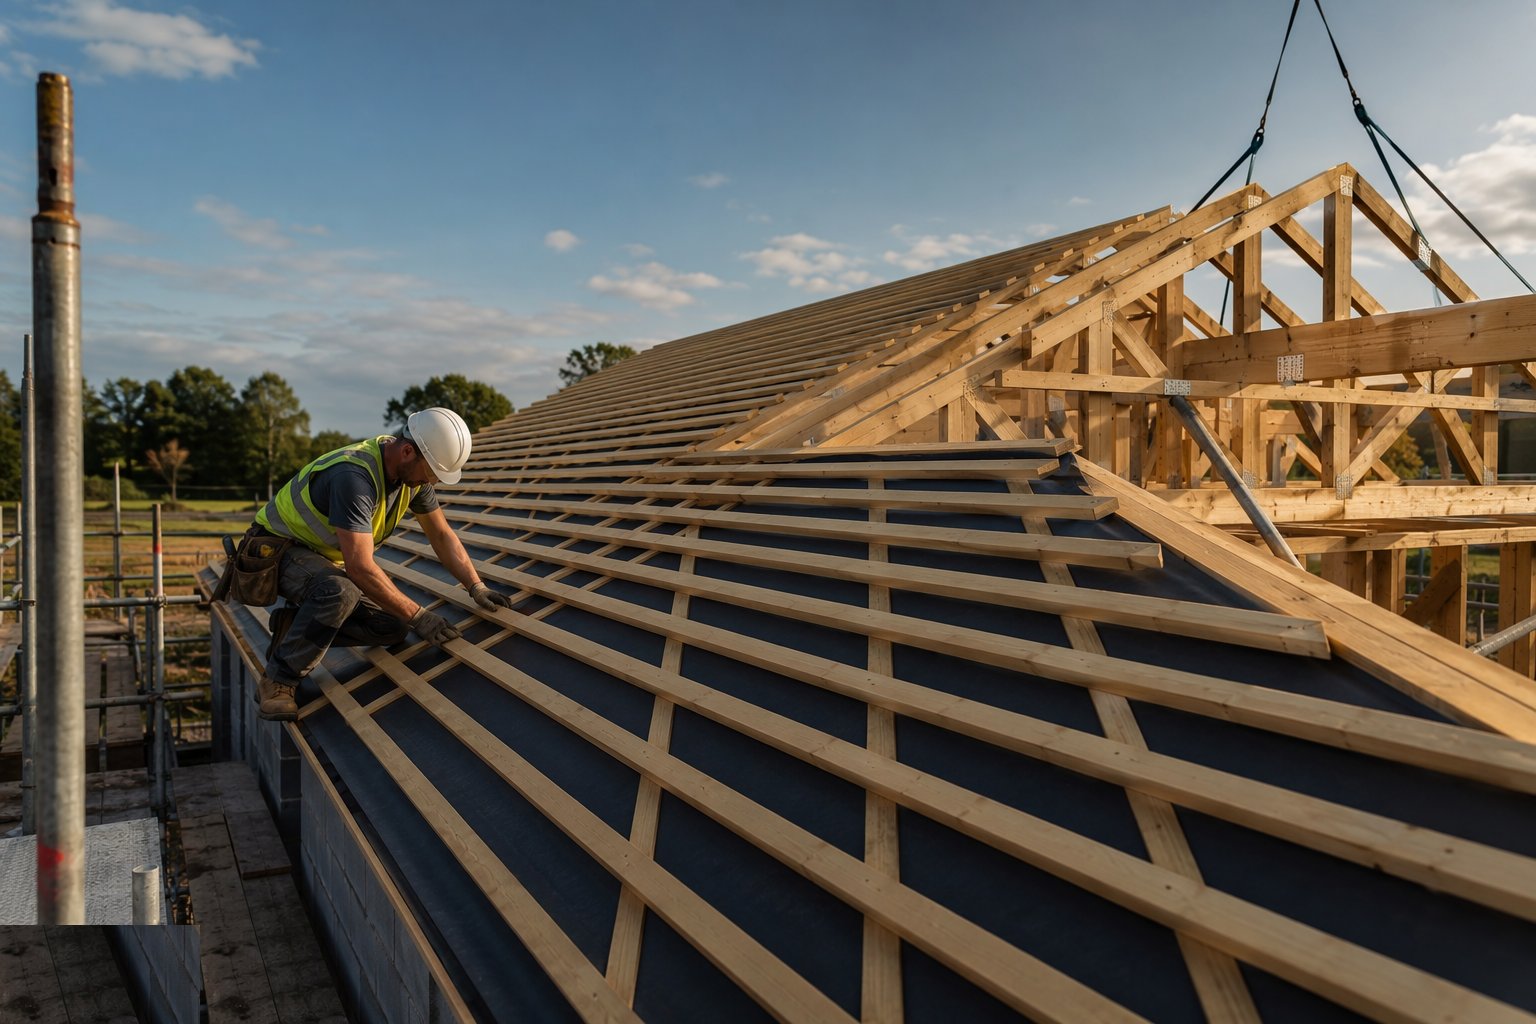
Battens are set out to the tile gauge calculated from the rafter length so courses land full at the ridge and correctly at the eaves - gauge is arithmetic, not habit. Battens are fixed with the specified nails into every truss, graded and treated, with joints staggered and supported. Valleys get their boards or trays, and abutments get the battens cut to take the soakers.
- 6
Step 6: Tile, fix to the wind schedule and detail the edges
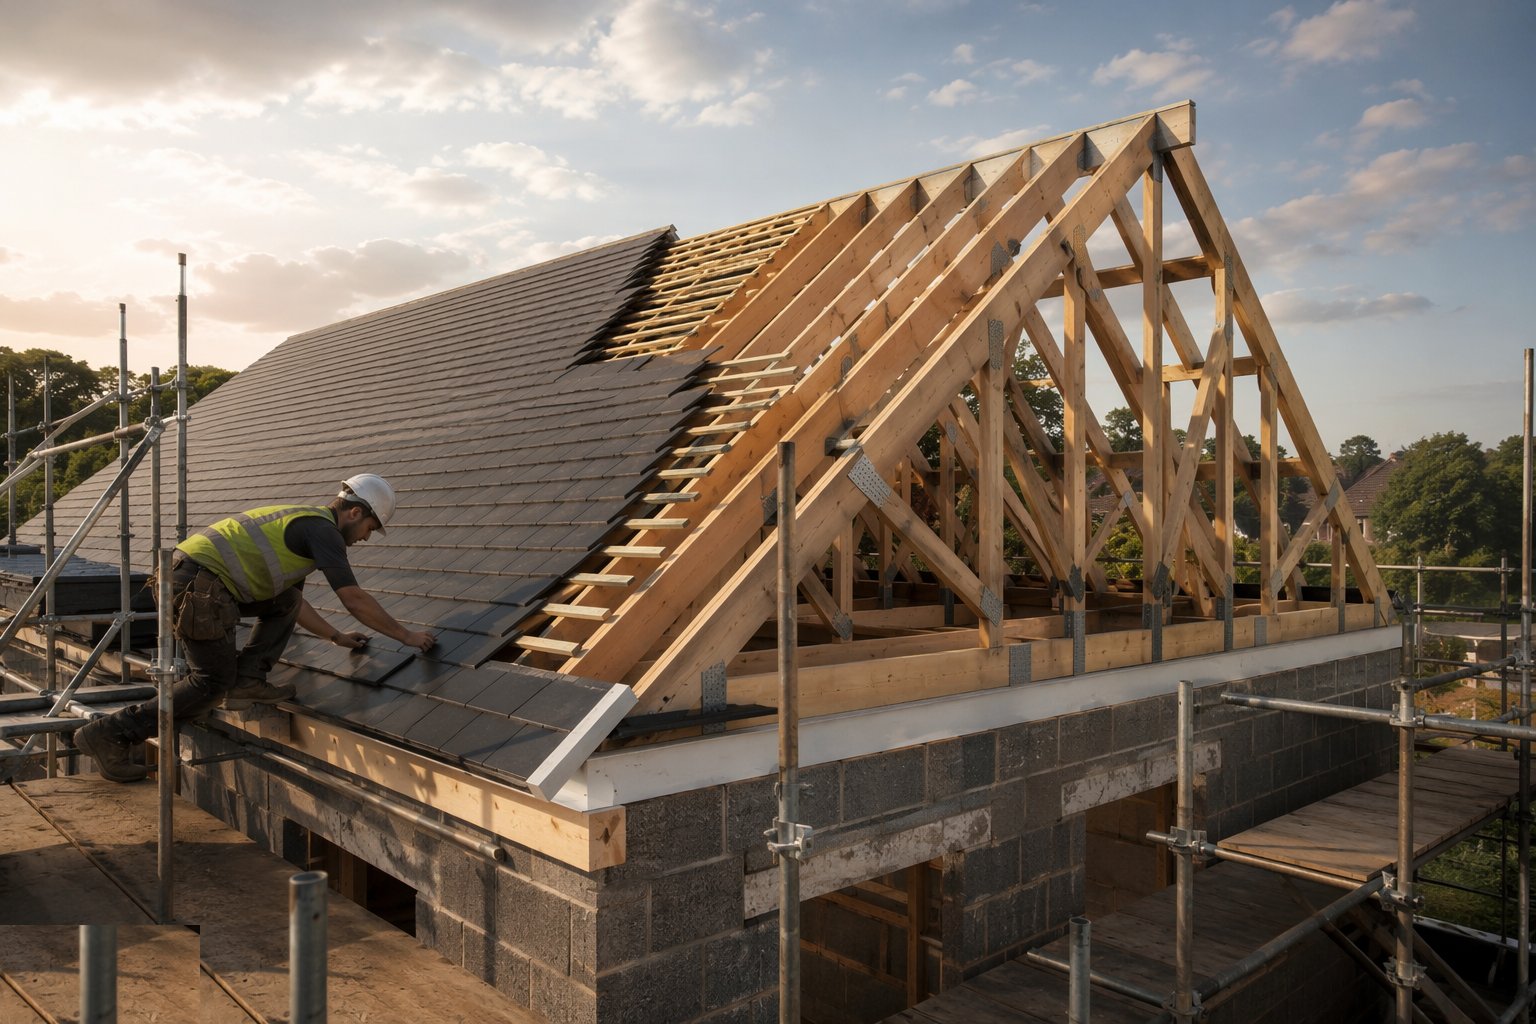
Tiles or slates are laid from the eaves up at the designed headlap, fixed per the wind-uplift calculation - every tile nailed or clipped where the exposure demands, verge and ridge courses mechanically fixed, dry-fix systems per the manufacturer. Leadwork or proprietary flashings close the abutments, valleys and penetrations, with every pipe and flue passing through a designed flashing. The ridge, verges and eaves are finished, gutters aligned to outlets, and the roof is walked for fixings, laps and details before the scaffold comes down.
What are the benefits of Pitched roofs with trussed rafters?
- Engineered speed - a house roof structure in a day or two off one delivery
- Clear spans wall to wall - no internal load-bearing walls needed upstairs
- Factory precision and certified design with full structural calculations
- Efficient material use - triangulation does more with less timber than cut carpentry
- Predictable cost and programme - the manufacturer carries the design risk
- Compatible with every tile, slate and underlay system on the market
What are the limitations of Pitched roofs with trussed rafters?
- No site modification - a cut, notched or drilled truss voids its design
- Bracing is structure - incomplete or wrong bracing is an invisible collapse risk
- Trusses are fragile in handling - plate damage in transport or lifting rejects the truss
- Loft space is a lattice - storage and conversions need designed solutions
- Complex hips, valleys and dormers generate heavy, awkward girder trusses and site carpentry anyway
- Span and pitch are fixed at design freeze - late changes mean new trusses and new lead times
What is Pitched roofs with trussed rafters best suited for?
What plant does Pitched roofs with trussed rafters need?
- Crane or telehandler with truss lifting slings and spreader where spans demand
- Temporary bracing timber and adjustable props for erection
- Nail guns, hammers and the specified fixings for bracing and battens
- Roof ladders, crawling boards and edge protection systems
- Saws and battens for the roofing stage - never for the trusses
- Lasers, lines and tapes for plate checks, centres and batten gauge
How is Pitched roofs with trussed rafters quality-checked?
- Truss identity, condition and plate integrity checked against the schedule at delivery
- Wall plate level, alignment and strapping verified before erection
- Truss spacing, plumb and alignment recorded during erection
- Permanent bracing inspected against the designer's layout before covering - hold point
- Underlay laps, eaves drainage and ventilation paths verified before battening
- Tile fixing schedule audited against the wind-uplift calculation; verge, ridge and eaves fixings checked
More roofing methods
Next method
Cut roofs and traditional carpentry