Chill stores (0 to +5 °C)
Rooms held just above freezing for fresh and chilled goods, where the whole build is a sealed insulated box and the ground below never freezes.
Last updated 2026-09-06
What is Chill stores (0 to +5 °C)?
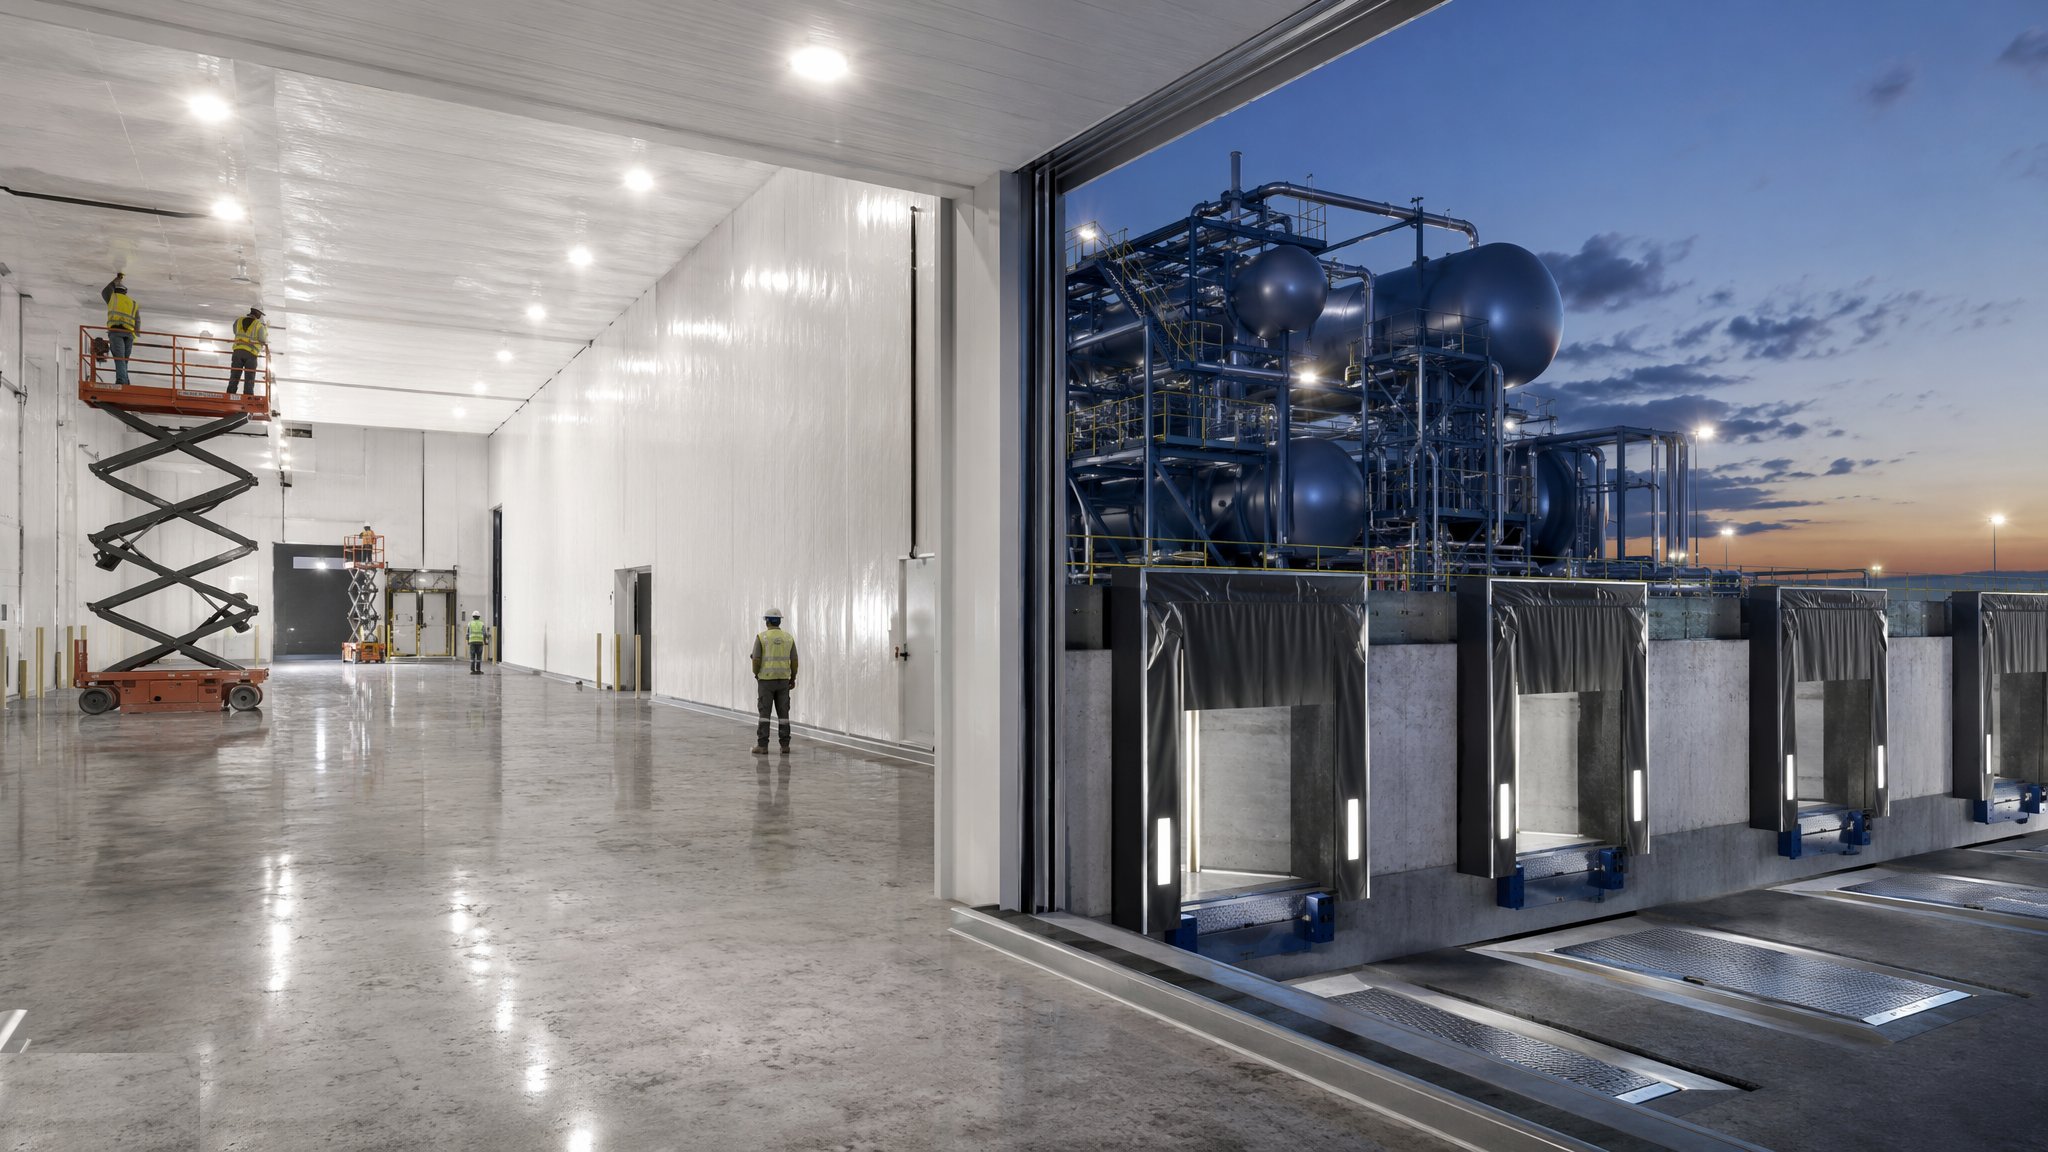
A chill store is a room held a few degrees above freezing for fresh produce, dairy, chilled ready meals, meat and fish. It is the most common form of cold store on a distribution project and the least demanding to build, but it is still a different building from the warehouse around it. Everything inside the insulated line is designed to hold a stable temperature and a stable humidity against an outside world that is warmer and wetter for most of the year. The envelope is a continuous skin of insulated panels, floor build-up and sealed junctions, and it either works as one continuous barrier or it does not work at all. On most projects the panels are erected inside a conventional portal or braced steel frame, so the frame keeps the weather out and the insulated box sits within it as a room inside a room.
The governing difference between a chill store and a freezer store is that the ground under a chill store stays above freezing. Because of that, the floor build-up is a comparatively straightforward insulated slab with a vapour and moisture barrier below it, and none of the ground heave protection that a frozen room needs. That single fact takes cost, depth and complexity out of the floor, and it is the reason chill duty is usually the cheaper option where the goods allow it. The designer still has to deal with moisture. Air at chill temperature holds far less water than the warm air outside, so every leak in the envelope brings vapour in and drops it out as condensation or frost somewhere in the construction. The designer therefore puts the vapour control layer on the warm side and keeps it unbroken.
The rest of the design is about the openings and the traffic through them. Chill stores are worked hard. Doors open constantly, forklifts and pallet trucks run in and out, and every opening admits warm moist air that turns into condensation on the floor, fog in the room and load on the plant. On most projects the answer is a combination of door protection, a temperature-controlled dock and a discipline about how long a door stays open. The refrigeration plant itself is designed, installed and commissioned by a refrigeration specialist working to its own regime, and the construction team provides the sealed box, the structure to carry the plant, the drainage and the power, then hands over to that specialist for the pull-down.
How does Chill stores (0 to +5 °C) work, step by step?
- 1
Step 1: Fix the duty and the room envelope with the designer
The starting point is what the room has to hold and what will be in it. The product, the throughput, the number of door openings in a shift, the rack layout and the humidity the goods need all shape the room before any panel is ordered. The designer sets the temperature band, the internal conditions and the performance the envelope has to achieve, and the refrigeration specialist sizes and selects the plant against that brief. Chill duty rooms are commonly built as a room within the main warehouse frame, which keeps the panels out of the weather and lets the main structure carry the roof loads. The insulation performance and thicknesses for a particular room are the decision of the designer and follow from the calculations, not from a rule of thumb.
- 2
Step 2: Prepare the slab and the floor build-up
The floor is a layered construction and the order matters. A vapour and moisture barrier goes below the insulation, the insulation boards are laid tight and staggered, and the wearing slab is cast over the top. The sub-base has to be flat and clean because a board laid over a ridge will rock, crack and lose contact. Chill rooms do not need underfloor heating because the ground below never reaches freezing, so the build-up is shallower than a frozen room and the programme is shorter. Slab flatness is set by the racking and the trucks that will use the aisles, and it is agreed before the pour rather than argued about afterwards.
- 3
Step 3: Erect the insulated envelope
Wall panels are set out from a level, straight base detail and erected in sequence, plumb and tight, with the joints pulled up so the locking system closes fully. Ceiling panels then span between supports or are suspended from the frame above. The panel line has to be continuous around the whole room, including behind columns, above suspended ceilings and around plant platforms. Every gap left for later access is a gap that will still be there at handover. Panel handling is a lifting operation in its own right because the sheets are large, light and easily caught by wind, so on most projects the panels go up after the building is clad.
- 4
Step 4: Seal the vapour barrier and close the junctions
This is the step that decides whether the room survives. Every joint, junction, corner and penetration is sealed on the warm side so that vapour cannot enter the construction. Wall to floor, wall to ceiling, wall to wall, service penetrations, door frames and fixings are all detailed and all inspected. The rule the trade works to is that the barrier must be continuous and it must be on the warm face, and any later trade that cuts through it must reinstate it to the same standard. On most projects the sealing is photographed as it proceeds because none of it is visible once the room is finished.
- 5
Step 5: Install doors, dock protection and traffic control
Doors are the largest single load on a chill room and the largest source of condensation. Insulated sliding or hinged doors are set into properly formed openings, with strip curtains, fast-acting doors or air curtains ahead of them where the traffic warrants it. On most projects the loading dock is itself temperature controlled, with dock shelters and levellers that seal the vehicle to the building so the chain is not broken between the room and the trailer. Door controls, interlocks and internal release hardware are set up so that no one can be shut inside, and that hardware is proved before the room is used.
- 6
Step 6: Coordinate services and eliminate thermal bridges
Every pipe, cable, drain and duct that crosses the envelope is a potential thermal bridge and a potential vapour leak. On most projects services are coordinated to cross at as few points as possible, each crossing is formed as a designed detail rather than a hole cut on site, and the insulation is carried through so that no cold metal reaches the warm face. Drainage from the room and from the coolers is trapped and routed so it cannot freeze or siphon. Steelwork that passes through the line, hangers, rails and fixings all get the same treatment, because a bridge that is only a few millimetres wide will still show as a wet line on a wall for the life of the building.
- 7
Step 7: Fit out the room and hand over to the refrigeration specialist
Coolers, lighting, sprinkler or detection equipment, racking and internal protection are installed with fixings that respect the panel line. Bollards, barriers and kerbs go in to stop trucks damaging panels, because a panel struck by a forklift is a breached vapour barrier as well as a dent. The refrigeration plant is then completed, charged and commissioned by the refrigeration specialist under its own procedures, and the construction team supports that work rather than directing it.
- 8
Step 8: Stage the pull-down and prove the room
Commissioning is staged rather than done in a single step. The room is brought down towards its working temperature in controlled stages so that the structure, the slab and the panels move gradually and so that faults show up while they can still be reached. Temperatures are logged at multiple points, doors and controls are proved in operation, and the room is left to hold its band for an agreed period before product goes in. Thermal imaging of the envelope while the room is cold is the cheapest way to find the bridges and leaks that survived the build, and it is done before the racking is loaded.
What are the benefits of Chill stores (0 to +5 °C)?
- No ground heave protection is needed because the soil below never freezes, which takes cost and depth out of the floor
- Cheaper to run than a frozen room for the same volume, and easier to recover after a door has been left open
- A simpler floor build-up means a shorter programme and fewer interfaces than a freezer store
- Suits a very wide range of goods, so the room stays useful if the product mix changes
- Usually built as a room within the main warehouse frame, so the panels are protected from weather during erection
- Working conditions inside are tolerable for longer periods than a frozen room, which helps picking productivity
What are the limitations of Chill stores (0 to +5 °C)?
- The vapour barrier still has to be continuous and perfect, and a chill room punishes a poor seal just as a freezer does
- High door traffic drives condensation, fog and floor wetness unless the openings are properly protected
- Condensation and slip risk on the floor are constant management issues rather than one-off construction problems
- Panels are easily damaged by forklifts, and every impact is a potential breach of the envelope
- Holds only above freezing, so it cannot be pressed into frozen duty later without a redesign of the floor
- Any later trade cutting through the envelope for services can undo the sealing work invisibly
What is Chill stores (0 to +5 °C) best suited for?
What plant does Chill stores (0 to +5 °C) need?
- Telehandlers, scissor lifts and boom lifts for panel erection inside the frame
- Panel lifting and vacuum handling gear, with wind exposure managed during the lift
- Laser levels and floor flatness survey equipment for the slab and the base detail
- Concrete plant and power float equipment for the wearing slab over the insulation
- Sealing and jointing equipment for the vapour barrier, with access towers to reach junctions
- Thermal imaging camera and data logging equipment for commissioning
How is Chill stores (0 to +5 °C) quality-checked?
- Vapour barrier continuity inspected and photographed at every junction and penetration before it is covered
- Panel joints checked for full closure, plumb and line, with the locking system proved along each run
- Floor flatness and level surveyed against the criteria set by the racking and the truck type
- Insulation boards inspected for tight, staggered joints and full bearing on a clean sub-base
- Service penetrations recorded on a register, each one signed off as sealed and insulated
- Staged pull-down logged at multiple points, with thermal imaging of the cold envelope before racking is loaded
More cold store construction methods
Next method
Freezer stores (−18 to −28 °C)