Freezer stores (−18 to −28 °C)
Rooms held well below freezing, where the ground under the slab will freeze and lift the building unless the floor build-up stops it.
Last updated 2026-09-06
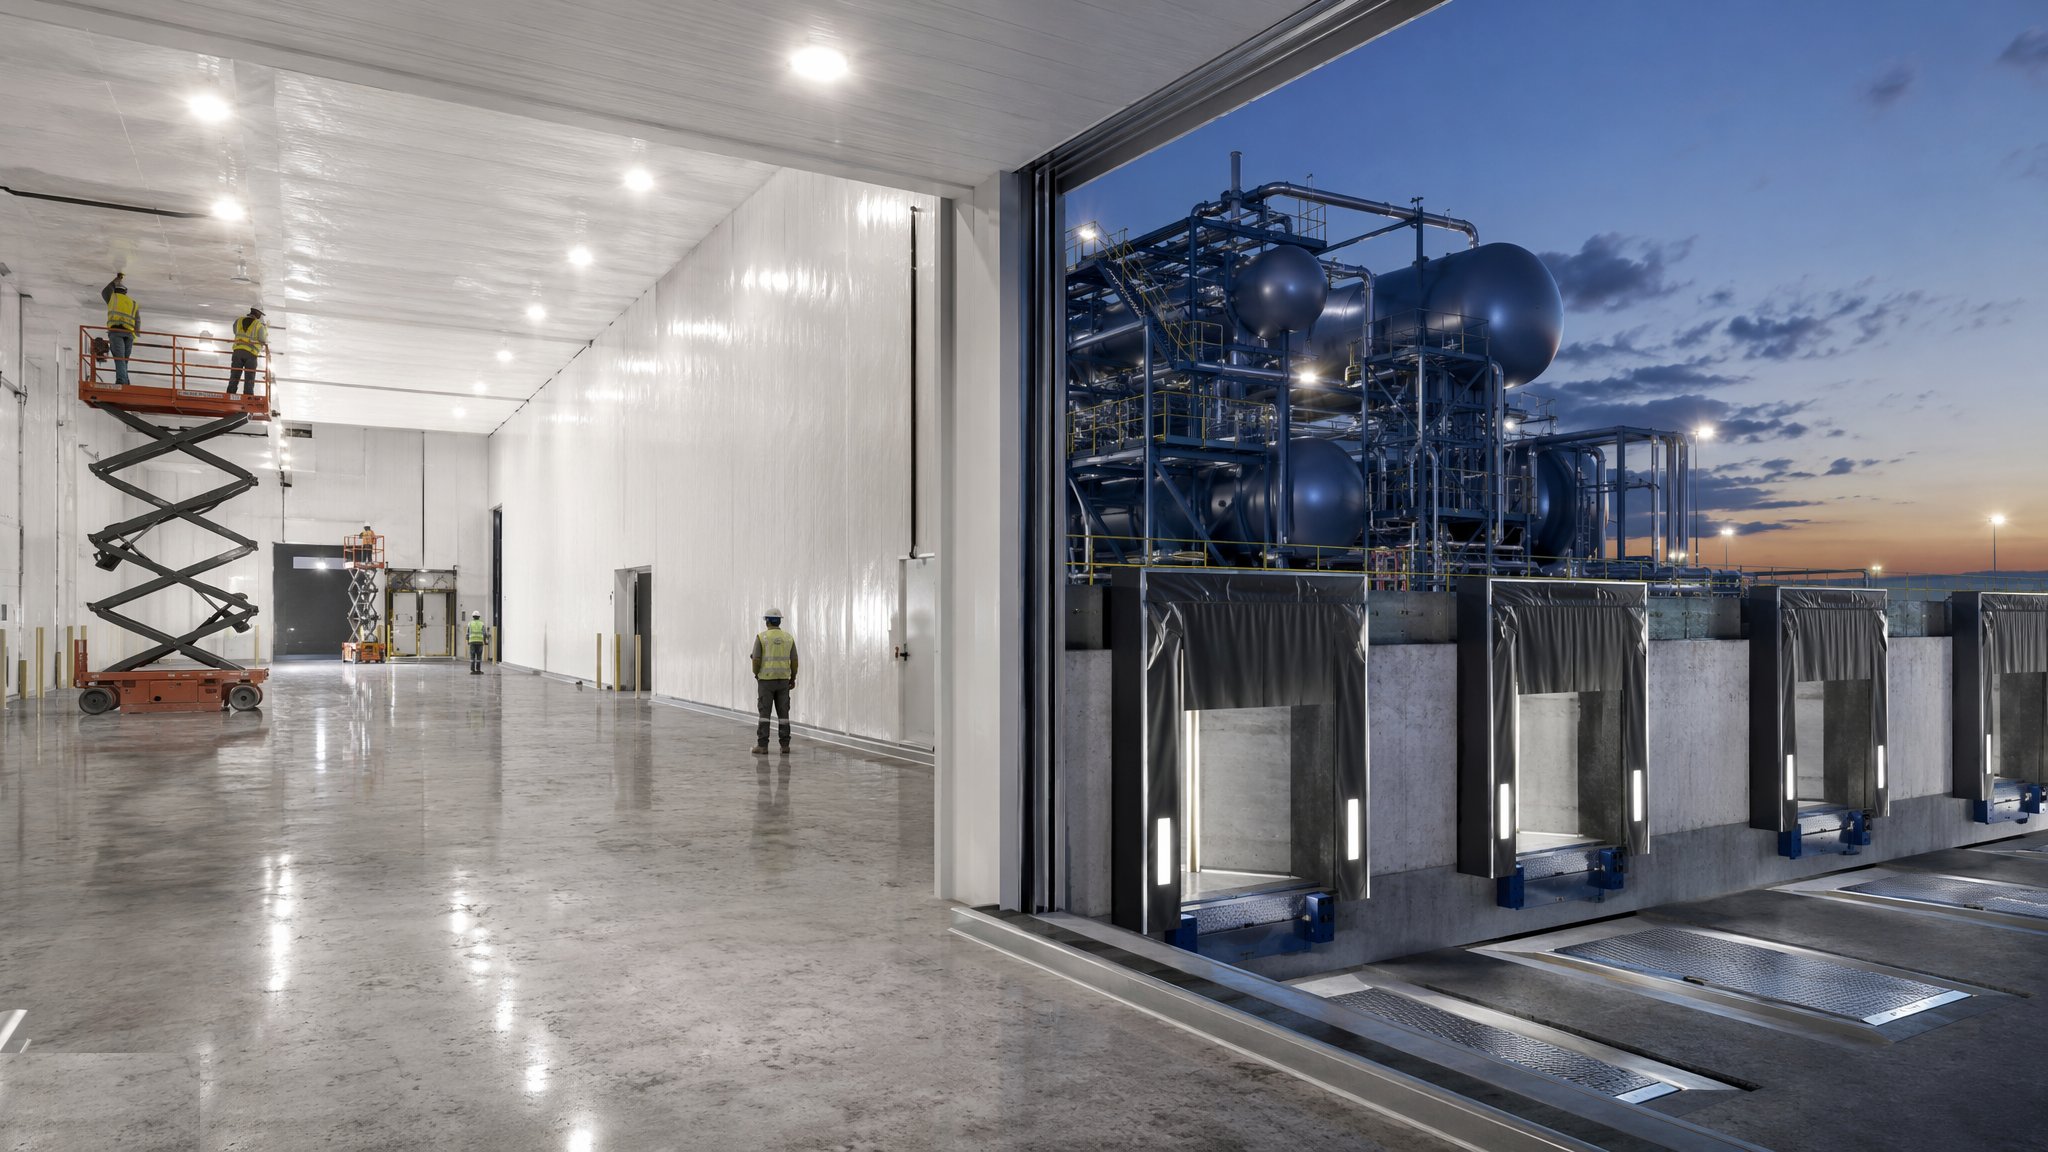
What is Freezer stores (−18 to −28 °C)?
A freezer store holds product well below freezing, commonly in the region of minus 18 to minus 28 degrees, and everything about the construction is harder than a chill room. The temperature difference across the envelope is far greater, the vapour drive from outside is far stronger, and the consequences of a leak are frost and ice inside the construction rather than damp. The room is built as a continuous insulated envelope inside a conventional frame, but every detail is more demanding, every junction is more critical, and the tolerance for a missed seal is effectively zero. Frost that forms inside a wall build-up cannot be reached, expands as it grows and will eventually push the construction apart.
The governing construction issue is the ground. A room held well below freezing will pull the soil beneath the slab below freezing too, and most soils heave when they freeze because water in the pores expands and ice lenses form and grow. Heave under a freezer floor lifts the slab unevenly, cracks it, throws the racking out of plumb and can be severe enough to end the useful life of the building. The design therefore has to stop the ground beneath from freezing, and there are two established families of answer: an under-slab heating system that keeps the soil above freezing, or a ventilated void beneath the slab that lets outside air carry the cold away. Which one is used, and how it is designed, is the decision of the designer and follows from the ground conditions, the water table and the operating temperature. The construction team builds it, protects it and proves it works before the room is ever pulled down to temperature, because there is no access to it afterwards.
Vapour control and thermal bridging are the other two recurring problems. The vapour barrier goes on the warm side and must be absolutely continuous, because the pressure difference driving moisture into a frozen room is relentless. Thermal bridges at columns, door frames, service penetrations, fixings and floor perimeters show up as frost, then as ice, then as damage. Working inside the finished room is also genuinely difficult: clothing, working time, tool performance and battery life are all affected, and the commissioning sequence has to be staged so that the structure comes down to temperature gradually and so that faults are found while people can still work in there. The refrigeration plant is designed, installed, charged and commissioned by a refrigeration specialist under its own regime and its own safety arrangements.
How does Freezer stores (−18 to −28 °C) work, step by step?
- 1
Step 1: Establish the duty, the ground and the heave strategy
The designer fixes the operating temperature, the room geometry and the duty, and the ground investigation is read specifically for the freezing problem: soil type, moisture content, water table and the susceptibility of the soil to heave. From that the designer selects the strategy for keeping the ground beneath the slab above freezing, which on most projects is either a heating system within the build-up or a ventilated void under it. The choice is a design decision, and the parameters belong to the designer. What the construction team needs from that decision early is the depth of the build-up, the interfaces with the foundations and the drainage, and the access needed to install and later monitor the system.
- 2
Step 2: Build the floor build-up in the designed order
A freezer floor is a stack of layers and the sequence is not negotiable. A vapour and moisture barrier, the heave protection layer, insulation in more than one layer with staggered joints, a slip layer where the design calls for one, and the wearing slab above. Where a heating system is used, its elements are installed, protected, pressure or continuity tested and recorded before anything is laid over them, because there is no second chance. Where a ventilated void is used, the void formers, the ducts and the air paths are set out and kept clear of debris and grout. The build-up is deeper than a chill floor, which affects levels across the whole building and has to be coordinated with the docks, the drainage and the external levels.
- 3
Step 3: Protect and prove the heave protection before covering it
Everything under the slab is inaccessible for the life of the building, so it is inspected, tested and photographed before it is covered. Heating elements or ventilation paths are proved complete and functional. Monitoring points and any sensors specified by the designer are installed and their positions recorded on the as-built drawings. Damage caused by following trades is the single most common failure here, so the layers are covered promptly and traffic over the build-up is controlled. The construction team does not pull the room down to temperature until the heave protection has been demonstrated to be working.
- 4
Step 4: Erect the envelope and detail the perimeter
Wall and ceiling panels are erected to a level, straight base detail, plumb and tight, with joints fully closed. The perimeter of a freezer floor is a particular problem because the cold has to be stopped from running out through the slab edge and into the surrounding structure and ground. The designer details that edge, and the construction team builds it exactly as drawn. Column bases, upstands and any structure that penetrates the floor line are treated in the same way. On most projects the panel line and the floor insulation are made to meet in a single detailed junction rather than being left to two trades working in different weeks.
- 5
Step 5: Seal the vapour barrier without a single gap
The vapour control layer is installed on the warm side and sealed continuously at every joint, junction, corner, fixing and penetration. This is the step that decides whether the building has a twenty year life or a five year one. Every following trade is briefed that cutting the barrier is a controlled operation with a mandatory reinstatement, and a register of penetrations is kept and signed off. Inspection is progressive and photographic, because once the panels and finishes are on, none of it can be seen and none of it can be fixed.
- 6
Step 6: Kill the thermal bridges at every junction and penetration
Thermal bridging is the recurring defect of frozen rooms. Steel that crosses the envelope, fixings that pass through insulation, door frames, drain runs, sprinkler pipework, cable trays and structural connections all conduct cold to the warm side, where the result is condensation, then frost, then ice, then damage. On most projects services are grouped and crossings minimised, thermal breaks are designed into every crossing, and insulation is carried continuously through the junction. Drains from the room and from the coolers are routed and protected so they cannot freeze solid.
- 7
Step 7: Install doors, airlocks and access control
A frozen room needs more than a door. On most projects the entrance is arranged as an airlock or a lobby held at an intermediate temperature so that warm moist air does not reach the frozen face directly, with fast-acting doors and dock seals arranged so that only one barrier is open at a time. Door frames are heated where the designer specifies it, because a frozen door that will not open is both an operational failure and a safety problem. Internal release hardware, alarms and personnel protection are installed and proved, and the arrangements for anyone working inside the room are set out with the operator before it is put into service.
- 8
Step 8: Stage the pull-down and prove the whole box
The pull-down is a designed sequence, not a switch. The room is brought down in controlled stages over an extended period so that the slab, the panels and the structure contract gradually and so that differential movement does not tear the joints or crack the floor. Temperatures are logged at many points, including under the slab where the heave protection is monitored. Doors, controls, alarms and safety systems are proved as the temperature falls. Thermal imaging of the envelope while the room is cold finds the bridges and leaks that survived construction, and it is carried out before racking is loaded and before product arrives. The refrigeration specialist commissions the plant under its own regime and hands over its own documentation.
What are the benefits of Freezer stores (−18 to −28 °C)?
- Holds product well below freezing for long storage periods, which chill duty cannot do
- A properly built envelope and floor give a long service life with predictable running costs
- Suits high value frozen stock where losing the temperature chain is the dominant commercial risk
- The insulated box can be built inside a conventional frame, so the main building remains a normal shed
- Once at temperature the room is thermally stable, and short door openings have less immediate effect than in a chill room
- The construction discipline it demands tends to produce a better sealed building overall
What are the limitations of Freezer stores (−18 to −28 °C)?
- The ground beneath will freeze and heave unless the floor build-up prevents it, and that protection is buried and unreachable afterwards
- A deeper floor build-up affects levels, docks, drainage and foundations across the whole building
- Vapour drive is severe, and any gap in the barrier produces frost inside the construction that grows and causes damage
- Thermal bridges at columns, doors, fixings and penetrations are the recurring defect and are expensive to correct later
- Working inside the finished room is slow and demanding, which affects both fit out and later maintenance
- The pull-down is long and staged, so commissioning sits on the critical path in a way a chill room does not
What is Freezer stores (−18 to −28 °C) best suited for?
What plant does Freezer stores (−18 to −28 °C) need?
- Telehandlers, scissor lifts and boom lifts for panel erection within the frame
- Panel handling and vacuum lifting equipment, with lifting plans for large ceiling panels
- Concrete plant, power floats and laser screeding equipment for the wearing slab
- Testing and recording equipment for the under slab systems before they are covered
- Sealing, jointing and thermal break materials with the access equipment to reach every junction
- Data logging and thermal imaging equipment for the staged pull-down
How is Freezer stores (−18 to −28 °C) quality-checked?
- Under slab heave protection inspected, tested, photographed and recorded on as built drawings before covering
- Layer by layer sign off of the floor build-up in the designed sequence, with traffic over it controlled
- Vapour barrier continuity inspected progressively, with a signed register of every penetration and reinstatement
- Thermal break details checked at every crossing of the envelope, including fixings and structural connections
- Perimeter and column base details inspected against the drawings before the slab is cast
- Staged pull-down logged at multiple points including below the slab, followed by thermal imaging of the cold envelope