Solid brick wall (215 mm)
One brick thick, no cavity to drain - the coping, the damp-proof course and the pointing are the whole of the weather defence.
Last updated 2026-09-05
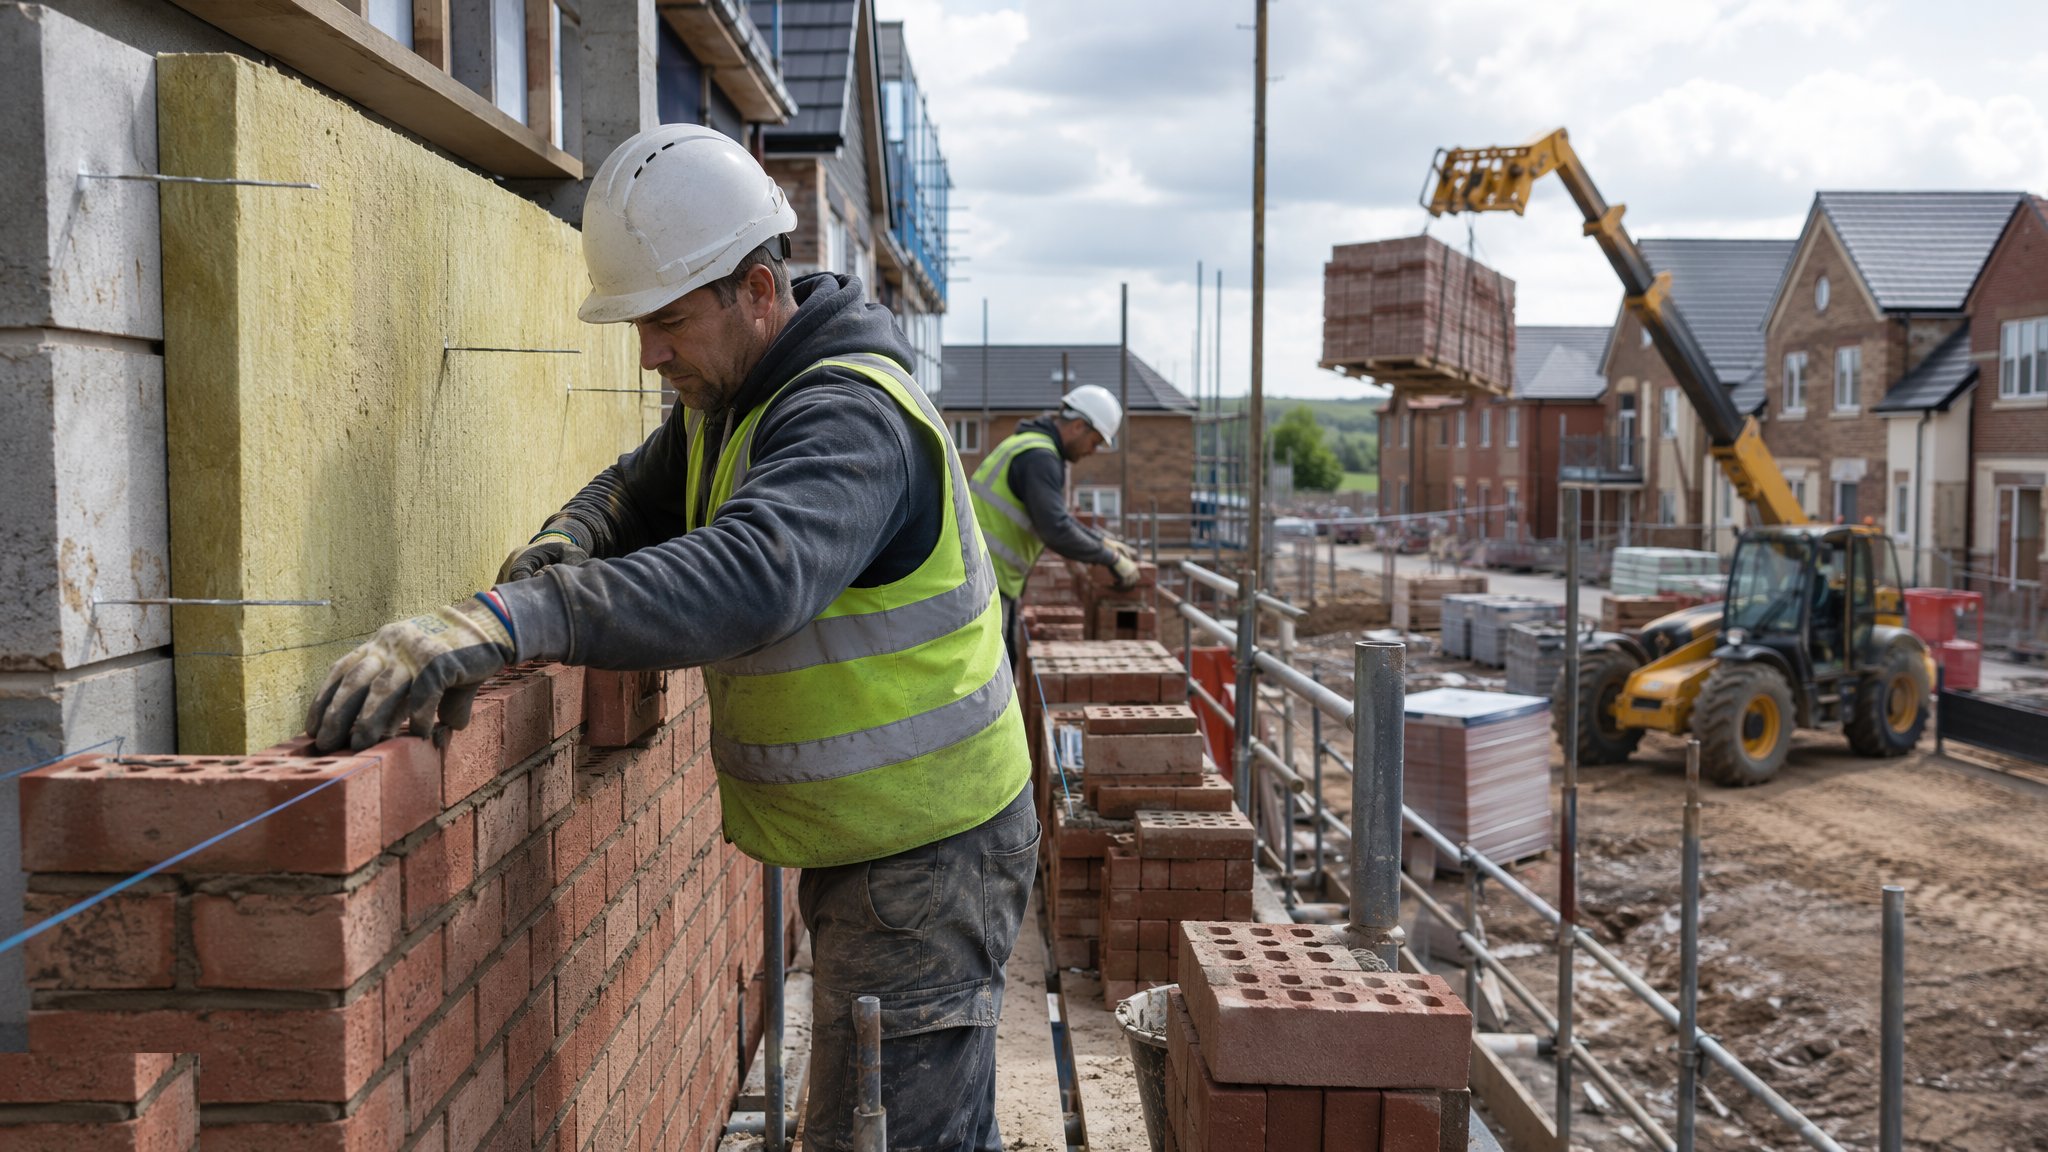
What is Solid brick wall (215 mm)?
A solid brick wall one brick thick measures around 215 mm - the length of a standard brick - and it is built as a single bonded mass rather than two leaves tied together. English bond alternates a course of headers with a course of stretchers; Flemish bond alternates headers and stretchers within the same course. Both exist for the same reason: the headers reach across the full thickness and lock the two faces into one wall. You will meet this construction on garden and boundary walls, retaining and planter walls, screen walls, and on almost every building put up before cavity construction took over.
Because there is no cavity, there is nowhere for water to go once it is in. That changes the priorities completely. A solid wall gets wet through, dries out through both faces, and survives on three things: a coping that throws water clear, damp-proof courses that stop water rising from the ground and running down from the top, and pointing that sheds rather than holds. Free-standing walls are wetter than walls in a building because they are exposed on both faces and along the top, which is why so many of them fail at the top course first.
The other half of the job is stability. A free-standing wall is a cantilever out of the ground with nothing tying its head, so it lives or dies on its foundation, its thickness and its piers. Height, thickness, pier spacing and any reinforcement are all sized by the structural engineer for the wind exposure of that location, and the specification sets the mortar. Do not scale them off another wall down the road. What the trade contributes is bond, plumb, full joints and a coping detail that actually works.
How does Solid brick wall (215 mm) work, step by step?
- 1
Step 1: Get the foundation and the base right
A free-standing wall lives on its foundation, and the engineer sizes it for the height and the ground. Cast it level and to line, because a stepped or twisting base makes the bond a mess from the first course. Where the ground is aggressive - salty, sulphate-bearing or permanently wet - the specification will call up the cement and brick types to suit. Set out the pier positions off the drawing before you lay anything, so piers are bonded in from course one and not stitched on afterwards.
- 2
Step 2: Set the bond out dry, end to end
Solid bond is unforgiving because the pattern reads across the whole face. Dry-lay the first course from end to end, set the bond so the closers and the piers land where they should, and mark it. English bond and Flemish bond both put a queen closer next to the quoin header to start the pattern - get that wrong at the corner and the bond wanders for the length of the wall. Where the wall is long, decide now where the movement joints break the run.
- 3
Step 3: Build the corners and piers, then run to the line
Corners and piers go up first, gauged and plumbed on all faces, racked back. Run the intermediate work between them to the line. Every course is a full bed with the perpends filled and the middle of the wall filled too - a solid wall with a hollow middle is a common and completely hidden defect, and it halves the wall you thought you were building. Keep the daily lift moderate; a solid wall is heavy and green mortar squeezes.
- 4
Step 4: Build in the damp-proof courses
A free-standing wall usually wants two. One near the base, above finished ground level, to stop moisture and ground salts rising into the face brickwork. One under the coping, to stop water soaking down from the top course. Lap them properly, bed them on mortar both sides and keep them continuous through piers. A damp-proof course is also a slip plane, so where the engineer needs the wall to act as one element through that level the detail will say how - follow it rather than improvising.
- 5
Step 5: Form the movement joints
Solid walls move with temperature and moisture and they have no cavity to absorb it. Vertical movement joints go in at the centres the designer sets - typically closer for concrete and calcium silicate units than for clay - and they run the full height and full thickness of the wall, straight, not stepped around a pier. Slip ties keep the two sides in plane while letting them move. Fill later with backer rod and a flexible sealant, and never bridge the joint with a coping unit or a mortar smear.
- 6
Step 6: Cap it, point it and protect it
The coping is the roof of the wall and it earns its money. It wants an overhang each side and a drip so run-off is thrown clear of the face rather than dribbling down it. Bed it on the damp-proof course, joint it fully, and check every unit is stable before the scaffold moves. Point or tool the joints to a weathered profile so they shed water. Sheet the wall head overnight while the work is green - a solid wall saturated on day one will effloresce, and in a frost it will spall.
What are the benefits of Solid brick wall (215 mm)?
- Simple, self-contained construction - no ties, no cavity to keep clean and nothing hidden to get wrong inside the wall
- Both faces are fair-faced, which is what you want on a boundary or screen wall seen from two sides
- Very durable and low maintenance where the coping, damp-proof courses and pointing are done properly
- Traditional bonds give a face that decorative and heritage work cannot get any other way
- The right construction for matching and repairing older solid-walled buildings
- Robust against impact and vandalism compared with fencing or lightweight screens
What are the limitations of Solid brick wall (215 mm)?
- No cavity means no drainage path - once water is in the wall it stays until it evaporates
- A free-standing wall is a cantilever with no restraint at the top, so height and exposure are limited and set by the engineer
- Poor thermal performance as a building wall, and awkward to insulate afterwards without creating condensation risks that need specialist assessment
- Uses far more brick per square metre than a single-leaf outer skin, so both cost and weight go up
- The top course and coping are the standard failure point, and repairs there mean scaffolding the whole run
- Slow to build compared with block-and-render, because every course is two bricks wide and the bond has to be maintained
What is Solid brick wall (215 mm) best suited for?
What plant does Solid brick wall (215 mm) need?
- Mortar mixer and spot boards close to the run to keep mortar fresh
- Bench saw with dust suppression for closers, cuts and coping mitres
- Trestle scaffold or a light tower system for walls beyond reaching height
- Telehandler or dumper to move brick packs and coping units along the line
- Gauge rod, line and pins, boat and long levels, and a laser for long runs
- Sheeting, boards and props for protecting and supporting green work
How is Solid brick wall (215 mm) quality-checked?
- Foundation level, to line and to the engineer's dimensions before the first course
- Bond set out dry end to end, with closers at the quoins and piers bonded in, not butted on
- Full bed joints and a filled middle - check by eye at every lift that the wall is solid through
- Damp-proof courses at base and under the coping, lapped, bedded and continuous through piers
- Movement joints full height and full thickness, straight, slip-tied and never bridged
- Coping units level, fully bedded, jointed and overhanging with a working drip both sides