GRP pods
A moulded one-piece shell that arrives watertight and needs only connecting - as long as every bathroom on the project is the same bathroom.
Last updated 2026-09-05
What is GRP pods?
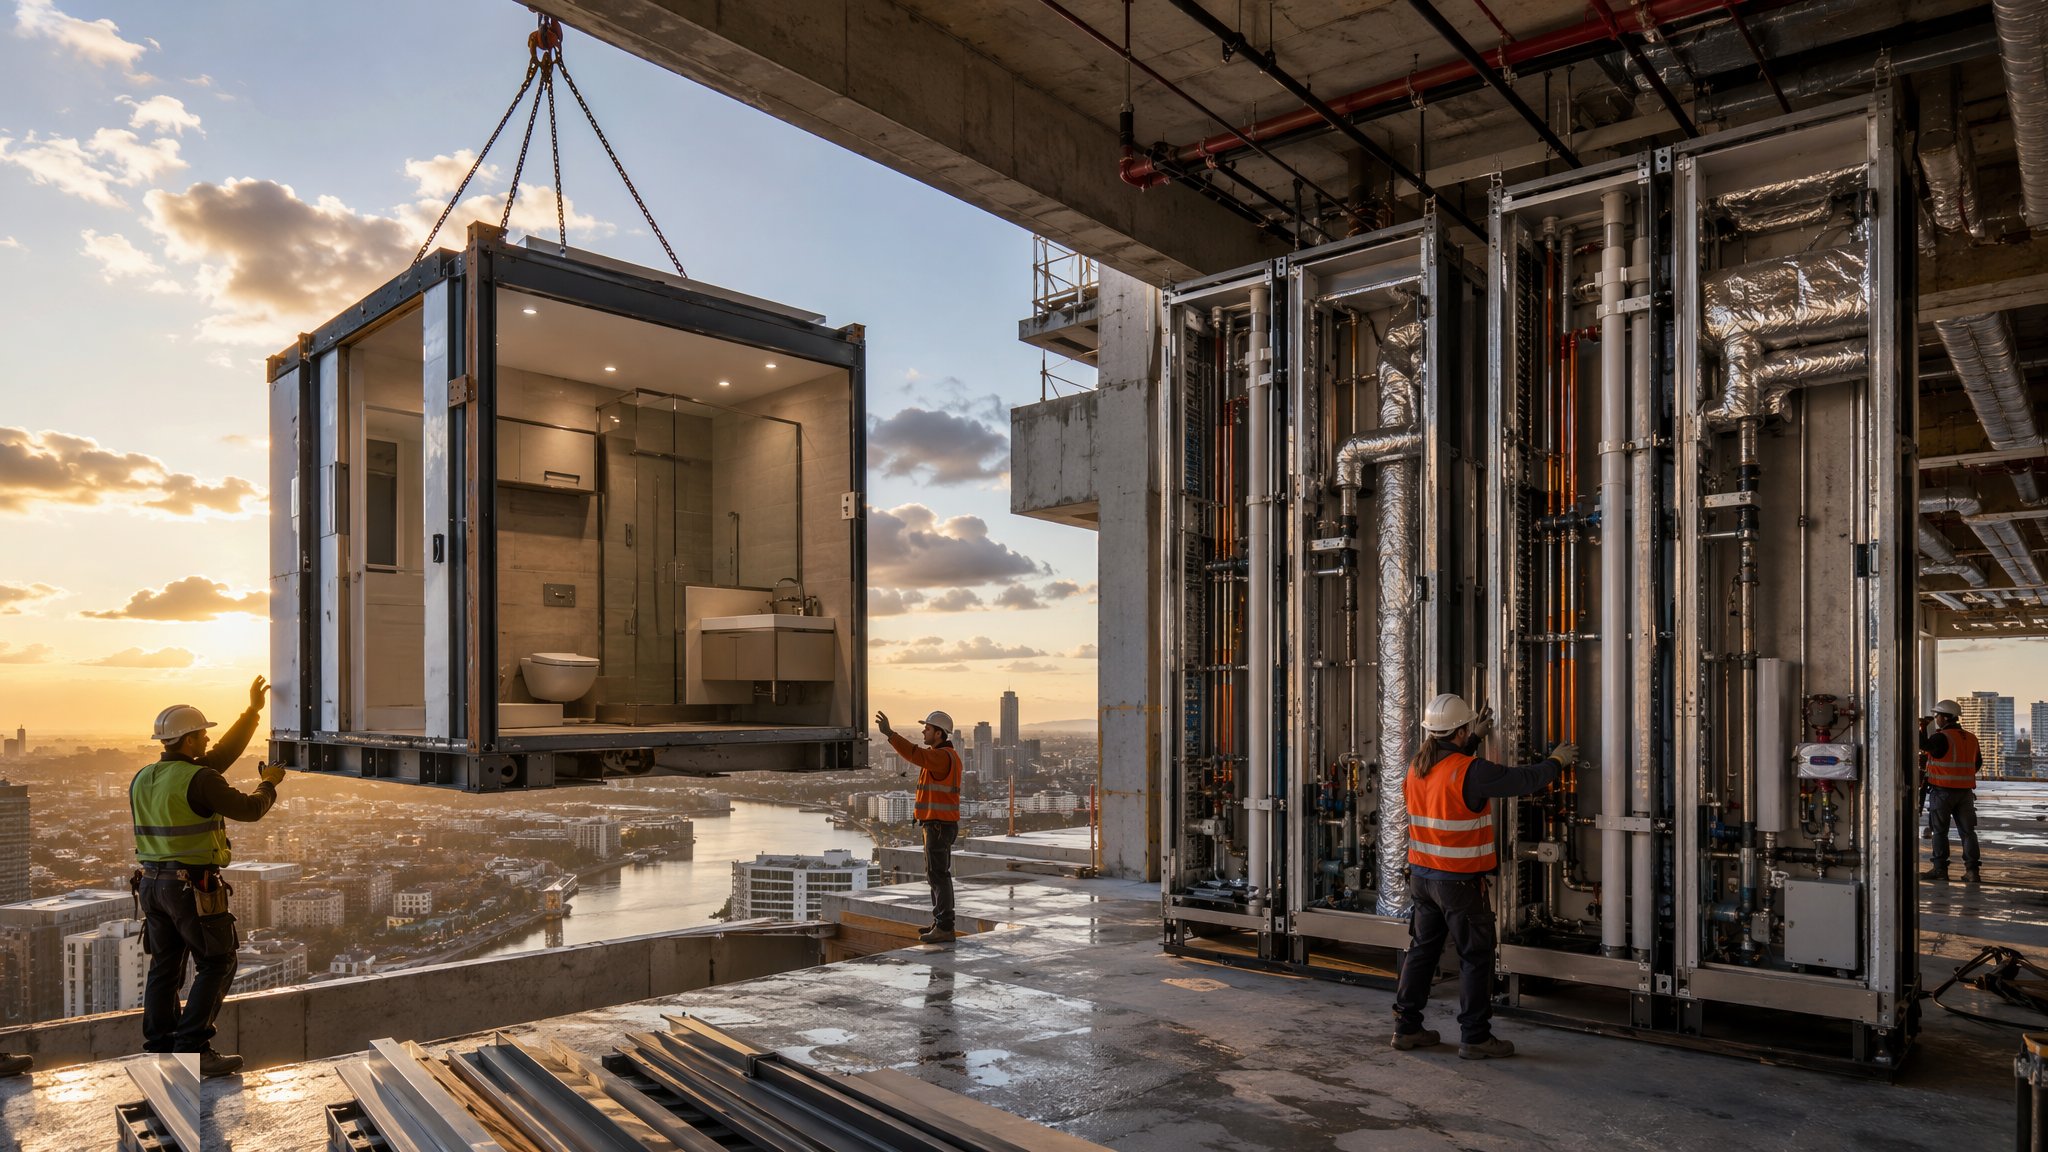
A GRP pod is a bathroom formed as a moulded shell rather than assembled as a room. Glass-reinforced plastic is laid into a mould, so the floor, the tray, the upstands and often the lower wall surfaces come out as one continuous piece with no joints in the wet area at all. The sanitaryware, the pipework, the wiring and the finishes are fitted inside the shell in the factory, the unit is tested, wrapped and delivered, and on site it is placed, levelled and connected. The attraction is obvious the first time a project sees one. A conventional bathroom is a sequence of trades working in the smallest room in the building, each waiting on the one before, and every joint in that room is a place water can eventually find. A moulded shell removes most of those joints and most of that sequence.
The weight is what makes GRP different from every other pod type. A moulded shell is light - commonly under a tonne for a single bathroom, and often well under - which changes what the project has to do to get it into the building. Lighter pods can sometimes be moved horizontally on rollers or skates along a completed floor slab rather than craned into an open frame, which uncouples the pod programme from the crane and from the frame sequence. That single fact often decides the pod type on a constrained city site. Lightness also reduces the load the structure has to carry, though the designer still allows for the pod and its contents as a discrete load in the frame design rather than treating it as a partition.
The cost of that efficiency is repetition. A mould is an expensive tool and it makes one shape. The economics only work when the same shape is made many times over, so GRP suits projects with a high count of identical bathrooms and suits them badly when the layouts vary. Student accommodation, hotels, care accommodation and single-aspect apartment blocks are the natural home. Finish is the other constraint the client has to accept early: a moulded surface reads as a moulded surface, and although the appearance has moved on a long way, it is not a tiled room and will not be mistaken for one. Some manufacturers offer tiled or panelled linings applied over the shell to answer this, at additional weight and cost. On most projects the decision is made at the point the layouts are standardised, which is far earlier than a traditional scheme would ever have fixed a bathroom.
How does GRP pods work, step by step?
- 1
Step 1: Standardise the bathroom before anything else is fixed
The pod route starts with a decision by the client and the designer to reduce the number of bathroom layouts to as few as the brief will bear. Every distinct layout is a distinct mould, and moulds are the dominant tooling cost. The design team works through the accessible units, the mirrored handings, the units with a window in the bathroom and the units with a sloping ceiling, and either brings them into the standard family or accepts them as separate types built another way. This is not a detail exercise. It is a briefing exercise, and it happens before the general arrangement drawings are anywhere near complete.
- 2
Step 2: Design the pod as a component, not as a room
The manufacturer takes the agreed layouts and develops them into a mould design. The internal dimensions, the position of every drainage and supply connection, the electrical entry point, the ventilation route and the door swing are all fixed in that geometry. The designer sets what the pod has to achieve and the manufacturer decides how the shell delivers it. Everything the building needs to give the pod - the structural opening, the connection points, the tolerance the pod sits within - is written down at this stage, because once the mould is cut the pod is no longer a variable.
- 3
Step 3: Build and sign off a prototype
The first shell out of the mould is a prototype, and it is inspected as one. The design team, the client and often the eventual end user walk into it, use it and mark it up. Reach, door clearance, shower spray pattern, the position of the mirror against the light, the feel of the floor fall - these are things drawings do not settle. Changes are cheap at prototype stage and expensive afterwards, because they may mean altering or replacing the mould. The signed-off prototype becomes the benchmark against which every production pod is checked.
- 4
Step 4: Mould the shell and fit it out
Production runs to a repeating factory cycle. The shell is laid up in the mould and released, then moves along a fit-out line where the sanitaryware, taps, screens, pipework, wiring, extract, lighting and accessories are installed by people working at bench height in good light with parts to hand. This is the part of the process that produces the quality difference, and it has nothing to do with the material. A person fitting the fiftieth identical shower valve in a warm factory, with the right tool already in their hand, does better work than the same person doing it once on the eleventh floor.
- 5
Step 5: Test every pod before it leaves the factory
Each completed pod is tested as a finished assembly. Pipework is pressure tested, drainage is filled and checked, the electrical installation is inspected and tested, the extract is run, and the wet areas are flood or spray tested. Defects are corrected in the factory with full access and no programme pressure from other trades. A tested pod arriving on site should need nothing but its connections, and that is the whole commercial argument for the method - it moves the finding and fixing of faults into the cheapest place to find and fix them.
- 6
Step 6: Protect, transport and move into position
The pod is wrapped, its openings sealed and its vulnerable corners protected before it leaves. Delivery is sequenced to the site programme rather than to the factory's convenience, because a pod delivered early has to be stored somewhere dry and secure, and pods are awkward things to store. Moving the pod into position is a planned lifting or handling operation designed by the appointed person for the project, taking account of the route, the weights involved and the state of the structure at that time. The route into the building is checked physically, not on a drawing, before the first delivery arrives.
- 7
Step 7: Set, level and connect
The pod is set down on its bearing, levelled and packed to the level the design requires, and fixed as the designer has specified. Services are connected at the pre-set interface points, the door threshold and any surrounding construction are made good, and the fire-stopping around the pod and at every service penetration is installed and recorded as a separate, inspected operation. Fire-stopping around pods is a recurring source of defects precisely because it is the one part of the assembly that is still built on site by hand.
- 8
Step 8: Commission, hand over and protect until completion
The pod is retested in place, because a unit that passed in the factory has since been lifted, transported and connected to a building. Water is run, drainage is checked under load, the extract is tested against the ventilation strategy and the electrical connection is verified. The pod is then locked or sealed and left alone. On most projects the pods are complete rooms sitting inside an unfinished building for months, and the damage they suffer in that period is done by other trades using them for storage, for shelter or as a convenience.
What are the benefits of GRP pods?
- The wet area is moulded as one piece, so the joints that leak in a conventional bathroom largely do not exist
- Light enough - commonly under a tonne - to be skated or rolled into position on some projects rather than craned
- Consistent quality from a repeated factory operation, with every unit tested before dispatch
- Removes the most congested and slowest sequence of trades from the critical path on site
- Fast to install once the structure is ready, with connection times measured in hours rather than days
- Reduces site labour, site waste and the number of people working in confined spaces at height
What are the limitations of GRP pods?
- Needs a high count of identical bathrooms to justify the mould cost - variety is what kills the business case
- The moulded finish is not a tiled finish, and the client has to accept that at briefing stage or pay for a lining
- Any change after the mould is made is slow and expensive, so the design freeze is genuinely final
- Repairs to a damaged shell are specialist work and rarely invisible
- The pod must physically fit the delivery route, the opening and the building - a survey error is discovered on the day
- Ties the project to one manufacturer's tooling and capacity for the duration
What is GRP pods best suited for?
What plant does GRP pods need?
- Factory moulding line, release equipment and fit-out benches with parts feed
- Factory test rigs for pressure, drainage, electrical and wet-area testing
- Protective wrapping, corner protection and purpose-made transport frames
- Delivery vehicles sequenced to the installation programme, with a checked route into the building
- Lifting or handling equipment for the planned move into position, under a lift plan by the appointed person
- Skates, rollers, air skids or pallet trucks where pods are moved horizontally on a completed slab
How is GRP pods quality-checked?
- Prototype pod inspected, used and signed off by the design team and the client before production starts
- Dimensional check of each pod against the benchmark, and of the structural opening it is going into
- Factory pressure, drainage, electrical and wet-area tests recorded per pod, with a unique pod identity
- Delivery and route survey confirmed physically before the first pod arrives
- Level, bearing and fixing checked and recorded at installation
- Fire-stopping around the pod and at every penetration inspected and photographed before it is concealed
- Retest and commissioning in place, with results held against the pod identity
More bathroom pods, riser and plant modules methods
Next method
Steel-framed pods