Structural insulated panels (SIPs) as wall panels
The insulation is the structure - which is why you cannot cut it wherever you like.
Last updated 2026-08-30
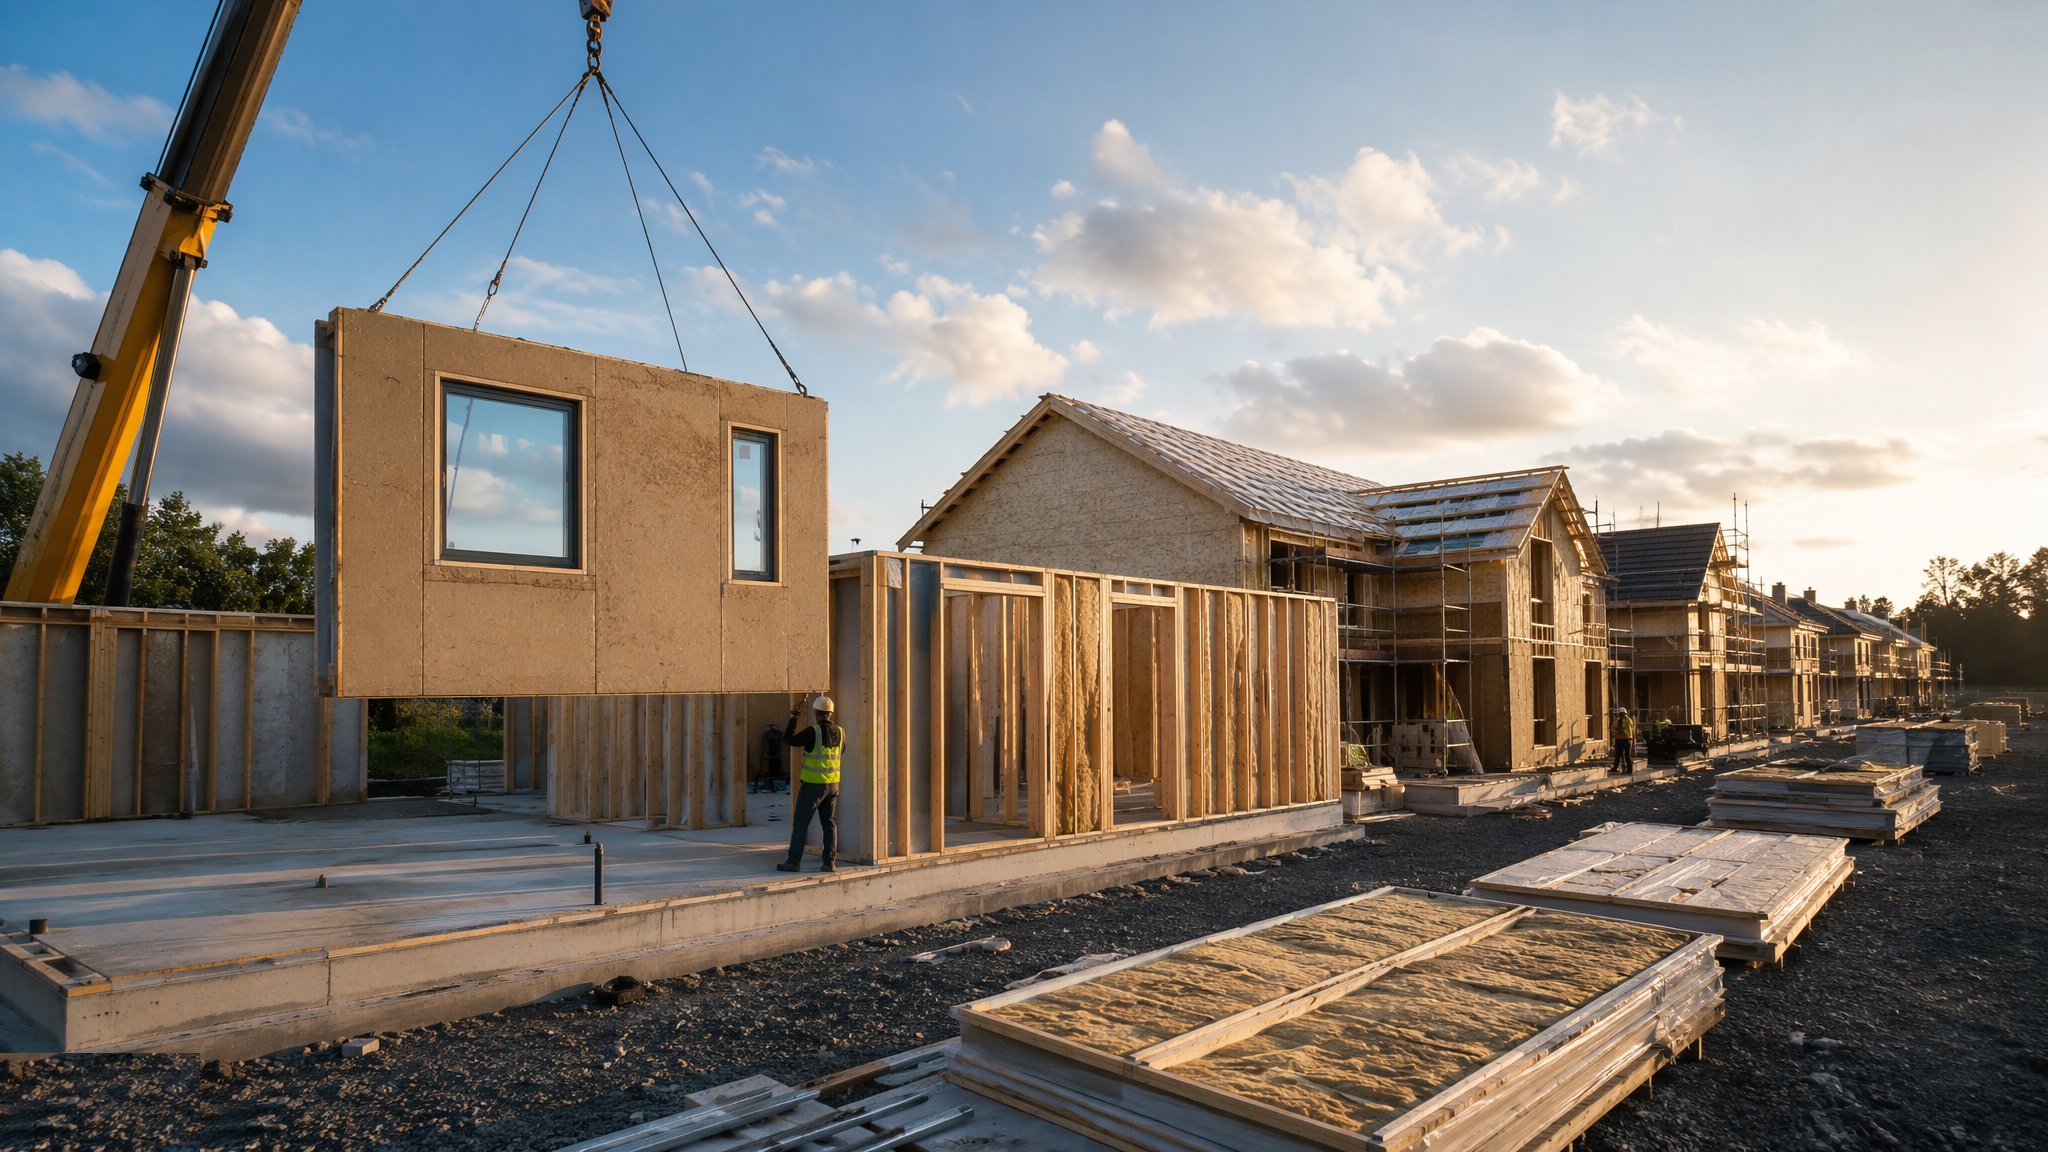
What is Structural insulated panels (SIPs) as wall panels?
A structural insulated panel is a sandwich: two structural facings bonded either side of a rigid insulation core, working as one composite element. That composite action is the whole point and the whole constraint. The panel is the structure and the insulation at the same time, so there is no separate stud line to notch and no cavity to route a pipe through. Typical overall thicknesses sit somewhere in the region of 100-200 mm depending on what the manufacturer's system offers and what the structural and thermal design calls for, and panels come as standard board sizes or as large-format units up to storey height and several metres long.
What SIPs give you is an unusually good fabric for an unusually small amount of site work. Because the insulation is continuous across the panel rather than interrupted by studs, and because there are far fewer joints than in a framed wall, a well-built SIP envelope is airtight and thermally consistent almost by default. Erection is fast - panels are lifted, joined on the system's spline or jointing arrangement, and the wall is structure, insulation and airtightness barrier in one operation. On the right building it is one of the quickest routes to a high-performing shell.
What SIPs demand in return is discipline about openings and services. Every opening is a structural decision made in the design, formed in the factory and framed the way the manufacturer's system requires, because cutting a hole in a SIP removes structure. Services run through the pre-formed chases the manufacturer provides, in the positions the design fixed, and a site-cut route through the core is not a shortcut - it is damage. The other discipline is water. The facings do not tolerate prolonged wetting, so panels are stored covered and off the ground, the sole plate detail keeps the bottom edge clear of standing water, and the joints are sealed as the wall goes up rather than at the end.
How does Structural insulated panels (SIPs) as wall panels work, step by step?
- 1
Step 1: Fix every opening and every service route in the design
The panel layout, the openings, the lintels or headers over them and the service chases all get resolved before manufacture. This is a harder freeze than a framed wall because none of it can be altered later without cutting structure. The structural engineer and the manufacturer between them set the panel arrangement and how each opening is formed. The services designer marks every chase position on the same drawing. What comes out is a panel schedule where each panel is a unique, numbered item.
- 2
Step 2: Prepare a flat, level, dry base
The base survey is the usual routine - level, line, squareness against the panel drawings, corrected before delivery - with one addition specific to SIPs. The sole plate arrangement has to keep the bottom edge of the panel clear of standing water and give a drainage and separation detail, and the designer specifies how that is formed. A SIP wall sitting in water at its base is a problem that works upward slowly and is not visible until it is expensive.
- 3
Step 3: Store and handle panels covered and on edge
Panels are delivered in erection order and kept covered and off the ground until they are lifted. Wet panels are not simply damp panels - the facings absorb water and the composite action depends on those facings staying sound. Handle on the designed lifting points, keep edges and corners protected, and resist the temptation to stack a delivery flat on the slab under a sheet, because that arrangement collects water rather than shedding it.
- 4
Step 4: Erect and joint on the system detail
Panels are lifted, offered up to the sole plate, plumbed and temporarily braced, then jointed to the neighbouring panel using the spline or connection the manufacturer's system provides. That joint is doing three jobs at once - structural continuity, insulation continuity and air sealing - so it gets made properly the first time. Sealant, tape and the jointing member all go in as the wall rises. Coming back later to seal a joint that is now behind a floor cassette is not a realistic plan.
- 5
Step 5: Run services only through the routes the panel provides
Cables go through the pre-formed chases in the positions the design fixed. Where a route was not designed, the answer is a design query and a manufacturer-approved solution, not a hot wire and a hopeful angle. Larger services - waste pipes, ducts, anything that needs volume - are designed into a service zone or a stud wall inside the SIP line rather than through the panel. Getting this rule accepted by the follow-on trades before they start is worth a short, blunt conversation at induction.
- 6
Step 6: Seal, protect and get the envelope closed
Airtightness is finished as the wall is built: joint tapes, perimeter seals at the base and at the eaves, and every penetration sealed as it is formed. Then the panels get their weather protection - the external build-up the manufacturer's system and the designer specify - and the roof goes on. The junctions where SIP walls meet the roof, the base and the openings are the details that carry the thermal and moisture risk, so those are the ones to inspect and photograph rather than the middle of the panel, which is rarely the problem.
What are the benefits of Structural insulated panels (SIPs) as wall panels?
- Continuous insulation across the panel with no stud line interrupting it
- Structure, insulation and air barrier delivered in a single erection operation
- Very good airtightness achievable because the wall has far fewer joints than a framed equivalent
- Fast erection - a small crew and a lifting machine can close a house envelope quickly
- Thin wall build-up for the thermal performance achieved, which buys internal floor area
- Consistent factory-made panels give predictable performance from plot to plot
What are the limitations of Structural insulated panels (SIPs) as wall panels?
- Openings and chases are design decisions - cutting a SIP on site removes structure
- Services need designed routes; larger services generally need a separate service zone inside the panel line
- The facings do not tolerate prolonged wetting, so storage and weather protection are critical
- Thermal bridging concentrates at splines, corners and junctions, and those details need proper design
- Late design changes are very expensive because each panel is a unique manufactured item
- A very airtight envelope shifts the burden onto the ventilation design, which the services designer must resolve
What is Structural insulated panels (SIPs) as wall panels best suited for?
What plant does Structural insulated panels (SIPs) as wall panels need?
- Telehandler or small crane with lifting attachments matched to the panel size
- Panel lifting clamps or vacuum handling equipment for large-format panels
- Temporary bracing and props during erection
- Jointing, taping and sealing kit used continuously behind the erection crew
- Covered, raised storage provision - racks or bearers with proper sheeting
- Laser level and total station for the base survey and sole plate setting-out
How is Structural insulated panels (SIPs) as wall panels quality-checked?
- Panel schedule, openings and chase positions signed off by the designer and manufacturer before production
- Base level, line and squareness surveyed and corrected before the first panel is delivered
- Sole plate separation and drainage detail confirmed on site against the designer's drawing
- Spline and panel joints inspected and photographed as the wall rises, before floors or linings close them
- Any site-formed cut or penetration recorded as an approved change with a stated reinstatement
- Junction details at base, eaves and openings inspected and photographed before the external build-up covers them