Diaphragm and bored-pile quay walls
A reinforced concrete wall built from dry land before the water is ever let in front of it.
Last updated 2026-09-06
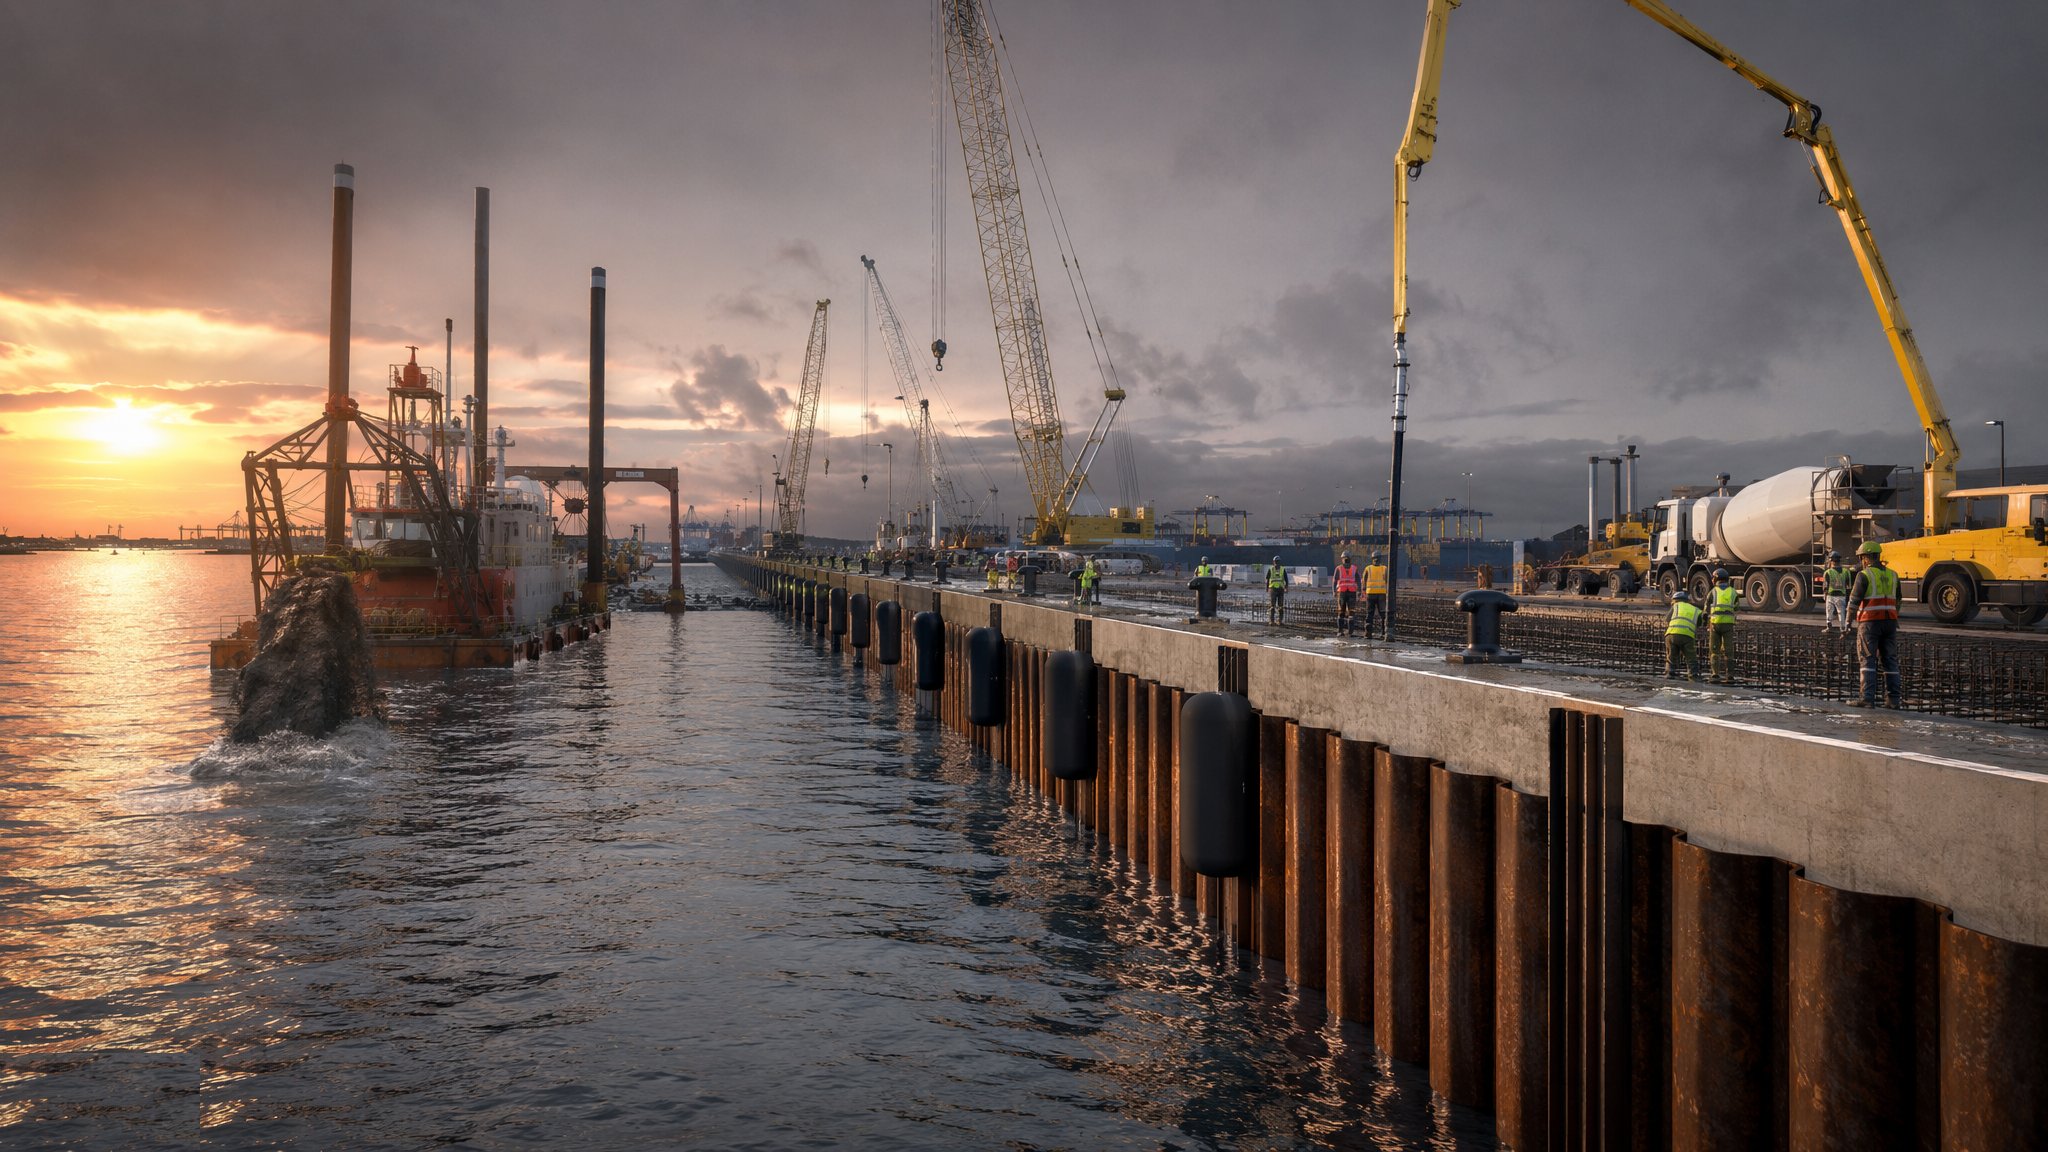
What is Diaphragm and bored-pile quay walls?
Sometimes the sensible way to build a quay wall is to build it on land. A diaphragm wall is excavated as a series of panels under a supporting fluid, reinforced and concreted, forming a continuous reinforced concrete wall. A bored-pile wall does the same job with a line of large-diameter bored piles, either touching or interlocking. Either way the wall is constructed from a working platform behind the future berth line, and only when it is complete and strong is the ground in front dredged away to open the berth. The wall then acts as both the retaining structure and, where the designer wants it to, a foundation carrying vertical load from cranes and the apron.
This is the form that wins where marine access is poor. It needs no floating crane, no barge spread and no weather window for the main structural work, which matters in a congested operating port, on a tidal river with a short working day, or where a new berth is being built behind an existing one that has to keep trading. It also suits situations where the wall has to be very deep - to reach a bearing stratum, to cut off groundwater, or to give the fixity a deep berth needs - because a diaphragm wall or a large bored pile can be taken far deeper than a driven wall of equivalent strength. And it is quiet by comparison with driving, which can settle the argument next to housing or a sensitive structure.
The trade-offs are the trade-offs of any deep concrete wall. It needs a large, level, well-supported working platform and a lot of it, plus space for a fluid plant, desanding and spoil handling. The concrete is placed under fluid and cannot be seen, so the quality regime is entirely about process control and testing rather than inspection of the finished face. Joints between panels or between piles are the weak point, and a defective joint becomes a leak or a fill-loss path that is expensive to correct once the berth is open. Against a driven wall it is generally slower per metre and dearer, so it is chosen when its particular advantages are needed rather than as a default.
How does Diaphragm and bored-pile quay walls work, step by step?
- 1
Step 1: Confirm the ground and choose panel or pile
The investigation has to establish the strata through the full depth of the wall, the groundwater regime and whether obstructions or hard bands will trouble the grab or the cutter. The designer chooses between a diaphragm wall and a bored-pile wall on the ground, the depth, the required watertightness and the space available, and sets the wall thickness or pile diameter, the depth, the reinforcement and any propping. Those are engineering decisions for that berth and do not follow from the water depth alone.
- 2
Step 2: Build the platform and the guide walls
A designed working platform is built and certified for the rigs, which are heavy and top-loaded. Guide walls - short reinforced concrete walls either side of the panel line - are cast to set the alignment and to support the top of the excavation. For a bored-pile wall, a guide wall or template performs the same job. The line of the quay is fixed here, and it cannot be adjusted later, so the setting out is surveyed and checked before anything is excavated.
- 3
Step 3: Excavate under supporting fluid
Panels are excavated by grab or hydromill, or piles are bored, with the excavation kept full of supporting fluid at all times so the sides stand. The fluid is mixed, circulated, cleaned through a desanding plant and tested for the properties the specification requires. Fluid level is maintained above the groundwater at all times, and a drop in level is an emergency rather than an inconvenience. Excavation records are kept panel by panel and compared against the expected strata.
- 4
Step 4: Clean the base and place reinforcement
Before concreting, the base of the panel or pile is cleaned so that debris does not sit under the toe, and the fluid is exchanged or cleaned until it meets the specification for concreting. Reinforcement cages - often very large and lifted in sections - are placed and supported at the right level, with spacers to guarantee cover. Where the wall will carry vertical load or be propped, the connection details and box-outs are built into the cage at this stage because there is no going back to them.
- 5
Step 5: Concrete by tremie in a continuous pour
Concrete is placed by tremie from the bottom up, displacing the fluid, in one continuous operation. The mix is designed to be highly flowable and to remain so for the duration of the pour. The tremie is kept buried in the concrete throughout, and the rise of concrete is plotted against the volume placed so that any anomaly is picked up as it happens rather than discovered later. This is the single most important operation in the technique, and it is controlled by process and records because the result cannot be inspected.
- 6
Step 6: Form the joints and complete the wall
Panels are built in a primary and secondary sequence, with stop-ends and joint details that lock the panels together and keep the joint watertight. Bored-pile walls are built as secant piles where the wall must be watertight, with each secondary pile cutting into its neighbours, or as contiguous piles with a separate facing where it need not be. Joint verticality is the controlling issue on a deep wall, because a small lean at the top becomes a gap at the bottom, and it is monitored on every element.
- 7
Step 7: Cast the capping beam and excavate to berth level
A reinforced concrete capping beam ties the wall together and gives the true line and level. The ground in front is then excavated in the dry, or dredged once the water is let in, in the stages the designer sets and with the wall monitored throughout. Where the design needs anchors or props, they are installed at the levels and stages specified as the excavation goes down. Overexcavation is treated as a defect.
- 8
Step 8: Face, fit out and hand over
The exposed wall face is cleaned and, where the specification requires it, dressed or faced so that the berth presents a true surface to vessels and fenders. Fenders, bollards, ladders, edge protection, crane rails, services and surfacing follow, with fittings proof loaded before use. The handover pack carries the panel and pile records, the concreting plots, the verticality records, the as-built line and the movement monitoring baseline.
What are the benefits of Diaphragm and bored-pile quay walls?
- Built from land, so no floating plant, no barge spread and no marine weather window for the main works
- Can be taken very deep, reaching bearing strata or cut-off levels that driven walls cannot
- Quiet and low-vibration compared with driving, which suits sites next to sensitive neighbours
- The wall can carry vertical load from the apron and craneage as well as retaining the fill
- A watertight wall can double as a groundwater cut-off where that is needed
- The existing berth can often stay in service while the new wall is built behind it
What are the limitations of Diaphragm and bored-pile quay walls?
- Needs a large, certified working platform plus space for fluid plant, desanding and spoil handling
- Concrete is placed unseen under fluid, so quality relies wholly on process control and records
- Joints between panels or piles are the weak point and are difficult to repair once the berth is open
- Generally slower and more expensive per metre than a driven wall where driving is feasible
- Fluid and spoil handling and disposal are significant operations with environmental controls
- Obstructions, hard bands and buried structures can seriously disrupt panel excavation
What is Diaphragm and bored-pile quay walls best suited for?
What plant does Diaphragm and bored-pile quay walls need?
- Diaphragm wall grab or hydromill, or large-diameter bored piling rig with casing oscillator
- Fluid mixing, storage, circulation and desanding plant with testing facilities
- Crawler cranes for reinforcement cages, stop-ends and tremie handling
- Concrete batching or supply capable of sustaining a continuous tremie pour
- Spoil handling, containment and disposal arrangements
- Survey and verticality monitoring instrumentation for every panel or pile
How is Diaphragm and bored-pile quay walls quality-checked?
- Guide wall setting out and level surveyed and accepted before excavation begins
- Fluid properties tested at mixing, before concreting and during the pour, to the specification
- Verticality recorded for every panel or pile, with joint verticality checked against tolerance
- Base cleanliness confirmed and cage position and cover verified before concreting
- Concrete volume plotted against rise for every element, with anomalies investigated immediately
- Wall integrity testing carried out to the regime specified, and movement monitored during excavation