Long-strip construction
Concrete laid in strips between forms - the familiar, low-risk way to build a big floor, at the cost of more joints.
Last updated 2026-09-06
What is Long-strip construction?
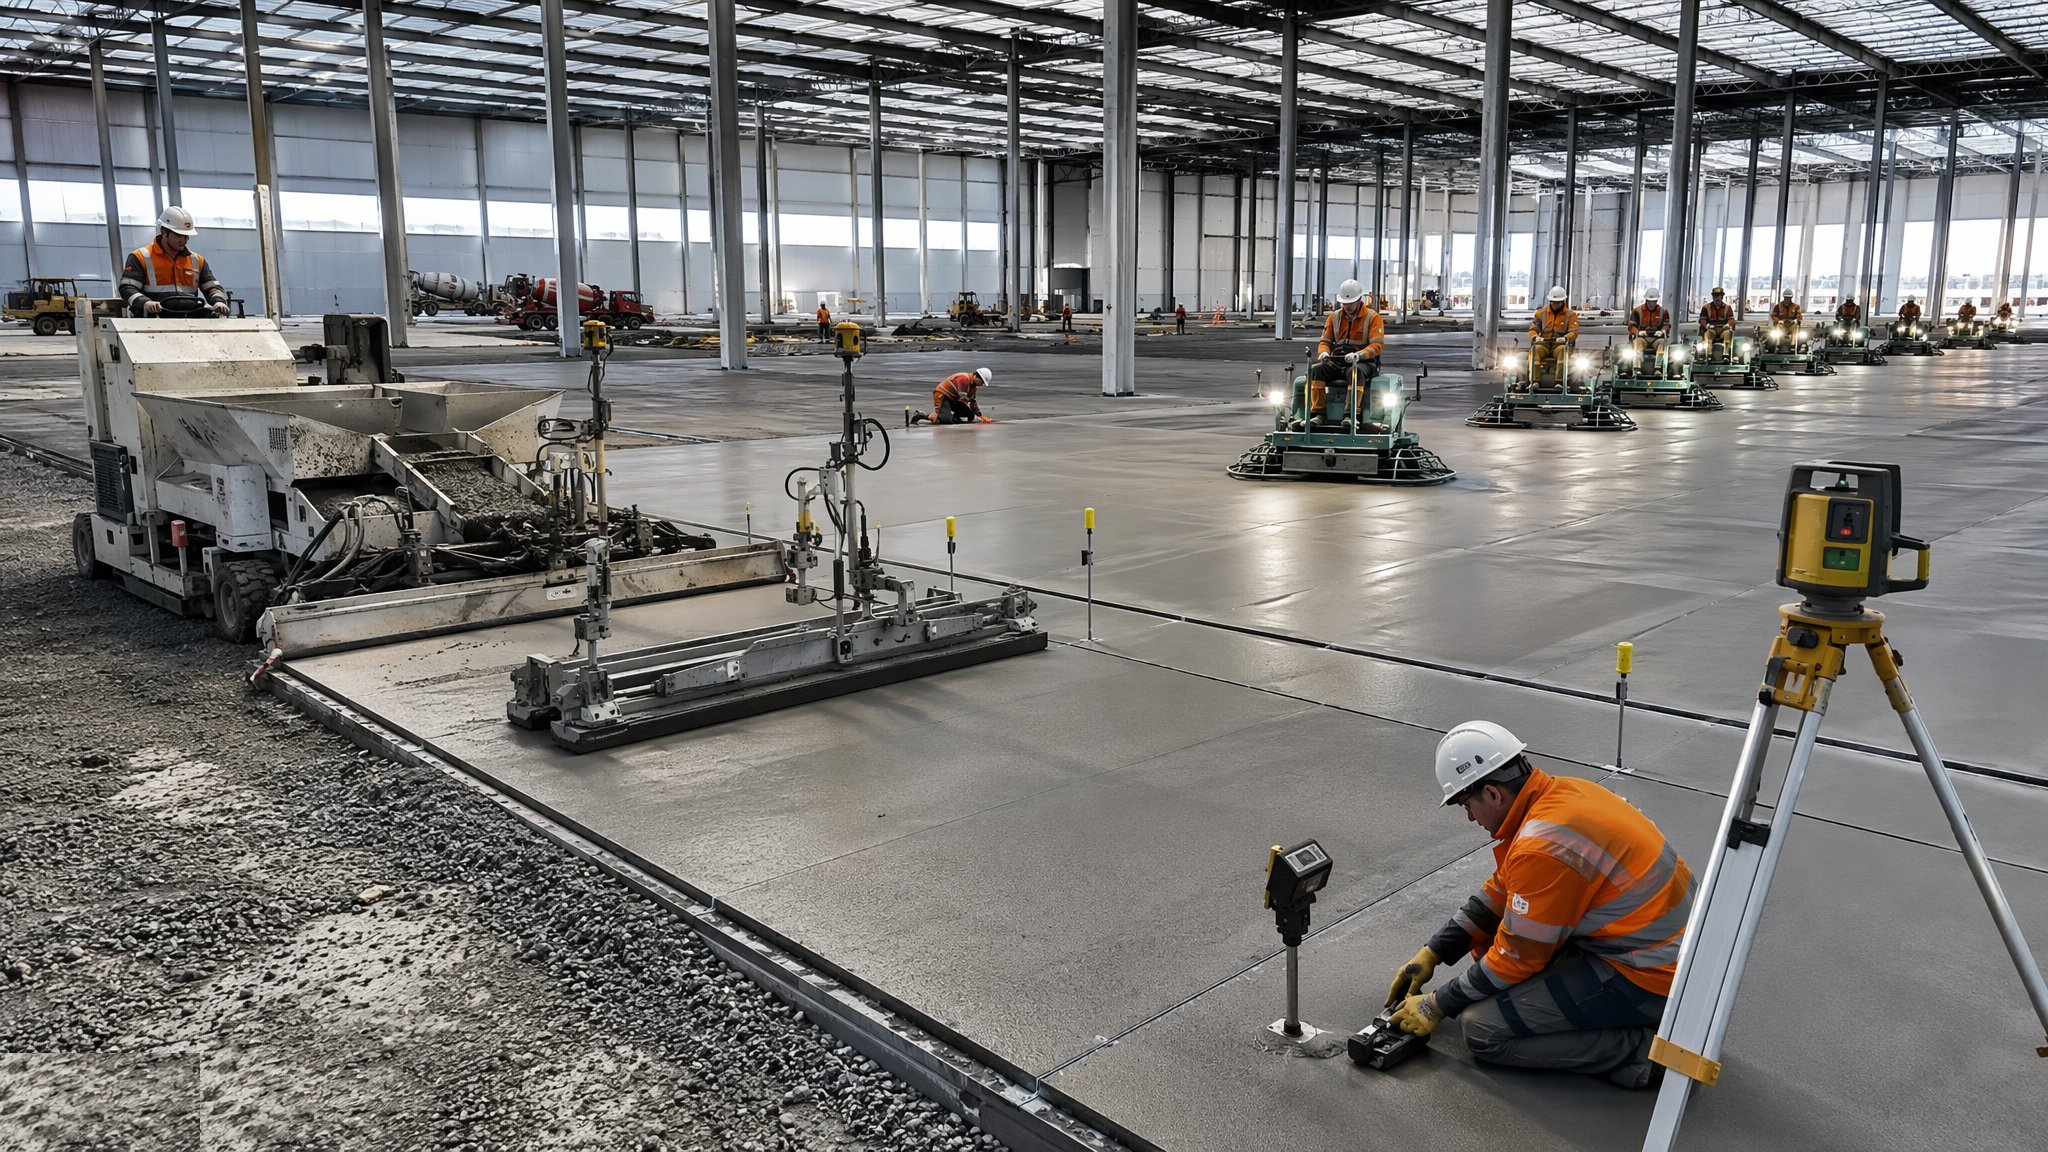
Long-strip construction builds a warehouse floor as a series of long, relatively narrow strips laid between side forms, one after another, until the area is complete. Each strip is placed, levelled against the forms, finished and cured, and the forms then move on. It is the oldest industrial floor method still in general use and it remains the default where certainty matters more than joint count. The forms give a physical reference for level, the pour size each day is modest and predictable, and the work can stop cleanly at the end of every strip.
The advantage is control. A strip is a small enough pour that a normal-sized team can place and finish it properly without racing the concrete, so quality depends less on the size of the gang and the reliability of the supply than a very large pour does. Shrinkage is accommodated at the strip edges rather than having to be controlled across a huge panel, so the risk of uncontrolled cracking is lower. If the weather turns or a batching plant fails, the damage is limited to one strip. For a contractor without access to large-scale floor plant, or on a site where access limits how much concrete can be delivered at once, long strip is often the only realistic method.
The cost is joints. A floor built in strips has a joint every strip width plus whatever transverse joints the design requires, and joints are where warehouse floors fail. Every joint is a discontinuity that a wheel crosses, an edge that can curl, and something that has to be sealed and maintained. In an area of heavy random traffic that adds up to a lot of maintenance over a lease. Long strip is therefore commonly chosen for free movement areas of moderate traffic, or for defined movement aisles where the forms deliver the required precision, and passed over for large open areas of intense traffic where a jointless approach earns its extra cost. The floor specialist and the structural engineer choose the method, the strip width and the joint arrangement against the traffic, the racking layout and the site constraints.
How does Long-strip construction work, step by step?
- 1
Step 1: Choose the method against the traffic and the site
The decision between long strip and large bay is made early by the floor specialist with the structural engineer. Long strip suits sites with restricted concrete supply or access, contractors without large-scale floor plant, defined movement aisles where forms give the precision needed, and areas where the extra joints are tolerable. Large open floors carrying intense random traffic usually justify a jointless approach instead. The choice is recorded with its reasons, because it determines the joint layout the occupier will live with.
- 2
Step 2: Plan the strip layout around the columns and the racking
Strip widths and the direction of laying are set so that joints fall in the least damaging places - ideally under racking runs rather than across main traffic routes - and so that column positions and isolation details are handled sensibly. The pour sequence is planned so that each strip has access for delivery and for the finishing team without crossing a strip that is not yet hard. The joint layout is coordinated with the racking layout, which therefore has to be known.
- 3
Step 3: Prepare and prove the sub-base
The sub-base is placed, compacted and proof-rolled to uniform stiffness and surveyed to level, with underslab services complete and signed off. A slip membrane is normally laid so the strips can shrink freely. Level accuracy in the sub-base matters because it controls slab thickness variation, and variable thickness across a strip produces variable shrinkage behaviour along its length.
- 4
Step 4: Set and survey the forms
The side forms define the finished level of the strip, so they are set accurately, surveyed and checked immediately before the pour. Where the strip is a defined movement aisle, the forms are set to the accuracy the finished floor must achieve. Any load transfer arrangement across the joint is fixed into the forms as designed, and its alignment is checked - a load transfer detail that is skewed will lock the joint instead of allowing it to move.
- 5
Step 5: Place and finish strip by strip
Concrete is placed between the forms, consolidated, struck off against the forms and finished by the team. Because the pour is a manageable size, the finishing can be timed properly to the concrete rather than chased across a huge area. Reinforcement is positioned as designed and checked in place. Each strip is completed as a unit, so there is no part-finished area left overnight.
- 6
Step 6: Cure each strip and strike the forms in sequence
Curing is applied promptly and maintained for the specified period on each strip. Forms are struck when the strip has gained enough strength, and the arris is inspected - a chipped or damaged edge at a joint is a defect that will get worse under traffic, not better. The completed strip is protected while the adjacent strips are poured, since fresh work alongside is a common source of surface damage.
- 7
Step 7: Pour the infill strips and complete the joints
Where the sequence uses alternate strips, the infill strips are poured once the first series has cured, against the hardened edge of their neighbours. Joint faces are prepared as specified so that the new concrete does not bond where the joint is intended to move. Transverse joints are formed or cut as designed. Joint arrangement, load transfer and induced crack positions are all the designer's decisions and are not adjusted on site to suit the pour.
- 8
Step 8: Seal, survey and hand over the joint record
Joints are sealed after the slab has done most of its early shrinkage, using the sealant and the detail specified for the traffic they will carry. The floor is surveyed against the agreed criteria and reviewed with the designer. The as-built strip and joint layout is handed over, because the occupier needs to know where the joints are before deciding where to put racking, and because joint maintenance is the single most important thing they will have to do to keep the floor serviceable.
What are the benefits of Long-strip construction?
- Well understood, low-risk method available from a wide range of contractors
- Modest daily pour sizes, so quality does not depend on a very large team or supply
- Forms give a physical level reference, which suits defined movement aisle work
- Shrinkage is accommodated at strip edges, reducing the risk of uncontrolled cracking
- Works on sites with restricted access or limited concrete delivery capacity
- A problem on one strip is contained and does not compromise the whole floor
What are the limitations of Long-strip construction?
- Many more joints than a large bay or jointless floor, and joints are where floors fail
- Joints require sealing and ongoing maintenance through the life of the building
- Curling occurs at every strip edge, creating potential steps under wheels
- Slower overall than large bay pouring on an open site with good supply
- Form setting and striking add labour and programme to every strip
- Not the best choice for large open areas of intense random traffic
What is Long-strip construction best suited for?
What plant does Long-strip construction need?
- Steel or proprietary side form systems with load transfer provision
- Vibrating beams and pokers for consolidation against the forms
- Power floats and trowels sized for strip-width working
- Concrete pumps, dumpers and skips for delivery to the strip
- Survey equipment for setting and checking form levels
- Joint cutting saws and sealing equipment
How is Long-strip construction quality-checked?
- Strip and joint layout coordinated with the racking layout and column positions before pouring
- Sub-base compaction and levels proven and recorded
- Form levels surveyed immediately before each pour and the record kept per strip
- Load transfer alignment across joints checked before concrete is placed
- Curing applied to each strip as specified and arrises inspected on striking
- Joints sealed after early shrinkage and the as-built joint layout issued at handover