Capture Plant Installation
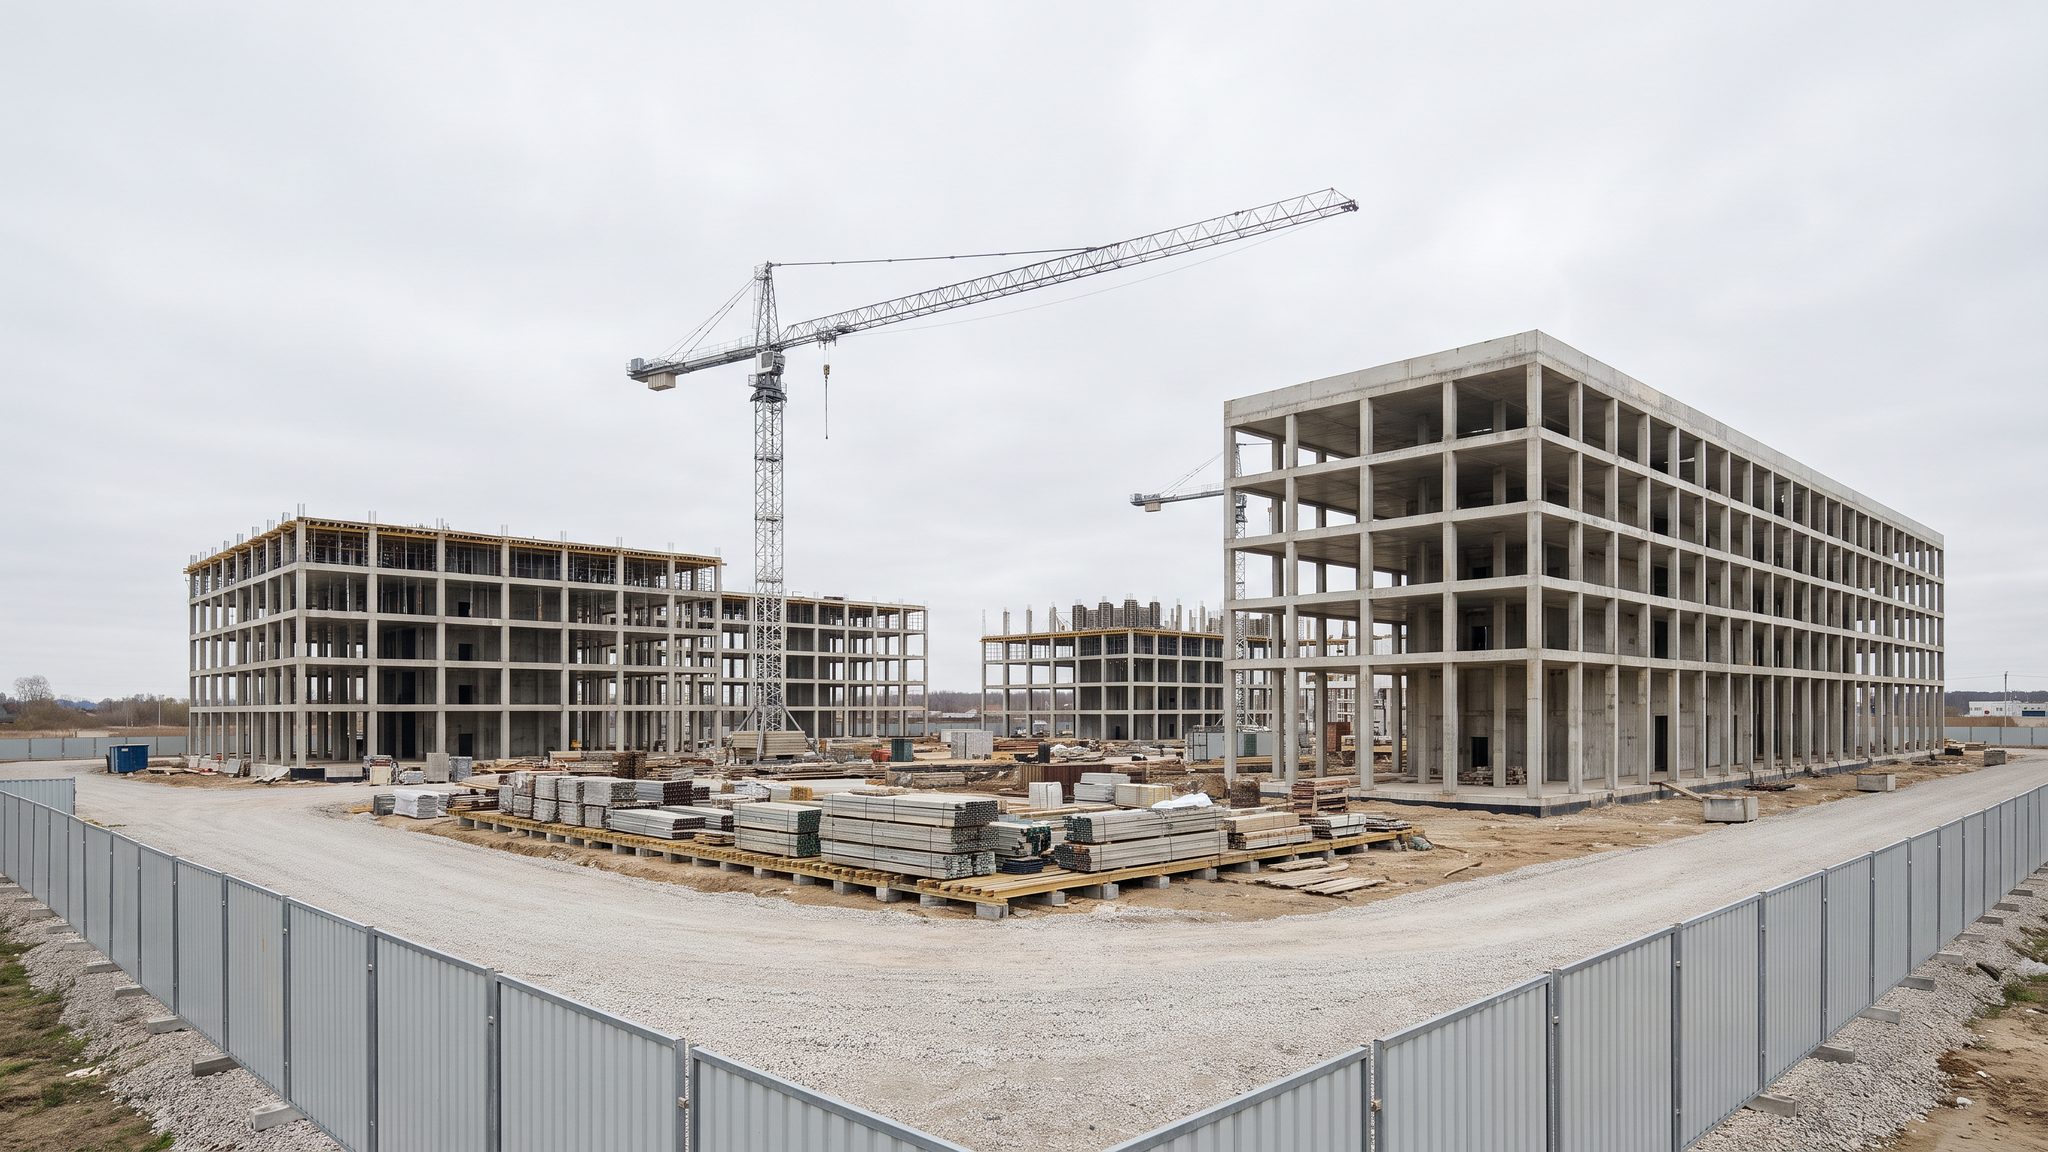
Erecting the capture island itself - the absorber, the vessels, the ducting and the modules - beside a working emitter, where the tallest lift on the site and the tie-in into the host plant are the two things the whole programme is arranged around.
Last updated 2026-09-06
Typical duration
Typically 18-30 months from first delivery to mechanical completion on a full-scale retrofit, with the heavy lifts measured in weeks and the finishing trades measured in months.
What is Capture Plant Installation?
Strip away the chemistry and a capture plant is a recognisable piece of process construction. Flue gas leaves the host plant, is cooled and cleaned, passes through a capture unit where the CO2 is separated from everything else, and comes off as a concentrated stream heading for compression. Physically that means ducting big enough to walk through, an absorber column that is usually the tallest structure on the site, a regeneration section, banks of heat exchangers, tanks, pumps and a dense pipe rack tying it all together. Most of it is heavy. A lot of it is high. The process design behind it comes from a technology licensor, and the contractor builds to that design rather than reinterpreting it. Very little of it can be built where it will finally stand, which is why the plant arrives in pieces.
The module question is settled early and it decides almost everything else. Fabricating equipment into pre-assembled units in a yard moves work away from a congested, permit-controlled, weather-exposed site and into a covered shop with cranes and a level floor, which is faster, safer and usually better built. The price is weight and logistics: a module is only a good idea if it can get from the fabrication yard to the plot, and the binding constraint is frequently a bridge, a bend in an internal road or the reach of the crane at the far end. So the module split is drawn around the route rather than around the process diagram, and the transport study is done before the design is frozen rather than after.
Over the top of all of it sits the tie-in. Flue gas has to be taken from a live duct or stack on somebody else's operating plant, and that connection can normally only be made when the host plant is down. The outage is agreed years ahead, it is short, it is shared with the operator's own maintenance work, and it does not move. Everything that can possibly be prefabricated, pre-tested, trial-fitted and staged beside the tie-in point is, so that the work inside the window is bolt up, prove and go rather than build. A capture project that treats the outage as a date on a bar chart rather than as the fixed point the whole plan hangs from will miss it.
Compare the methods at a glance
When and why is Capture Plant Installation used?
Installation follows the civils because it has to, and it drives the rest of the project because everything downstream waits on it. Compression cannot be commissioned without a plant to feed it, and the pipeline and the well are useless until there is a stream to put in them. The order within the installation itself is governed by crane logic rather than by process logic: the tallest and heaviest items go in first while the plot is still open and the crane can stand where it needs to, and the smaller equipment, small-bore pipework and cabling follow into the gaps. Erect in the wrong order and you end up needing a large crawler crane to reach over a completed pipe rack, which is either impossible or extremely expensive. The commercial case is straightforward. Retrofitting capture to an existing emitter is attractive precisely because the emitter, the site, the utilities, the workforce and the grid connection already exist, so the capital goes into the capture island rather than into a whole new facility. The catch is that the same proximity that makes it cheap makes it difficult - restricted access, a live neighbour, an inflexible outage and a workforce operating under someone else's rules. There is also a hard technical reason to install carefully rather than quickly. A capture plant handles hot gas, chemicals and, further downstream, a fluid that is heavier than air and will collect in low places if it escapes. That is a hazard the designer and the operator manage through the design, the layout, the detection and the operating procedures, and the installation team's job is to build exactly what was designed, prove it, and record that they did.
Types of Capture Plant Installation
Explore each method in depth - benefits, limitations, plant and quality control on its own page.
Modular - pre-assembled units built off site
Equipment, structure, pipework, cabling and insulation assembled into large transportable units in a fabrication yard, then shipped in and set on prepared foundations. Cuts site labour dramatically, improves quality and shortens the time spent inside the host plant. Demands a very early design freeze, a proven transport route and foundations that match the module exactly.
Explore this methodStick-built on site
Steel, vessels and pipework delivered as individual pieces and assembled in position. Flexible, tolerant of late design change and forgiving of a poor transport route, but it puts a large workforce inside a live industrial site for a long time and exposes the build to weather, permits and congestion.
Explore this methodHybrid - modular skids with site-built interconnects
The common middle ground. Pumps, exchangers and packaged systems arrive as tested skids; the columns, large ducting and the pipe rack tying them together are built in place. Keeps the fiddly, congested, quality-sensitive assembly in the shop while leaving the big geometry adjustable on site.
Explore this methodColumn erection - sectional or single lift
Tall columns are either lifted complete, which needs one very large crane, a clear standing area and a short weather window, or delivered in sections and joined in position, which needs less crane but adds working at height and site joints. The choice comes from crane access, transport limits and the plot, and it is made long before the column is fabricated.
Explore this methodBest suited for
- Retrofitting capture to an existing power station, cement works, energy-from-waste plant or refinery
- Congested sites where fabrication yard work is worth paying for to shorten time on the plot
- Projects with a fixed, short tie-in outage that the whole programme is planned backwards from
- Clusters where several emitters connect to one shared transport and storage system
Capture Plant Installation: step by step
- 1
Step 1: Fix the module split, the weights and the route
Before fabrication starts, the project decides what gets built where. The module split is drawn against three things at once: what the technology licensor's process design needs to keep together, what the fabrication yard can build and load out, and what can physically reach the plot. That last one drives a full transport study covering quay capacity, road or barge route, bridges, culverts, overhead lines, junction geometry, headroom and the final approach through the host plant. Weights and centres of gravity are calculated properly rather than estimated, because the crane selection and the foundation design both depend on them. Once the split is agreed it is frozen, and the fabrication drawings, the foundation drawings and the lift studies are all developed from the same information. Changing it later means changing all three, which is why late module changes are among the most expensive decisions on a capture project.
- 2
Step 2: Receive, inspect and pre-assemble at the laydown
Modules, columns, vessels and rack sections arrive over a period of months, usually by sea and then by road or barge, and every one of them is inspected on arrival rather than on paper. Transport damage, distortion, water ingress, missing loose items and damaged protective coatings are found now or they are found during commissioning. The laydown is run as a controlled operation with its own layout, its own lifting arrangements and its own storage requirements, since some items need protection from weather, some need preservation of internal surfaces and some need to stay upright. Pre-assembly work happens here too - joining rack sections, fitting items removed for transport, completing platforms and ladders at ground level rather than at height. Every hour of work done on the laydown is an hour not spent hanging off a column, which is the whole argument for doing it.
- 3
Step 3: Set the absorber and the tall columns
The tall columns are the defining lifts of the project and they are planned as engineering exercises. A lift study covers the crane configuration, its standing position and ground bearing, the rigging, the tailing arrangement, the clearances to live plant and overhead services, and the wind conditions under which the lift may and may not proceed. The exclusion zone is agreed with the host plant, which often means shutting down or restricting parts of their operation for the duration. Foundations are re-checked against the as-built survey before the crane arrives, not after the column is airborne. The lift itself is the short part; the days around it are the difficult part - crane assembly, road closures, weather holds, and the fact that a large crawler crane parked in the middle of a retrofit plot blocks everybody else. Once set, columns are grouted, plumbed and released to the erection team.
- 4
Step 4: Land the equipment modules and skids
Modules are moved onto their foundations by crane, by self-propelled transporters, or by a combination of the two, and the operation is rehearsed on paper in detail beforehand. Routes are checked for load capacity and clearance, jacking and skidding arrangements are designed, and the setting sequence is planned so that no module blocks access to the next one. Foundations, bolt groups and shim arrangements are checked against the as-built survey before the module is over them. Once landed, the unit is set to level, secured, grouted where the design calls for it and released so that the interconnecting work can begin. The tempo matters here: a well-planned module campaign runs as a repeating rhythm of deliver, position, set and release, and that rhythm is what makes the modular approach worth the design effort in the first place.
- 5
Step 5: Erect the pipe racks and the flue gas ducting
The pipe rack is the spine of the plant and it goes up as the modules land, carrying process lines, utilities, steam, cabling and instrument routes between the capture island, the host plant and the compression area. Flue gas ducting is the other large-volume item and it surprises people - the ducts are big, they are structurally significant, they need their own supports and expansion arrangements, and they take up the space everyone assumed was free. Both are assembled from prefabricated sections lifted into place, joined and supported to the design. Supports, guides and expansion provisions are installed as drawn rather than adjusted to suit the fit, because they control how the system moves when it heats up. This is also the stage where the geometry between the new plant and the existing works has to be confirmed against reality, which is what the laser scan survey of the host plant was taken for.
- 6
Step 6: Take the tie-in during the host plant outage
The tie-in is the one piece of work that genuinely cannot be rescheduled. Long before it, the connection points are surveyed, the new work is built up as close to them as safety allows, the spool pieces are fabricated and trial fitted, and every item, tool and person needed inside the window is staged and briefed. The host plant isolates, drains, cleans and hands over the connection points under their own permit and isolation procedures, and the working area transfers formally from operations to construction and back again. The work inside the window is planned hour by hour with a defined critical path and a contingency for the things most likely to go wrong. Inspection and testing of the new connections happens inside the window too, because handing back an untested joint is not handing back at all. When the plant restarts, the connection is either complete and proved or it waits for the next outage.
- 7
Step 7: Complete the mechanical works - bolting, insulation, cladding and tracing
With the big geometry in place, the plant is finished off. Bolted joints are made up under a controlled procedure with records kept, because a joint that leaks in service on a process plant is a safety issue rather than a snag. Small-bore pipework, valves, drains, vents and sample points are installed to the drawings. Then comes the work that is always underestimated: insulation, heat tracing, cladding, painting, fireproofing and access platforms. There is a very large amount of it, it is labour-intensive, it is weather-sensitive and it sits directly on the critical path to commissioning because it cannot be completed until the pressure testing beneath it is done. Sequencing it against testing, rather than assuming both can happen at once, is one of the practical differences between a capture project that finishes on time and one that does not.
- 8
Step 8: Install the electrical, instrument and control systems
The capture plant needs power, control, safety systems and a great deal of instrumentation, and most of it interfaces with systems the host plant already owns. Cable containment, tray, ladder and buried duct routes are installed, cables are pulled, terminated and tested, and field instruments are mounted, connected and calibrated. Detection systems for gas, fire and the specific hazards the designer has identified are installed to the layout drawings rather than to convenience, because their positions come from an assessment of where a release would actually go. The control system is configured, the loops are checked from the field device back to the screen, and the interfaces with the host plant's own control and protection systems are agreed, tested and documented with the operator. Getting this package finished properly is what allows commissioning to be a matter of proving the plant rather than finishing it.
Plant & equipment
- Large crawler and mobile cranes, with the tallest lifts often needing a heavy-lift crane brought in specially
- Self-propelled modular transporters, jacking and skidding systems for module moves
- Barges, quay handling and heavy haulage for delivery from the fabrication yard
- Mobile elevating work platforms, scaffolding and rope access for high-level completion work
- Welding, cutting and non-destructive testing equipment for site joints and tie-in spools
- Laser scanning and total station survey kit to reconcile new steel with existing structures
- Pressure testing, flushing and cleaning equipment for pipework and ducting systems
- Temporary power, lighting, weather protection and site-wide access systems
Quality control & testing
- Module and column dimensions verified against the as-built foundation survey before any lift
- Receipt inspection of every major item, with transport damage and preservation checked on arrival
- Welding and joint integrity records for site joints and tie-in spools, held against the item they belong to
- Bolted joint make-up recorded under a controlled procedure rather than signed off in bulk
- Pressure and leak testing completed and recorded before insulation and cladding go on
- Instrument installation, calibration and loop checks documented from field device back to the control system
- Supports, guides and expansion provisions installed as drawn and inspected before the system is released
- Line-by-line walkdowns against the piping and instrumentation drawings, signed by both parties
Safety watchpoints
- Heavy lifting over and beside live plant, with exclusion zones agreed and enforced by the host operator
- Working at height on tall columns, ducting and pipe racks, with rescue arrangements proven for every position
- Hot work inside an operating facility, controlled entirely through the host plant's permit system
- Simultaneous operations - construction and normal production sharing roads, services and emergency routes
- Confined space entry into vessels, columns and large ducting
- Stored energy, isolation and lock-off discipline around the tie-in, which is the highest-risk work on the project
- Chemical handling during first fill and preservation, under the supplier's and the operator's controls
- CO2 itself is heavier than air and can collect in low or enclosed areas; the hazard is managed by the designer through layout, detection and ventilation, and by the operator through procedure and training
Common defects to hunt
- Module dimensions and foundation bolt groups not matching, discovered with the module in the air
- A transport route assessed on a map rather than driven, so a module stops at a bridge or a bend
- Late design change after the module split was frozen, forcing site rework of shop-built assemblies
- Tie-in work planned as a normal activity and then compressed into an outage window it never fits
- Insulation, cladding and painting left to the end and then blocking commissioning for months
- Supports and expansion provisions adjusted on site to suit the fit, so the system fouls when it heats up
- Detection and safety instrumentation relocated for convenience, away from where the assessment put it
- Handover documentation assembled after the fact from memory rather than captured as the work was done
How long does Capture Plant Installation take?
Typical duration: Typically 18-30 months from first delivery to mechanical completion on a full-scale retrofit, with the heavy lifts measured in weeks and the finishing trades measured in months..
Related processes
- Site Civils & Heavy Foundations
- Compression & Conditioning
- CO2 Transport Pipelines
- Injection Wells & Commissioning
- Modular - pre-assembled units built off site - method
- Stick-built on site - method
- Hybrid - modular skids with site-built interconnects - method
- Column erection - sectional or single lift - method
- Carbon Capture & Storage (CCUS) sector guide
- Utilities & Energy - group of sectors