Ground anchors
A tendon stressed into competent ground behind the wall - load applied on day one, and every anchor tested before it counts.
Last updated 2026-08-25
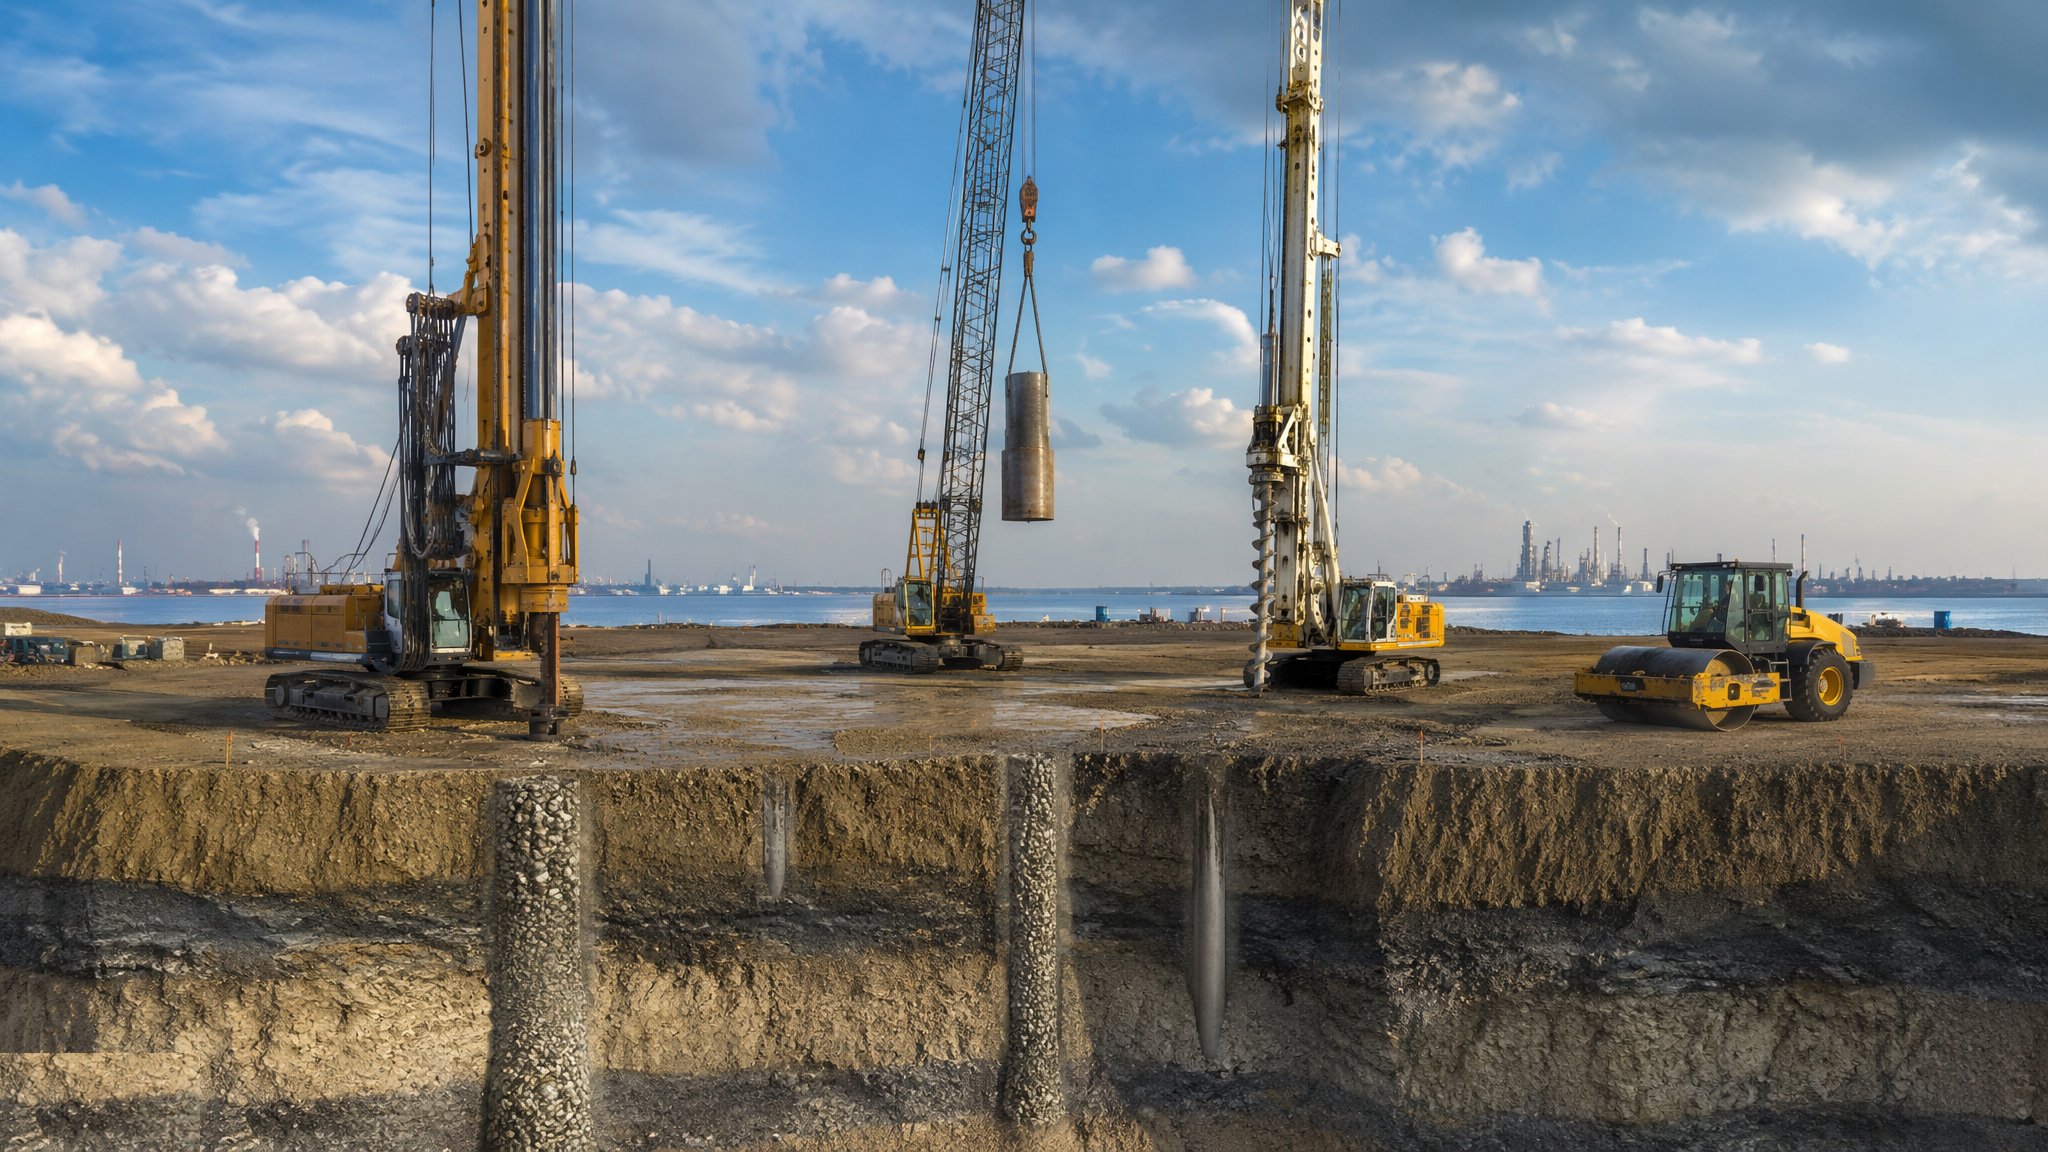
What is Ground anchors?
A ground anchor is a steel tendon - a single bar, or a bundle of anything from two to a dozen strands - installed into a drilled hole of typically 100-200 mm, bonded into the ground over a fixed length at its far end, left free to stretch over the length nearest the structure, then tensioned against a bearing plate and locked off. Anchors of this kind are made in capacities from a few hundred kilonewtons to well over a meganewton, with total lengths of 10-30 m and sometimes half as much again, inclined perhaps fifteen to forty-five degrees below horizontal so the bonded end sits in ground worth bonding into. Because it is stressed on installation, it applies load to the structure immediately rather than waiting for movement, and that is the defining difference between an anchor and a soil nail. The prestress is what makes anchors so useful behind retaining walls: the wall is held back and deflection limited from the moment the anchor is locked off, and the excavation in front of it stays completely clear of props.
An anchor needs competent ground to bond into, and it needs that ground to lie beyond the surface along which the retained mass would fail - otherwise it is tied to the very block it is holding, which achieves nothing. The bonded length - commonly 3-10 m in soil, and shorter in sound rock - is therefore taken back behind the failure surface, and the free length between it and the wall, rarely less than a few metres because the tendon has to have something to stretch, is sleeved so it cannot bond where it must not. Rock, dense granular soils and stiff clays give good bond; soft clays, loose fills and running sands give poor and unreliable bond, and in weaker ground the specialist contractor uses pressure grouting, under-reaming or post-grouting to enlarge the bonded body and win back capacity, often enough to raise what a given bond length will hold by half again or more. Anchors are also used vertically, to hold structures down against water uplift, and up slopes to stabilise them.
What distinguishes anchoring from most geotechnical work is that every single anchor is tested. It has to be, because the stressing operation loads the anchor anyway and there is no reason not to record what it does. Trial and suitability anchors establish behaviour before production - usually something like three per ground condition, or a small percentage of the total, whichever gives more - and each working anchor is then loaded, held, watched for load loss and creep, and locked off at a load the designer has specified. An anchor that fails its test is retested, replaced or supplemented, and the failure is investigated rather than absorbed. Two practical constraints ride with the technique: anchors project 10-30 m behind the wall, so land ownership and consents matter, and they will one day obstruct somebody else's basement - which is why temporary anchors are often required to be de-stressed and left slack once they have done their work.
How does Ground anchors work, step by step?
- 1
Step 1: Design the anchors and secure the right to install them
The geotechnical designer establishes the failure surface, the ground available to bond into, the load each anchor must carry and the design life, then sets the arrangement - inclination, free and bond lengths, capacity, spacing along the waling, which is commonly 2-4 m, and the corrosion protection appropriate to whether the anchors are temporary, with a design life often taken as two years, or permanent, where sixty to a hundred and twenty years is the usual expectation. In parallel, the route each anchor takes is checked against what lies behind the wall: services, foundations, tunnels, basements and, crucially, the boundary. Anchors under a neighbour's land need that neighbour's agreement, and that is a negotiation with a lead time, not a form signed on the day.
- 2
Step 2: Drill the anchor bore
The hole, typically 100-200 mm in soil and slimmer in rock, is drilled at the design position and inclination, cased or otherwise supported through any ground that would collapse or through which loss of ground could settle the surface behind the wall. The flush is chosen for the ground: a flush that washes fines out of a granular layer creates a void that shows up later as a settled pavement or a cracked slab behind the wall. A rig commonly drills and installs somewhere between three and eight anchors in a shift depending on length and ground, drilling records are kept per anchor, and material encountered that differs from what the design assumed is reported rather than drilled through.
- 3
Step 3: Install the tendon and grout the bonded length
The tendon is assembled with its sheathing, spacers and centralisers so that the free length is genuinely free and the bonded length is genuinely surrounded by grout. Corrosion protection for permanent anchors is built into the tendon and inspected before it goes down the hole, because nothing about it can be seen again. Grout - a neat cement mix, typically around four to five parts water for every ten of cement by weight - is placed from the bottom of the bore upwards and the quantity is recorded against the theoretical volume, which for a 150 mm bore is about 18 litres a metre. A large overtake means the grout has gone somewhere it was not meant to, and a shortfall means the bonded body may not be properly formed.
- 4
Step 4: Form the head and let the grout gain strength
The bearing plate, the waling or capping beam and the head assembly are set square to the anchor axis, because a head bearing off-axis puts bending into a tendon designed only for tension. Grout is left to gain the strength the design requires before any load is applied - commonly the best part of a week, and longer in cold weather - because stressing early is a straightforward way to pull an anchor out of the ground and lose a day proving it. The area in front of and behind the head is cleared, and the stressing arrangement is set up on stable, level standing.
- 5
Step 5: Stress, test and lock off
Each anchor is loaded in increments by jack, with extension measured at every stage and a hold at the test load - minutes for a straightforward anchor in rock, and considerably longer in clay, where creep is the thing being looked for - during which any loss of load or continuing movement is recorded. A stressing gang commonly works through eight to twenty anchors in a shift once the grout is up to strength. The acceptance criteria come from the designer and cover both the load carried and the behaviour under the hold. Anchors that pass are locked off at the specified load and the record is signed. Stressing is a dangerous operation - a tendon under load stores a great deal of energy, and nobody stands behind or in line with the jack. Anchors that fail the test go back to the designer, not into the wall.
- 6
Step 6: Monitor in service and decommission properly
Load cells on a proportion of the anchors - a few percent is typical - let the load be watched as the excavation deepens and as the permanent works take over, and permanent anchors are usually specified so that the load can be checked and adjusted through their life. Temporary anchors are de-stressed once the permanent structure can carry the load, and where the agreement with a neighbouring landowner requires it, they are left slack or their tendons withdrawn. The full record - drilling logs, grout quantities, tendon details and every stressing test - is archived with the structure, because the next person to dig behind that wall will need it.
What are the benefits of Ground anchors?
- Load is applied immediately, so wall deflection and ground movement behind it are controlled from the start
- Leaves the excavation completely clear of props, which transforms the buildability of a deep basement
- Every anchor is individually tested, so the installed capacity is proved rather than assumed
- Capacity can be adjusted, and permanent anchors can be checked and restressed in service
- Suits tie-downs against water uplift as readily as horizontal restraint
- Stabilises slopes and rock faces where a positive, known force is wanted rather than passive reinforcement
What are the limitations of Ground anchors?
- Needs competent ground to bond into beyond the failure surface - weak or variable ground gives unreliable capacity
- Anchors extend 10-30 m behind the wall and often beyond the site boundary, so third-party consents are frequently required
- Left in place, they obstruct future excavation on adjacent land and become somebody else's problem
- Permanent anchors depend entirely on corrosion protection that cannot be inspected after installation
- Drilling and flushing can wash out fines and settle the ground behind the wall
- Stressing is a high-energy operation with serious consequences if the exclusion discipline slips
What is Ground anchors best suited for?
What plant does Ground anchors need?
- Anchor drilling rig, commonly 10-25 t, with casing or duplex systems for unstable ground
- Grout mixing and pumping plant with quantity recording, plus post-grouting equipment where used
- Tendon fabrication and handling gear, with sheathing, spacers and centralisers
- Stressing jacks and pumps sized for capacities from a few hundred kilonewtons upwards, with calibration certificates in date
- Waling beams, bearing plates and head assemblies
- Load cells, gauges and monitoring instrumentation for testing and in-service monitoring
How is Ground anchors quality-checked?
- Anchor routes checked against services, structures and the site boundary, with consents obtained first
- Drilling log per anchor, with any change in ground reported to the designer
- Corrosion protection inspected on the tendon before installation
- Grout quantities recorded and reconciled against the theoretical bore volume - about 18 litres a metre in a 150 mm hole
- Jack and gauge calibration in date at the time of stressing
- Full load-extension and hold record for every anchor, signed off against the acceptance criteria