Soil nailing
Pin the slope into itself, one lift at a time, and let the ground carry its own load.
Last updated 2026-08-25
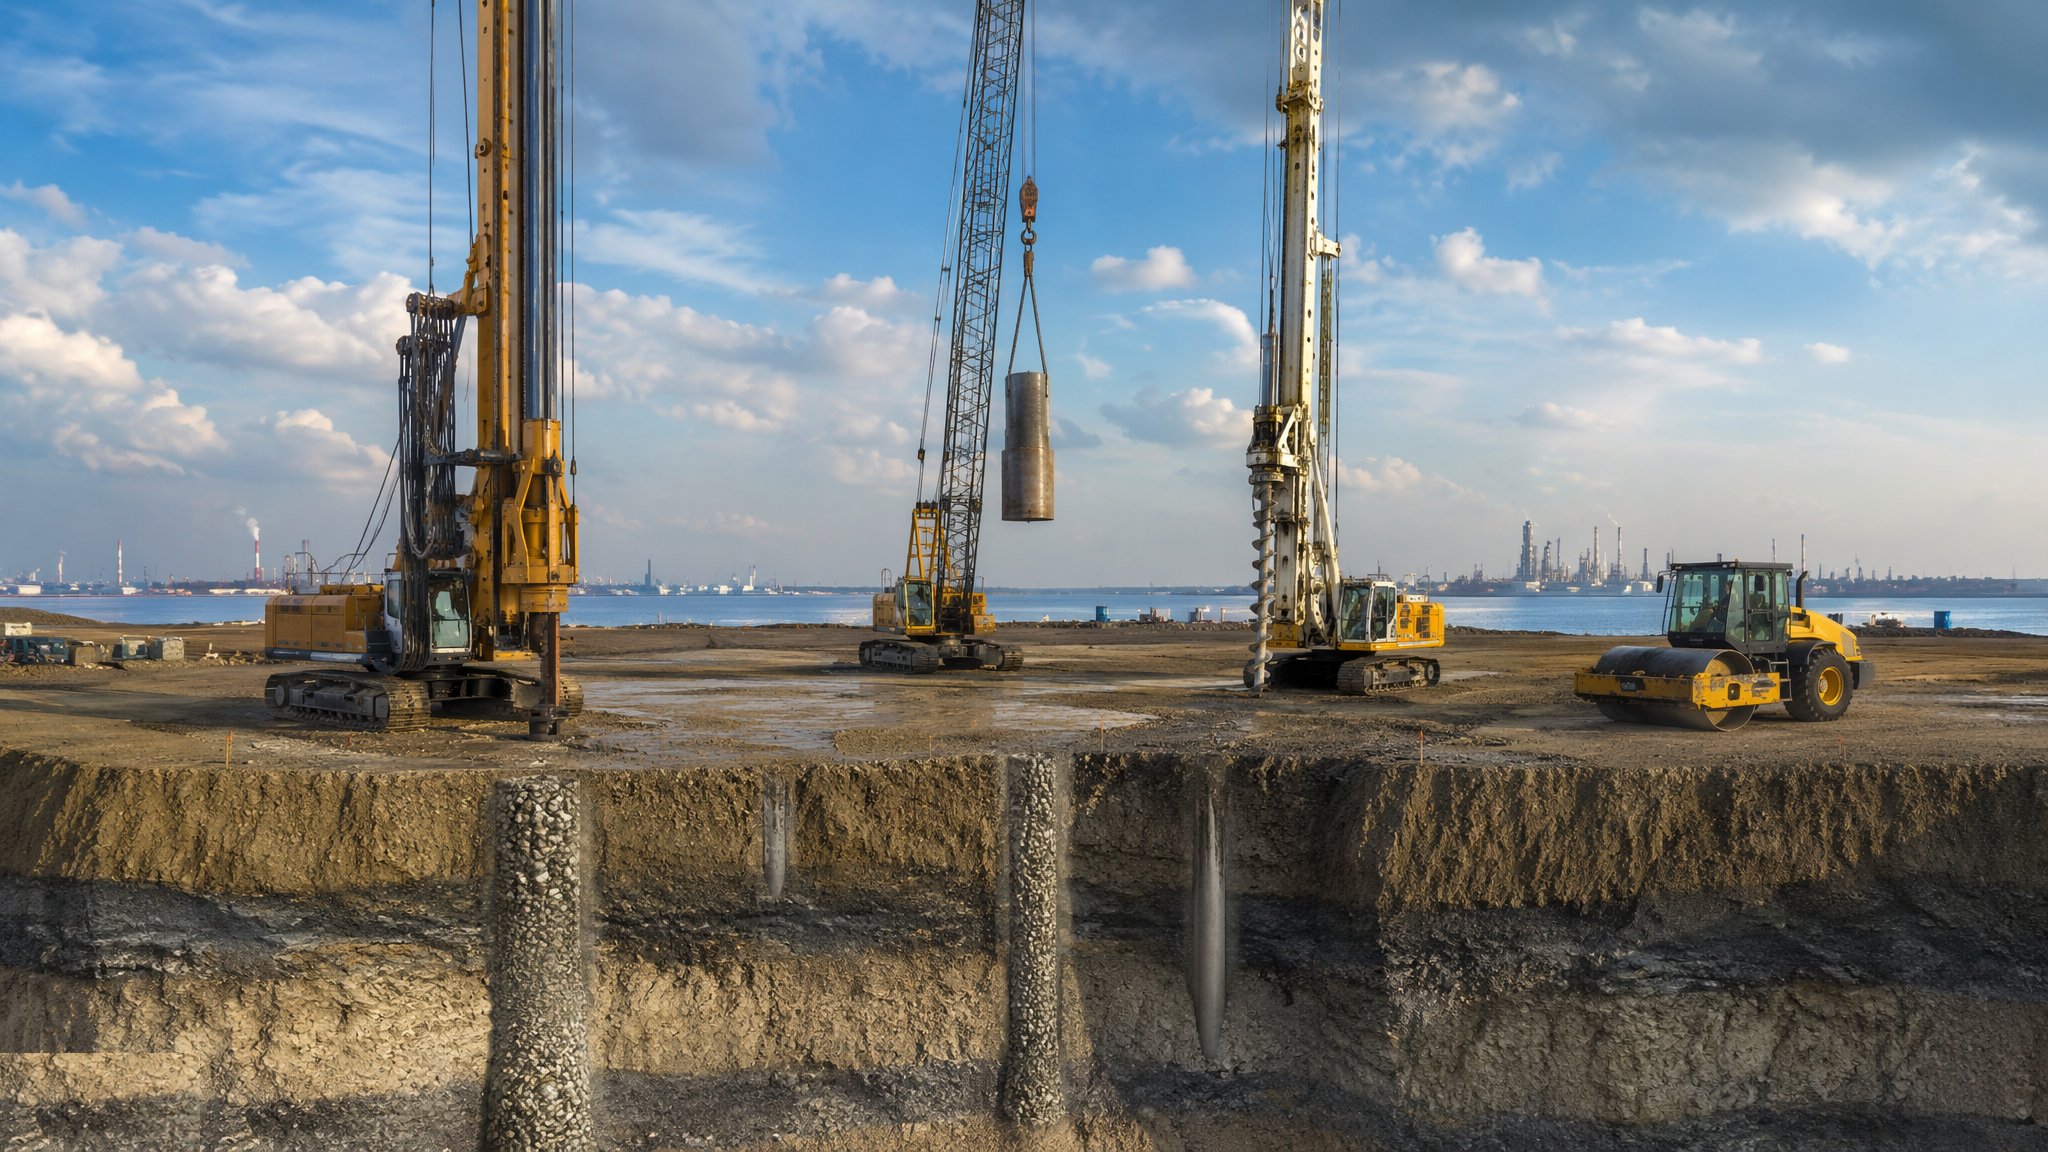
What is Soil nailing?
Soil nailing reinforces a slope or a cut face by installing steel bars - commonly 20-40 mm solid bar, or hollow self-drilling bar where the ground will not hold a hole open - into the ground behind it and bonding them along their full length, usually with grout. The bars do nothing on the day they go in. As the ground behind the face tries to move outwards it drags on the bars, they pick up tension, and that tension holds the mass together. The passive behaviour is the essential difference between a nail and a ground anchor: an anchor is stressed and locked off on installation, a nail waits and works only as the ground demands it. The result is a reinforced block of ground behaving as a gravity structure, rather than a face propped by something external. A typical face carries one nail for every two to four square metres, on a square or staggered grid at something like 1.5-2.5 m centres each way, the bars inclined ten to twenty degrees below horizontal so that grout runs to the back of the hole and air comes out of it.
Nailing is built from the top down, in step with the excavation, and that sequence is the discipline of the job. A lift of the face is dug, the nails for that lift are drilled, installed and grouted, the face is protected, and only then is the next lift taken. The depth of each lift is set by how long the ground will stand unsupported, which the geotechnical designer determines from the soil - and taking a deeper lift than the design allows is the most common way to lose a nailed face. The run of face opened at one time is limited the same way: no more than can be drilled, nailed and faced within the working day. The facing suits the job: sprayed concrete, typically 75-200 mm thick over one or two layers of mesh, with bearing plates where the face is permanent or steep, or mesh, geogrid and vegetation where a softer, greener finish is wanted and the face is largely self-supporting.
The ground has to do two things: stand up long enough to install a lift, and bond to the grout well enough to develop the tension the design needs. Stiff clays, cemented and weathered rock, and dense granular soils with some cohesion do both. Clean loose sands and gravels collapse before the nails go in; soft clays creep and give poor bond; ground below the water table is unsuitable without drainage. Nail lengths are conventionally related to the height of the face, something between half of it and the whole of it being the usual starting point, which on ordinary highway cuttings means bars of 4-12 m in holes of 100-200 mm; the design then adjusts for the ground and the loads. Soil nailing competes with anchored and piled walls, with reinforced soil structures and with simply regrading the slope, and it usually wins on cost and on plant size where the ground suits it. One issue is easy to miss until it bites: nails project into the ground behind the face, and if that ground belongs to somebody else, the right to put them there has to be secured before anyone drills.
How does Soil nailing work, step by step?
- 1
Step 1: Investigate the face and design the reinforcement
The investigation establishes the soil profile behind the face, the strength parameters, the groundwater regime and any existing slip surface. The geotechnical designer then sets the pattern - the length, spacing, inclination and capacity of the nails, the lift depth the excavation may take, the facing and the drainage. Everything about the arrangement follows from the design, and the design follows from the ground; nails copied from the last job on a different slope are how faces fail. Where the works are permanent, the design also fixes the corrosion protection appropriate to the design life - two years for a temporary face, sixty or a hundred and twenty years for a permanent highway structure.
- 2
Step 2: Set up access and prove the bond
Steep and high faces need proper access - platforms, mobile elevating work platforms or rope access - planned before the excavation starts, along with the drill positions and how the rig will reach them. Sacrificial test nails - typically two or three per soil horizon, installed deliberately short so that the bond fails before the bar does - are then pulled to establish the bond the ground actually provides against what the design assumed. That test says whether the drilling and grouting method suits the ground and whether the nail lengths are right, and it is done early enough for the design to change if the answer is unwelcome.
- 3
Step 3: Excavate the lift
The face is cut to the lift depth the design permits, no deeper, and no wider than the length that can be nailed and faced within the working day. Water is kept off the face - a cut-off drain at the crest matters more than most people credit, because surface water running over a fresh face will bring it down. The exposed face is inspected as it is cut: soil that differs from what was expected stops the work and goes back to the designer rather than being pressed on with.
- 4
Step 4: Drill, install and grout the nails
Holes, commonly 100-200 mm in diameter, are drilled at the design position and inclination, cased or supported where the ground will not hold open, and cleaned out. A rig in reasonable ground installs somewhere between twenty and sixty nails in a shift. The bar is installed with centralisers so grout surrounds it fully, and grout is placed from the bottom of the hole upwards so air is pushed out rather than trapped. Grout takes are recorded per nail and reconciled against the theoretical volume of the hole - a 150 mm bore holds about 18 litres a metre, so the arithmetic is easy and departures are obvious. A hole that swallowed far more than its neighbours has found a void or a permeable layer, and one that took far less may not be full. Corrosion protection for permanent nails is installed exactly as designed and inspected before the hole is closed.
- 5
Step 5: Face the lift and drain it
Drainage goes in before the facing seals the face off: weep holes, vertical drainage strips between the nails, or drains drilled back into the slope - commonly at something like 3-6 m centres, and always arranged so water in the ground behind can escape instead of building pressure on the back of the facing. Reinforcement mesh is fixed, sprayed concrete is applied in passes to build up the 75-200 mm the design calls for, with attention to full encasement behind the mesh, and the bearing plates and nuts are fitted and tightened to the designer's requirement. The lift is finished before the next one is cut, and the sequence is not shortcut because the excavator is standing idle.
- 6
Step 6: Test, monitor and hand over
Proof tests are carried out on a proportion of working nails as production proceeds - a few percent of the total is a common requirement, spread across the soil types and across the programme rather than clustered in the easy ground - at the frequency and load regime the designer specifies, and the results are reviewed against the design assumptions rather than filed. Movement monitoring on the face and at the crest runs through construction and, for permanent works, often well beyond it. The completed structure is handed over with an inspection and maintenance regime, because drainage that silts up or facing that cracks will shorten the life of a structure whose reinforcement nobody can see.
What are the benefits of Soil nailing?
- Built from the top down in step with the excavation, so no separate propping or temporary wall is needed
- Small, mobile plant works on slopes and in confined space where a piling rig could not stand
- Cheaper and faster than a piled or anchored wall wherever the ground suits it, and by a wide margin on cuttings up to eight or ten metres high
- The face can be finished hard or green, so it serves structural and landscape settings alike
- Well suited to repairing and steepening existing slopes and cuttings without rebuilding them
- Reinforcement is distributed, so the structure is tolerant of a single under-performing nail
What are the limitations of Soil nailing?
- Needs ground that stands unsupported long enough to nail a lift - clean loose sands and gravels do not
- Poor bond in soft and creeping clays, and generally unsuitable below the water table without drainage
- Nails occupy the ground behind the face, so third-party land needs legal consent before drilling
- The reinforcement is passive - some ground movement has to occur before the nails do anything
- Permanent works depend on corrosion protection that cannot be inspected once installed, against a design life that may be a hundred years or more
- Buried nails obstruct any future excavation behind the face, a problem inherited by somebody else
What is Soil nailing best suited for?
What plant does Soil nailing need?
- Track-mounted or excavator-mounted drilling rig, commonly 5-15 t, suited to the face and the access
- Casing or drilling systems for holes that will not stand open
- Grout mixing and pumping plant with recording of quantities placed
- Sprayed concrete plant for a 75-200 mm facing, with mesh, bearing plates and nuts
- Pull-out test equipment with a reaction frame and calibrated gauges
- Access platforms, mobile elevating work platforms or rope access equipment
How is Soil nailing quality-checked?
- Sacrificial test nails, typically two or three per soil horizon, pulled with the measured bond compared against the design assumption
- Lift depth and exposed face length limited to the design and recorded lift by lift
- Nail position, inclination, length and grout take recorded for every nail, the take reconciled against the theoretical hole volume
- Corrosion protection inspected before installation on permanent works
- Drainage installed and proved before the facing closes the face off
- Proof tests on working nails at the specified frequency - commonly a few percent, spread across the soil types - with results reviewed by the designer