Adjustable pallet racking (wide aisle)
The default pallet store - every pallet reachable, every aisle wide enough for an ordinary counterbalance or reach truck.
Last updated 2026-09-06
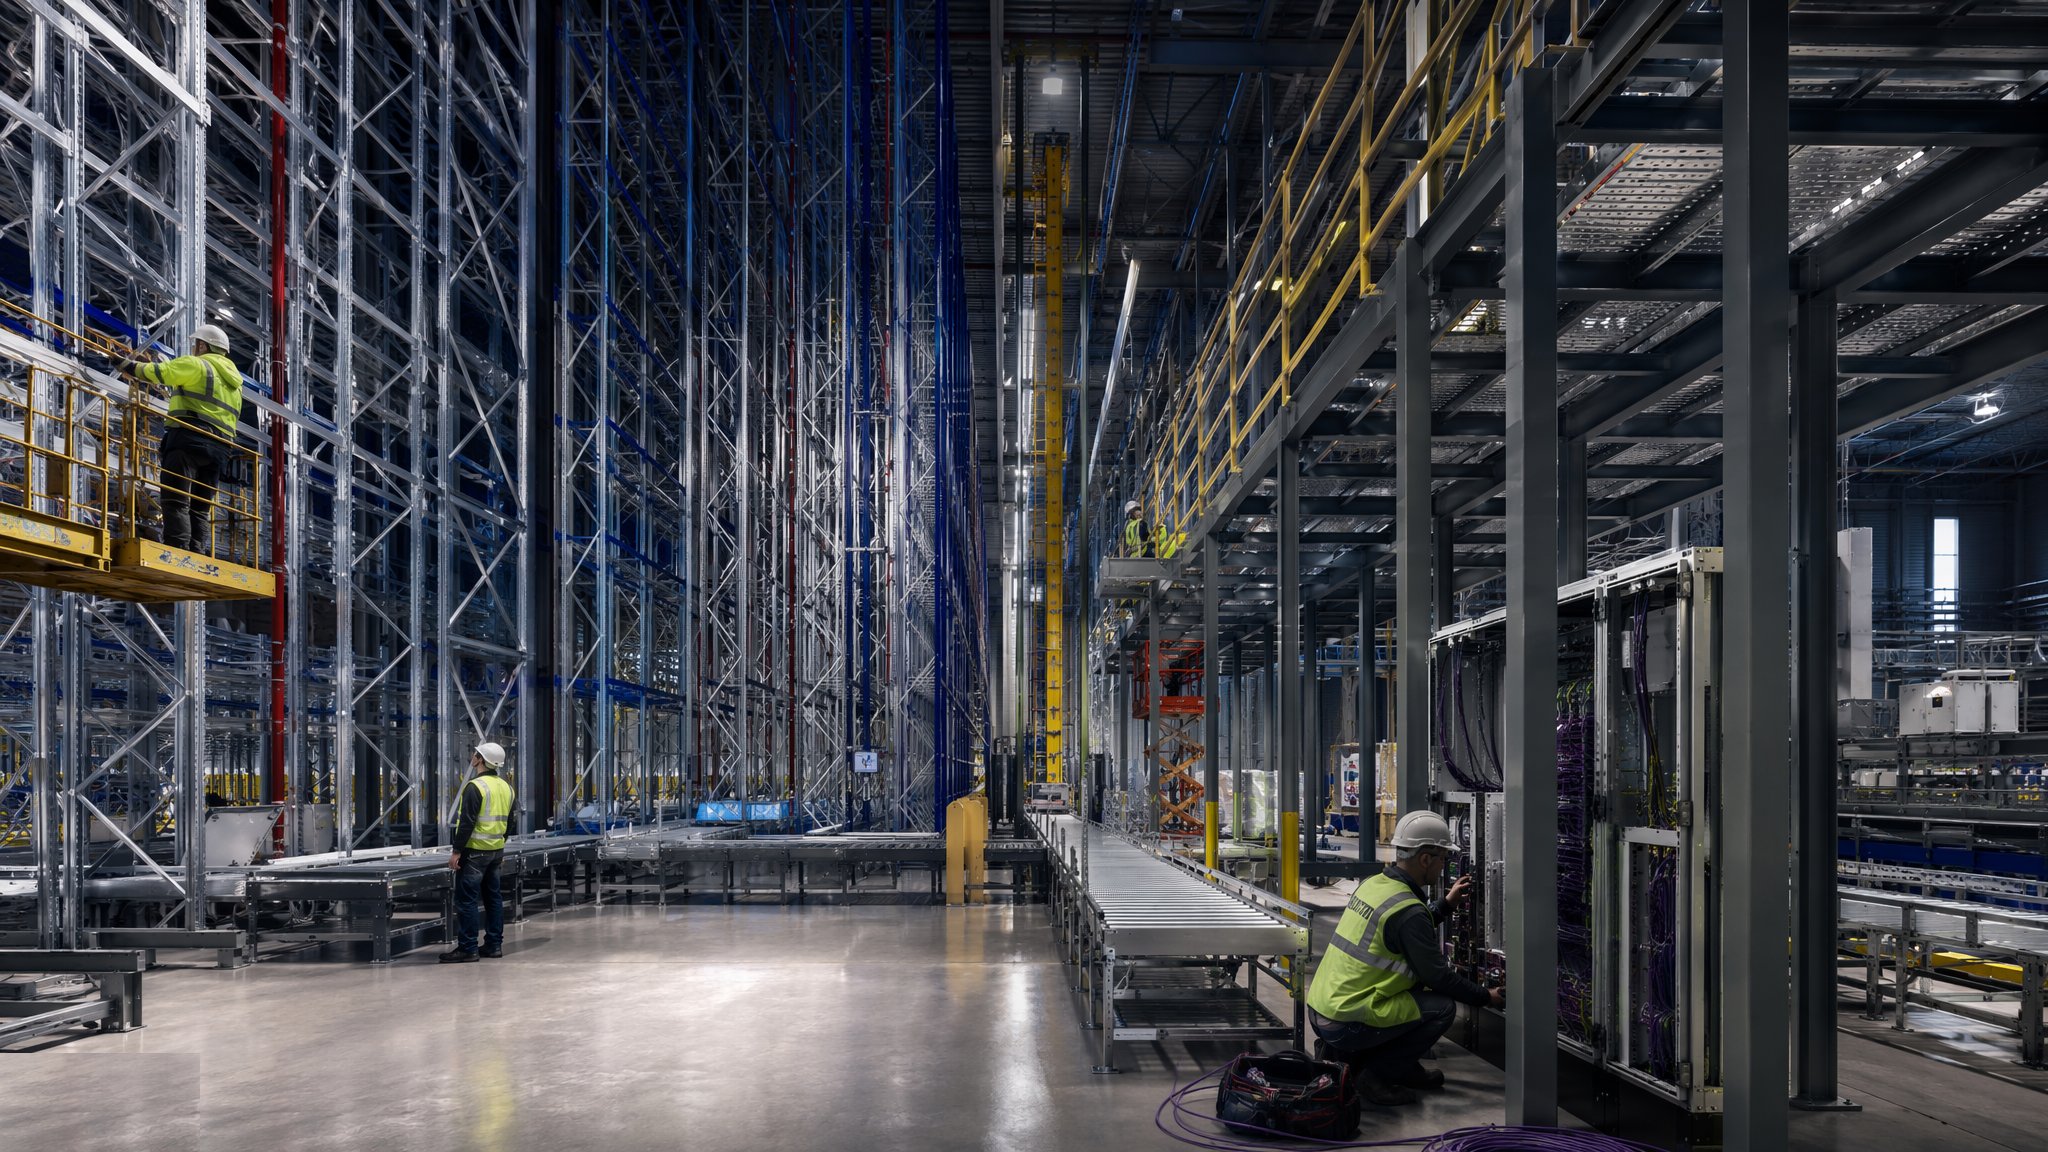
What is Adjustable pallet racking (wide aisle)?
Adjustable pallet racking is the system most people picture when they hear the word racking. Upright frames stand in pairs, beams clip into the perforations on the uprights, and pallets sit on the beams. Aisles run between the runs of racking and are wide enough for a conventional counterbalance or reach truck to turn in, pick up and set down. The word adjustable matters - the beam levels can be moved up and down the upright to suit the pallet heights being stored, which is why the system has outlived almost every alternative. On most projects it is chosen because it is simple, because the operator already owns trucks that suit it, and because every single pallet in the building is directly accessible without moving another one.
That direct accessibility is the whole argument for the system, and it is also the source of its main weakness. Because every pallet position faces an aisle, a large share of the building footprint is given over to aisles rather than to stored goods. Cube utilisation is therefore poor compared with any of the high-density options. On a project where the operator handles a very wide range of stock lines in small quantities, that trade is worth making, because picking is fast and no pallet is ever trapped behind another. On a project storing a handful of lines in enormous volume, the same trade looks wasteful and the designer will usually be pushed towards drive-in, push-back or a shuttle solution instead.
The important point for the construction team is that racking is not shelving and it is not loose equipment. It is a designed engineered structure, designed by the racking designer for a stated pattern of loading, and it is issued with a load notice that states what it may carry and how. The layout has to be fixed early, because it drives the column grid, the aisle positions, the sprinkler arrangement above, the lighting, the floor construction and the door positions. Installation is a specialist trade that runs after the building is watertight and the floor is finished and cured. Handover includes the load notices, the designer's drawings and the arrangements for a routine inspection regime once the operator takes over.
How does Adjustable pallet racking (wide aisle) work, step by step?
- 1
Step 1: Fix the storage brief before the building design is frozen
The racking designer starts from the operator's brief: what is stored, on what pallet, how tall the loaded pallet is, how many lines, how fast they move, and how the goods arrive and leave. That brief decides the number of beam levels, the run lengths, the aisle arrangement and the truck fleet. It has to be settled before the building design is frozen, because on most projects the racking layout drives the column grid rather than fitting around it. Late changes to the brief are the single most common cause of a warehouse that never quite works.
- 2
Step 2: Coordinate the layout with the building and its services
The racking layout is overlaid on the building model and checked against everything above and around it. Sprinkler heads, in-rack sprinklers where they are required, lighting, smoke detection, heating, and the routes for fire escape and for pedestrians all have to work with the runs and aisles as drawn. Clearances to walls, doors, columns and level access doors are agreed. The fire engineer is involved at this stage rather than after installation, because the storage arrangement affects the fire strategy for the whole building.
- 3
Step 3: Prepare and prove the floor
Racking is only as good as what it stands on. The slab has to be designed for the loads the racking will apply through its baseplates, and it has to be flat and level enough for the truck fleet that will work the aisles. Those requirements come from the structural engineer and the racking designer working together and are stated in the specification. The floor is finished, cured and surveyed before installation begins, and any local repair is completed first. Setting out is taken from a survey grid rather than from the walls of the building.
- 4
Step 4: Set out and erect the uprights
Frame positions are set out from the grid and marked. Upright frames are stood, plumbed and temporarily braced, then fixed down to the slab using the fixings the racking designer has specified. Runs are built progressively rather than being left standing free, because a part-built run is at its most vulnerable before it is tied together. The installers work to the designer's drawings, and any deviation forced by site conditions is referred back rather than resolved on the floor.
- 5
Step 5: Install beams, decking and accessories
Beams are engaged into the upright perforations at the levels shown on the drawings and their safety locks are fitted - the locks are what stop a beam being lifted out by a rising fork, and every one of them matters. Where the goods are not on full pallets, or where the pallet is not suitable for beam support, decking, mesh panels or support bars are added. Row spacers, run spacers, end protection, column guards and floor markings follow. Nothing is loaded until the run is complete and the installer has released it.
- 6
Step 6: Check the installed structure against the design
The installed racking is checked against the racking designer's drawings: frame positions, beam levels, plumb, fixings, locks, spacers and protection. Discrepancies are corrected before the operator takes any part of the installation into use. On most projects the installer issues a handover certificate confirming the racking has been erected in accordance with the design.
- 7
Step 7: Fit the load notices and hand over the inspection regime
Load notices are fixed at the end of every run. They state what the racking may carry and how, and they are the operator's reference point for the life of the installation. Handover includes the drawings, the notices, the installer's certificate and the arrangements for routine inspection. The operator appoints someone responsible for racking safety, and a competent inspector carries out the periodic inspection. Any impact damage found is assessed by a competent person, and the affected area is offloaded and taken out of use until that assessment is complete.
- 8
Step 8: Control changes for the life of the building
Beam levels get moved. Pallet types change. New stock arrives that is heavier or taller than the brief assumed. Every one of those is a design change and goes back to the racking designer, because the load notice was written for the arrangement that was designed and not for the arrangement that has grown up since. On most projects this is the single control that is quietly dropped after handover, and it is the one that matters most.
What are the benefits of Adjustable pallet racking (wide aisle)?
- Every pallet is directly accessible, so picking is fast and no line is ever trapped behind another
- Beam levels are adjustable, so the same structure can be reconfigured as the stock profile changes
- Works with ordinary counterbalance and reach trucks that most operators already own and already train for
- The lowest capital cost per pallet position of the mainstream systems
- Simple to install, simple to extend and simple to relocate
- Stock rotation is unconstrained, which suits date-coded and batch-controlled goods
What are the limitations of Adjustable pallet racking (wide aisle)?
- Poor cube utilisation - a large share of the floor area is aisle rather than storage
- Building height is only partly exploited, because the truck fleet limits the top beam level
- Damage from truck impact is common at the aisle ends and at the lowest frame sections
- Every reconfiguration of beam levels is a design change and has to go back to the racking designer
- Aisle widths commit the building to a particular truck fleet, and changing that fleet later is disruptive
- Racking loaded beyond the load notice is a structural risk rather than an operational one - collapse is progressive and can be fatal
What is Adjustable pallet racking (wide aisle) best suited for?
What plant does Adjustable pallet racking (wide aisle) need?
- Scissor lifts and boom lifts for erection at height, sized to work within the aisle being built
- Rough terrain or industrial forklifts for offloading and distributing components
- Drilling equipment for the slab fixings specified by the racking designer
- Laser levels, total station or survey grid equipment for setting out
- Torque tools with calibration in date for the specified fixings
- Temporary bracing, edge protection and exclusion barriers for the installation zone
How is Adjustable pallet racking (wide aisle) quality-checked?
- Floor survey accepted against the specification before installation begins
- Setting out taken from the survey grid and checked against the racking designer's drawings
- Frame plumb and beam level checked run by run against the design tolerances
- Every beam safety lock present and engaged - checked as a specific inspection item
- Slab fixings installed and torqued as specified, with the calibration record retained
- Load notices fitted at every run end, and the installer's handover certificate issued before loading
More racking & warehouse automation installation methods
Next method
Very-narrow-aisle (VNA) racking