High-density storage - drive-in, push-back and shuttle
Pallets stored several deep - the densest use of the floor, and the least selective.
Last updated 2026-09-06
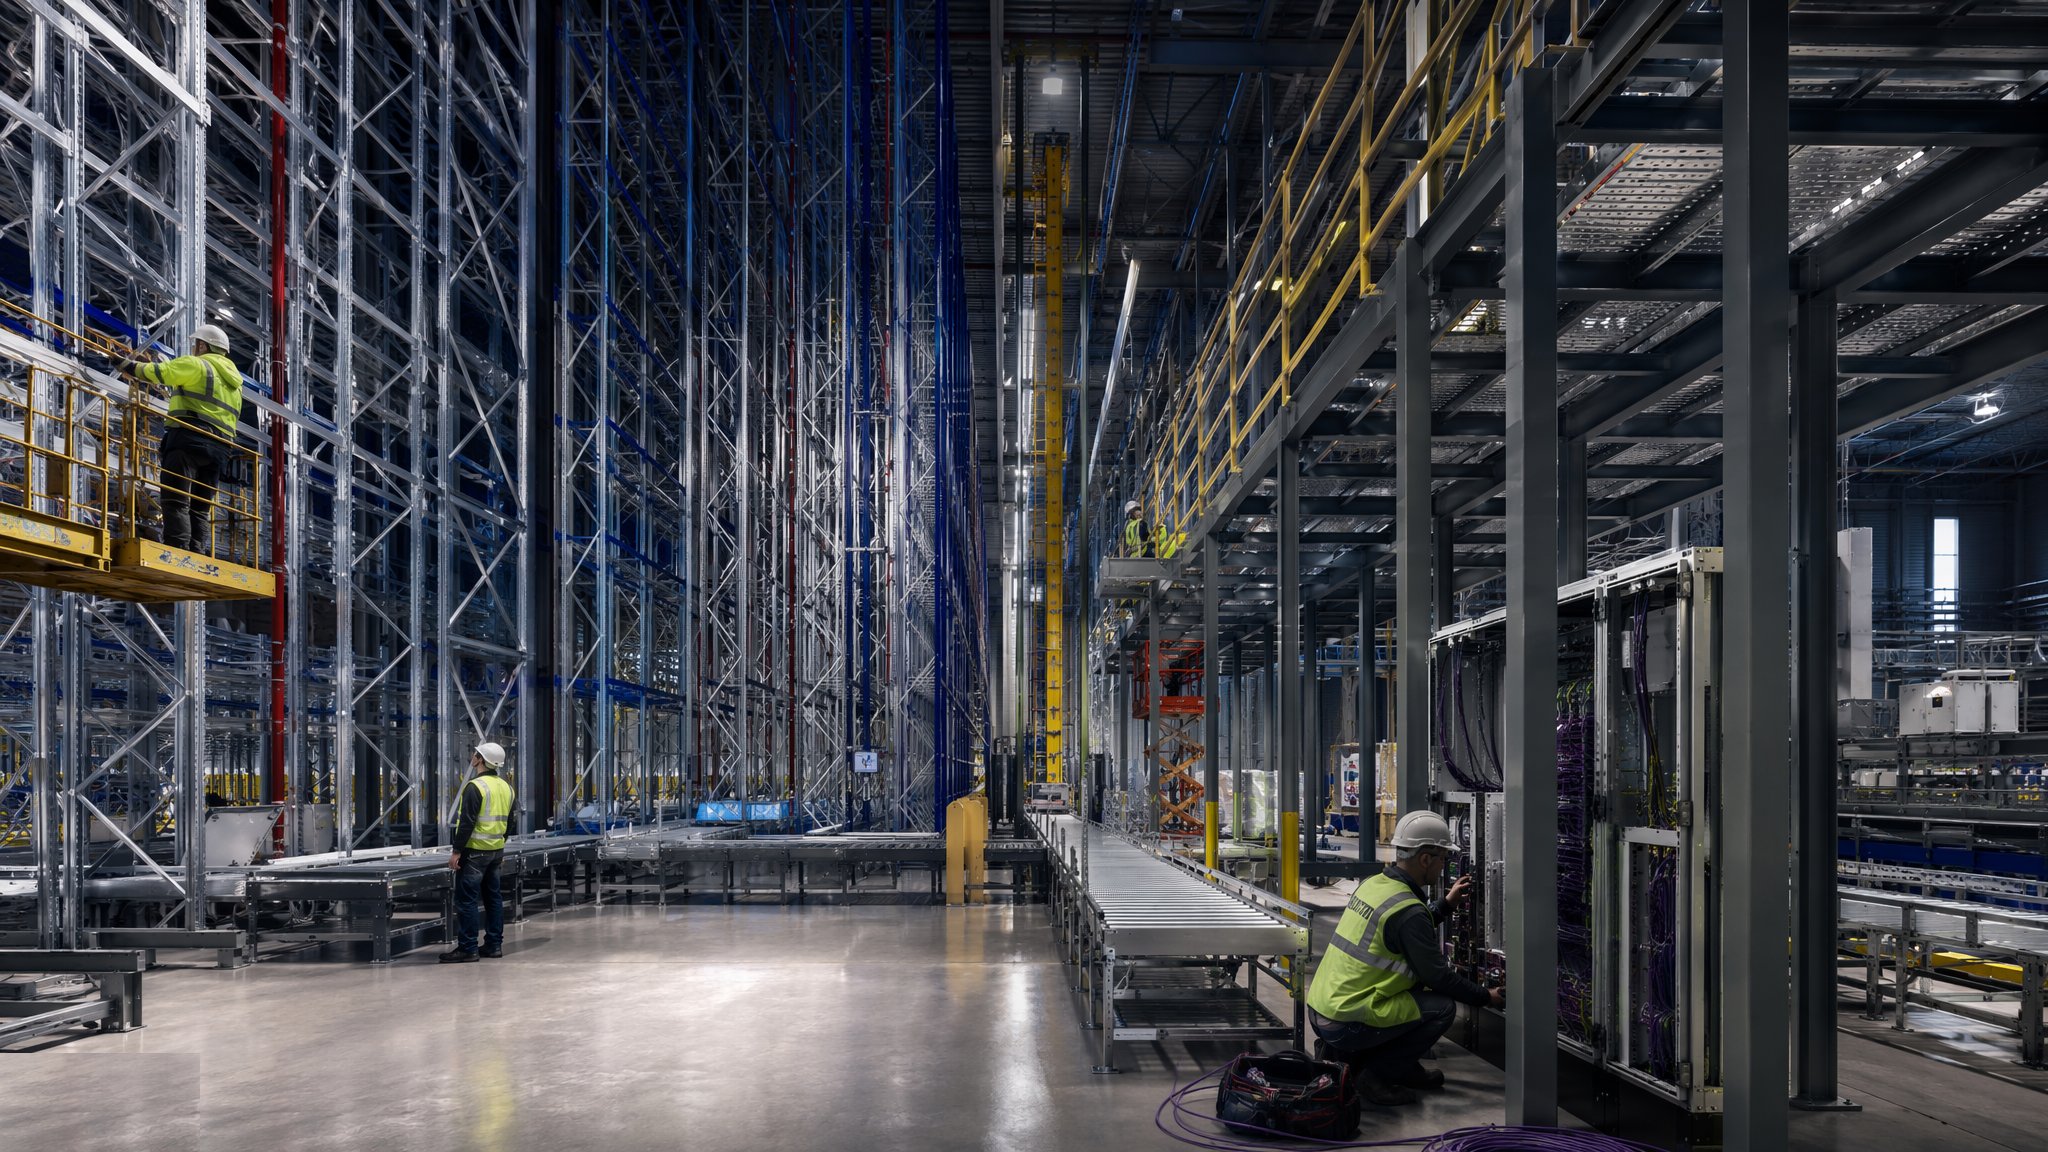
What is High-density storage - drive-in, push-back and shuttle?
High-density systems store pallets several positions deep rather than one deep against an aisle. Drive-in racking removes the beams from the storage lanes altogether and supports pallets on rails at each side, so the truck drives into the structure to place and retrieve. Push-back racking sets pallets on nested carts or rollers on a slight incline, so each new pallet pushes the one before it further back and gravity returns them when the front pallet is removed. Shuttle systems keep the pallets on rails but replace the truck with a powered shuttle that runs into the lane on command, so the truck never enters the structure at all. All three do the same job - they trade access for density.
The density gain is substantial, because aisles are largely eliminated. What is given up is selectivity and rotation. In drive-in and push-back, only the pallet at the accessible end of the lane can be moved, so every lane behaves as a block of one product. Stock rotation is constrained: drive-in and push-back are generally last-in first-out, and a shuttle system can be arranged to give first-in first-out where the design allows it. On most projects that is acceptable where the stock profile is a small number of lines in large volume, and unacceptable where the operator handles many lines in small quantities or works to tight date codes.
Drive-in racking carries a particular risk that the construction team should understand. The truck and its load enter the structure, which means the structure is exposed to impact in a way that a wide-aisle system is not, and the damage happens out of sight inside the lane where nobody walks past it. That is why drive-in installations get generous guide rails, robust end protection and a disciplined inspection regime. Shuttle systems remove the truck from the lane and remove most of that risk, at the price of powered equipment, control systems and a longer commissioning period. All of these remain designed engineered structures with load notices, and the loading pattern - how many pallets deep, in which lanes, at what level - is part of the design rather than something the operator can vary at will.
How does High-density storage - drive-in, push-back and shuttle work, step by step?
- 1
Step 1: Test the stock profile against the loss of selectivity
The first question is not structural. It is whether the operation can live with lanes that hold one product each and with the rotation the system allows. The racking designer and the operator work through the stock profile line by line: how many lines, how many pallets per line, how fast they turn, and what the date-code discipline is. High density chosen for the wrong stock profile produces a warehouse that is full and unable to ship, which is worse than a warehouse that is half empty.
- 2
Step 2: Choose the system and fix it before the building is designed
Drive-in, push-back and shuttle behave differently and demand different things from the building. Lane depth, level heights, the position of the load and unload faces, the sprinkler arrangement and the fire strategy all follow from the choice. In-rack fire protection is a common consequence of dense storage and is agreed with the fire engineer at this stage. As with every racking type, the layout is fixed before the floor and often before the frame.
- 3
Step 3: Prepare the floor and set out the lanes
The floor is prepared to the requirements in the specification and surveyed. Lane centres are set out from the survey grid, because in a drive-in system a lane that is set out a little narrow will be found by the first truck that enters it. Guide rail positions, entry funnel positions and the fixing positions for the frames are all marked at the same time.
- 4
Step 4: Erect the frames and install the rails or lane equipment
Frames are stood, plumbed, braced and fixed to the slab as specified. Drive-in lanes then receive their support rails and the bracing arrangement the racking designer has drawn, which is what makes a drive-in structure stable without the beams a conventional system relies on. Push-back lanes receive their carts or roller tracks set to the designed incline. Shuttle lanes receive their running rails, and the tolerances there are tighter because a shuttle has to run the full lane depth without binding.
- 5
Step 5: Install protection at every point a truck can reach
Guide rails run the full lane depth in drive-in systems, end frames get column and end protection, and the entry to every lane is funnelled so a truck is steered rather than aimed. Floor markings, bollards and barriers separate the truck routes from pedestrian routes. This is not optional detail on a high-density system - it is the main defence against the damage that the geometry invites.
- 6
Step 6: Commission the shuttles and their controls where fitted
Shuttle systems are equipment as well as structure. Shuttles are charged, paired to their lanes, and run through their sequences empty and then loaded. The interface with the warehouse management system, the lane occupancy logic and the recovery routine for a shuttle that stops mid-lane are all proved before the system is released. Recovery is worth rehearsing rather than reading about, because it will be needed.
- 7
Step 7: Load test the arrangement and issue the load notices
The installer completes the structure, checks it against the racking designer's drawings, and releases it. Load notices are fitted at the load face of every block and state the permitted arrangement, including how deep and how high the lanes may be loaded. On a high-density system the notice constrains the loading pattern as well as the weight, and that distinction is explained to the operator at handover rather than assumed.
- 8
Step 8: Set up an inspection regime that reaches inside the lanes
The damage that matters on a drive-in system happens where nobody can see it. The inspection regime therefore has to reach inside the lanes rather than walking the aisle faces, and it is carried out by a competent inspector. Any impact damage is assessed by a competent person, the affected block is offloaded and taken out of use until the assessment is complete, and any change to lane depth, level heights or the pallets stored goes back to the racking designer as a design change.
What are the benefits of High-density storage - drive-in, push-back and shuttle?
- The highest storage density of the conventional systems, because aisles are largely eliminated
- Excellent use of both floor area and height, which suits cold stores and expensive conditioned space
- Suits a small number of lines in large volume, where selectivity is not needed
- Push-back returns pallets to the face by gravity, so the truck never enters the structure
- Shuttle systems keep the truck out of the lane, cutting impact damage and increasing lane depth
- Fewer aisles means fewer truck movements per pallet stored in a block operation
What are the limitations of High-density storage - drive-in, push-back and shuttle?
- Selectivity is lost - each lane effectively holds one product, and only the face pallet is accessible
- Rotation is constrained, and drive-in and push-back are generally last-in first-out
- Drive-in exposes the structure to truck impact inside the lane, where damage is hard to see
- Lanes only pay for themselves when full, so a partly filled lane wastes the density it was built for
- Dense storage often triggers in-rack fire protection, which adds cost and coordination
- Shuttle systems add powered equipment, controls and a commissioning period to what was a static structure
What is High-density storage - drive-in, push-back and shuttle best suited for?
What plant does High-density storage - drive-in, push-back and shuttle need?
- Scissor lifts and boom lifts able to work within the block being erected
- Forklifts for offloading and distributing rails, carts, shuttles and frame components
- Drilling and torque equipment for the specified slab fixings, with calibration in date
- Setting out equipment referenced to the survey grid for lane centres and guide rails
- Charging equipment and control gear for shuttle systems, supplied by the equipment supplier
- Guide rail, bollard and barrier installation equipment for the protection package
How is High-density storage - drive-in, push-back and shuttle quality-checked?
- Stock profile and loading pattern signed off by the operator against the racking designer's assumptions
- Lane centres and guide rail positions set out from the survey grid and checked before frames are fixed
- Rail levels and push-back inclines checked against the design across the full lane depth
- Shuttle lanes run empty and loaded through the full depth before release, including the recovery routine
- Guide rails, end protection and entry funnels installed and inspected at every lane
- Load notices stating the permitted loading pattern fitted at every load face before goods are placed