Racking & Warehouse Automation Installation
The steel forest and the machines inside it - pallet racking anchored to the millimetre, AS/RS cranes on rails, conveyors and sortation - installed as one integrated system, not a sequence of strangers.
Last updated 2026-09-06
Typical duration
Racking for a 30,000 m² shed installs in 6–12 weeks depending on aisle count; full automation packages - AS/RS, sortation and controls - typically run 4–9 months from first steel to performance sign-off, with commissioning the elastic element.
What is Racking & Warehouse Automation Installation?
Once the floor passes its flatness survey, the shed stops being a building and starts being a machine. The first wave is the racking: adjustable pallet racking in the wide aisles, very-narrow-aisle racking in the high bay, drive-in or shuttle lanes where the storage density maths demands them. Racking looks like Meccano and is engineered like steelwork - frames and beams to the SEMA codes in the UK, anchored to the slab with floor fixings whose capacity is tested, erected plumb within tolerances that tighten as the aisles narrow, because a VNA rack out of plumb steals clearance from a truck that has almost none to give. Every frame is shimmed and grouted off the floor the slab contractor swore was flat, and the shim packs tell you how true that oath was.
The second wave is the automation, and it is a different trade culture entirely. Unit-load AS/RS cranes run on floor and top rails aligned to tolerances that make the racking look relaxed; miniload and shuttle systems thread through racking structures that are part storage, part machine frame; conveyors and sortation kit - belt, roller, cross-belt - arrive as modules to be levelled, aligned and bolted together across hundreds of metres of hall; and the whole lot is wired, plumbed with compressed air, and connected to the warehouse control system that sits between the hardware and the tenant's WMS. The civils interface never really goes away: floor channels for cabling, steelwork platforms and mezzanines for the multi-level systems, and fire-stopping and sprinkler coordination wherever the automation passes through the building's compartments.
What makes or breaks the installation is integration discipline. The racking supplier's tolerances, the crane builder's rail alignment, the conveyor house's levels and the slab's as-built flatness all meet in the same physical space, and the project that runs them as separate packages with a prayer is the project that discovers the crane rail and the rack uprights disagree by 40 mm at level 8. The successful jobs are run like commissioning programmes from day one: setting-out control that everyone shares, interface registers, installation QA at hold points - anchor torque tests, plumb surveys, rail alignment certificates - and then the long, honest grind of SATs, throughput trials and ramp-up, where the system proves it can actually do the picks per hour the business case was sold on.
Compare the methods at a glance
When and why is Racking & Warehouse Automation Installation used?
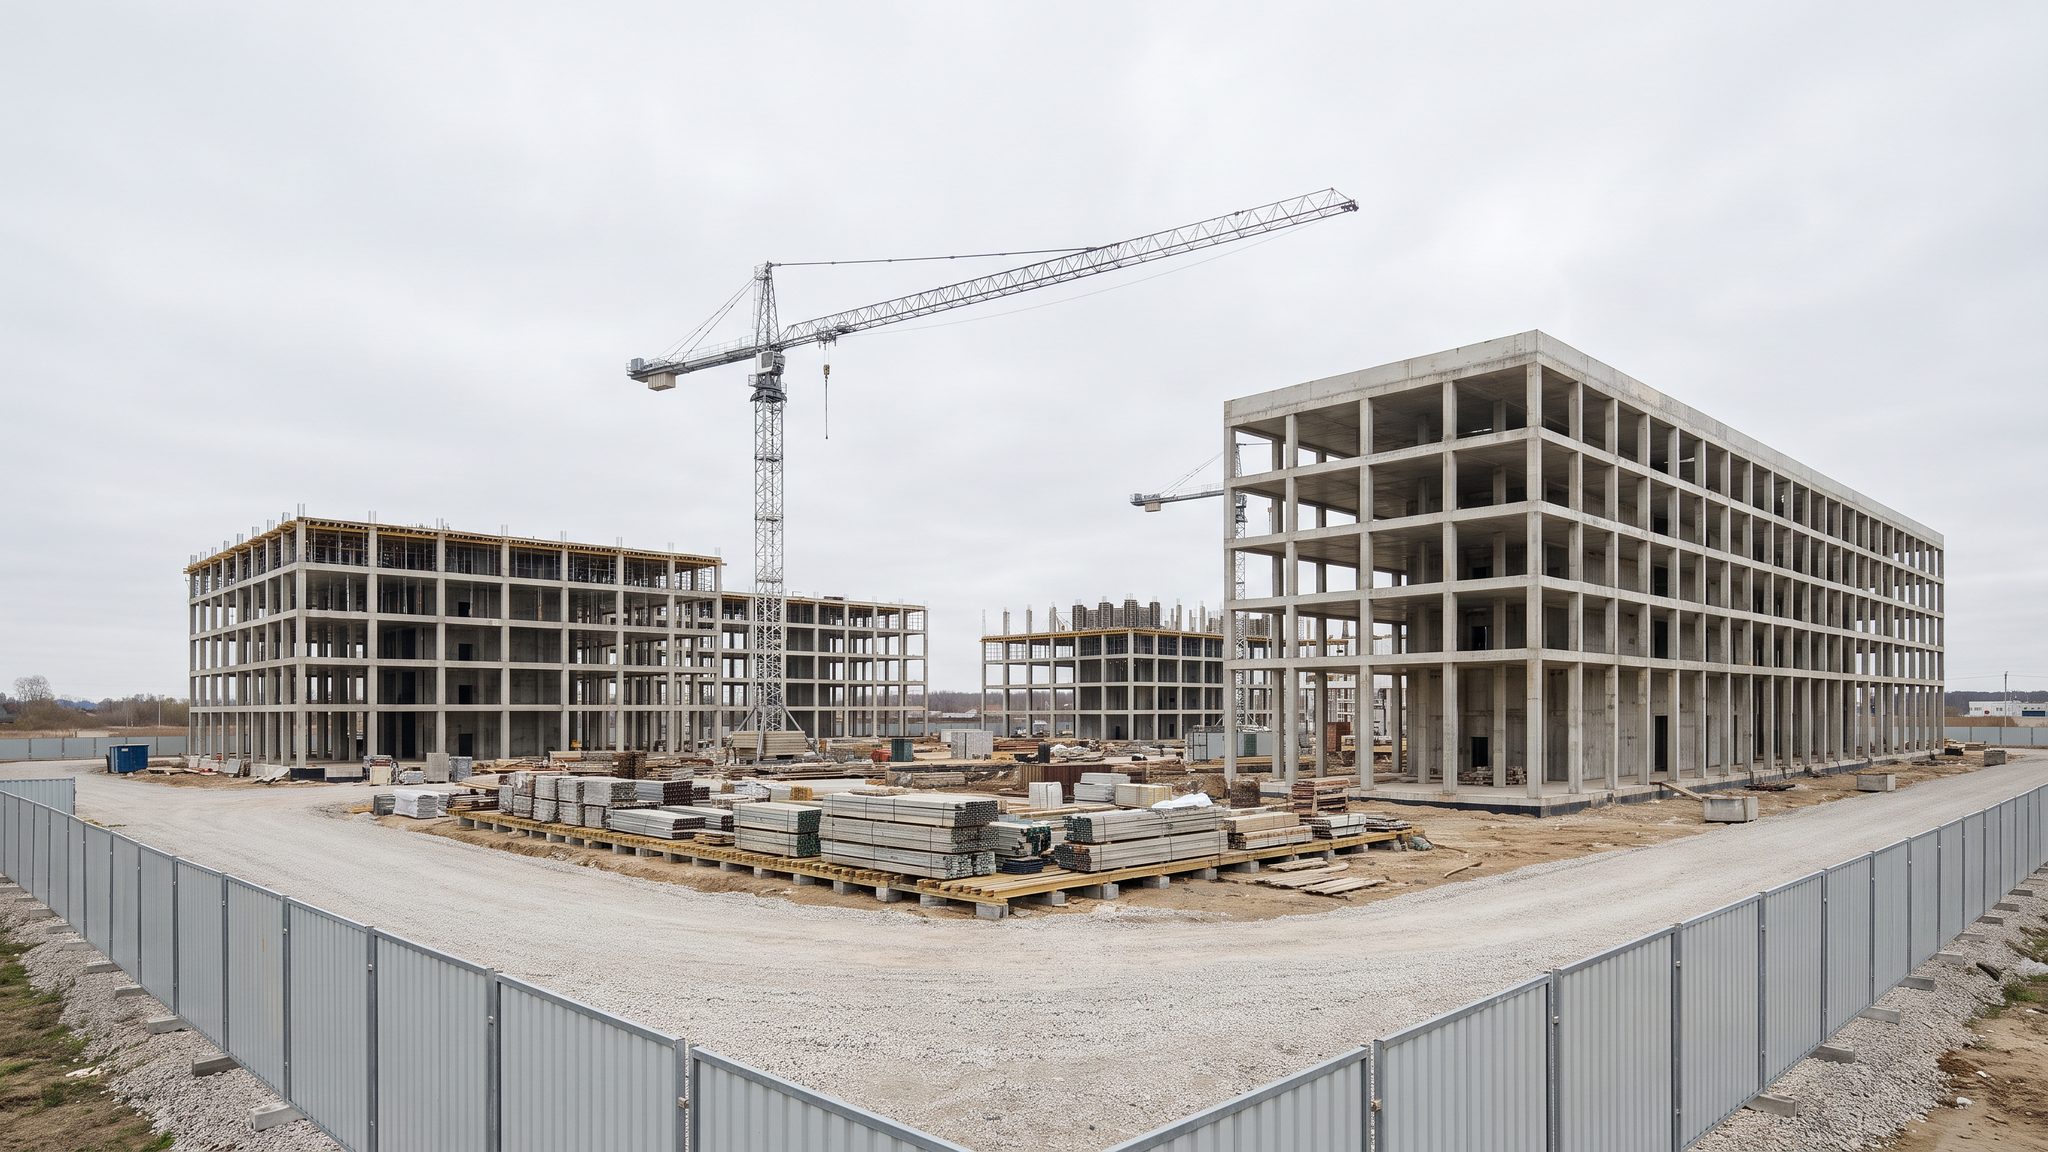
Racking and automation installation starts the day the floor and the weathertight envelope allow it, and it runs to the tenant's go-live date - which in logistics is usually fixed by a peak season, not by construction logic. The method exists because modern distribution economics live or die on storage density and pick rates: racking turns cubic metres into saleable pallet positions, and automation turns labour constraints into throughput. It matters because this is the tenant's capital and the tenant's promise to their own customers, installed inside someone else's building on an immovable date. A rack anchored into a slab that cannot take the load, an AS/RS crane commissioned late, a sorter that jams at 80% of design throughput - these are not snagging items, they are revenue failures. The installation earns its keep by being surveyed, torqued, tested and commissioned like the production machinery it is.
Walkthrough storyboard
The process in pictures, step by step - Step 1 of 7 - slide through the snapshots.
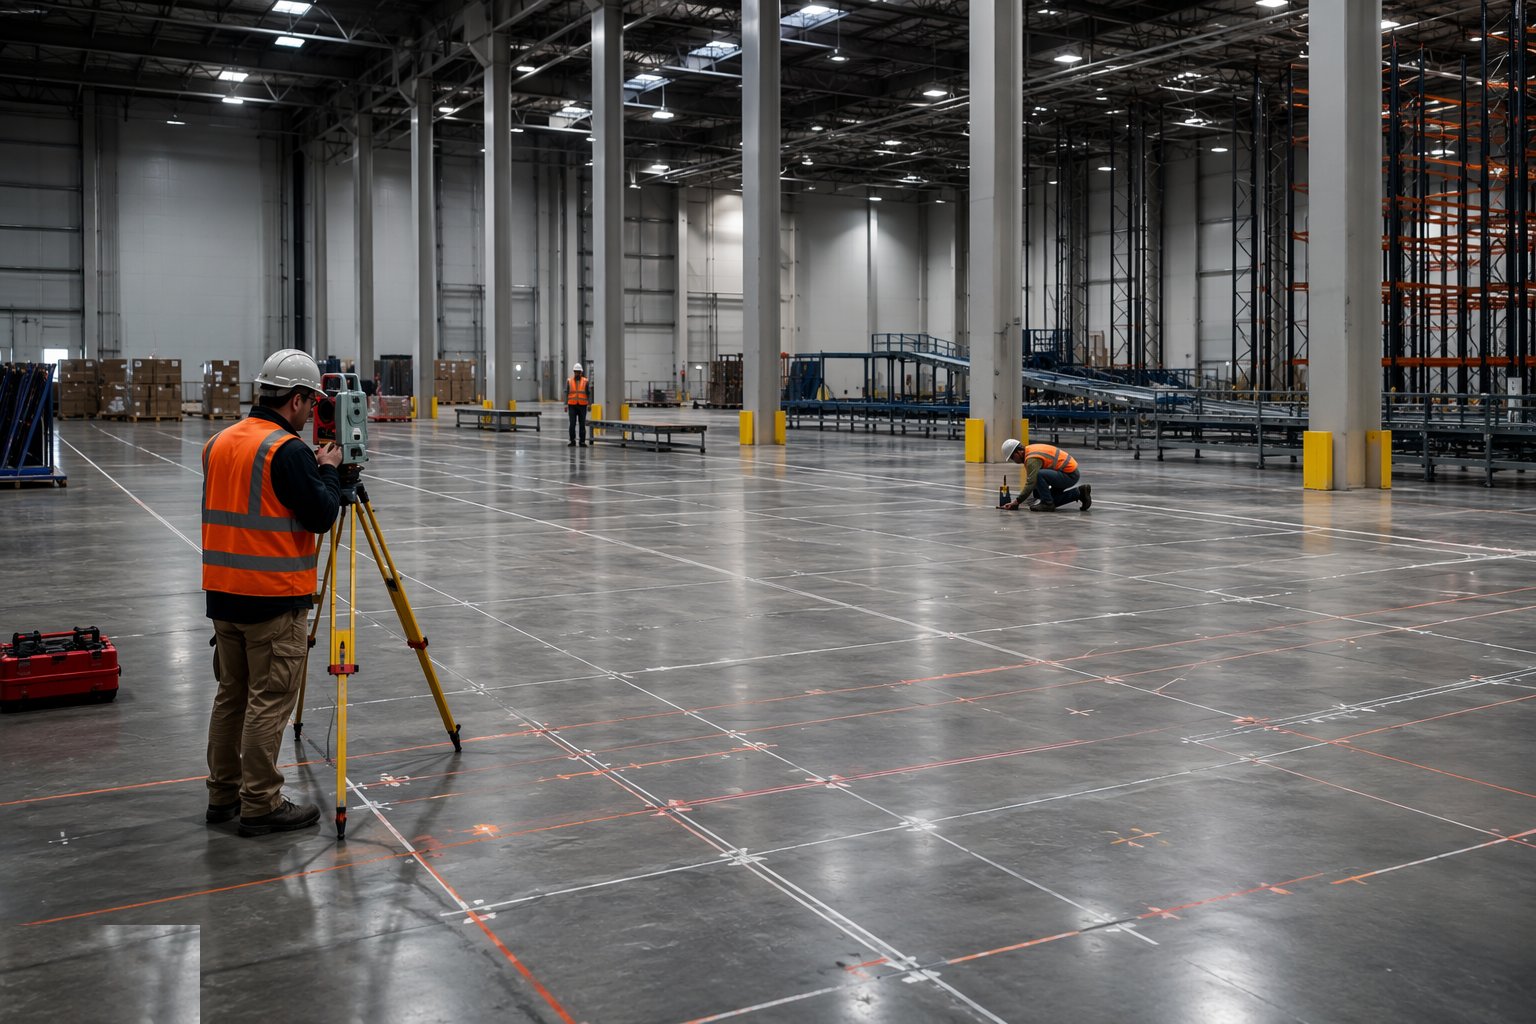
STEP 1
Verify the floor and set out the installation
Nothing bolts down until the floor's as-built surveys, the racking layout and the automation general arrangement have been reconciled on one drawing.
Types of Racking & Warehouse Automation Installation
Explore each method in depth - benefits, limitations, plant and quality control on its own page.
Adjustable pallet racking (wide aisle)
The universal system: frames and clip-in beams on a 75 or 50 mm pitch, served by counterbalance or reach trucks in aisles of 3 m and more. Flexible, reconfigurable, and the baseline of almost every shed - installed plumb, anchored, and loaded only after the sign-off.
Explore this methodVery-narrow-aisle (VNA) racking
High-bay racking in aisles of 1.6–1.8 m served by wire- or rail-guided trucks: tighter plumb tolerances, guide rails or guidance wire set into the floor, and beam levels the truck's guidance assumes are true across 12 m of height. The racking, the floor and the truck are one system.
Explore this methodHigh-density storage - drive-in, push-back and shuttle
Lanes rather than aisles: drive-in and drive-through racking, push-back carts, or powered shuttle carriers running on rails inside the rack structure. Density doubles; tolerance discipline tightens, because a shuttle will not negotiate a lane the forklift could forgive.
Explore this methodAS/RS - cranes, miniloads and shuttle systems
Automated storage and retrieval: unit-load cranes in rack-supported high bays on floor and top rails, miniload cranes for totes, and multi-level shuttle grids. Machinery-grade installation - rail alignment, rack-as-machine-frame tolerances, and commissioning measured in weeks of testing.
Explore this methodConveyors, sortation and goods-to-person
The circulation system: belt and roller conveyors, cross-belt and tilt-tray sorters, pick stations and goods-to-person robots, often multi-level on mezzanines. Levelling and alignment across long runs, thousands of sensors and motors, and integration with the WCS that conducts it all.
Explore this methodMezzanines and multi-tier structures
Steelwork floors inside the shed for multi-level picking or automation platforms: columns on the warehouse slab - point loads the slab design must have anticipated - with stairs, pallet gates, fire protection and lighting below deck, all inside the sprinklered envelope.
Explore this methodBest suited for
- Distribution centres where storage density and pick rate define the business case
- VNA high-bay installations where floor, rack and truck must behave as one machine
- Automated fulfilment where commissioning discipline determines the go-live date
- Multi-level operations needing mezzanines engineered into the host building's slab and fire strategy
Racking & Warehouse Automation Installation: step by step
- 1
Step 1: Verify the floor and set out the installation
Nothing bolts down until the floor's as-built surveys, the racking layout and the automation general arrangement have been reconciled on one drawing. Setting out is run from the site control: aisle centrelines, rack grid, crane rail lines, conveyor centre lines and mezzanine column positions, marked and verified before the first delivery. Slab anchor zones are scanned for reinforcement and services where the design requires, and the floor's load capacity is checked against every point load the installation will impose - a mezzanine column or crane rail on a slab that was never designed for it is a structural query, not an installation detail.
- 2
Step 2: Erect the racking and prove the anchors
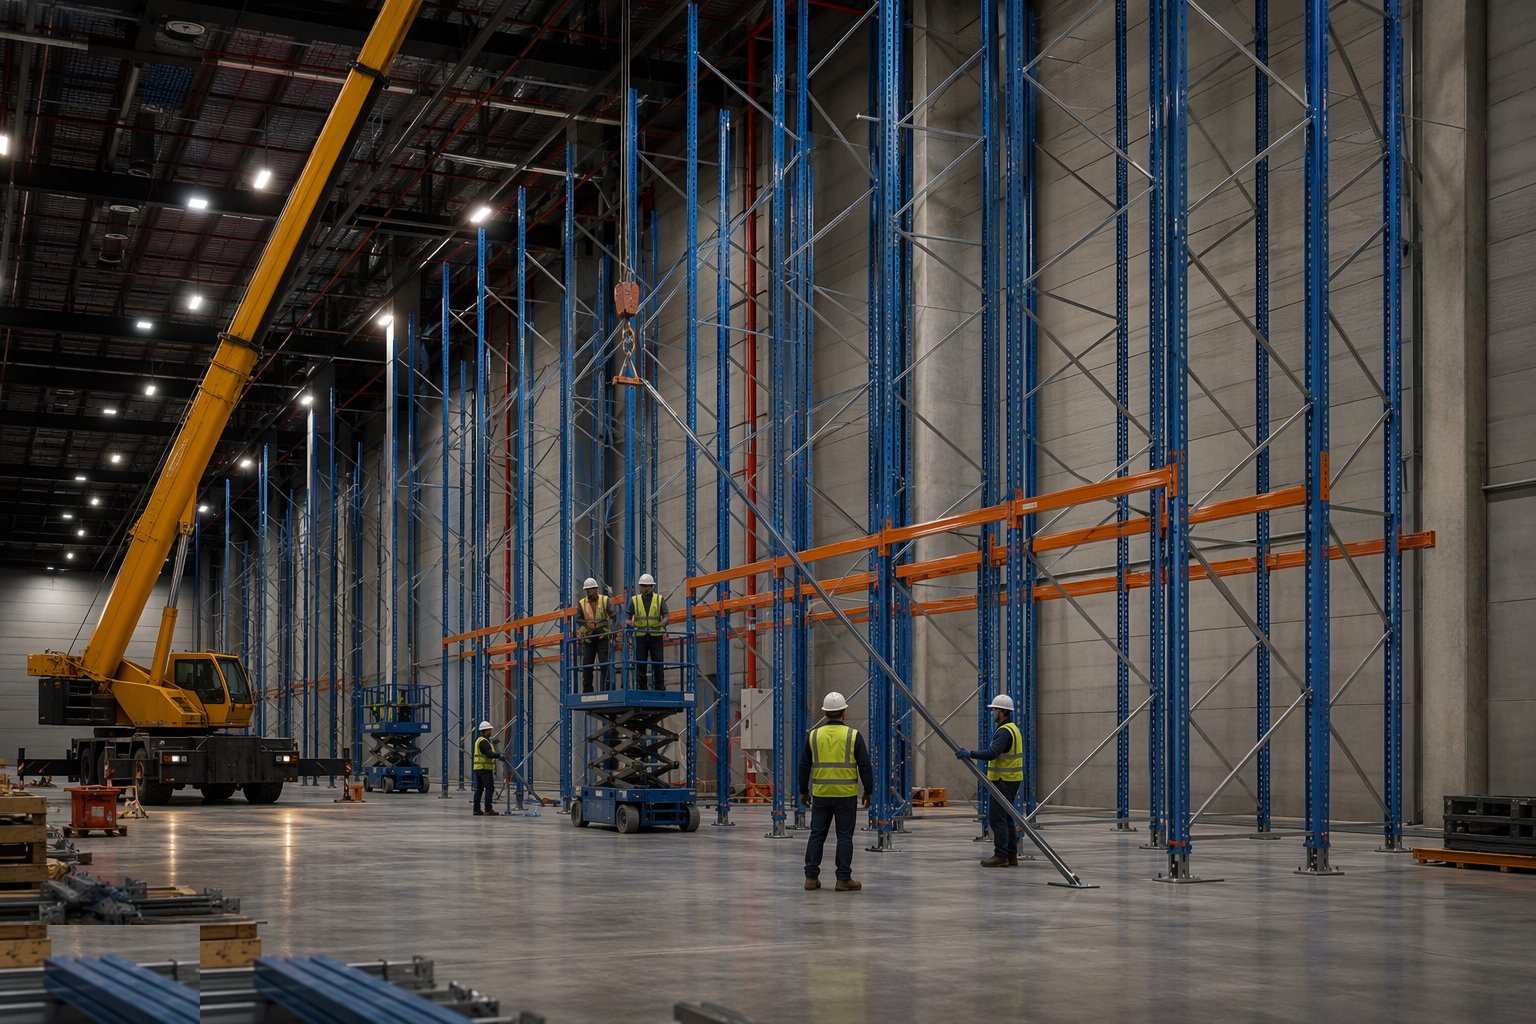
Frames are assembled, stood, braced and shimmed plumb bay by bay, beams clipped and locked at the design levels, and every frame anchored to the slab with the specified floor fixings - torqued to spec, with pull-out tests on a sample basis to prove the slab and the fixing agree. Plumb and alignment are surveyed as the bays grow: frame verticality, beam level across the aisle, aisle width along its length - because the errors accumulate down a 100 m run and the truck at the far end will find every millimetre of drift. Damaged components are quarantined, not "used up in the corner", and the installation is inspected to SEMA standards before it is offered for loading.
- 3
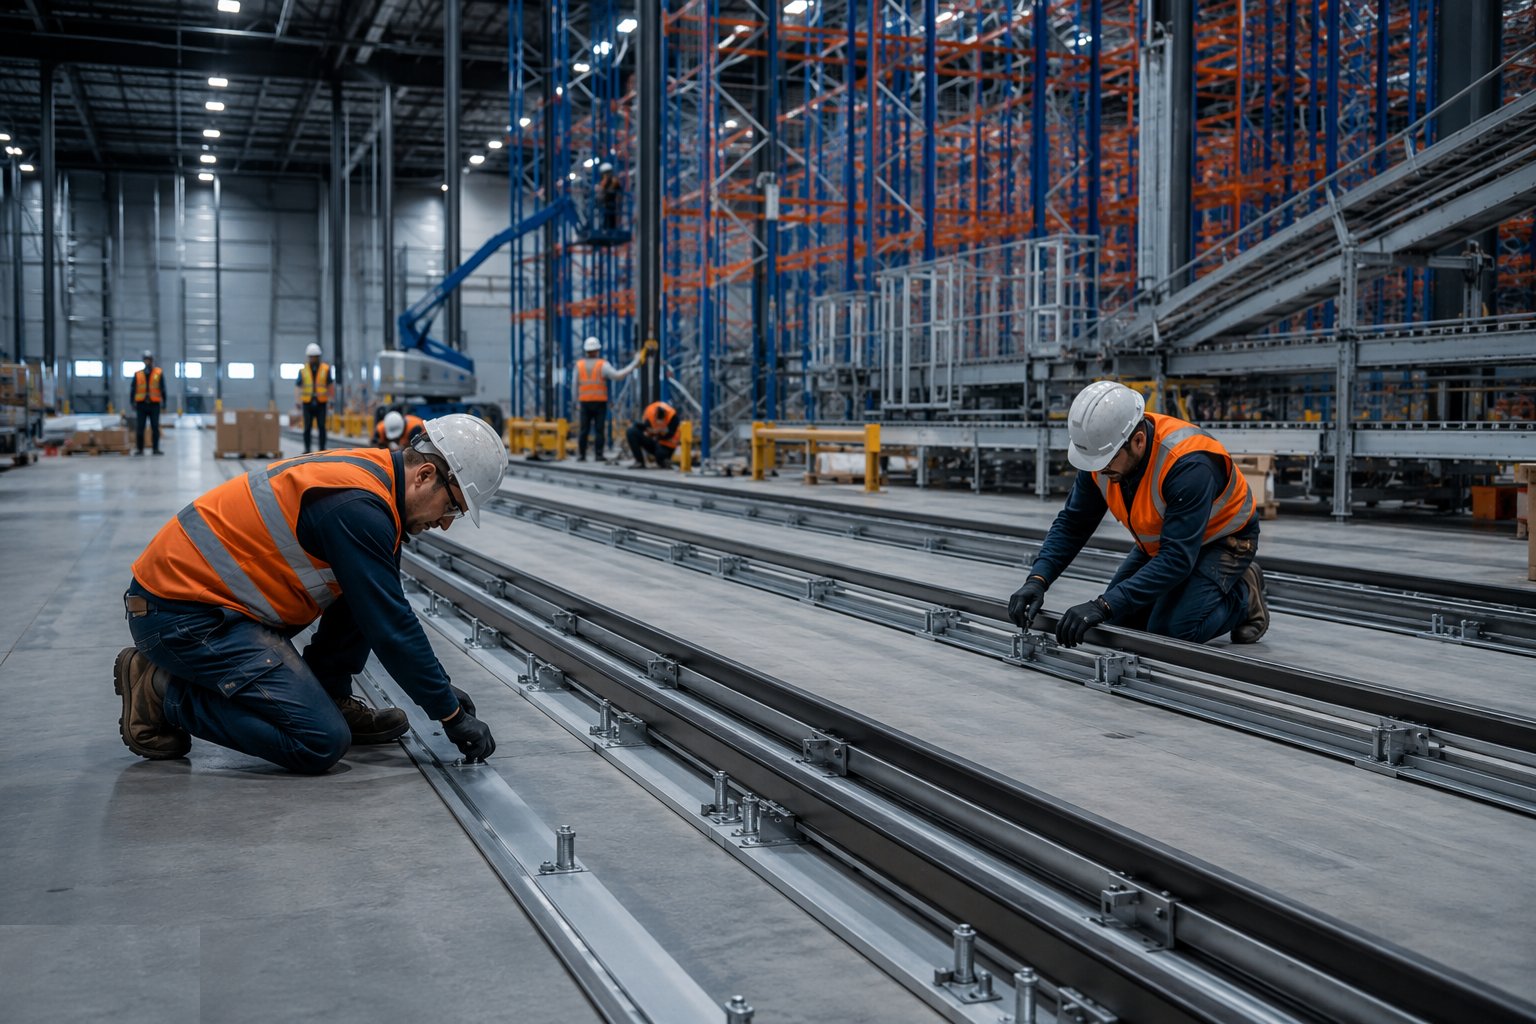
Step 3: Install guidance, rails and floor fixings for the machines
Where the trucks or cranes are guided, the guidance goes in as precision work: VNA guide rails set to line and level off the survey control and grouted, or the inductive wire cut into the slab on the surveyed path; AS/RS floor rails aligned, levelled and fixed with the crane builder's surveyor watching the theodolite, and top rails or tie-backs connected into the rack structure. These lines are the machine's world - a rail 3 mm out over its length is a crane that hunts, faults and wears, and the warranty arguments start before the first pallet moves.
- 4
Step 4: Install the automation hardware
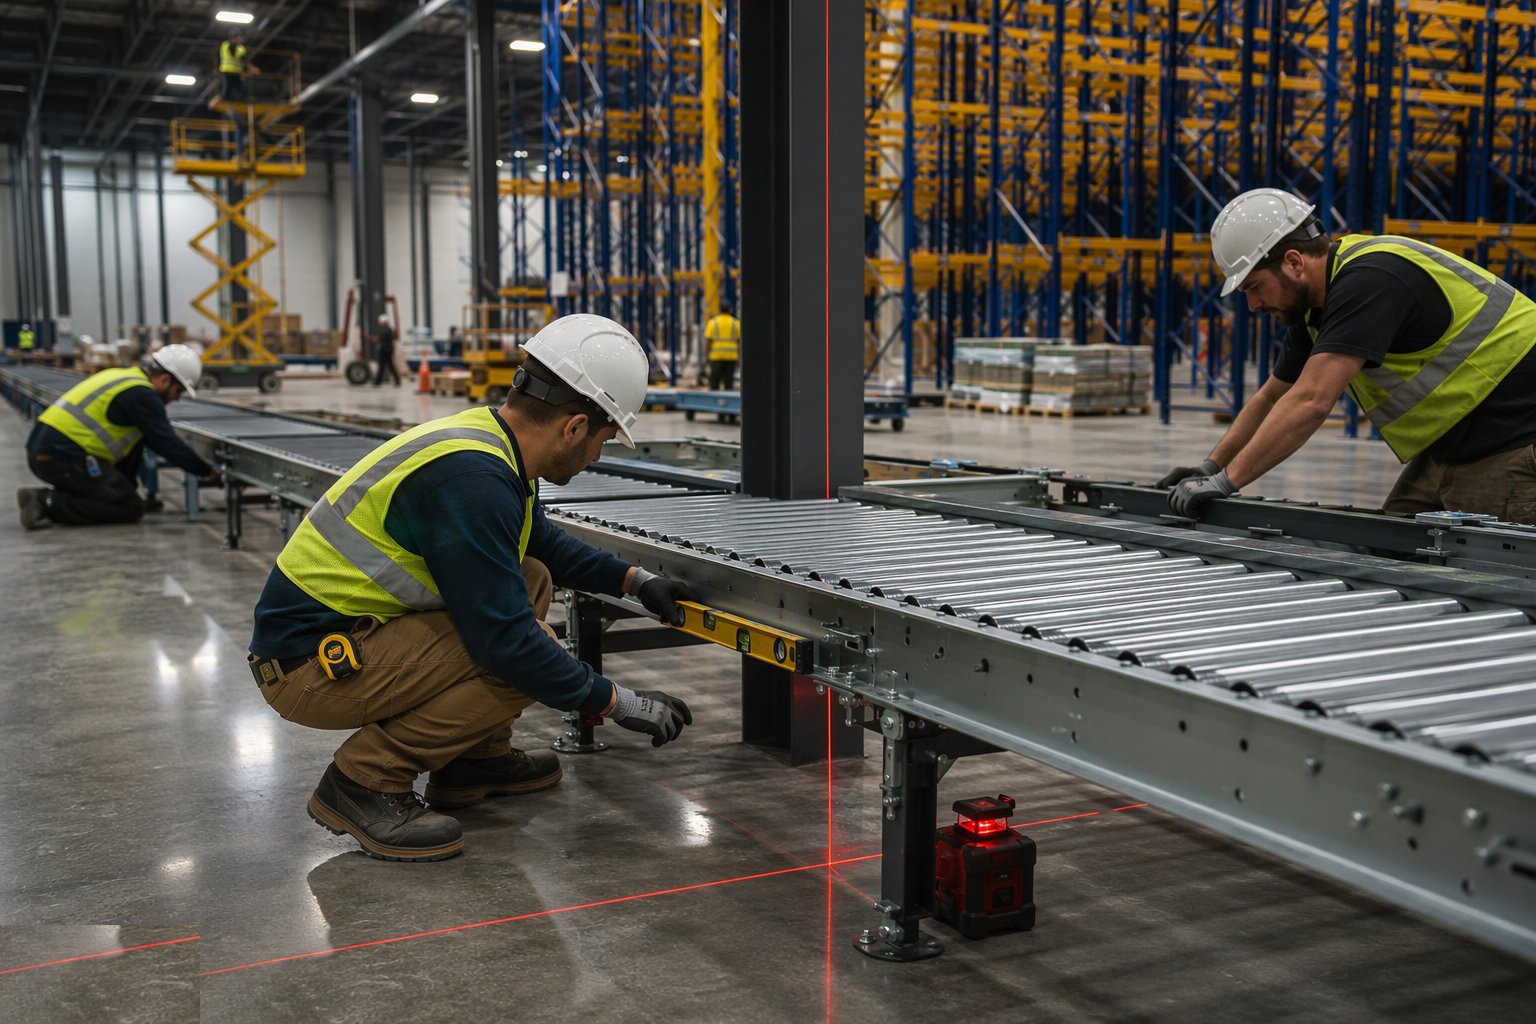
The automation lands in modules and grows along its lines: conveyor beds levelled and aligned on their supports, drive units and transfers fitted, sorter loops assembled and squared, crane masts erected and commissioned onto their rails, shuttle grids populated level by level. Cable containment, field wiring, sensor mounting and pneumatic runs follow the mechanical install, dressed and identified to the panel schedules. Every penetration through a fire compartment gets its tested fire-stopping system; every sprinkler interface - in-rack sprinklers, conveyor-level detection - is coordinated with the fire contractor's zones, because the authority and the insurer read the building and the automation as one fire strategy.
- 5
Step 5: Build the mezzanines and platforms
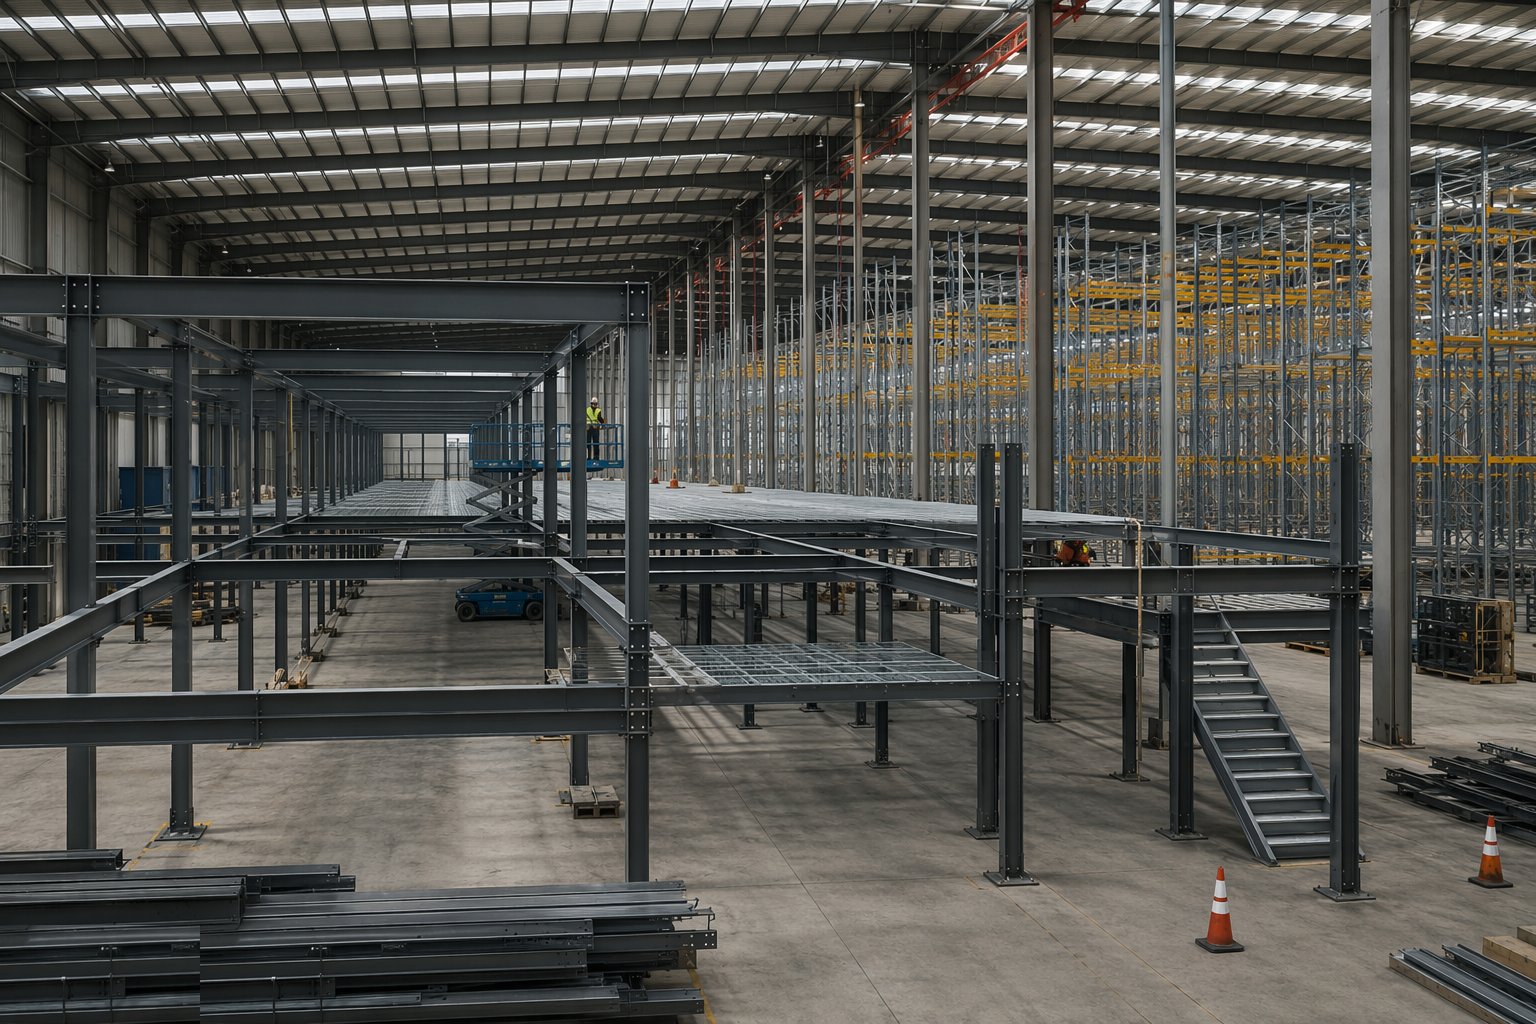
Mezzanine steelwork is erected on its surveyed column positions, base plates grouted on the slab's proven zones, beams and decking fitted, and the edge protection, stairs, pallet gates and cat-ladders completed before the deck becomes a workplace. Below-deck fire protection and lighting go in per the design - a mezzanine is a room to the fire engineer even when it looks like a shelf - and the whole structure is surveyed for level and deflection under test load where the specification demands it.
- 6
Step 6: Integrate controls and prove the system end to end
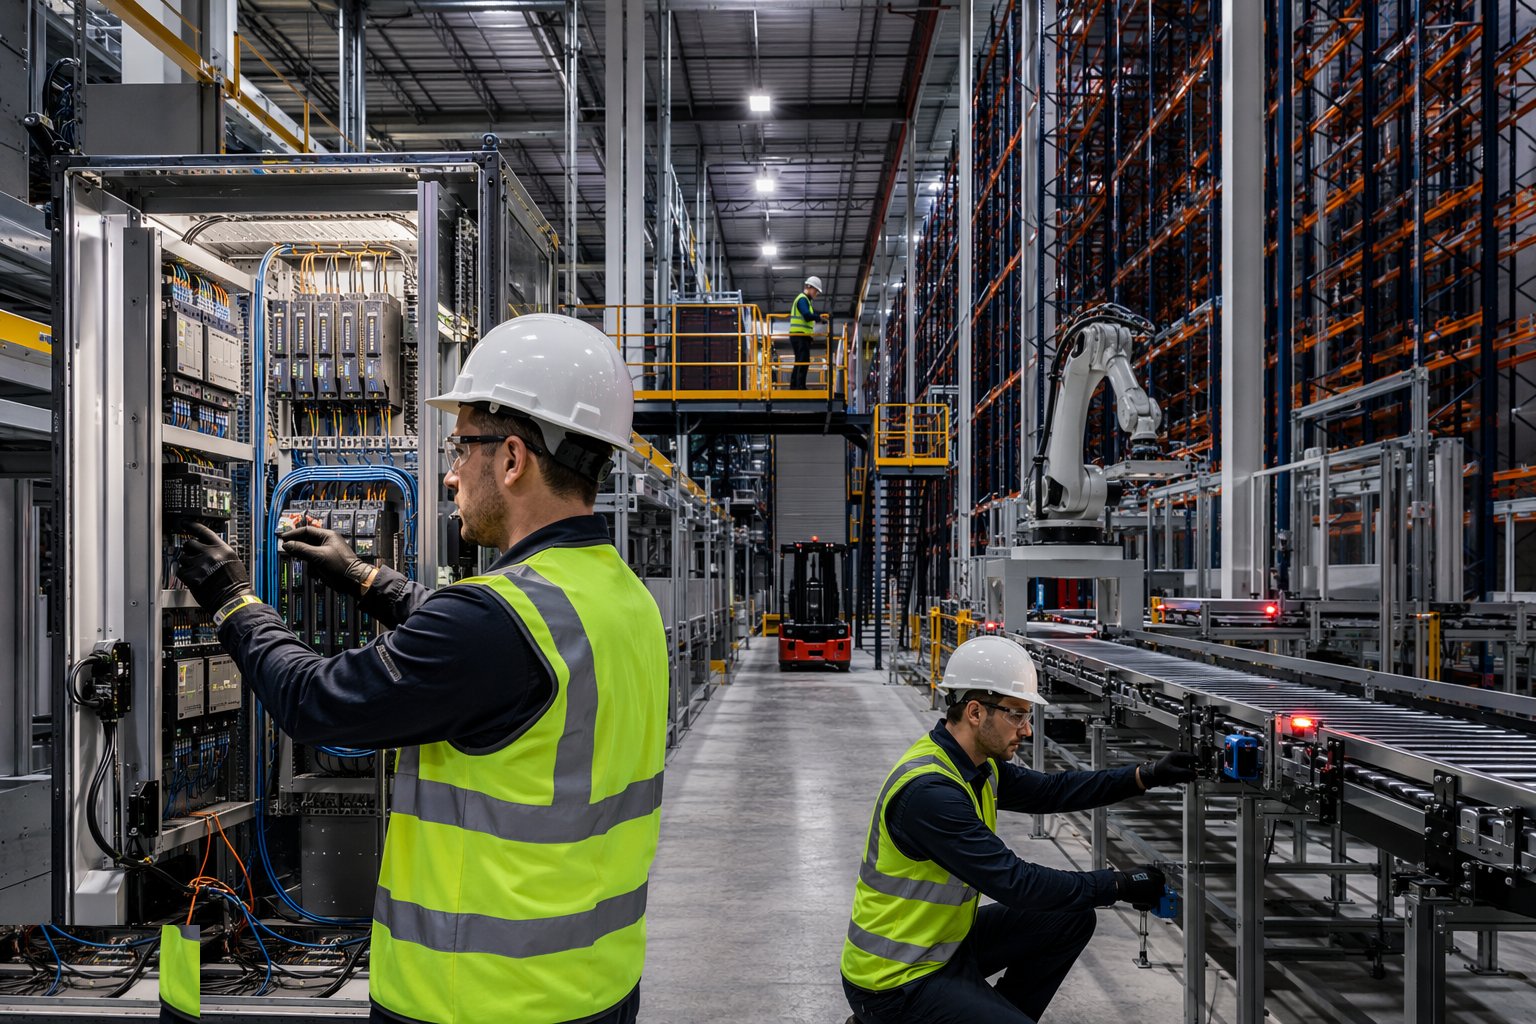
The WCS and PLC layers are commissioned function by function: sensor by sensor, drive by drive, then zone by zone, then the full system against the tenant's WMS. Factory acceptance tests are replayed as site acceptance tests - but now with real floors, real cartons and real dust - and the honest throughput trials begin: peak-wave simulations, jam recovery, e-stops and restarts, fire alarm interfaces dropped in and out. This stage takes the weeks everyone wishes it did not, and compressing it is how warehouses go live on hope and peak on apologies.
- 7
Step 7: Ramp up, train and hand over
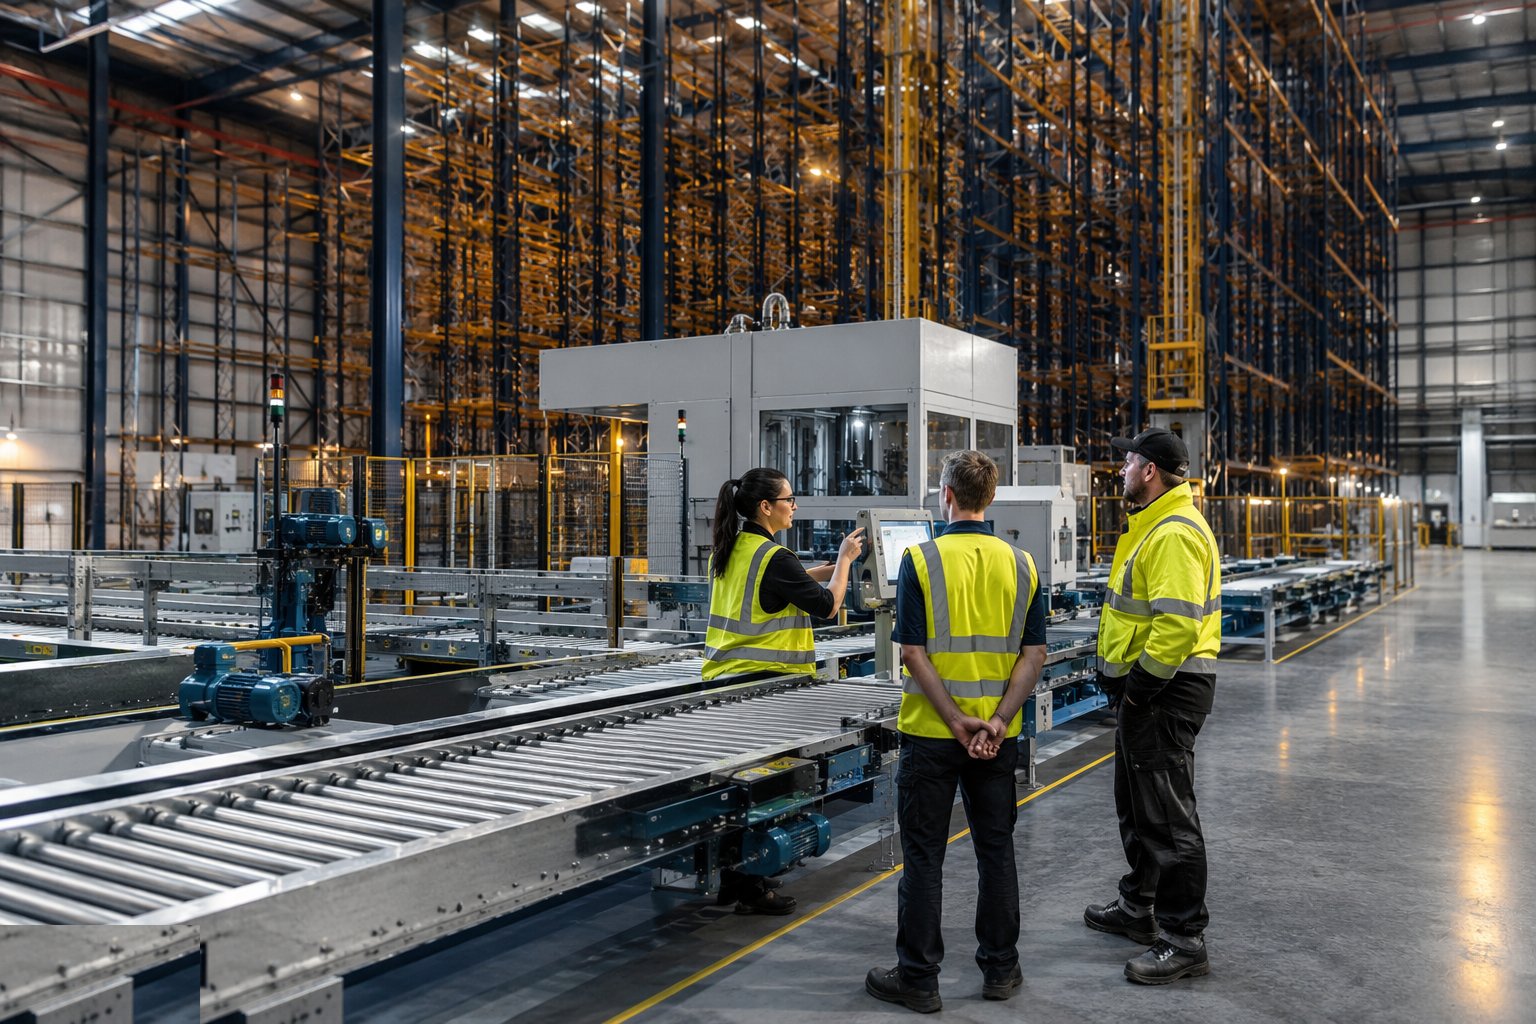
Final handover is a managed ramp: throughput stepped up shift by shift with the installer's technicians embedded, operator and maintenance training delivered against the O&M documentation, spares and attic stock shelved, racking inspections and load notices posted per the SEMA regime, and the as-installed surveys - plumb, rail alignment, anchor test records - compiled into the handover file. The tenant takes a system, not a project: something their people can run at 3 a.m. in week forty, when the installers are three contracts away.
Plant & equipment
- Scissor lifts and boom MEWPs for rack erection and overhead automation work
- Telehandlers and counterbalance forklifts for frame, beam and module handling
- Torque-controlled anchor installation tools and pull-test rigs for floor fixings
- Survey kit: total stations and precision levels for rack plumb, rail alignment and conveyor lines
- Line lasers and jigs for guidance rail and wire setting-out
- Chain blocks, gantries and small cranes for crane masts, drives and sorter modules
- Panel building, termination and network test equipment for controls integration
- Floor scanning (GPR/cover meter) equipment ahead of anchor drilling
Quality control & testing
- Anchor torque records and sample pull-out test certificates per zone
- Racking plumb, beam level and aisle-width surveys per bay, to SEMA installation tolerances
- Rail and guidance alignment certificates signed by the automation builder's surveyor
- Conveyor level and alignment records along each line before energisation
- Fire-stopping register for every automation penetration through compartments
- SAT and throughput-trial records against the contracted performance figures
Safety watchpoints
- Falling-object and collapse risk during rack erection: bays secured progressively, no climbing on incomplete structures, exclusion below overhead work
- MEWP and forklift interaction in congested aisles: segregation, banksmen and speed discipline
- Stored energy in conveyor and crane systems: lock-out/tag-out during installation and commissioning, guarding before energisation
- Work at height on mezzanines and multi-tier structures before edge protection is complete
- Anchor drilling dust and noise in an enclosed shed: extraction, RPE and hearing protection
- Live commissioning zones: controlled access, clear e-stop briefings, and no lone working in test areas
Common defects to hunt
- Anchors into weak or cracked slab zones - fixings pulling, frames rocking, re-anchoring programmes under live stock
- Racking out of plumb accumulating down long aisles until the VNA truck's clearances vanish
- Shim packs beyond sensible depth where floor and rack disagree - the flatness promise meeting reality
- Crane rails misaligned to the rack structure: hunting cranes, wheel wear and warranty disputes
- Unsealed fire-compartment penetrations where conveyors passed through walls late in the programme
- Throughput shortfalls discovered at ramp-up because SATs were compressed to hit go-live
How long does Racking & Warehouse Automation Installation take?
Typical duration: Racking for a 30,000 m² shed installs in 6–12 weeks depending on aisle count; full automation packages - AS/RS, sortation and controls - typically run 4–9 months from first steel to performance sign-off, with commissioning the elastic element..
Related processes
- Big-Box Logistics Shed Construction
- High-Tolerance Warehouse Floor Slabs
- Cold Store Construction
- Adjustable pallet racking (wide aisle) - method
- Very-narrow-aisle (VNA) racking - method
- High-density storage - drive-in, push-back and shuttle - method
- AS/RS - cranes, miniloads and shuttle systems - method
- Conveyors, sortation and goods-to-person - method
- Mezzanines and multi-tier structures - method
- Warehousing & Logistics sector guide
- Industrial & Specialist Facilities - group of sectors