Design for Manufacture and Assembly
The discipline that makes off-site work: freezing designs, standardising parts, managing interfaces and paying for materials you cannot see - and what a late change really costs once the line is cutting.
Last updated 2026-09-05
Typical duration
DfMA adds 3–6 months of disciplined design time up front and saves it back several times over downstream: a frozen, platform-based residential block can cut 20–30% off total programme. The variables are freeze discipline (every reopened freeze costs weeks and five-to-six figures), factory lead times (16–30 weeks typical), and how much of the learning loop from previous projects actually gets reused.
What is Design for Manufacture and Assembly?
DfMA is not a product; it is a way of running the design so that manufacture and assembly drive it, instead of being an afterthought bolted onto a conventional set of drawings. The core idea is simple: a factory cannot improvise the way a site can. A joiner with a saw can make a wall shorter; a CNC line cutting a hundred identical wall panels cannot. So the design is organised around standardised components, repeatable connections and a platform approach - a kit of parts (standard floor cassettes, standard wall panels, standard pods) that recombines across projects rather than a bespoke solution per building. The UK government's presumption in favour of off-site on publicly funded work, and the platform rulebooks coming out of the Construction Innovation Hub, push exactly this: design once, manufacture many times.
Two disciplines make it work. The first is design freeze: every decision that touches a manufactured element - dimensions, openings, service routes, finishes, connection positions - is made and locked before the factory programmes its machines, and the freeze cascades backwards, so the bathroom design locks before the pod line programmes, which locks before the riser positions, which locks while the frame is still on paper. The second is the interface schedule: a document that says, for every joint between manufactured and site-built work, who designs it, who builds it, to what tolerance, and who owns the gap when the two tolerances disagree. Most DfMA failures are interface failures wearing a different hat.
The commercial side is equally different. You are paying a factory for materials and labour months before anything arrives on site, which conventional contracts and valuations do not handle well - a QS cannot measure a wall panel sitting in a works in another county. The UK answer is the vesting certificate: title in the off-site materials passes to the employer on payment, backed by evidence - photos, unique markings, insurance, often a bond - that the materials exist, are identified, and are protected. In the UAE, FIDIC-based contracts handle the same ground through materials-off-site payment clauses with bank guarantees; the principle is identical and the paperwork is just as unforgiving.
Compare the methods at a glance
When and why is Design for Manufacture and Assembly used?
DfMA pays back where there is repetition across a programme rather than within one building: a housing association building 2,000 homes, a hotel chain rolling out a brand standard, a school programme, a healthcare framework. It is also the only honest way to answer the labour problem - the UK and the Gulf both face shortages of skilled site trades, and moving hours from site to factory moves them to a controlled environment with better quality, less waste and fewer people exposed to site risk. It is a poor fit for one-off bespoke buildings, projects with unsettled briefs, or clients who treat the design as a living document at RIBA stage 5.
Walkthrough storyboard
The process in pictures, step by step - Step 1 of 8 - slide through the snapshots.
STEP 1
Set the manufactured content and the grid
At concept stage, decide what is manufactured and what is site-built, and set the dimensional discipline everything else obeys: the structural grid, the storey…
Types of Design for Manufacture and Assembly
Explore each method in depth - benefits, limitations, plant and quality control on its own page.
Component DfMA
Standardised parts - staircases, wall panels, floor cassettes, bracketry - designed for manufacture but assembled conventionally. Lowest risk entry point: the building is still a building, just made of better parts.
Explore this methodPlatform approach (P-DfMA)
A defined kit of interoperable parts with published rules - connection standards, dimensional grids, interface specifications - used across many buildings and many manufacturers. The ambition behind the UK government platform programmes: components as commodities, not projects as prototypes.
Explore this methodCategory 7 / full volumetric DfMA
The whole building designed around factory-made three-dimensional modules, with site work reduced to foundations, stacking and stitching. Maximum factory content, maximum freeze discipline - the design is finished before manufacture starts, completely.
Explore this methodDfMA retrofit of a conventional design
Taking a design started conventionally and re-engineering elements - risers, bathrooms, façade units, plantrooms - for off-site manufacture. Common on jobs that "go MMC" mid-design; it works, but every retrofit decision inherits constraints the original designer never intended.
Explore this methodBest suited for
- Programmes with cross-project repetition: housing, hotels, schools, healthcare frameworks
- Clients able to freeze a brief and hold it through manufacture
- Labour-constrained markets where factory hours replace scarce site trades
- Public-sector work under the UK presumption in favour of off-site delivery
- Any project where quality, waste and programme certainty outrank bespoke design freedom
Design for Manufacture and Assembly: step by step
- 1
Step 1: Set the manufactured content and the grid
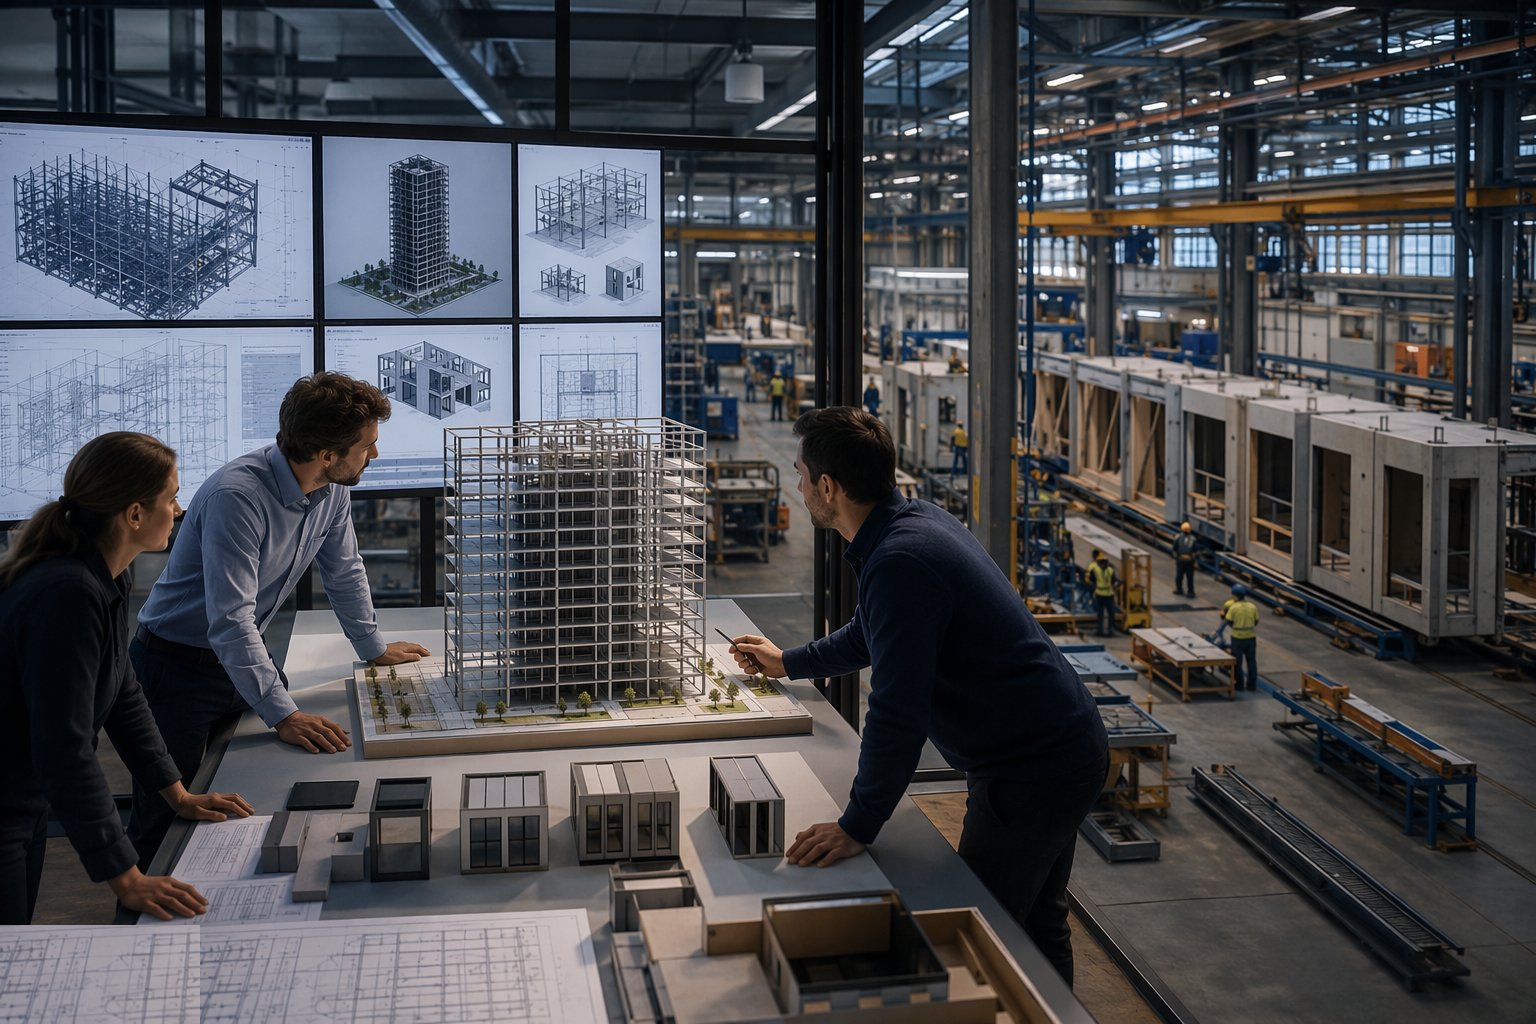
At concept stage, decide what is manufactured and what is site-built, and set the dimensional discipline everything else obeys: the structural grid, the storey height, the cladding module, the riser positions. These four numbers are the genome of the building - change any of them after freeze and the change multiplies through every manufactured element. The structural engineer, the architect, the MEP designer and the manufacturer's engineer sign up to the same grid, in writing.
- 2
Step 2: Standardise the components and connections
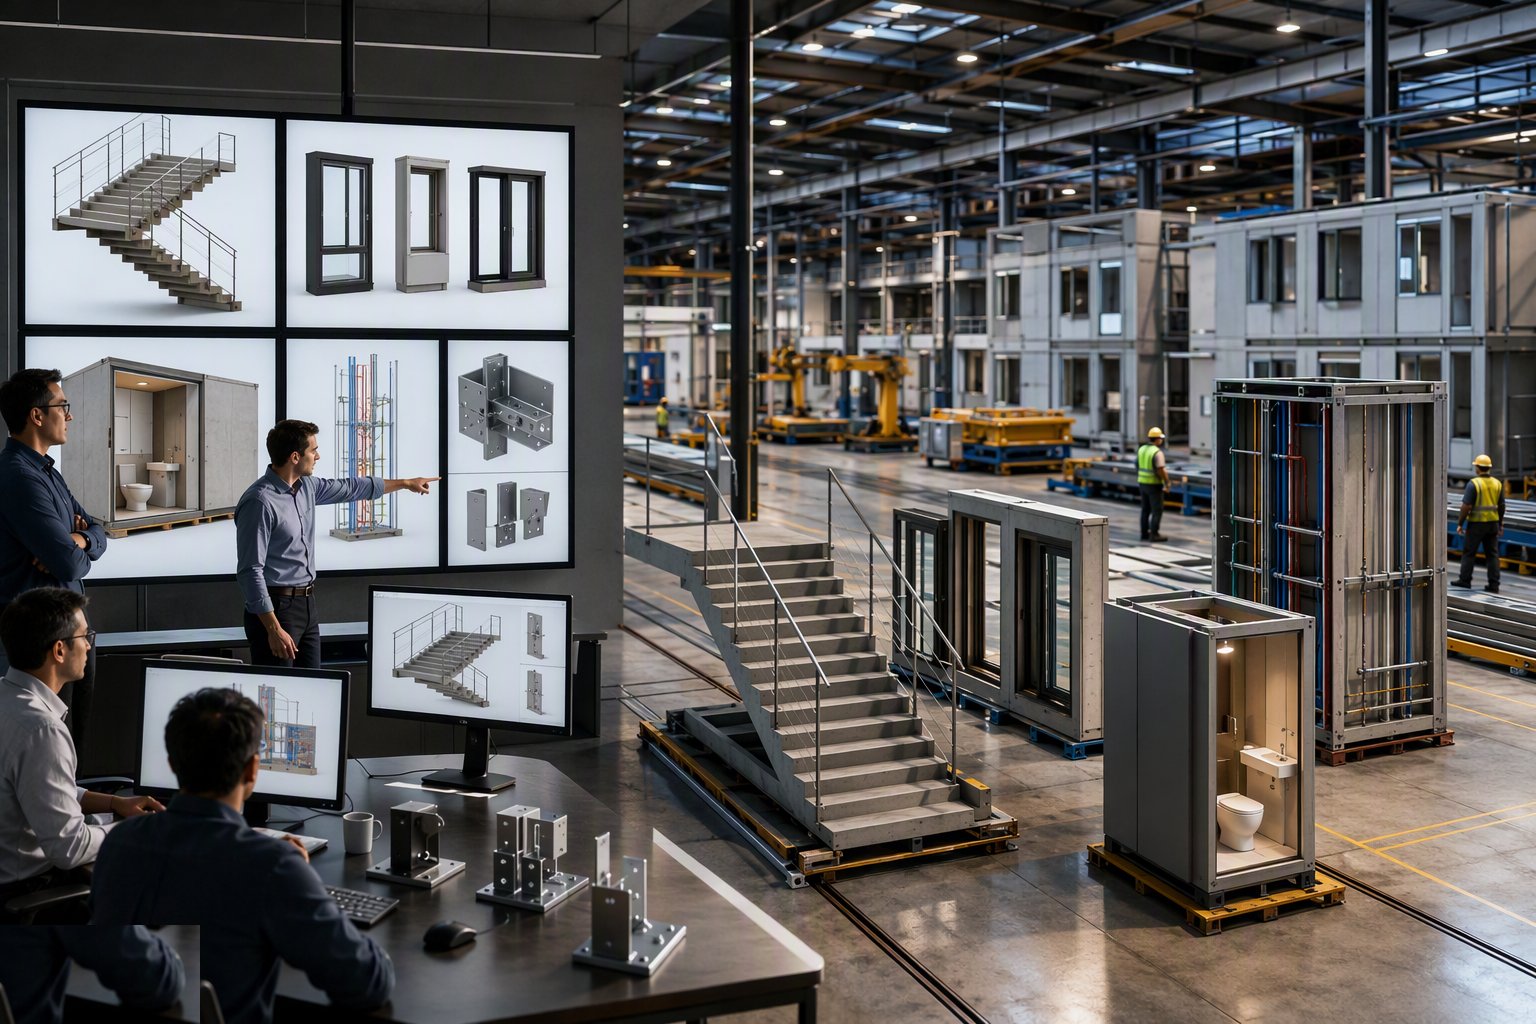
Ruthlessly reduce variety: one stair design, three window types, one bathroom pod, one riser arrangement, standard connection details with published capacities. Every "just this once" exception costs a jig change, a drawing set, a prototype and a test. This is where architects and factories traditionally fall out - the factory wants ten details, the design team wants forty - and it is resolved at the table now, with the cost of variety priced and visible, not discovered in the factory.
- 3
Step 3: Build the interface schedule and tolerance map
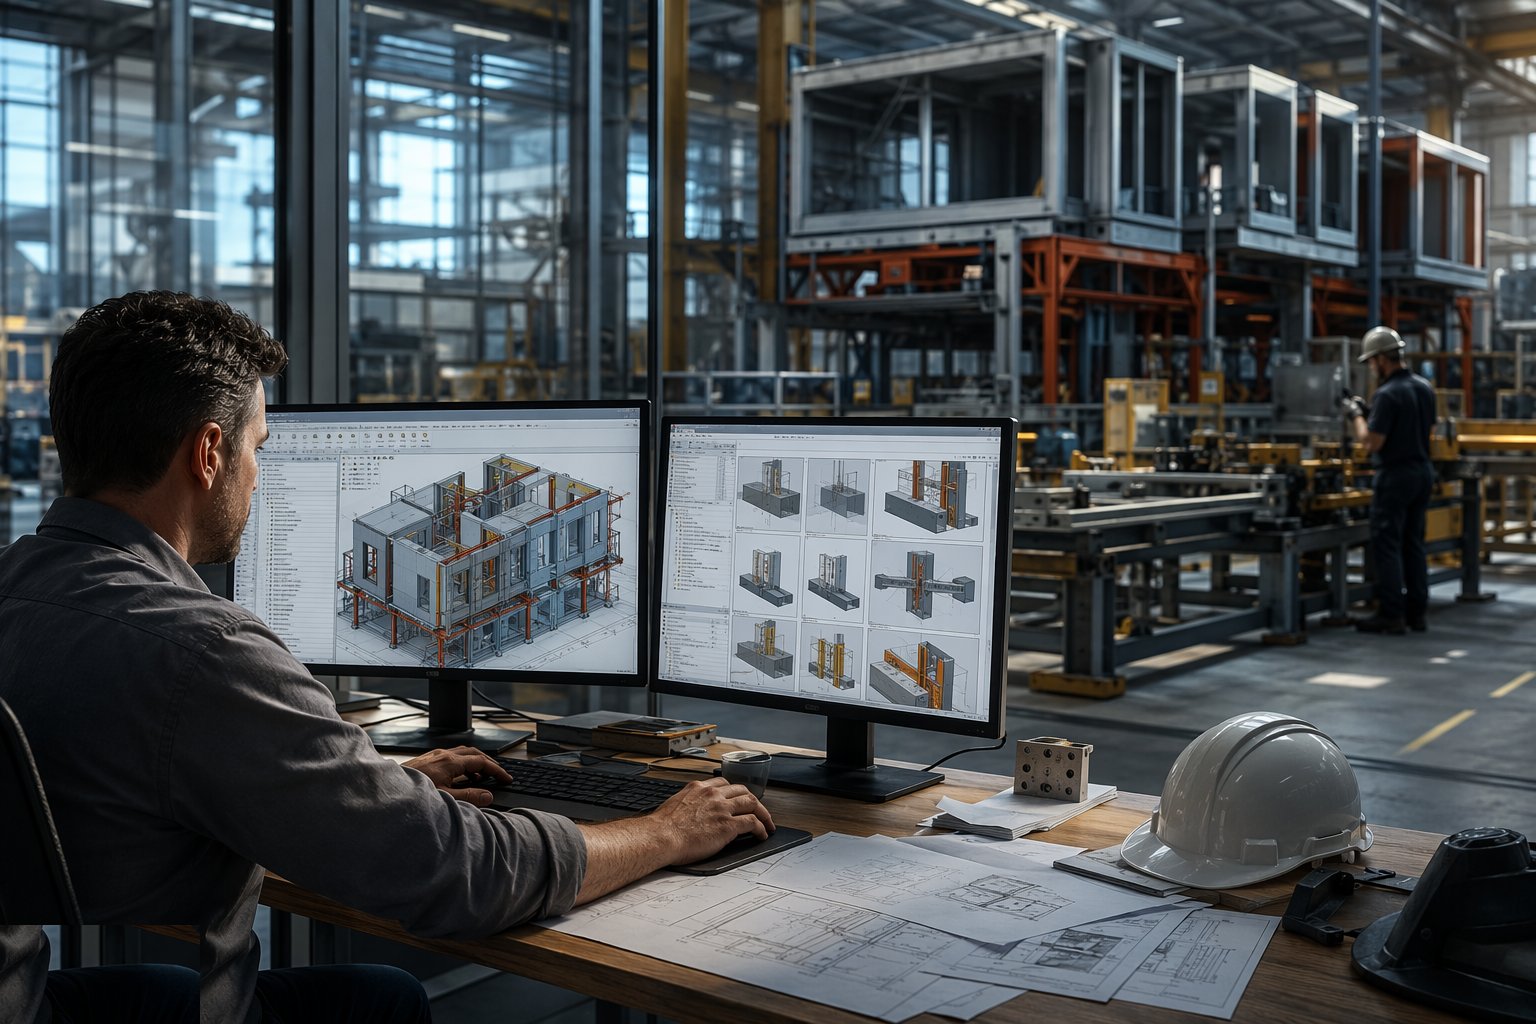
List every interface between manufactured and site-built elements - frame to module, module to module, riser to pod, façade to slab - and for each one record the designer, the constructor, the adjustment mechanism and the tolerance budget both sides. Then run the tolerance stack-up on the worst cases: slab edge drift plus module position plus façade bracket adjustment must still land the cladding rail inside its adjustment range. If the maths does not close, the details change now, not at floor 18.
- 4
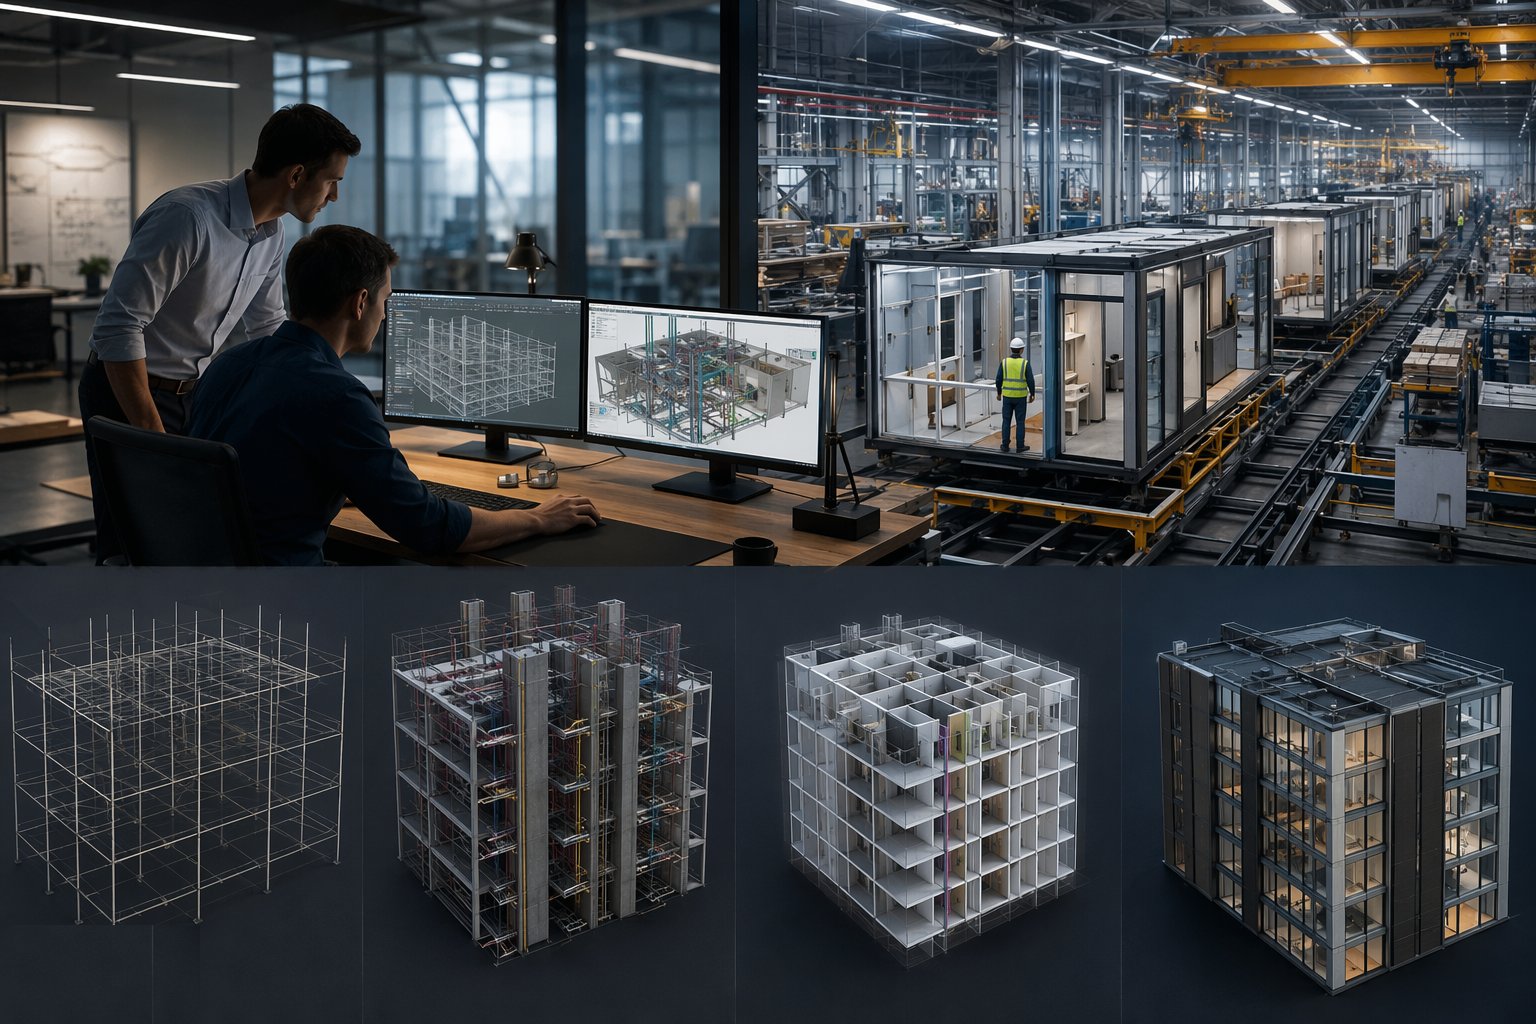
Step 4: Freeze the design in cascaded stages
Freezes land in order: grid and storey heights first, then structure and riser positions, then pod and module internal layouts, then finishes. Each freeze has a date, an owner and a gate - nothing goes to the factory before its gate passes. The change-control board gets teeth: any post-freeze change is priced in factory terms before approval - reprogramming, scrapped work-in-progress, re-testing, delivery reprogramming - which is how a "small bathroom layout change" gets quoted at five figures and usually un-happens.
- 5
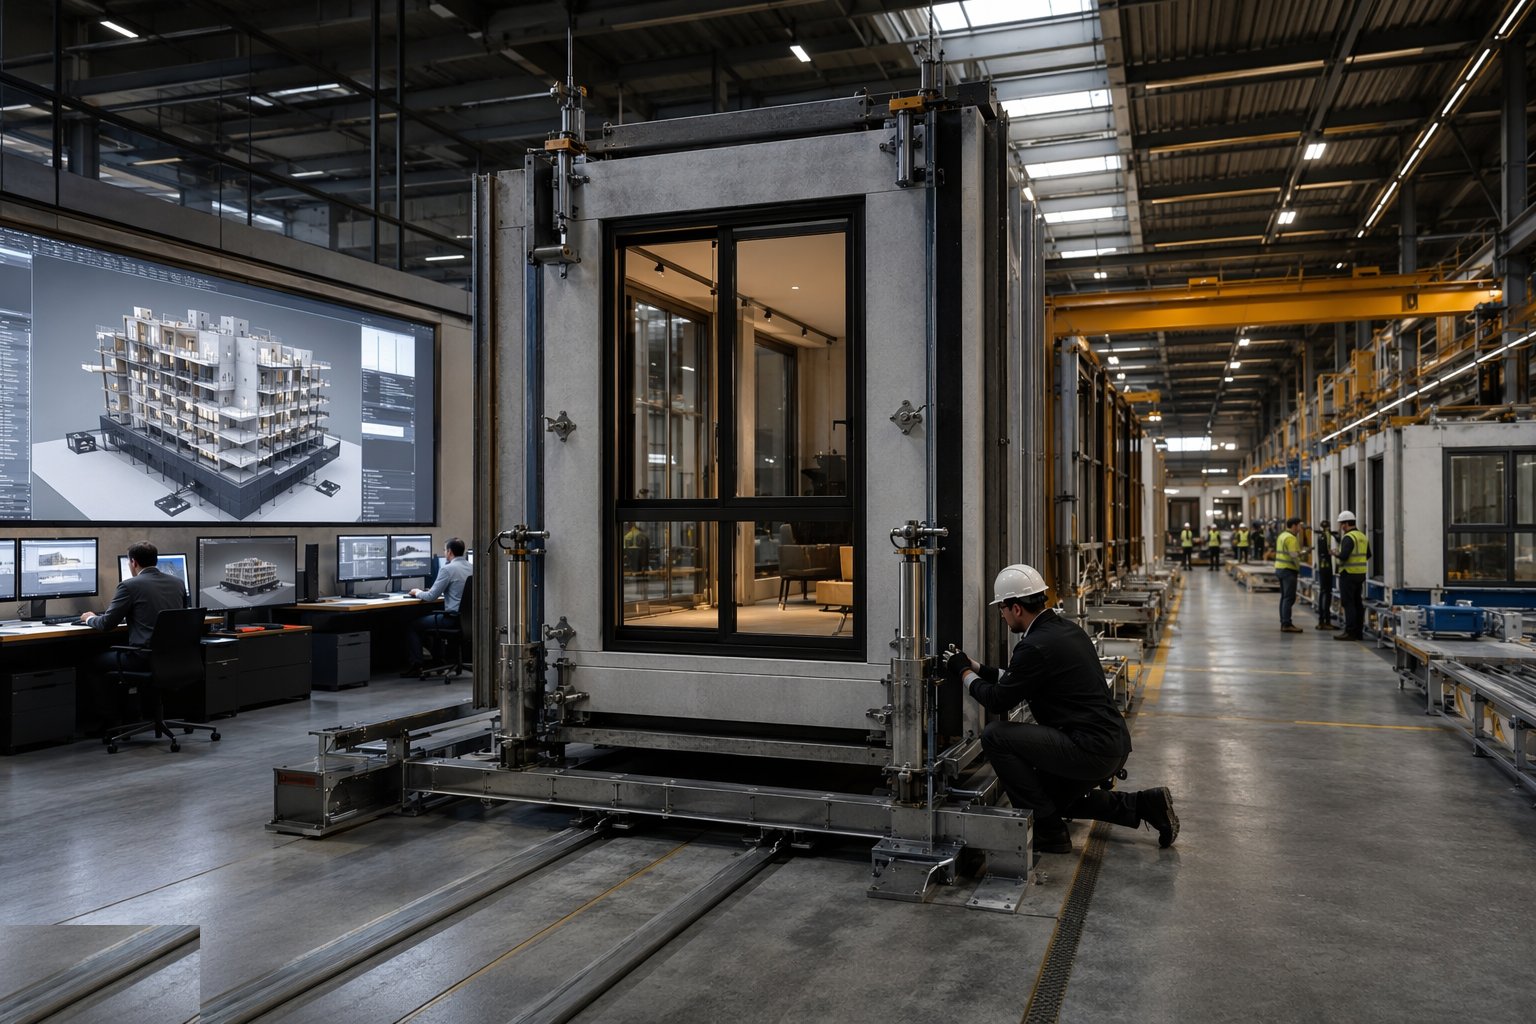
Step 5: Prototype, test and sign off the first articles
The first of every manufactured type is built as a prototype and tested to destruction or to spec - structural, acoustic, fire, watertightness as applicable - and signed off before the line runs production. The prototype is also the assembly trial: the site crew erects it with the real crane, real connections and real tolerances, and the lessons go back into the details and the method statement. Skipping first-article inspection to save four weeks is how you manufacture three hundred of the same mistake.
- 6
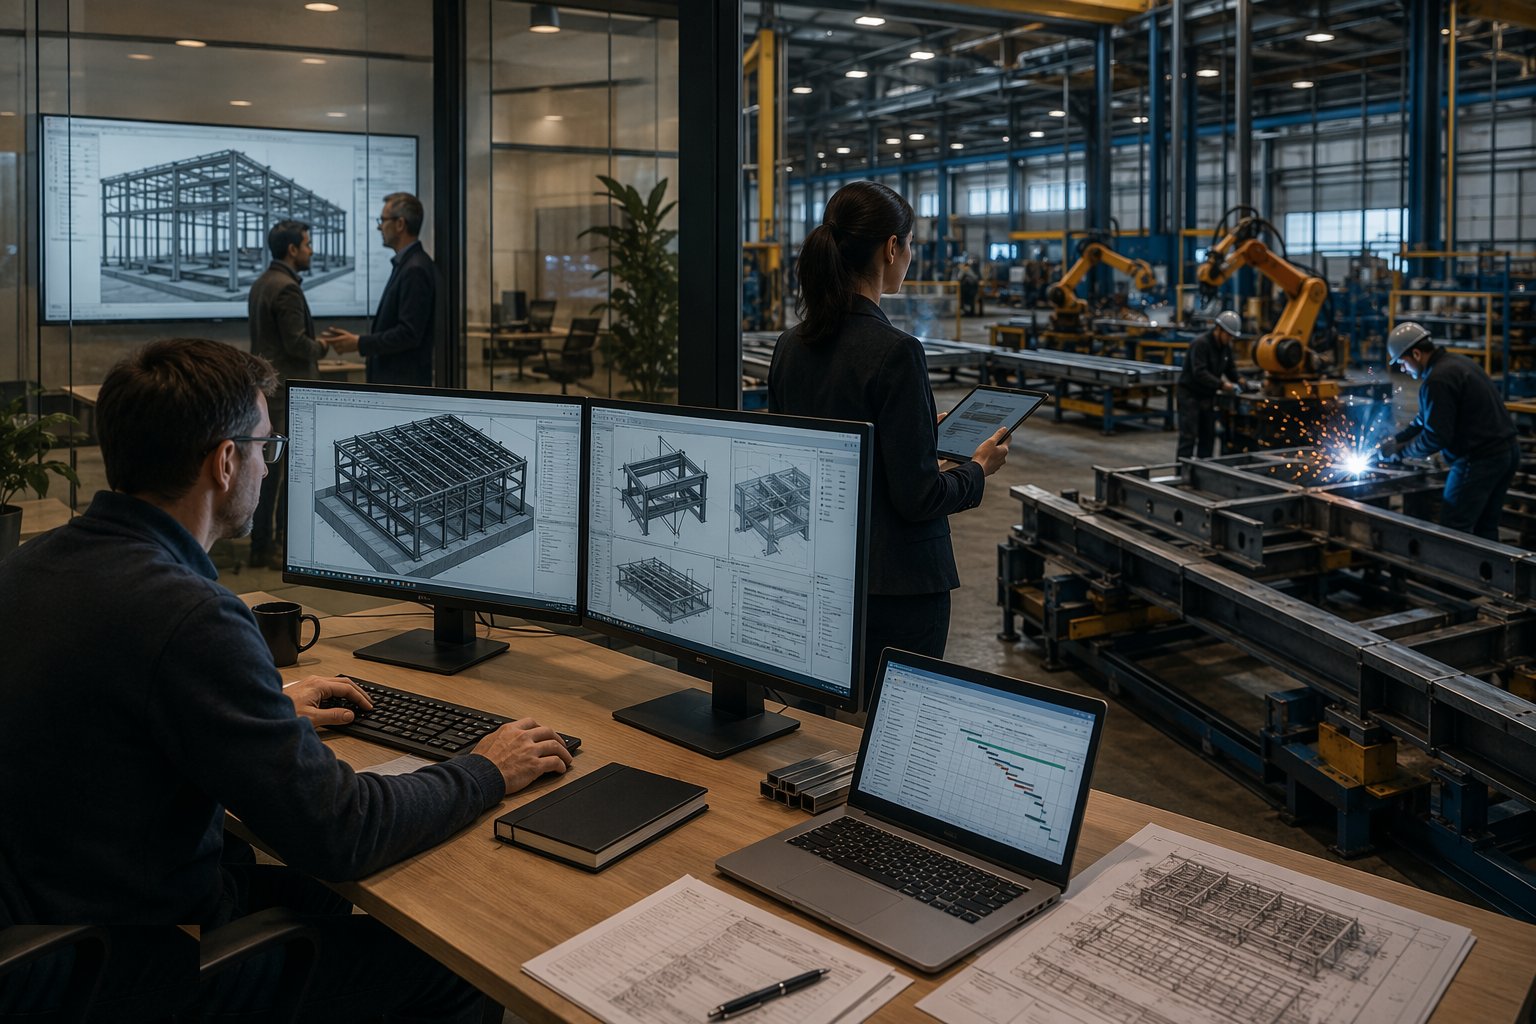
Step 6: Set up procurement, vesting and payment for off-site materials
The payment mechanism matches the factory cash-flow reality: deposits, stage payments at cutting/assembly/test, and balance on delivery. Title passes via vesting certificates with the evidence pack - schedule of materials, unique identification, photographs, storage location, insurance to full reinstatement value, right of access to inspect, and usually a bond or parent guarantee for the advance payments. In the UAE, the equivalent runs under the FIDIC materials-off-site provisions with bank guarantees and engineer verification before interim payment. Agree the audit trail before the first certificate; retrofitting vesting to a live contract is miserable.
- 7
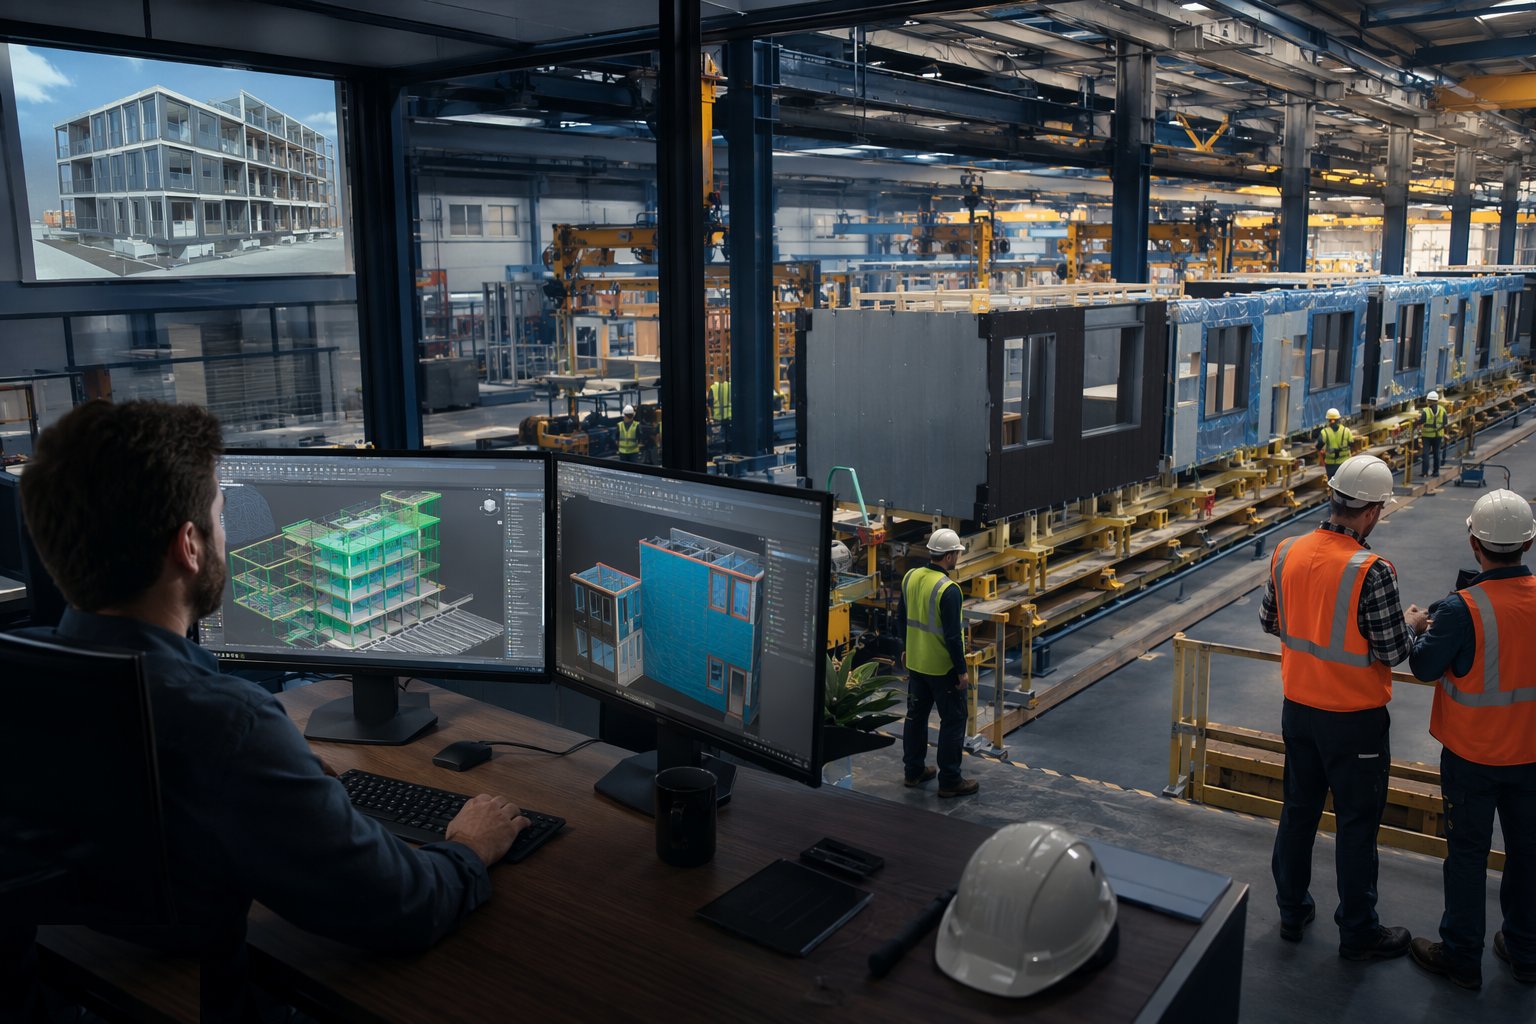
Step 7: Run production with site feedback loops
Once the line runs, the loop between site and factory stays open: every as-built survey, every fit problem, every transit-damaged unit feeds back within days, because a fault repeated for three weeks of production is a claims file. Hold points are agreed - typically first-of-batch inspection, batch sampling, and pre-dispatch checks - and the site reports installation rates so the factory throttles production to match. A factory that outruns the site fills laydown areas and cooks pods; a factory that lags it stands a crane down at £3,000 a day.
- 8
Step 8: Capture the learning and close the platform loop
At completion, the data comes home: actual versus predicted install rates, defect Pareto, which details got altered on site and why, what the tolerances really were. That record is the actual asset in DfMA - the next building on the platform starts from evidence instead of optimism. Teams that skip this step re-buy the same lessons on every project, which is most of why off-site keeps being "the future" for thirty years.

Plant & equipment
- Federated BIM model with clash detection and manufacturing-level (LOD 400) detail
- Common data environment for the freeze gates and change control
- Factory systems: CNC cutting, jigs, production line MES - audited before award
- Survey equipment feeding as-built data back to the factory model
- Prototype and test facilities: structural rigs, acoustic chambers, hose testing
- Vesting certificate evidence systems: photographic and identification records
Quality control & testing
- Freeze gates signed and dated; change-control board minutes on every post-freeze change
- Interface schedule issued under signatures of every party that owns an interface
- Tolerance stack-up calculations checked for worst-case combinations
- First-article inspection and test certificates before production release
- Factory audits: welding, casting, coating and assembly QA to the agreed ITP
- Batch sampling and pre-dispatch inspection records traceable to unit serial numbers
- Vesting certificates backed by identification, insurance, storage and access evidence
Safety watchpoints
- Factory safety standards verified in audit - the risk moves to the works, it does not vanish
- Design risk assessments under CDM for assembly: lifting points, temporary stability, safe connection access
- Change control checks for safety: a late design change can invalidate the lift plan or temporary works
- Prototype assembly treated as a live lift operation with full RAMS
- Storage and transport of manufactured elements risk-assessed - stability, restraint, escorted loads
- In the UAE, factory welfare and heat-stress standards audited to the same bar as site
Common defects to hunt
- Design freeze treated as a guideline - post-freeze changes multiply into scrap and delay
- Interface schedule gaps: the joint nobody owned, discovered when the parts arrive
- Tolerance stack-up never calculated, so adjustment ranges run out at high storeys
- Prototype skipped, and the first article is serial number one of three hundred
- Vesting certificates paid without evidence - materials uninsured, unmarked or non-existent
- Factory production decoupled from site progress - laydown full, crane stood, programme inverted
- Variety creep: "minor" bespoke exceptions that quietly double the detail count
How long does Design for Manufacture and Assembly take?
Typical duration: DfMA adds 3–6 months of disciplined design time up front and saves it back several times over downstream: a frozen, platform-based residential block can cut 20–30% off total programme. The variables are freeze discipline (every reopened freeze costs weeks and five-to-six figures), factory lead times (16–30 weeks typical), and how much of the learning loop from previous projects actually gets reused..
Related processes
- Panelised Systems - Open and Closed Panel
- SIPs, Floor and Roof Cassettes
- Precast Concrete Structures
- Bathroom Pods, Riser and Plant Modules
- Site-Based MMC - Tunnel Form, Jump Form, Slipform, ICF
- Hybrid MMC - Modules on Podiums, Precast on Cores
- Off-Site Logistics, Craneage and Tolerance
- 3D Printing and Additive Construction
- Modern Methods of Construction - What They Actually Are
- Volumetric Modular Construction
- Component DfMA - method
- Platform approach (P-DfMA) - method
- Category 7 / full volumetric DfMA - method
- DfMA retrofit of a conventional design - method
- Off-Site & Modern Methods sector guide
- Buildings - group of sectors